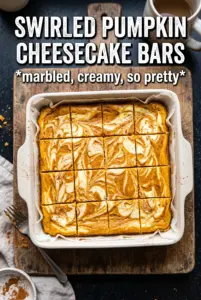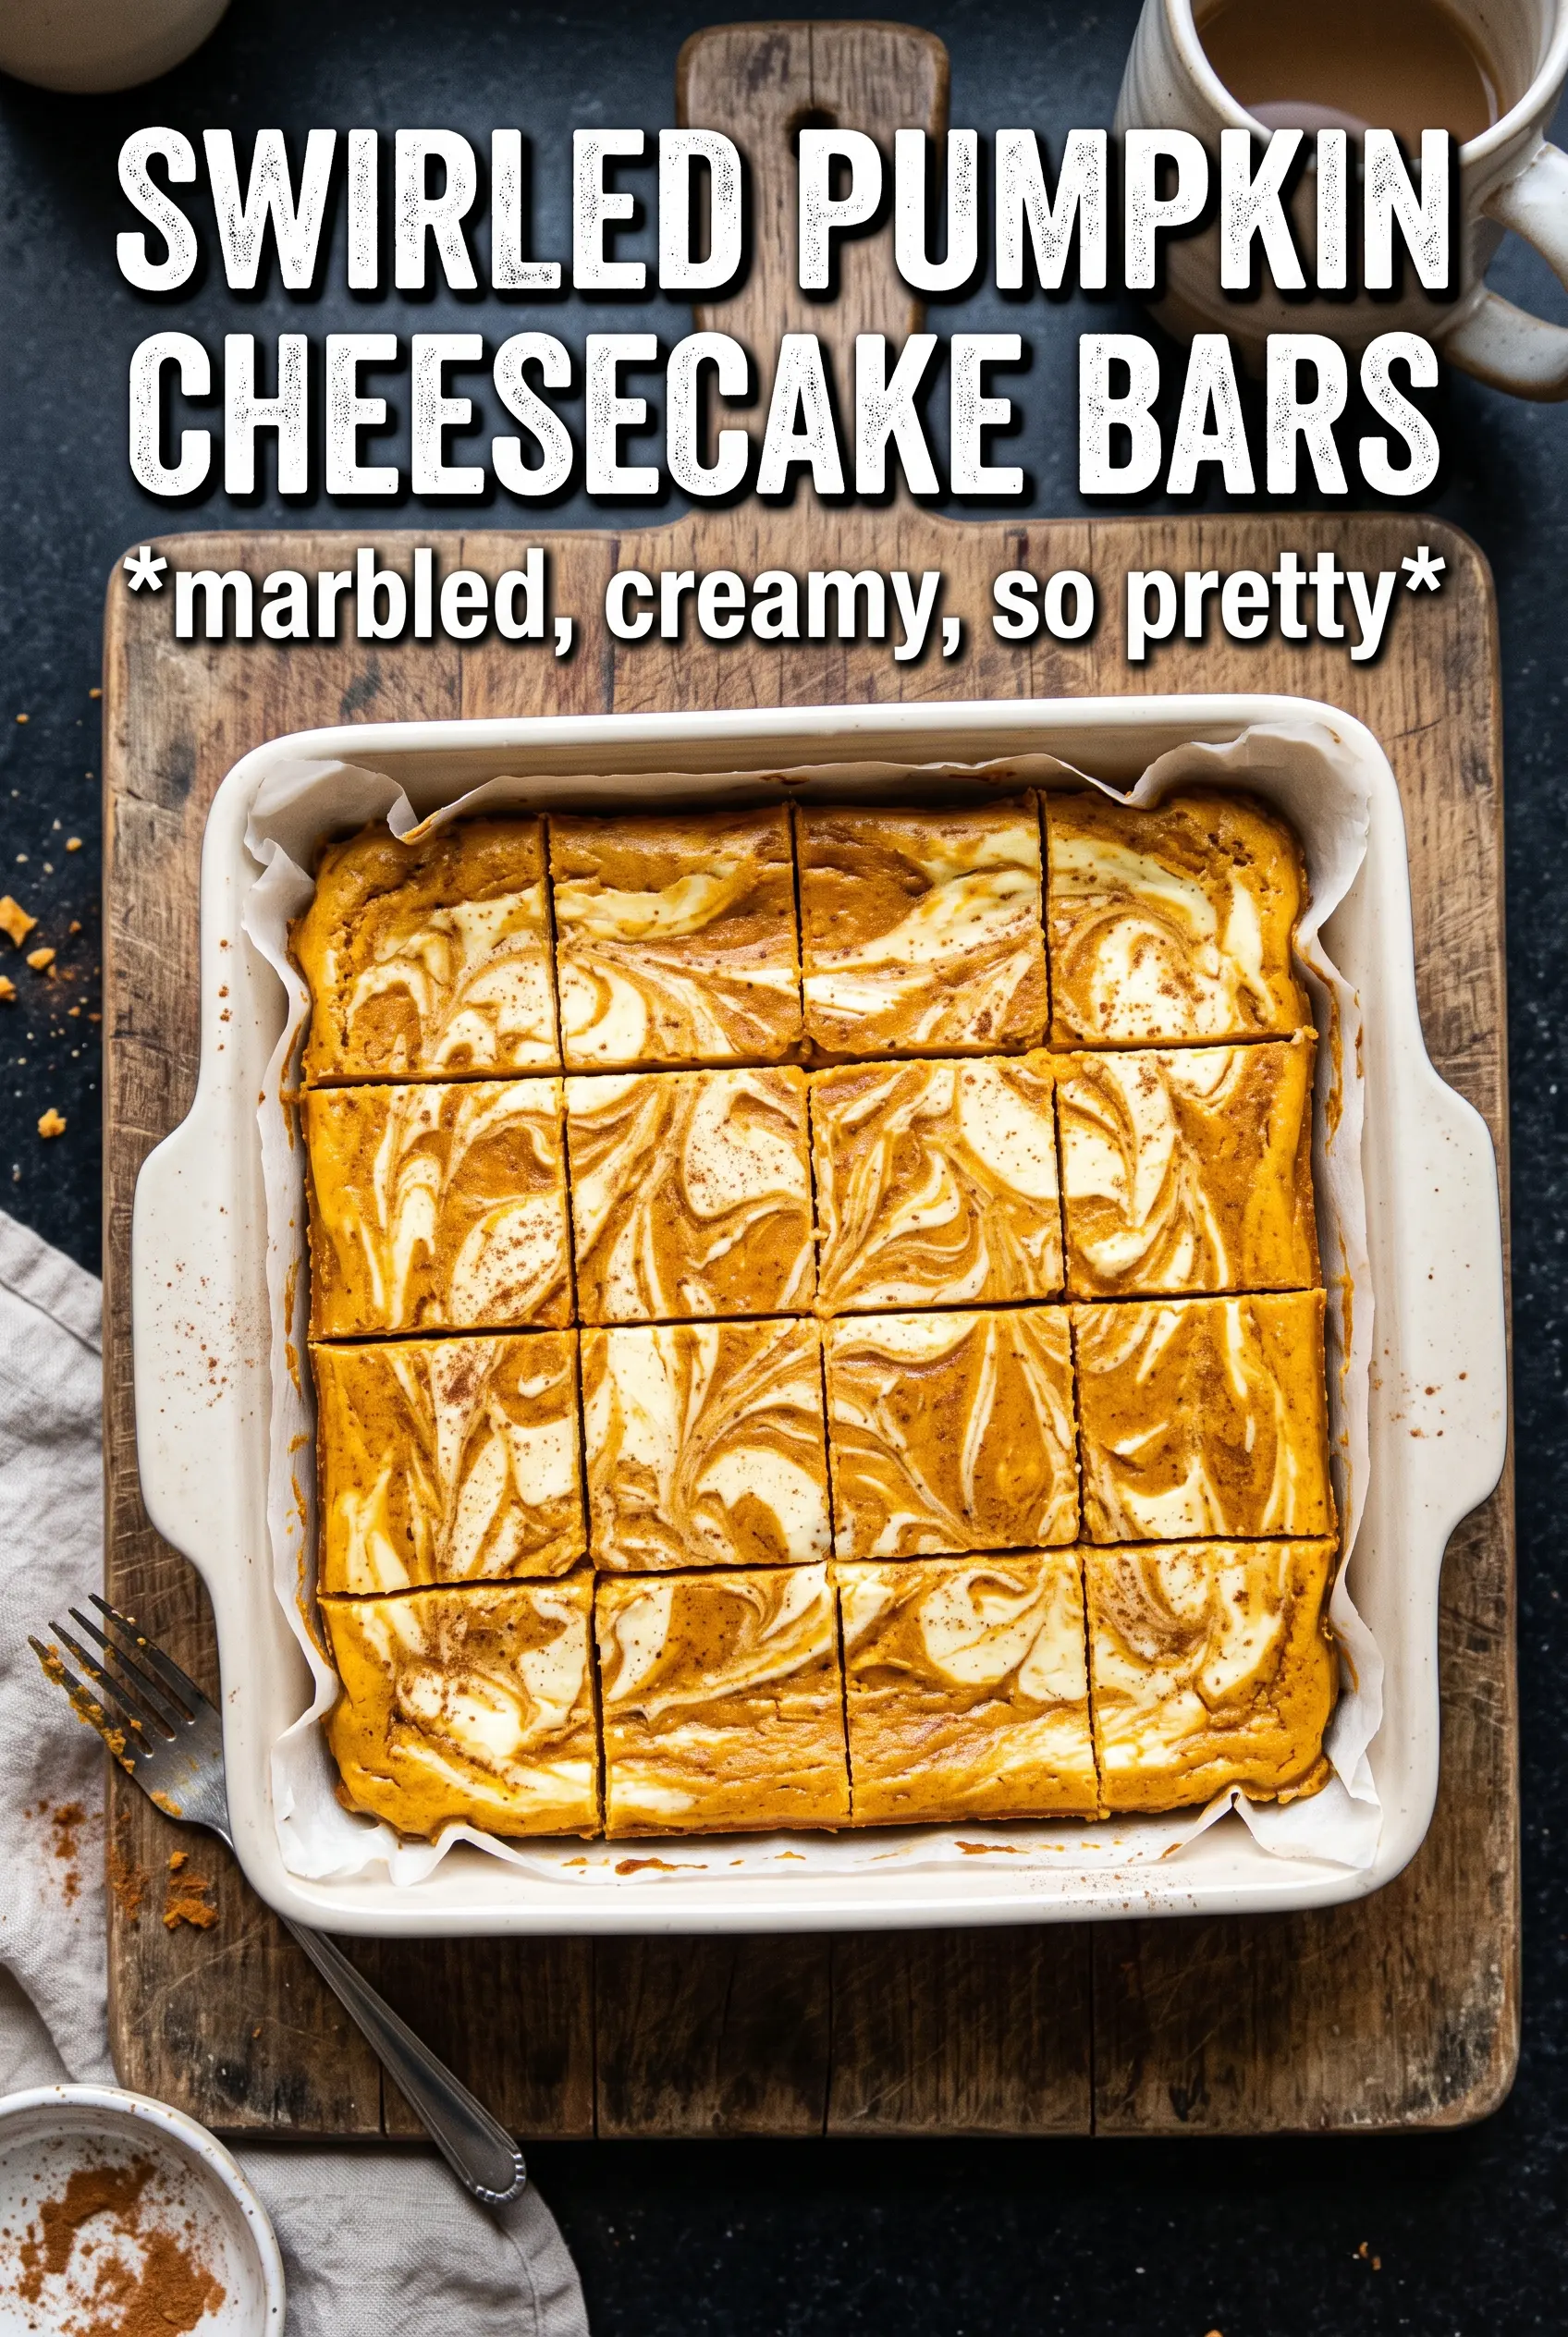
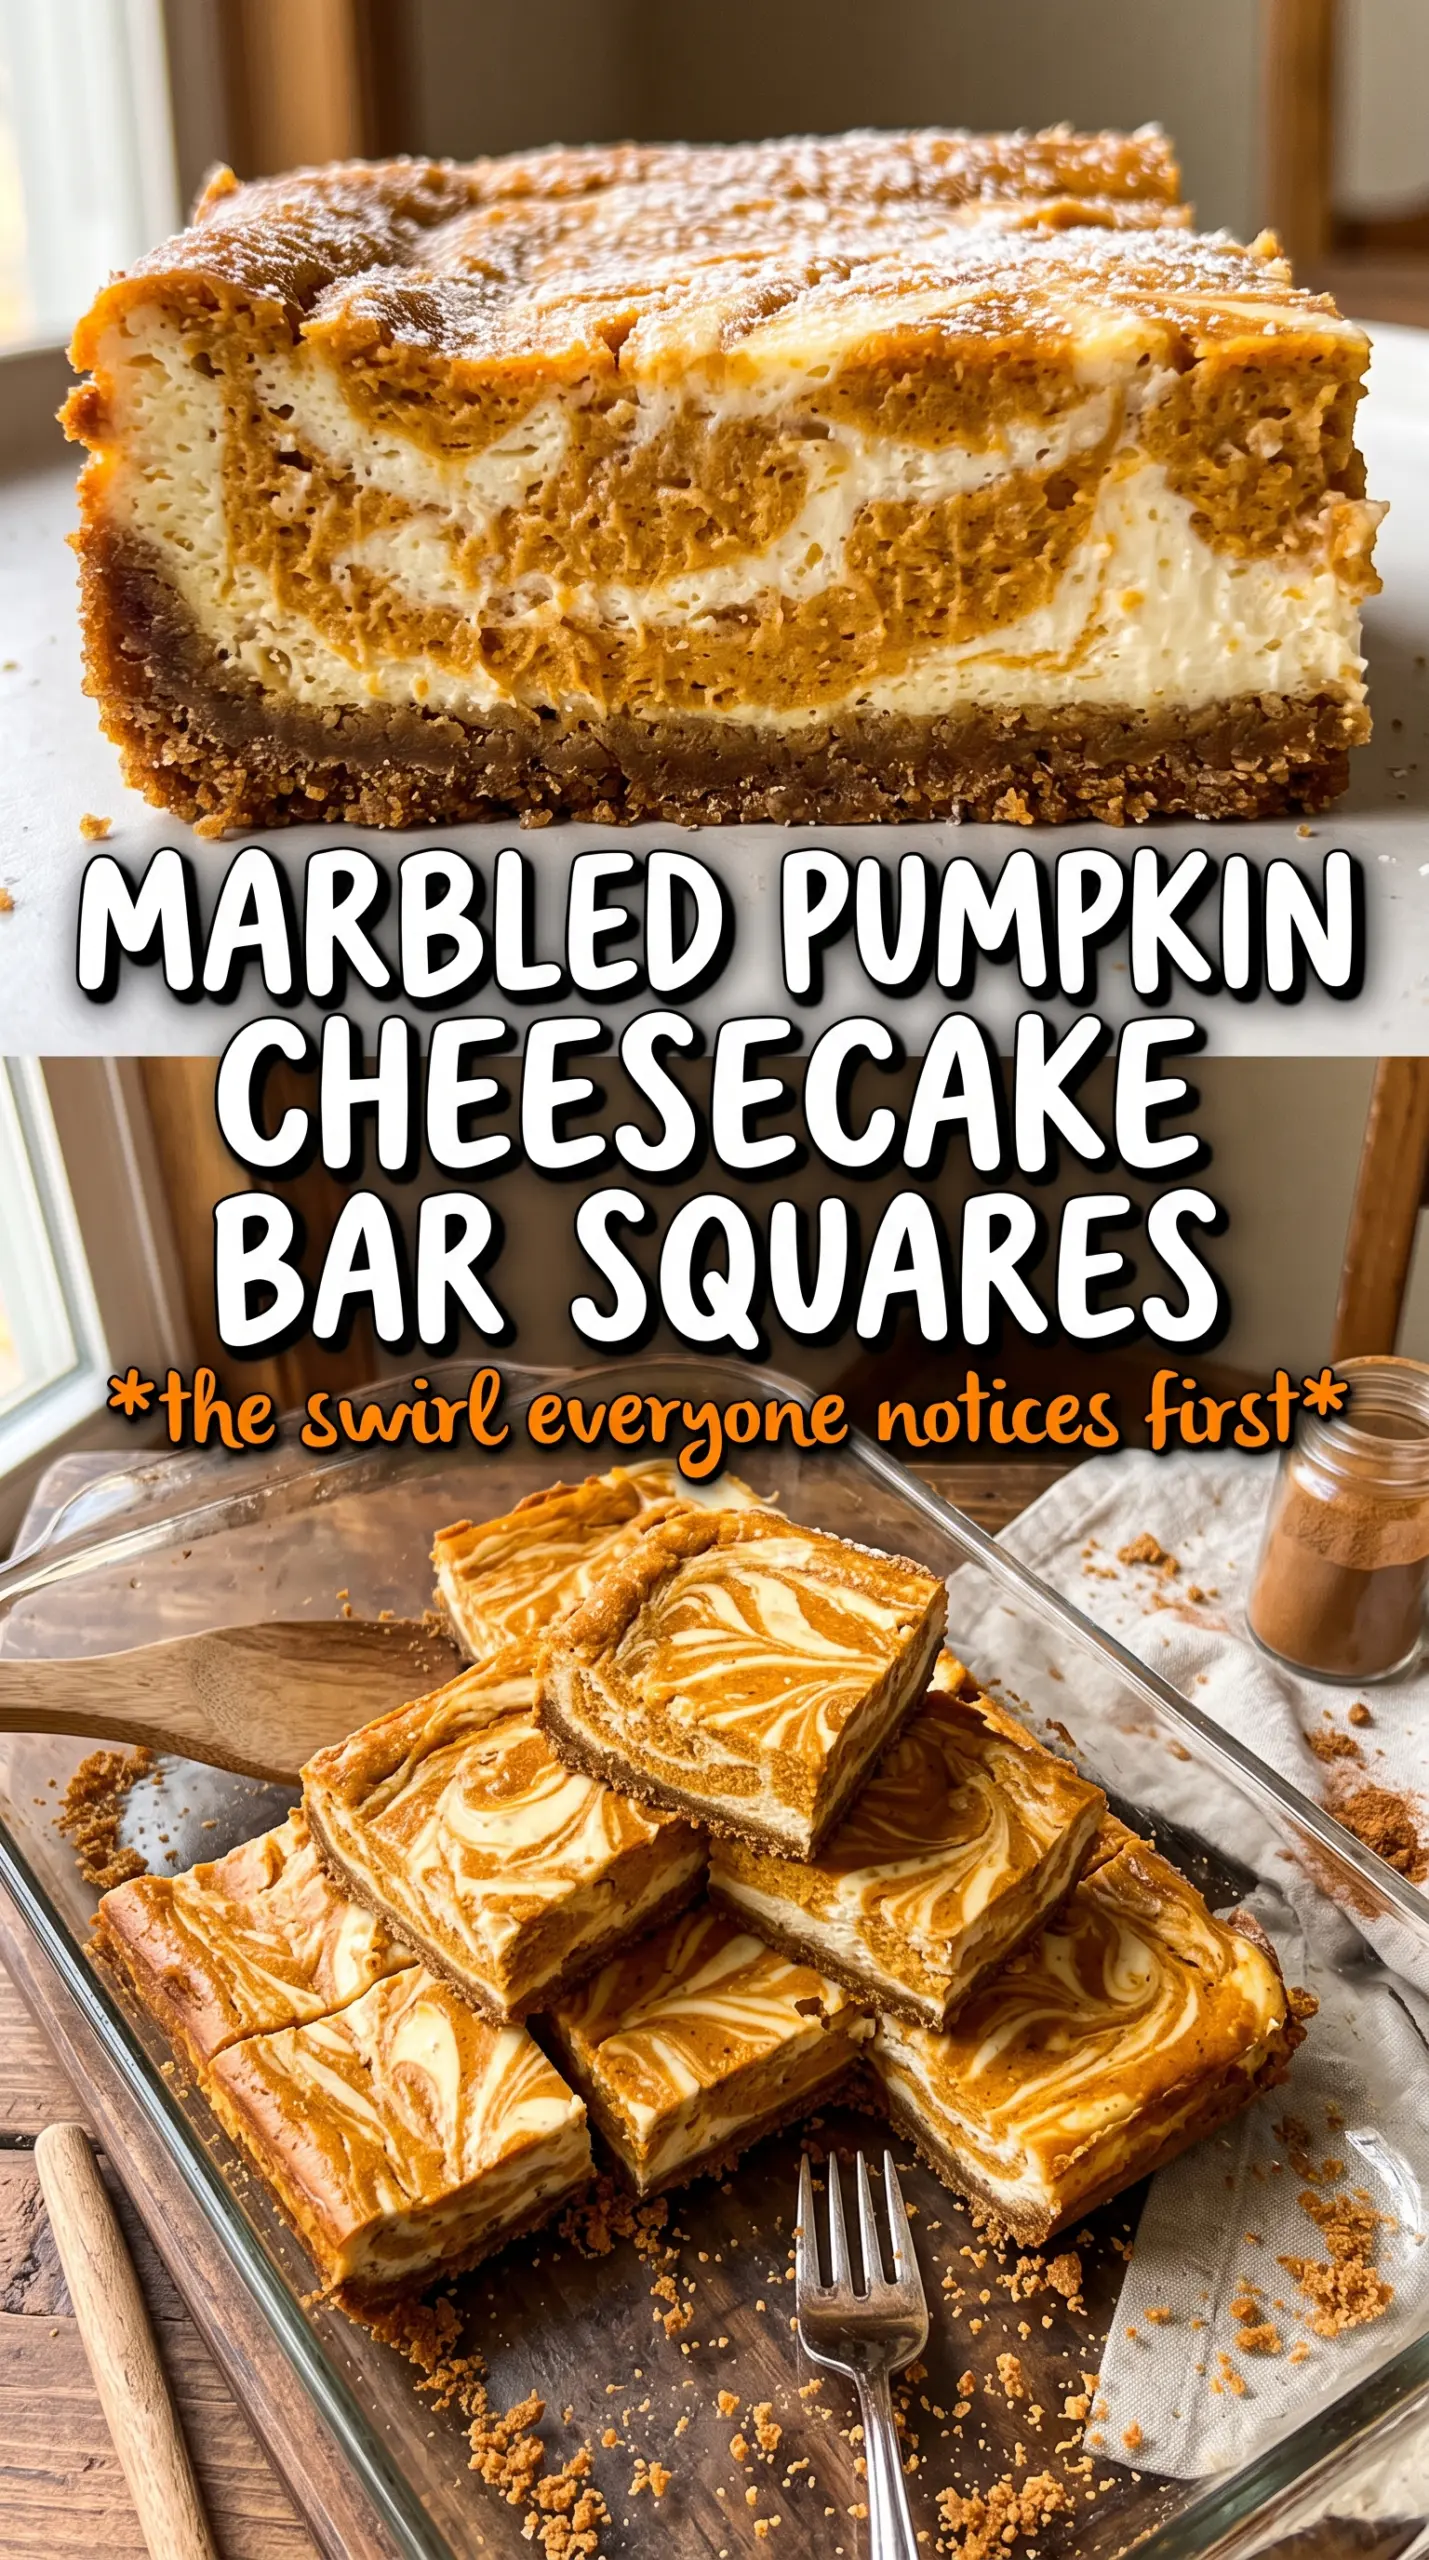
Swirled pumpkin cheesecake bars land right in that sweet spot between a pie and a cheesecake: creamy, dense enough to cut cleanly, and layered with a pumpkin swirl that brings warm spice without taking over the whole pan. The gingersnap crust gives each bite a little snap and a deeper, toastier edge than plain graham crackers, which is exactly what keeps these bars from tasting flat.
What makes this version work is the balance. The vanilla layer stays rich and smooth, while the pumpkin layer gets its own bowl and its own seasoning, so the swirl tastes distinct instead of muddled. I also like baking the crust first for a few minutes; that small head start helps it stay crisp under the filling instead of turning soft and sandy.
Below, you’ll find the one detail that keeps the swirl defined, plus a few ingredient notes that matter if you’re deciding between graham and gingersnap crumbs. The chilling time matters here too, and I’ll tell you exactly when the bars are ready to cut.
The pumpkin swirl baked up clean and the bars held their shape after chilling overnight. I used gingersnap crumbs, and the crust stayed crisp instead of getting soggy.
Want that dramatic pumpkin-and-cream swirl? Save these Swirled Pumpkin Cheesecake Bars for the next time you need a chilled dessert with a crisp crust and clean slices.
The Part That Keeps the Swirl From Turning Muddy
The biggest mistake with swirled cheesecake bars is overmixing after the pumpkin layer goes on. If you stir too much, the two batters blend into one pale orange filling and you lose the definition that makes these bars worth making. Dollops of pumpkin mixture scattered over the vanilla layer give you control; the knife should only drag through the surface in broad passes, not whip the two batters together.
Baking just until the center is set around the edges and still has a slight wobble in the middle matters more than getting a firm-looking top. Cheesecake keeps cooking from residual heat, and if you wait until it looks fully solid in the oven, it’ll end up dry and cracked once it cools. The bars also need that full chill time before cutting, or the layers will smear instead of slice clean.
What Each Layer Is Doing in These Bars
- Gingersnap or graham crumbs — Graham gives you a familiar buttery base, but gingersnap crumbs bring more spice and a sturdier, darker crust that stands up to the filling. If you want the pumpkin flavor to taste fuller, gingersnaps are the better choice.
- Cream cheese — This is the backbone of both layers, so it needs to be softened completely. Cold cream cheese leaves little lumps that don’t always beat out, and those lumps show up in the finished bars.
- Sour cream — A small amount keeps the vanilla layer tangy and helps it stay creamy instead of heavy. Plain Greek yogurt can work in a pinch, but the flavor is a little sharper and the texture a touch looser.
- Pumpkin puree — Use plain pumpkin puree, not pumpkin pie filling. Pie filling already has sugar and spices mixed in, which throws off the balance and makes the swirl too sweet and too loose.
- Pumpkin pie spice and cinnamon — The spice mix gives depth, while the extra cinnamon keeps the pumpkin layer from tasting one-note. If you only have pumpkin pie spice, use it and skip the cinnamon rather than overloading the filling.
Getting the Pan, the Batter, and the Swirl in the Right Order
Press and Prebake the Crust
Mix the crumbs, sugar, and melted butter until every crumb looks evenly damp, then press the mixture firmly into the lined pan. You want a compact layer that holds together when sliced, not a loose sandy base that falls apart at the first cut. The 8-minute bake should make the crust smell toasty and deepen a shade, which is enough to set the butter without drying it out.
Mix the Two Fillings Separately
Beat the vanilla cheesecake layer until it looks smooth and satiny, then move on to the pumpkin mixture in a separate bowl. Keeping them separate preserves the contrast between the two fillings, and it also prevents you from overworking the batter. Stop mixing as soon as each bowl looks uniform; extra beating adds air, which can cause the bars to puff and crack.
Swirl Without Blending
Spread the vanilla layer over the crust, then drop the pumpkin mixture on top in large spoonfuls so it sits in pockets across the surface. Use a thin knife to make a few wide figure-eights through the top layer only. If you go too deep, you’ll drag the crust up and blur the layers underneath, which is how the pretty marbling turns into a muddy top.
Know When They’re Done
The bars are ready when the edges look set and the center still has a slight jiggle when you gently nudge the pan. That wobble should look soft, not sloshy. Pull them from the oven at that stage, let them cool on the counter, then chill for the full 3 hours so the filling firms up enough to cut into clean squares.
How to Make These Bars Work for Different Kitchens and Different Crowds
Use gingersnaps for a deeper spice note
If you want the bars to taste warmer and less sweet, swap the graham crumbs for gingersnap crumbs. The crust will be a little darker and firmer, and it gives the pumpkin layer a sharper, more autumn-spice finish.
Make them gluten-free with certified gluten-free crumbs
Use certified gluten-free graham-style crumbs or gluten-free gingersnaps in the crust. The filling is already naturally gluten-free, so the crust is the only piece you need to change.
Add more pumpkin spice if you want a bolder fall flavor
You can increase the pumpkin pie spice by 1/2 teaspoon if you like a stronger spice finish. That pushes the bars a little closer to pumpkin pie flavor, but the cream cheese still keeps them rich instead of sharp.
Storage and Reheating
- Refrigerator: Store in an airtight container for up to 5 days. The crust stays best in the first 2 to 3 days, and the filling slices cleanest when cold.
- Freezer: These freeze well. Wrap the bars tightly, then freeze in a single layer before moving them to a container; thaw overnight in the refrigerator.
- Reheating: No reheating needed. Serve them cold or slightly cool from the fridge; warming them softens the swirl and makes the crust lose its texture.