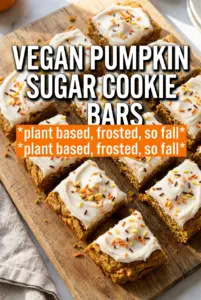
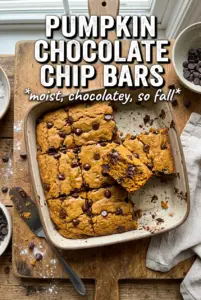
Sugar Cookie Vegan Pumpkin Bars bring two good things together in one pan: a tender, buttery cookie base and a silky pumpkin layer that sets up cleanly after chilling. The base bakes up lightly sweet and sturdy enough to hold the filling without turning soggy, while the pumpkin top lands somewhere between pie and pudding in the best possible way. A dairy-free cream cheese frosting finishes everything with that familiar tangy-sweet bite that keeps you coming back for another square.
The trick here is keeping the cookie dough cold enough to stay short and crumbly instead of spreading into a thin crust, then giving the bars enough chill time for the pumpkin layer to fully set. Full-fat coconut milk matters because it adds richness and body that lighter plant milks just can’t match. The pumpkin filling also gets a little help from cornstarch, which is what gives each slice that neat, bakery-style cut instead of a soft, messy scoop.
Below you’ll find the small details that make these bars hold together well, plus a few swaps that still keep the texture on track. If you’ve ever had pumpkin bars turn loose in the middle or a crust that baked up too hard, the notes in this post will save you the trouble.
The pumpkin layer set up beautifully after chilling, and the cookie base stayed tender instead of getting hard. I used the frosting on top and my sister said they tasted like pumpkin pie bars from a bakery.
Save these sugar cookie vegan pumpkin bars for the first dessert you want to slice cleanly, frost generously, and serve chilled.
The Cold Butter Step That Keeps the Cookie Base from Spreading
The bottom layer needs to behave more like a short crust than a soft cookie dough. Cold vegan butter is what gives it structure, because it melts more slowly in the oven and leaves behind little pockets that keep the texture tender. If the butter starts out warm, the dough turns greasy and the base bakes up flatter and denser.
Press the dough evenly into the pan and don’t try to chase a perfectly smooth surface with your hands. A lightly textured base bakes more evenly than one that gets overworked, and overmixing after the butter goes in is the fastest way to lose that sugar-cookie feel. The first bake is short on purpose; it just needs to set enough to support the filling.
What the Pumpkin Filling Is Doing Beyond Basic Flavor
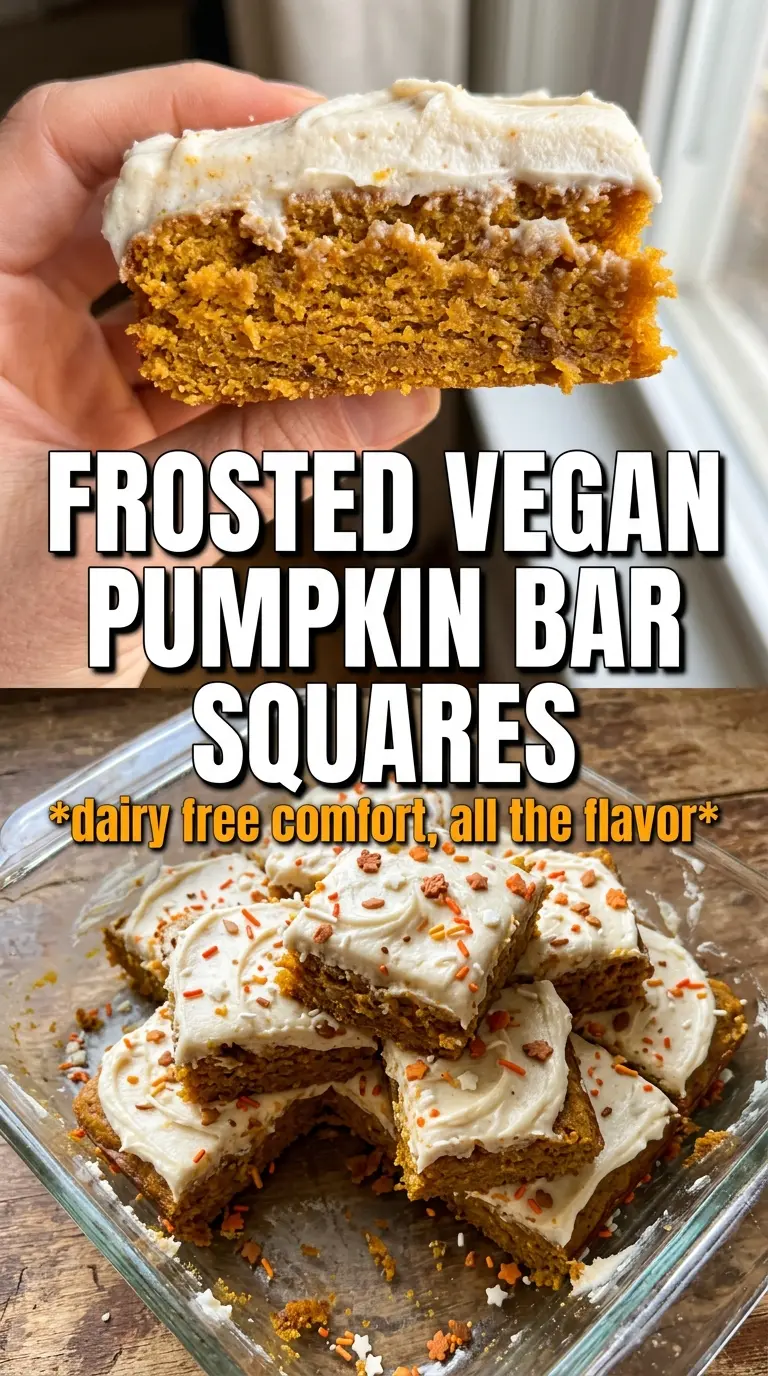
- Pumpkin puree — Use plain pumpkin puree, not pumpkin pie filling. Pie filling is already sweetened and spiced, which throws off the texture and makes the bars taste one-note.
- Full-fat coconut milk — This brings the richness that dairy usually handles in a pumpkin bar. Shake the can well, then measure from the thick, creamy part and whisk until the filling looks smooth and glossy.
- Cornstarch — This is what helps the filling set after baking and chilling. Without it, the bars stay loose in the middle and won’t cut cleanly.
- Maple syrup or sugar — Maple gives a deeper, rounder sweetness and works beautifully with pumpkin spice. Sugar is a fine swap if that’s what you have, and the bars will still set the same way.
- Vegan cream cheese — The frosting needs a firm, tangy vegan cream cheese, not a whipped spread. Softer tubs can turn runny fast, so chill the frosting briefly if it loosens after beating.
Building the Layers Without Losing the Set
Mixing the Cookie Dough
Combine the dry ingredients first, then cut in the cold vegan butter until the mixture looks sandy with a few small pea-sized bits left. Add the plant milk and vanilla just until the dough holds together. If you keep mixing after that point, the dough tightens up and bakes more like a tough crust than a tender base.
Par-Baking the Base
Press the dough into a lined 9×13 pan and bake it until the top looks set and the edges are just starting to take on a little color. You’re not looking for deep browning here. The goal is a base that can support the filling without cooking all the way through before the pumpkin layer goes on.
Whisking the Filling Smooth
Whisk the pumpkin filling until it’s completely lump-free and pour it over the warm crust. Warm crust helps the layers bond, but the filling should still go in smooth and loose. If you see cornstarch streaks or clumps, keep whisking; those streaks can bake into little starchy pockets.
Baking Until Just Set
Bake again until the edges are set and the center no longer sloshes when you gently nudge the pan. A slight jiggle is fine because the bars finish setting as they cool, but a wet center means they need more time. Pull them when the middle looks like soft custard, not liquid.
Cooling and Frosting
Let the bars cool completely, then refrigerate them for at least two hours before adding frosting. That chill time is what gives you clean slices and keeps the frosting from sliding. Spread the frosting over the cold bars in an even layer, and add sprinkles only after the top is set enough to hold them.
How to Adapt These Bars Without Breaking the Texture
Make Them Gluten-Free
Swap the all-purpose flour for a cup-for-cup gluten-free blend that includes xanthan gum. The base will be a touch more delicate, but the bars still slice well after chilling. Don’t use almond flour here; it won’t give you the same short-cookie structure.
Use a Different Sweetener in the Filling
Maple syrup gives the filling a deeper, almost caramel note, while granulated sugar keeps the pumpkin flavor a little cleaner. Either works, but don’t replace both with a liquid sweetener unless you also keep the cornstarch exactly as written, or the filling can turn loose.
Skip the Frosting for a Lower-Sweet Finish
These bars still taste complete without the frosting if you want a cleaner pumpkin-pie style dessert. The top will look more rustic, so finish with a dusting of powdered sugar or a few chopped nuts after chilling. You lose the tangy cream-cheese finish, but the bars stay sturdy and less sweet.
Storage and Reheating
- Refrigerator: Store in an airtight container for up to 5 days. The bars actually slice better after a night in the fridge, and the frosting stays firm.
- Freezer: Freeze unfrosted bars for up to 2 months, tightly wrapped and layered with parchment. Thaw overnight in the refrigerator before frosting.
- Reheating: These bars are meant to be served chilled or cool, not warmed. If they sit out too long, the filling softens and the frosting can slump.
Answers to the Questions Worth Asking
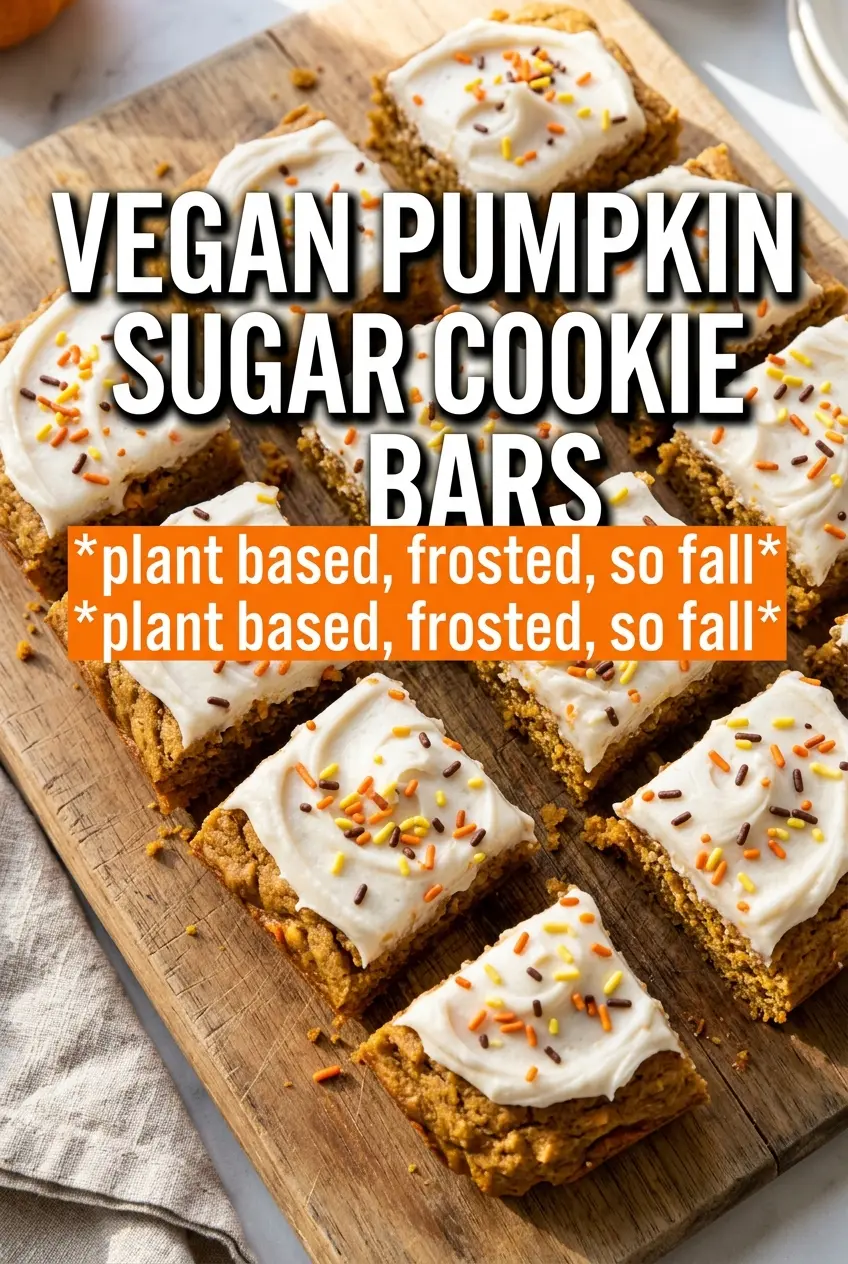
Sugar Cookie Vegan Pumpkin Bars
Ingredients
Equipment
Method
- Preheat oven to 350F and line a 9x13 pan with parchment.
- Make a plan to use the parchment to lift bars out later for easier slicing.
- In a bowl, combine all-purpose flour, powdered sugar, baking powder, and salt, then cut in cold vegan butter until the mixture looks crumbly.
- Add plant milk and vanilla and mix until the dough forms.
- Press the dough into the lined pan evenly, then bake for 12 minutes at 350F.
- Whisk pumpkin puree, full-fat coconut milk, maple syrup or sugar, cornstarch, pumpkin pie spice, cinnamon, and vanilla until completely smooth.
- Pour the filling over the warm crust.
- Bake 20-22 more minutes at 350F until the filling is set.
- Cool completely, then refrigerate for 2 hours.
- Beat vegan cream cheese, powdered sugar, plant milk, and vanilla until smooth.
- Spread the frosting over the chilled bars and slice once set.