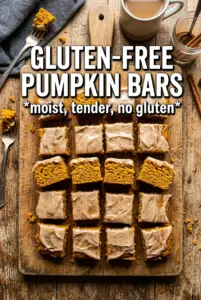
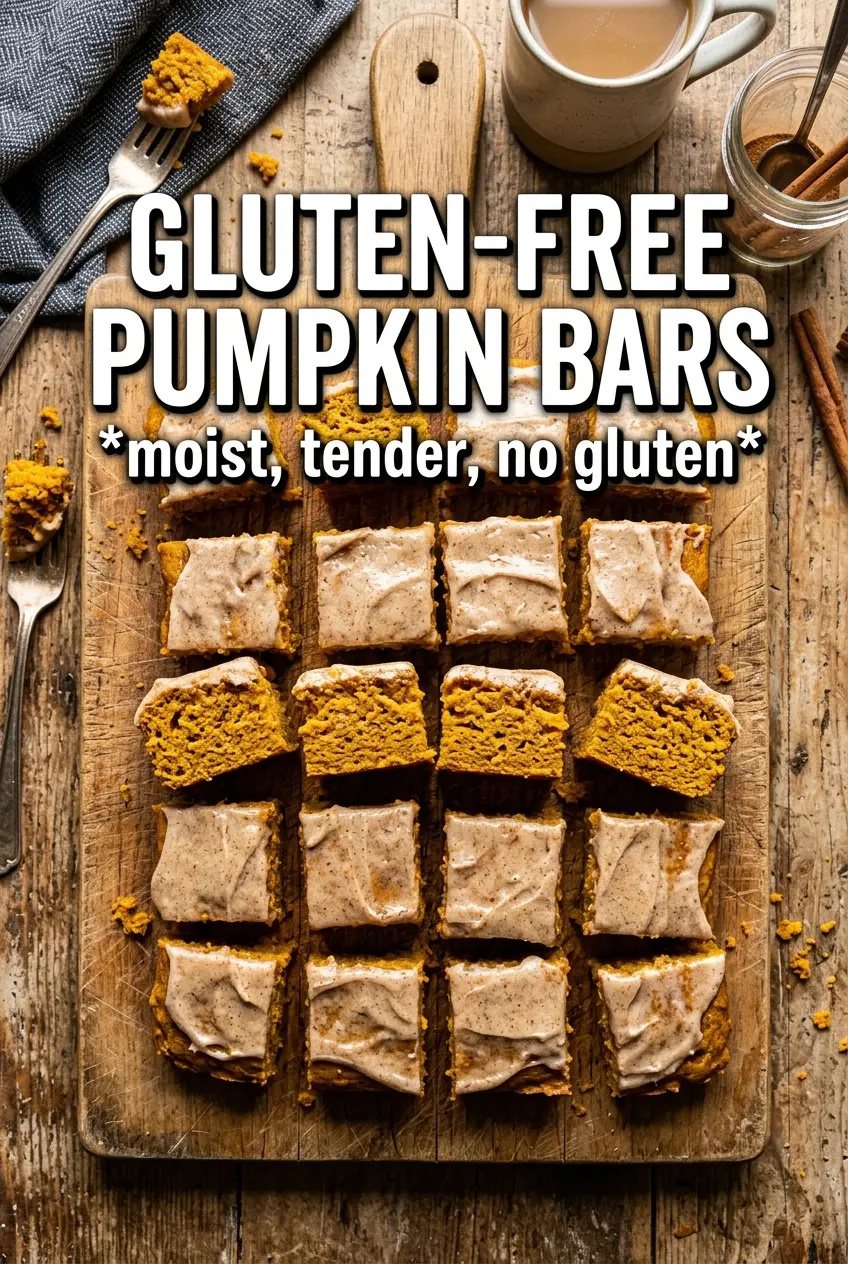
Gluten-free pumpkin bars should be soft, tender, and sturdy enough to slice cleanly without tasting like a compromise. These bake up with a moist, almost cake-like crumb and a thick layer of cream cheese frosting that settles in just enough to make every bite balanced. The pumpkin flavor stays front and center, with cinnamon and pumpkin pie spice doing the quiet work in the background.
The part that makes these bars work is the batter texture. Gluten-free flour blends need enough structure to hold the bars together, but they still overmix easily, so the flour goes in last and gets folded just until combined. That keeps the bars from turning gummy or dense. The frosting also matters more than it looks at first glance: a little cinnamon in the cream cheese frosting ties the whole pan together and gives the bars that classic bakery-style finish.
Below you’ll find the small details that keep the crumb tender, the frosting smooth, and the bars easy to cut into neat squares once they’ve chilled.
The bars baked up really moist and the frosting set beautifully after chilling. I cut them into neat squares for a potluck and nobody guessed they were gluten-free.
These gluten-free pumpkin bars stay moist, slice cleanly, and hold that thick cream cheese frosting beautifully.
The Gluten-Free Batter Needs Structure Before You Add Moisture
With pumpkin bars, the most common mistake is treating gluten-free flour like a one-for-one swap that behaves exactly like wheat flour. It doesn’t. The blend needs xanthan gum for structure, and it needs the dry ingredients whisked together first so the leaveners and spices are evenly distributed before the wet ingredients go in.
The batter should be thick and smooth, not whipped. Once the flour is folded in, stop as soon as you no longer see dry streaks. Overmixing can make the bars tight or gummy, which is especially noticeable in a gluten-free cake-style bar like this one. The other big clue is the pan size: a 15×10 rimmed baking sheet gives you the right thickness so the bars bake through without drying out.
What Each Ingredient Is Doing in These Pumpkin Bars
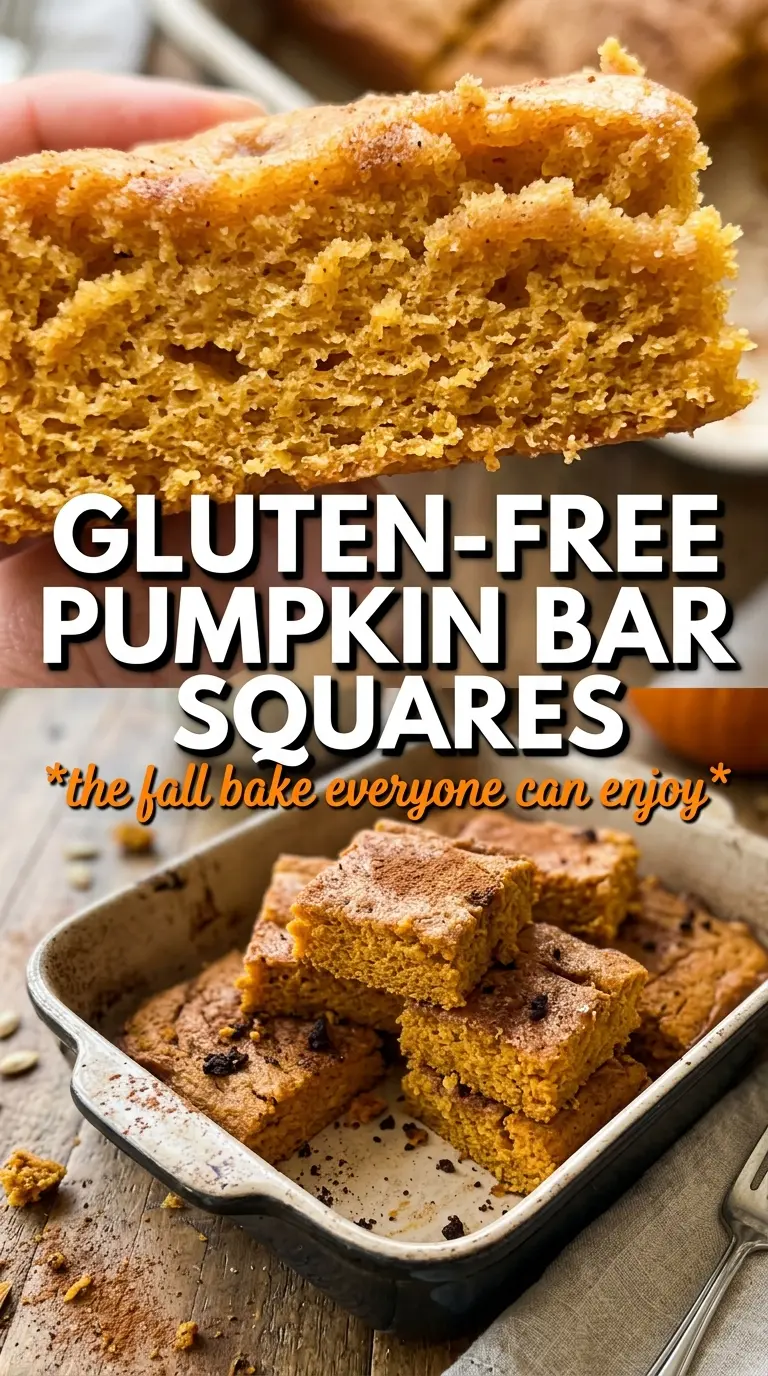
- Gluten-free all-purpose flour blend with xanthan gum — This is the backbone of the recipe. The xanthan gum gives the bars enough hold that they slice well after cooling. If your blend doesn’t already include it, the bars can crumble when cut.
- Pumpkin puree — Use pure pumpkin, not pumpkin pie filling. Pure pumpkin gives you the right moisture and earthy flavor without extra sugar or spices throwing off the balance.
- Vegetable oil — Oil keeps the crumb soft for days. Butter can work, but it sets firmer when cool and makes the bars a little less tender.
- Eggs — Four eggs give these bars lift and structure. That matters in gluten-free baking because you’re depending on eggs more than wheat gluten to hold the crumb together.
- Cream cheese frosting — This is not the place for a thin glaze. The tangy frosting gives the bars their classic pumpkin-bar character and helps balance the sweetness of the cake layer.
Building the Bars So They Bake Up Tender, Not Dense
Whisk the Dry Ingredients First
Start by whisking the gluten-free flour, baking powder, baking soda, spices, and salt together in a bowl. You want the leaveners dispersed evenly so the bars rise across the whole pan instead of puffing in patches. If the cinnamon clumps in one spot, that area can taste overly spiced and bake unevenly.
Mix the Wet Ingredients Until Smooth
Beat the eggs, sugar, oil, pumpkin puree, and vanilla until the mixture looks glossy and uniform. The sugar should start dissolving into the liquid ingredients, and the batter will look thick but pourable. If you see streaks of egg white, keep mixing for a few more seconds before adding the flour.
Fold, Don’t Whip
Add the dry mixture to the wet ingredients and fold just until the last pockets of flour disappear. This is the point where people usually go too far. A few gentle turns are enough; if you keep beating, the bars can turn heavy and the crumb gets less tender.
Bake Until the Center Springs Back
Spread the batter into the greased pan and bake at 350F until a toothpick comes out clean, usually 25 to 28 minutes. The top should look set and the center should spring back lightly when touched. If the bars pull from the pan edges and the middle still looks shiny, give them a few more minutes before checking again.
Cool Completely Before Frosting
The bars need to be fully cool before the frosting goes on, or the cream cheese topping will slide and melt into the surface. Once frosted, a 30-minute chill firms everything up and makes clean cutting much easier. If you rush this part, the squares will still taste good, but they won’t look neat.
How to Adjust These Bars for Different Needs and Kitchens
Dairy-Free Version
Use a dairy-free butter stick and a dairy-free cream cheese for the frosting. The bars themselves are already dairy-free, so the main change is the topping. The texture stays close to the original, though the frosting may be a little softer after chilling.
Extra-Spiced Pumpkin Bars
Add another 1/2 teaspoon cinnamon or a pinch more pumpkin pie spice if you want the spice to stand out more. That gives the bars a warmer, bakery-style finish without changing the texture. Don’t go overboard, or the pumpkin gets buried.
Cupcake Pan Option
If you don’t have a 15×10 pan, divide the batter between lined cupcake tins and bake until the centers spring back. The bake time drops a lot, and the bars become more muffin-like, but the flavor stays the same. It’s a good fix when you need easier portioning.
Storage and Reheating
- Refrigerator: Store covered for up to 5 days. The frosting stays firm and the bars get even easier to slice.
- Freezer: Freeze frosted or unfrosted bars in a single layer, then wrap tightly. They thaw well, though the frosting may lose a little of its fluffy texture.
- Reheating: These are best served chilled or at cool room temperature, not warmed. Heat softens the frosting and can make the bars feel greasy, so let leftovers sit out for 15 to 20 minutes before serving.
Questions I Get Asked About This Recipe
Gluten-Free Pumpkin Bars
Ingredients
Equipment
Method
- Preheat oven to 350°F, then grease a 15x10 rimmed baking sheet so the bars release cleanly after baking.
- Whisk together gluten-free flour blend, baking powder, baking soda, pumpkin pie spice, cinnamon, and salt until evenly combined.
- Beat eggs, granulated sugar, vegetable oil, pumpkin puree, and vanilla until smooth and fully incorporated.
- Fold the dry flour mixture into the wet mixture just until combined, then pour the batter into the greased pan.
- Bake for 25-28 minutes, until a toothpick comes out clean, then cool completely before frosting.
- Beat cream cheese frosting ingredients until fluffy, then spread frosting over the cooled bars.
- Chill the frosted bars for 30 minutes before cutting so the frosting sets and slices stay neat.