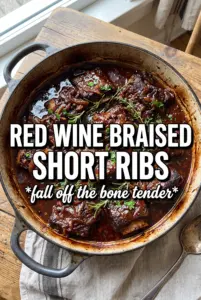
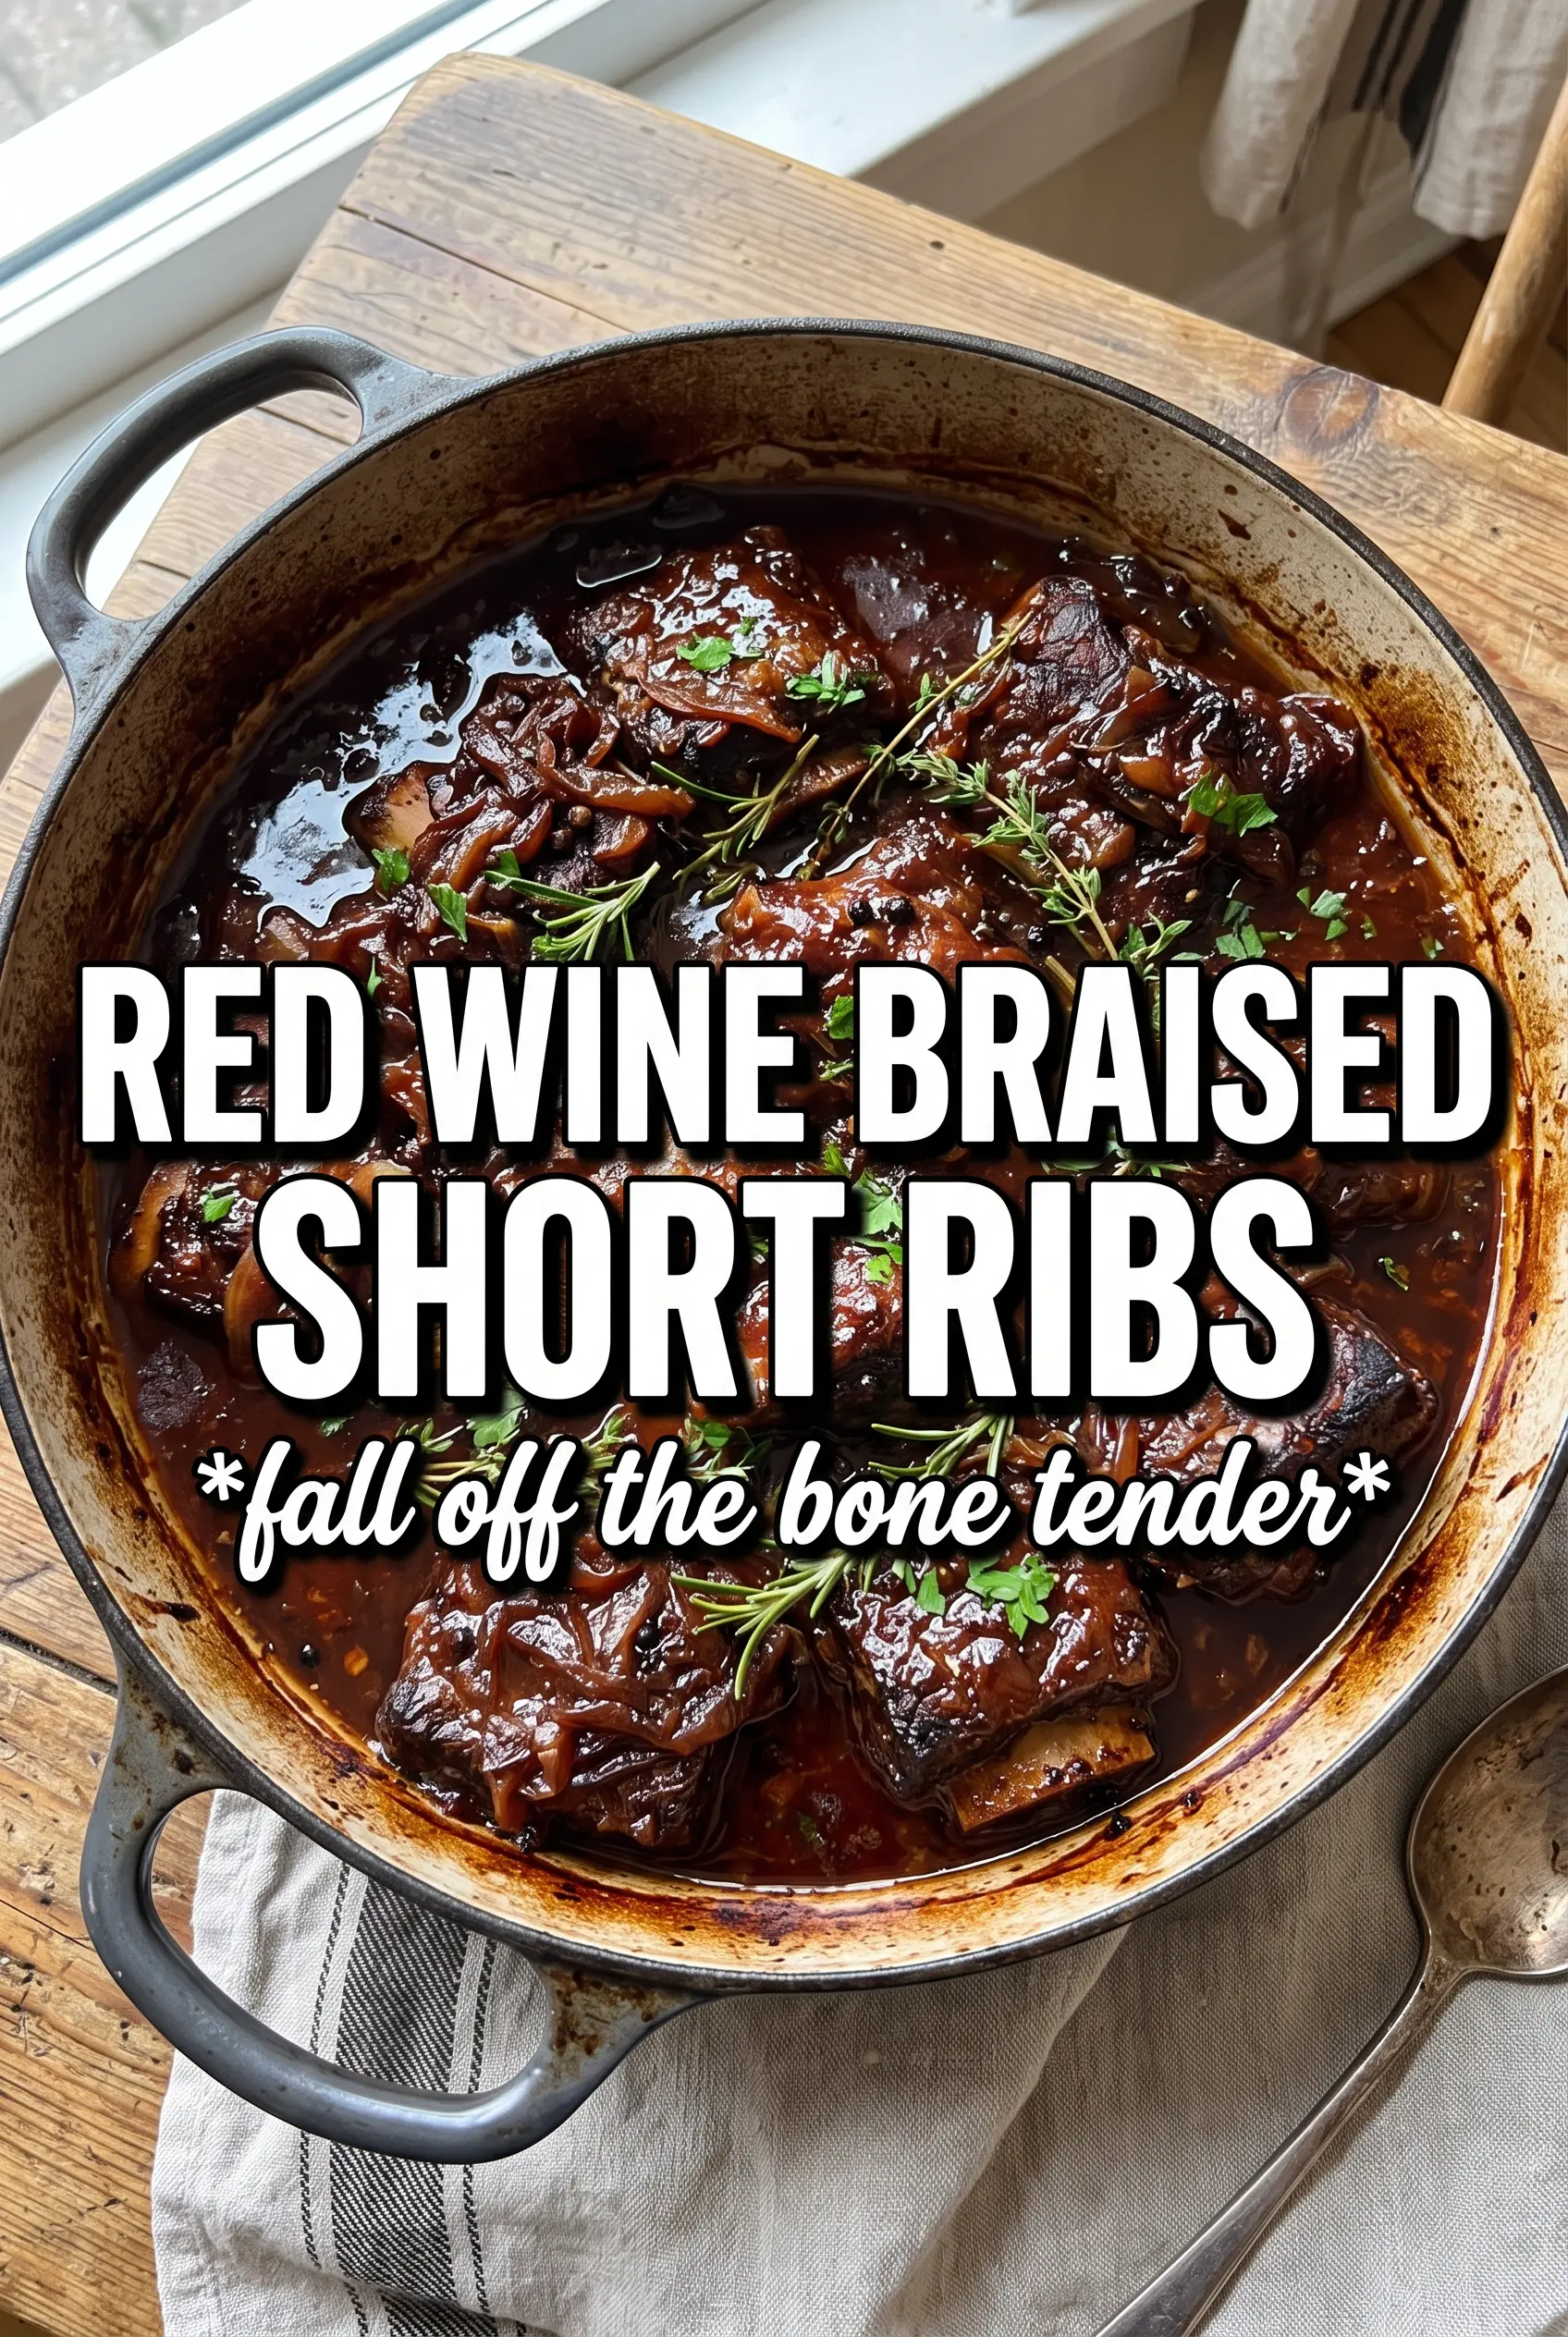
Deeply browned short ribs, a glossy red wine sauce, and vegetables that melt into the braising liquid are what make this dish worth the wait. The meat turns tender enough to pull apart with a spoon, but it still holds its shape on the plate, which is exactly what you want when the sauce is built around those ribs instead of just poured over them.
The difference here is in the layering. First comes a hard sear, which gives the finished sauce its backbone. Then the wine goes into the same pot and loosens every browned bit from the bottom, turning what would have been stuck-on flavor into the base of the braise. A long, gentle oven cook does the rest, and the sauce finishes by reducing until it clings to the meat and mashed potatoes instead of running off the plate.
Below, I’m walking through the part that matters most: how to get a deep sear, how to keep the braising liquid balanced, and what to do if you want to make this ahead. There’s also a storage note worth reading, because this is one of those dishes that tastes even better the next day.
The sauce reduced into this glossy, rich gravy and the ribs were fall-apart tender without turning stringy. I served them over mashed potatoes and my husband kept spooning extra sauce over everything.
Save these Dutch oven short ribs for the night you want a braise with a deep red wine sauce and fork-tender meat over mashed potatoes.
The Trick to Tender Short Ribs Is Not Rushing the Wine
Short ribs get tough before they get tender, and the turning point happens in the oven, not on the stove. If the heat is too high or the liquid is boiling hard, the meat can tighten and the sauce can turn muddy instead of clean and glossy. A steady 325F oven gives the connective tissue time to break down slowly while the meat stays juicy.
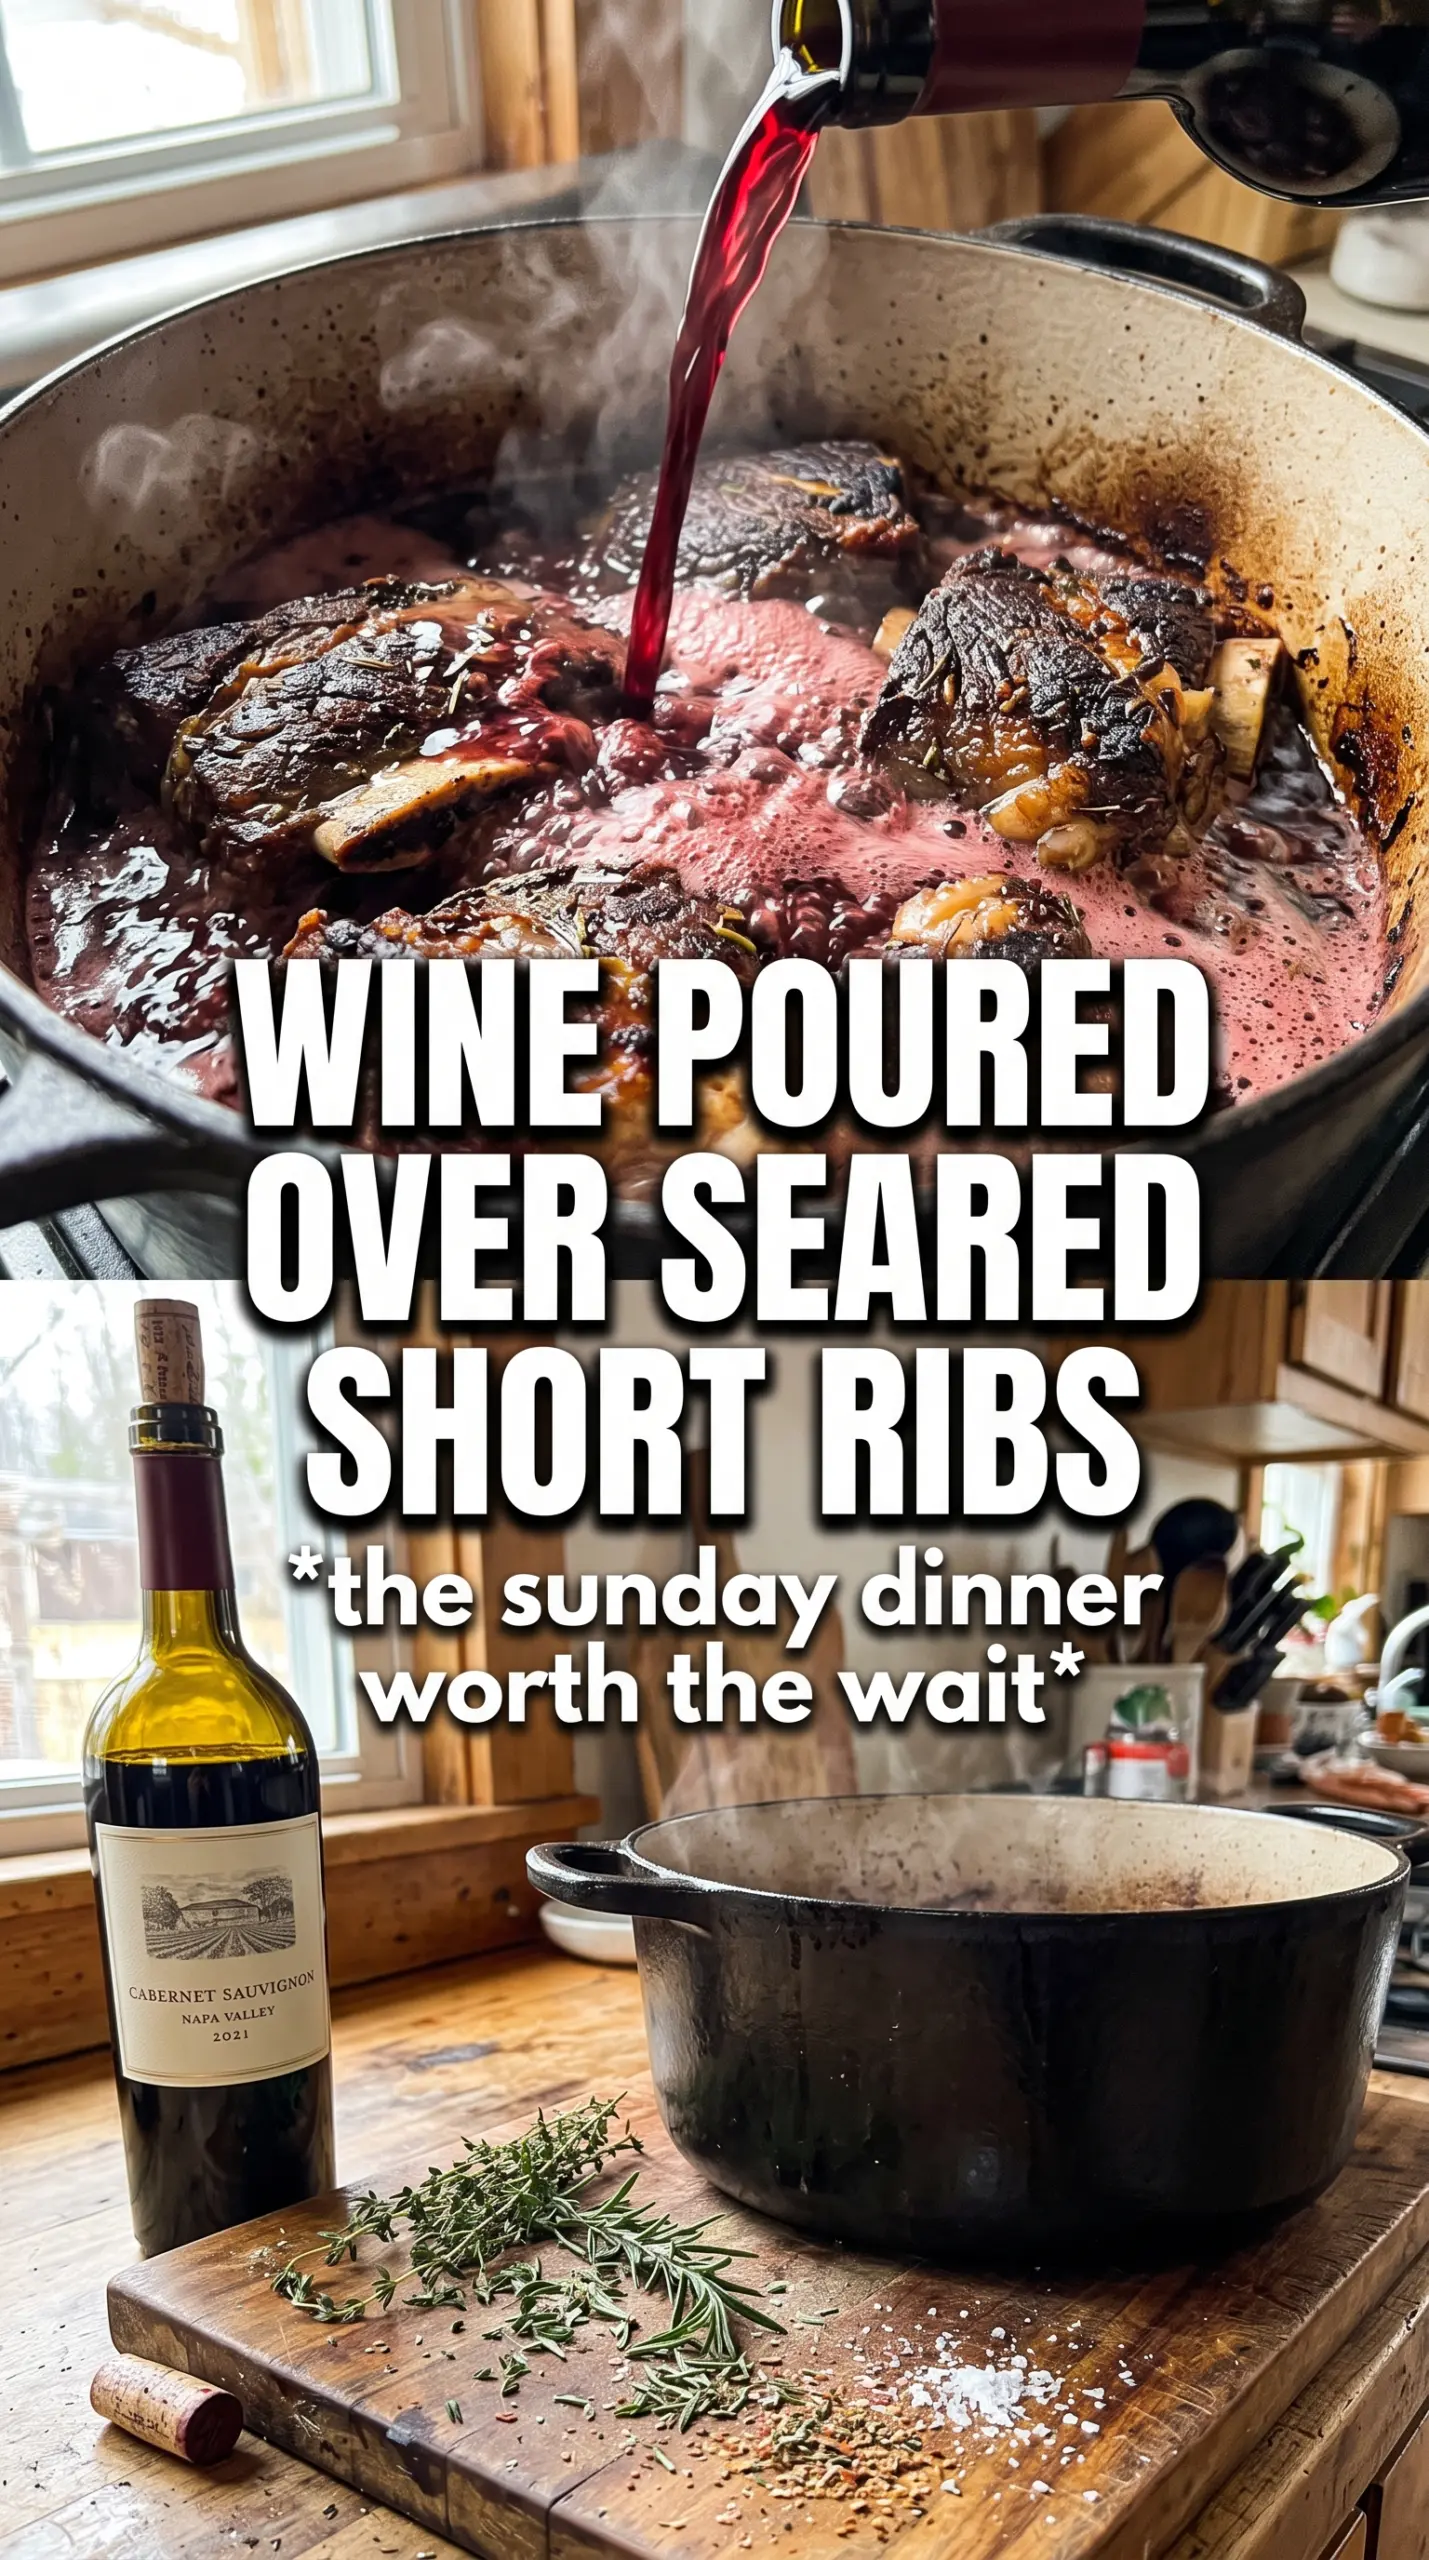
The other place people lose the dish is the deglazing. Those browned bits on the bottom of the Dutch oven are concentrated flavor, and the red wine needs a minute to loosen them completely. Scrape well, then let the liquid simmer briefly before the braise so the wine taste softens and blends into the tomatoes and broth instead of standing out on its own.
- Bone-in short ribs — The bones add flavor and help protect the meat during the long braise. Boneless ribs will work in a pinch, but they usually cook faster and don’t give you the same rich sauce.
- Dry red wine — Cabernet or Merlot both work well here because they bring body without sweetness. Use a wine you’d actually drink; a harsh wine stays harsh after hours in the oven.
- Tomato paste and diced tomatoes — Tomato paste deepens the color and adds savory concentration, while the diced tomatoes give the braising liquid enough acidity to keep the dish from tasting flat. Don’t skip the paste; it’s doing more than the tomatoes alone can.
- Fresh thyme and rosemary — Fresh herbs hold up beautifully over a long braise and perfume the sauce without turning bitter. Dried herbs can work, but cut the amount down and expect a softer, less vivid finish.
What Each Ingredient Is Actually Doing in This Recipe
- Primary ingredient (the star) — Quality matters most. Choose the best you can find.
- Cooking medium (oil, butter, or broth) — This carries flavors and prevents dryness.
- Seasonings (salt, pepper, spices, herbs) — Layer flavors so nothing overpowers. Build depth gradually.
- Aromatics (garlic, onion, herbs) — Cook with fat to bloom flavors. Become the foundation.
- Supporting ingredients — Complement the main ingredient without overpowering it.
- Sauce or liquid (if applicable) — Brings flavors together. Balance richness with acid.
- Acid (lemon, vinegar, wine, or other) — Brightens and prevents flat-tasting results.
- Final finish (garnish, glaze, or sauce) — Prevents one-dimensional taste and adds visual appeal.
Building the Braise So the Sauce Finishes Glossy, Not Watery
Getting the Sear Deep and Even
Season the ribs generously and sear them in hot oil until every side has a dark brown crust. You’re not looking for light color here; you want real browning, because pale ribs mean pale sauce. Work in batches if needed so the pot doesn’t crowd, or the meat will steam and lose that crust before it ever has a chance to form.
Cooking the Vegetables Until They Sweeten
Add the onion, carrots, and celery to the same pot and cook them until they soften and pick up some color from the pan. This step takes the edge off the vegetables and starts building the sauce body. When the garlic and tomato paste go in, cook them for a couple of minutes until the paste darkens a shade and smells concentrated, not raw.
Deglazing and Braising the Right Way
Pour in the wine and scrape the bottom until the pot looks clean. The liquid should come about halfway up the ribs, not cover them completely, because braising is a combination of steam and gentle simmering. Cover tightly and cook until the meat gives easily when prodded with a fork; if it still feels tight, it needs more time, not more heat.
Reducing the Sauce at the End
Lift the ribs out carefully, then strain the braising liquid if you want a smoother sauce. Reduce it on the stove until it lightly coats a spoon and looks glossy instead of thin. If it tastes sharp, keep reducing; if it tastes flat, a small pinch of salt usually wakes it up faster than more simmering.
How to Adapt This Braise for Different Tables
Make it dairy-free without changing the braise
This recipe is naturally dairy-free as written, which is one reason it works so well for a mixed crowd. Serve it with olive oil mashed potatoes or another dairy-free mash if needed. The braise itself stays just as rich because the texture comes from the reduction, not from cream or butter.
Use a different red wine when that’s what you have
Cabernet brings more structure, while Merlot leans softer and rounder. Both are solid choices, but avoid very sweet reds because they make the finished sauce taste heavy instead of balanced. If the wine is bold and tannic, the long braise will smooth it out.
Make it ahead for an easier dinner
This dish actually improves after a night in the fridge because the sauce settles and the meat absorbs more of it. Cook the ribs completely, cool them in the sauce, then refrigerate. Reheat gently on the stove or in a low oven so the ribs warm through without drying out.
What to do if you want a thicker sauce
Reduce the sauce uncovered a little longer after the ribs come out, or whisk in a spoonful of tomato paste while it simmers. Don’t add flour unless you need to; a properly reduced braising liquid should thicken on its own and taste cleaner than a roux-based sauce.
Storage and Reheating
- Refrigerator: Store covered for up to 4 days. The sauce will thicken as it chills, which is normal.
- Freezer: Freezes well for up to 3 months. Cool completely, then freeze the ribs with plenty of sauce so the meat stays protected from freezer burn.
- Reheating: Reheat slowly on the stovetop or in a 300F oven until hot. Don’t rush it over high heat, or the meat can dry out before the sauce loosens again.
Answers to the Questions Worth Asking
Red Wine Braised Short Ribs in a Dutch Oven
Ingredients
Equipment
Method
- Preheat the oven to 325°F, then season the bone-in short ribs generously with salt and pepper.
- Heat 2 tablespoons olive oil in a Dutch oven over high heat until shimmering.
- Sear the ribs in the hot oil until deeply browned on all sides, turning as needed for even color, then remove to a plate.
- Sauté the onion, carrots, and celery for 5 minutes, scraping any browned bits from the bottom as they form.
- Add the smashed garlic and tomato paste, then cook for 2 minutes until fragrant and darker in color.
- Deglaze with the dry red wine, scraping the bottom to dissolve the browned fond.
- Stir in the beef broth, diced tomatoes, bay leaves, thyme, and rosemary.
- Return the ribs to the Dutch oven so the liquid comes halfway up the sides, then cover.
- Braise in the oven for 3 to 3½ hours at 325°F until fall-off-the-bone tender.
- Remove the ribs, then strain the braising liquid and reduce until glossy.
- Serve the ribs over mashed potatoes and spoon the reduced braising sauce over top.