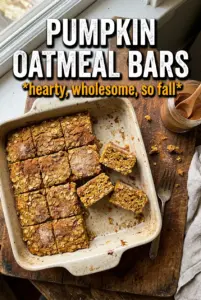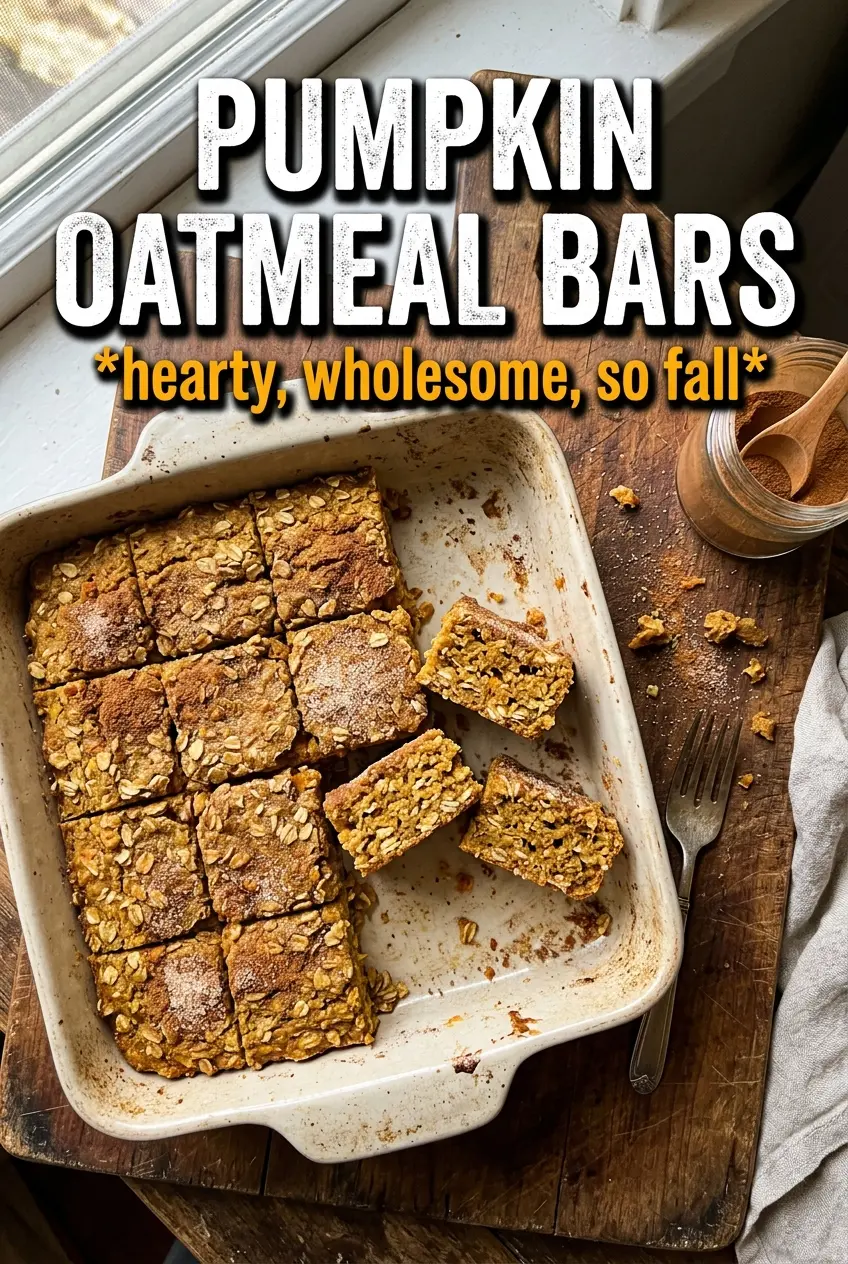
These pumpkin oatmeal bars bake up thick, chewy, and just sweet enough, with a soft center that stays tender instead of turning cakey. The oats give them a hearty bite, while pumpkin and warm spice keep every square tasting like breakfast, not dessert dressed up as breakfast.
The trick is balancing moisture and structure. Pumpkin puree brings softness, but it also adds water, so these bars need enough flour and oats to hold together without drying out. Mixing the wet and dry just until combined keeps the crumb dense and bar-like, and baking them until the center is only just set protects that chewy texture once they cool.
Below, you’ll find the small details that matter most: how to tell when the bars are done, which sweetener gives the cleanest flavor, and what to do if you want them with chocolate chips, raisins, or a simple maple drizzle on top.
The bars held together perfectly once cooled, and the maple drizzle set up just enough that they weren’t sticky in the lunchbox. I loved that they stayed chewy for days instead of getting dry.
Pumpkin Oatmeal Bars with maple drizzle are the kind of chewy breakfast bars that keep their texture all week.
The Center Should Be Set, Not Dry
Bars like these go wrong when they stay in the oven until the top looks fully baked. That’s how you end up with a crumbly, dry square instead of a chewy breakfast bar. Pull them when the edges look set and the middle has lost its wet shine but still feels a touch soft when the pan is nudged.
The oats keep absorbing moisture as the bars cool, which is why the resting time matters just as much as the bake. If you cut them while warm, they’ll seem underdone and may fall apart. Letting them cool completely gives the structure time to tighten up without losing that soft, pumpkin-heavy center.
What Each Ingredient Is Doing in These Bars
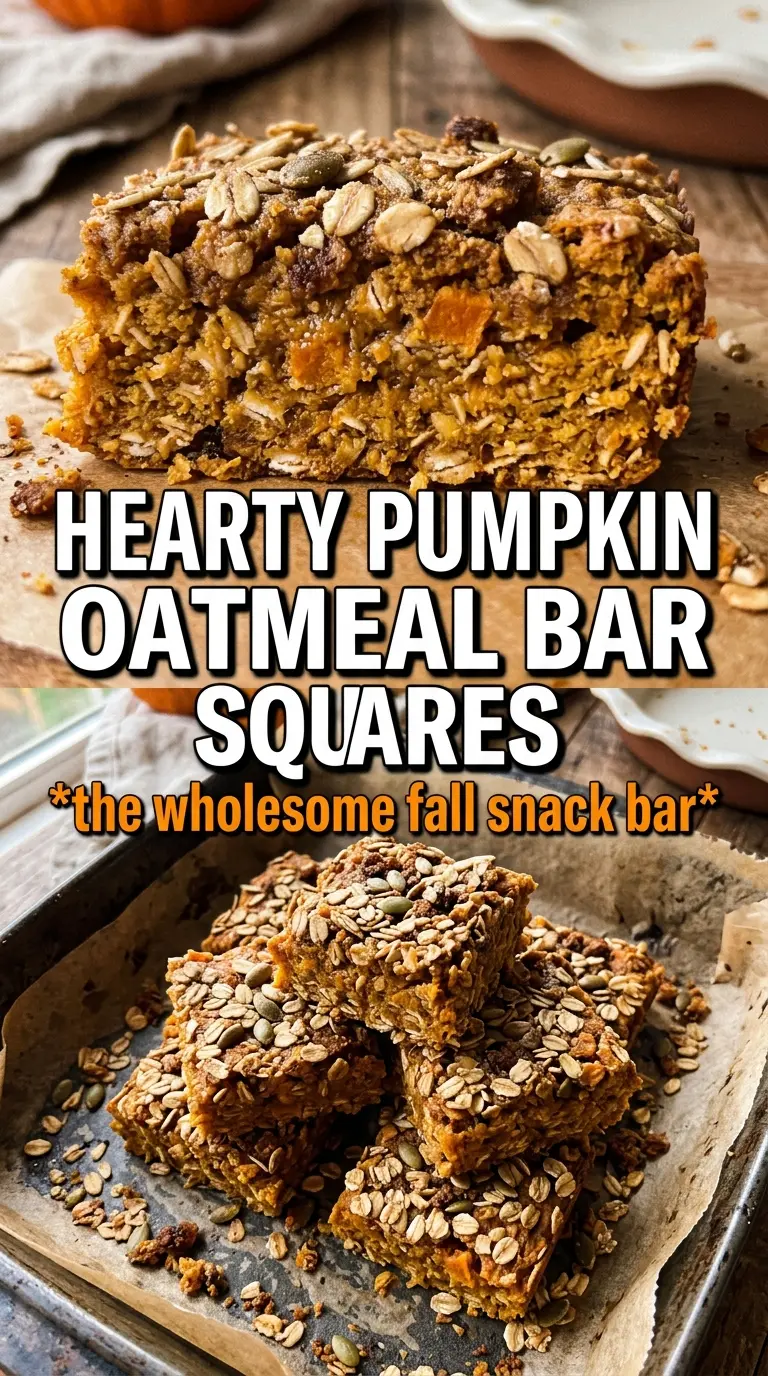
- Rolled oats — These give the bars their chew and rustic texture. Quick oats will work in a pinch, but the bars turn softer and less substantial, so rolled oats are the better choice if you want a true bar that slices cleanly.
- Pumpkin puree — This adds moisture, color, and that unmistakable pumpkin flavor. Use plain pumpkin puree, not pumpkin pie filling, or the bars will be overly sweet and spiced before you can control it.
- Maple syrup or honey — Either sweetener works, but maple syrup gives the cleanest flavor with pumpkin and spice. Honey makes the bars a little firmer and adds a stronger floral note, which is fine if that’s what you like.
- Coconut oil or butter — Melted fat helps the bars bake up tender and keeps the crumb from feeling dense. Butter gives a richer flavor; coconut oil is a good dairy-free option and still sets nicely once cooled.
- Eggs — They hold everything together and help the bars firm up as they bake. There isn’t a direct swap here that gives the same structure, which is why egg-free versions usually need a different recipe formula.
- Pumpkin pie spice and cinnamon — The spice blend brings warmth, while the extra cinnamon makes the flavor read more clearly in a full pan of oats. If your spice blend is old, replace it; flat spices make these taste dull fast.
- Chocolate chips or raisins — Optional, but they add pockets of sweetness that work well against the earthy oats. Fold them in at the very end so they stay distributed instead of sinking into the wet batter.
Mix, Bake, and Let the Pan Do the Rest
Build the dry base first
Stir the oats, flour, baking soda, baking powder, spices, and salt together before adding any wet ingredients. That keeps the leavening evenly spread through the pan, so you don’t end up with bitter pockets or uneven lift. If the cinnamon clumps, break it up with your fingers or a whisk before moving on.
Whisk the wet ingredients until smooth
Combine the pumpkin puree, maple syrup, melted coconut oil, eggs, and vanilla until the mixture looks glossy and uniform. If the coconut oil is hot, it can start to cook the eggs at the edges, so let it cool for a minute after melting. You want the mixture fluid and thick, not separated or greasy on top.
Fold just until the flour disappears
Add the wet mixture to the dry ingredients and stir only until you stop seeing dry flour. Overmixing wakes up the flour and makes the bars firmer and drier than they should be. If you’re using chocolate chips or raisins, fold them in at the end with just a few turns of the spoon.
Watch for the set edges
Spread the batter evenly in a greased 9×13 pan and bake until the edges look set and the center is just firm to the touch. The top should lose its wet sheen, but it doesn’t need to brown deeply. A pan that looks fully dry in the oven is usually already a little overbaked.
Cool before the drizzle
Let the bars cool completely before adding the maple glaze, or it will melt straight into the surface instead of sitting in a clean stripe on top. A quick whisk of powdered sugar, maple syrup, and milk gives you a drizzle that sets lightly without becoming hard. Cut the bars only after the glaze has had a few minutes to settle.
How to Adapt These Bars Without Losing the Chewy Texture
Make them dairy-free
Use coconut oil instead of butter and swap the milk in the drizzle for any unsweetened non-dairy milk. The bars still bake up chewy, and the glaze stays smooth; the only change is a slightly lighter flavor from the fat choice.
Skip the glaze for a lower-sugar breakfast
Leave off the maple drizzle and the bars still taste complete, especially if you add chocolate chips or raisins. This trims the sweetness without changing the bake, which makes them easier to pack for breakfast or snacks.
Swap the add-ins
Use raisins, chopped walnuts, or pepitas instead of chocolate chips if you want a more breakfast-forward bar. Nuts add crunch and a little more staying power, while raisins bring extra chew and a sweeter finish.
Make a gluten-free version
Use a cup-for-cup gluten-free flour blend in place of the all-purpose flour and keep the rolled oats certified gluten-free. The texture stays close to the original, though the bars may be a touch more delicate when warm, so cooling matters even more.