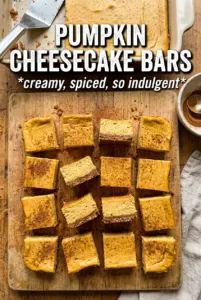
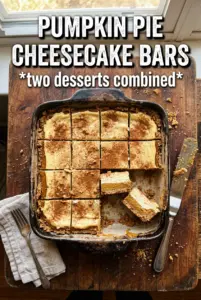
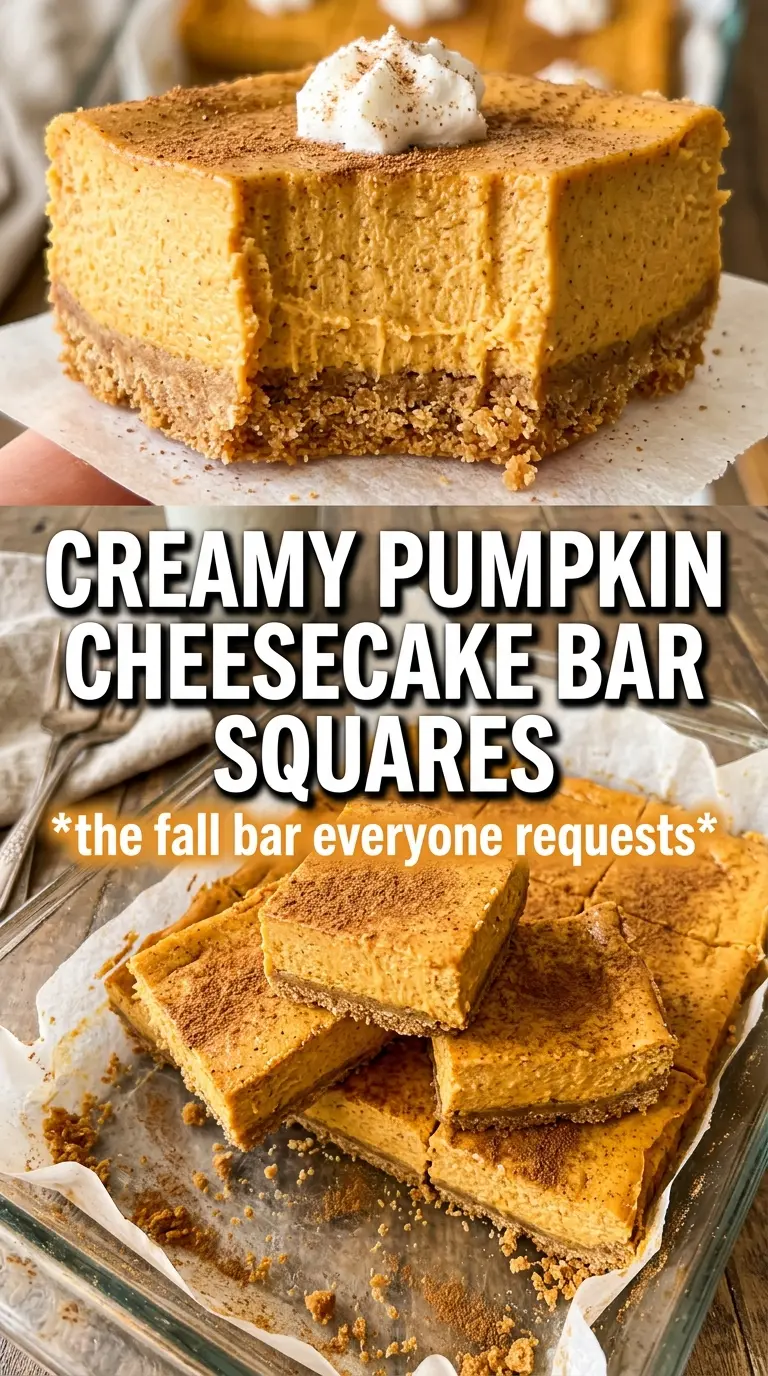
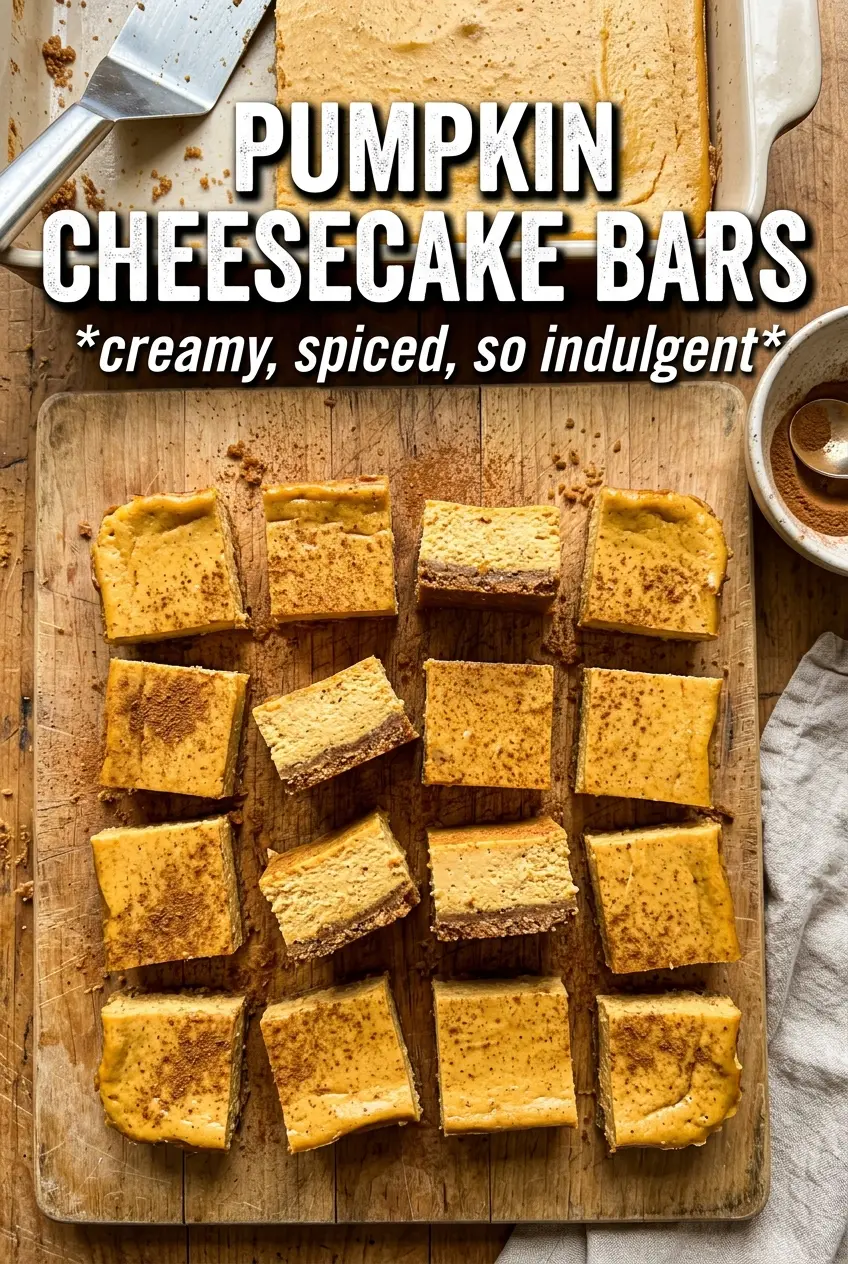
These pumpkin cheesecake bars set up with clean layers, a buttery gingersnap crust, and a silky swirl that slices into neat squares after chilling. The crust stays firm enough to hold in your hand, while the filling bakes into that soft, creamy middle people expect from cheesecake without turning heavy or dense. The pumpkin layer adds warmth and color without overpowering the tang of the cream cheese, which is what keeps each bite balanced instead of one-note.
The trick here is keeping the cheesecake base smooth before you split it. If the cream cheese is even a little cold, you’ll chase lumps the whole time and the swirl won’t look as clean once it bakes. I also like removing a portion of the plain batter before adding the pumpkin mixture, because that keeps the pumpkin layer lighter and easier to marble through the top instead of sinking in thick ribbons.
Below, I’ll walk through the crust, the swirl, and the chill time that gives you bars you can actually cut cleanly. There’s also a storage note worth reading if you want to make them a day ahead.
The gingersnap crust stayed crisp under the filling, and the pumpkin swirl baked up creamy instead of dense. I chilled them overnight and the bars cut perfectly clean the next day.
Save these pumpkin cheesecake bars for the dessert tray that needs a crisp gingersnap crust and a clean pumpkin-vanilla swirl.
The Part That Keeps Cheesecake Bars Sliceable Instead of Sticky
Cheesecake bars fail in two places: the crust turns sandy and the filling turns loose. The crust needs enough butter to pack tight, but not so much that it bakes greasy. The filling needs to be mixed until smooth, then baked just until the center stops looking wet. If you chase a fully firm center in the oven, the bars will overbake and crack as they cool.
The other thing that matters is the chill. These bars need the full rest in the refrigerator so the cream cheese can set up properly and the pumpkin swirl can firm without turning gummy. Cut them early and you’ll get soft edges and a messy blade; wait until they’re cold and the squares come out clean.
- Gingersnap crumbs — These bring spice and structure at the same time. Graham crackers work in a pinch, but they give a milder crust that doesn’t stand up to the pumpkin layer as well.
- Cream cheese — Full-fat cream cheese gives the best texture here. Neufchâtel will bake up softer and a little looser, which makes clean slicing harder.
- Sour cream — This keeps the cheesecake layer plush and gives it a slight tang. Plain Greek yogurt works, but the texture is a touch less silky.
- Pumpkin puree — Use plain pumpkin puree, not pumpkin pie filling. Pie filling is already sweetened and spiced, which throws off the balance and makes the swirl heavier.
What Each Ingredient Is Actually Doing in This Recipe
- Primary ingredient (the star) — Quality matters most. Choose the best you can find.
- Cooking medium (oil, butter, or broth) — This carries flavors and prevents dryness.
- Seasonings (salt, pepper, spices, herbs) — Layer flavors so nothing overpowers. Build depth gradually.
- Aromatics (garlic, onion, herbs) — Cook with fat to bloom flavors. Become the foundation.
- Supporting ingredients — Complement the main ingredient without overpowering it.
- Sauce or liquid (if applicable) — Brings flavors together. Balance richness with acid.
- Acid (lemon, vinegar, wine, or other) — Brightens and prevents flat-tasting results.
- Final finish (garnish, glaze, or sauce) — Prevents one-dimensional taste and adds visual appeal.
How to Build the Swirl Without Losing the Layers
Pressing and Prebaking the Crust
Mix the gingersnap crumbs, sugar, and melted butter until the texture feels like damp sand, then press it firmly into the pan in an even layer. Bake it long enough to set the crust and deepen the spice, but not so long that the edges darken hard. If the crust is loose now, it will crumble when you lift the bars later.
Whipping the Cheesecake Base Smooth
Beat the cream cheese and sugar until the mixture looks completely smooth and fluffy, with no little white flecks left around the bowl. Add the eggs one at a time, then the sour cream and vanilla, and stop mixing as soon as everything comes together. Overmixing after the eggs go in adds too much air, which can make the bars puff and then sink.
Making the Pumpkin Batter
Scoop out part of the plain cheesecake mixture and whisk it with the pumpkin puree, brown sugar, pumpkin pie spice, and cinnamon until the color is even. That extra cheesecake batter keeps the pumpkin layer creamy instead of thick and pasty. If the pumpkin mixture looks streaky, keep whisking until it turns a uniform warm orange.
Swirling and Baking to Just Set
Pour the plain mixture over the crust first, then dollop the pumpkin mixture over the top and drag a knife through it in wide, gentle figure-eights. You want visible marbling, not a blended batter. Bake until the edges are set and the center still has a slight wobble when you nudge the pan; that center finishes setting as it cools.
Make It Gluten-Free With a Different Crust
Use gluten-free gingersnap crumbs if you can find them, or crush a gluten-free spice cookie instead. The filling is already gluten-free, so the only thing you’re really changing is the base. The texture stays very close to the original as long as the crumbs are fine and the crust is packed tightly.
Dairy-Free Needs a Different Dessert
This one depends heavily on cream cheese and sour cream for its texture, so a full dairy-free swap changes the result more than most substitutions. A plant-based cream cheese can work in a pinch, but the bars will usually be softer and need an extra-long chill. Expect a slightly less tangy finish and a less tidy slice.
Turn Them Into Neat Mini Bars
Bake the same mixture in a smaller pan or cut the recipe into mini portions for a dessert platter. The batter may bake a little faster in a shallower layer, so start checking early and look for the same slight wobble in the center. Mini bars chill fast and are easier to serve at parties.
Storage and Reheating
- Refrigerator: Store covered for up to 5 days. The crust will soften a little by day two, but the flavor stays right on point.
- Freezer: These freeze well. Wrap the bars tightly and freeze them in a single layer, then thaw in the refrigerator overnight before serving.
- Reheating: No reheating needed. Serve them cold from the fridge for the cleanest texture, because warming cheesecake bars makes the filling loose and the crust crumbly.
Questions I Get Asked About This Recipe
Pumpkin Cheesecake Bars
Ingredients
Equipment
Method
- Preheat the oven to 325F and line a 9x13 pan with parchment for easy lifting.
- Press gingersnap crumbs, sugar, and melted butter into the pan in an even layer.
- Bake the crust for 8 minutes to set it slightly, then keep the oven on.
- Beat softened cream cheese and granulated sugar until smooth, with no lumps.
- Beat in the eggs, then mix in sour cream and vanilla until fully combined.
- Remove 1-1/2 cups of the cream cheese mixture and whisk it with pumpkin puree, brown sugar, pumpkin pie spice, and cinnamon until the pumpkin layer is uniform.
- Pour the plain cheesecake mixture over the baked crust and spread to an even thickness.
- Dollop the pumpkin mixture over the top in spoonfuls.
- Swirl the dollops through the batter with a knife to create a marbled pattern.
- Bake for 35-38 minutes until the center is just set (slight jiggle is fine), then cool completely.
- Refrigerate for 3 hours to fully firm up before cutting.
- Cut into bars and serve chilled.