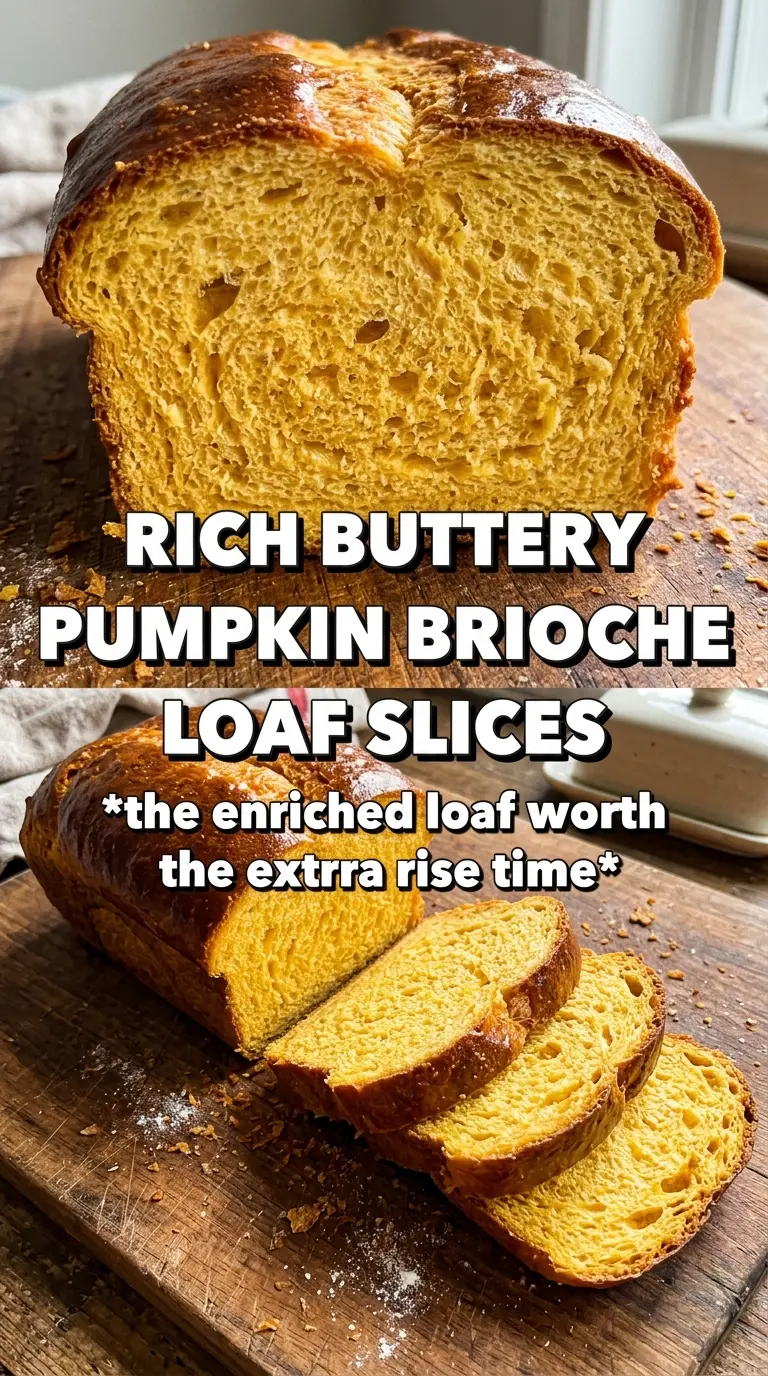
Pumpkin brioche bread bakes up with a shiny golden crust, a feather-soft crumb, and that rich, buttery pull that makes a plain slice feel like something special. The pumpkin doesn’t make it dense; it gives the loaf warmth, color, and just enough moisture to keep every bite tender for days. When it’s done right, the bread slices cleanly and tears into delicate layers instead of crumbling apart.
The trick is treating the dough like brioche, not quick bread. The butter goes in gradually after the dough has already come together, which gives the gluten time to build before the fat softens everything. That slow addition is what creates the plush texture. Room-temperature pumpkin, eggs, and milk also matter here, because cold ingredients can tighten the dough and slow the rise. This is the kind of loaf that rewards patience, and the payoff is a bread that tastes as good toasted the next morning as it does still warm from the pan.
The dough was soft but handled beautifully after the chill, and the loaf came out with the most tender crumb. I sliced it for breakfast and it toasted up with the edges just crisp enough while staying pillowy inside.
Save this pumpkin brioche bread for the mornings when you want a soft, buttery loaf with a warm pumpkin spice crumb.
The Dough Needs Time Before the Butter Goes In
Pumpkin brioche can look like it’s coming together too slowly, and that’s exactly where people rush it and lose the texture. The dough needs to develop some structure before the butter is introduced, or it turns greasy and slack instead of silky. Once the butter starts going in, the mixer should keep running until each piece disappears into the dough before the next one goes in.
If the dough looks broken or smeary at first, that’s normal. Keep mixing. The dough changes from rough and sticky to glossy and elastic once the gluten catches up with the fat. The payoff is a loaf with the kind of soft, shreddable crumb that brioche is supposed to have.
What Each Ingredient Is Actually Doing in This Loaf
- Bread flour — The higher protein content gives this enriched dough enough strength to hold all that butter and still rise tall in the pan. All-purpose flour will work in a pinch, but the crumb will be a little less structured and a bit softer in a looser way.
- Pumpkin puree — This adds moisture, color, and a gentle earthy sweetness without making the bread taste like pie filling. Use plain pumpkin puree, not pumpkin pie filling, or the loaf will bake with too much sugar and spice.
- Instant yeast — Instant yeast keeps the rise steady even with the enriched dough. If you only have active dry yeast, bloom it in the warm milk first; just know the rise may take a little longer.
- Eggs and butter — These are the heart of the brioche texture. The eggs add richness and lift, while the butter is what creates the tender, layered crumb once it’s worked in slowly.
- Pumpkin pie spice and cinnamon — These don’t overpower the loaf; they frame the pumpkin and butter so the bread smells as good as it tastes. If your spice blend is old, the loaf will taste flat, so use fresh spice if you can.
Shaping, Proofing, and Baking Without Collapsing the Loaf
Mixing Until the Dough Turns Smooth
Start by mixing the dry ingredients, then add the pumpkin, eggs, and warm milk until a shaggy dough forms and begins to pull into one mass. It should look messy before it looks smooth. After a few minutes, the dough becomes glossy and elastic. If it still looks dry, resist the urge to add more liquid right away; enriched dough often needs a full minute or two to hydrate before it comes together.
Working the Butter in Slowly
Add the softened butter one tablespoon at a time, letting each piece disappear completely before adding the next. This is the part that builds the brioche texture, and rushing it is the fastest way to end up with a greasy, torn dough. By the end, the dough should be very soft, stretchy, and almost custardy in feel, but it should still cling together cleanly.
First Rise and Overnight Chill
Let the dough rise until doubled and puffy, then chill it if you want the easiest shaping and the best flavor. The fridge firms the butter, which makes the dough much easier to handle and shape into a neat loaf. If you shape it while it’s too warm, it spreads instead of rising up in the pan. A slow overnight rest also deepens the flavor and gives the crumb a finer texture.
Baking to a Deep Golden Finish
Brush the loaf with egg wash right before it goes into the oven so the crust bakes up shiny and evenly colored. Bake until the top is deeply golden and the loaf sounds hollow when tapped; pale bread usually means underbaked center, not “soft and tender.” Let it cool completely before slicing. If you cut too early, the steam escapes and the crumb can smear instead of showing those clean, pillowy layers.
How to Adapt This Loaf for Different Needs
Make it dairy-free
Use a rich plant-based butter and unsweetened non-dairy milk in the same amounts. The loaf will still rise and slice well, but it won’t have quite the same buttery aroma or melt-in-your-mouth finish as the original.
Use active dry yeast instead of instant
Bloom the yeast in the warm milk for 5 to 10 minutes until foamy, then continue with the recipe. The dough may take a little longer to rise, but the texture stays the same if you give it the time it needs.
Make two smaller loaves instead of one large one
Divide the dough evenly between two smaller pans and shorten the bake time a little. This gives you more crust per slice and helps the bread bake through more evenly if your loaf pan tends to run hot.
Storage and Reheating
- Refrigerator: Store sliced or whole in an airtight container for up to 4 days. The crumb will firm up a little in the fridge, which is normal for brioche.
- Freezer: This bread freezes well. Wrap the cooled loaf tightly, then freeze for up to 2 months. Slice before freezing if you want grab-and-toast convenience later.
- Reheating: Toast slices straight from the fridge or let the loaf come to room temperature and warm it in a low oven. Don’t microwave it for long or the butter-rich crumb can turn rubbery instead of soft.
Questions I Get Asked About This Recipe
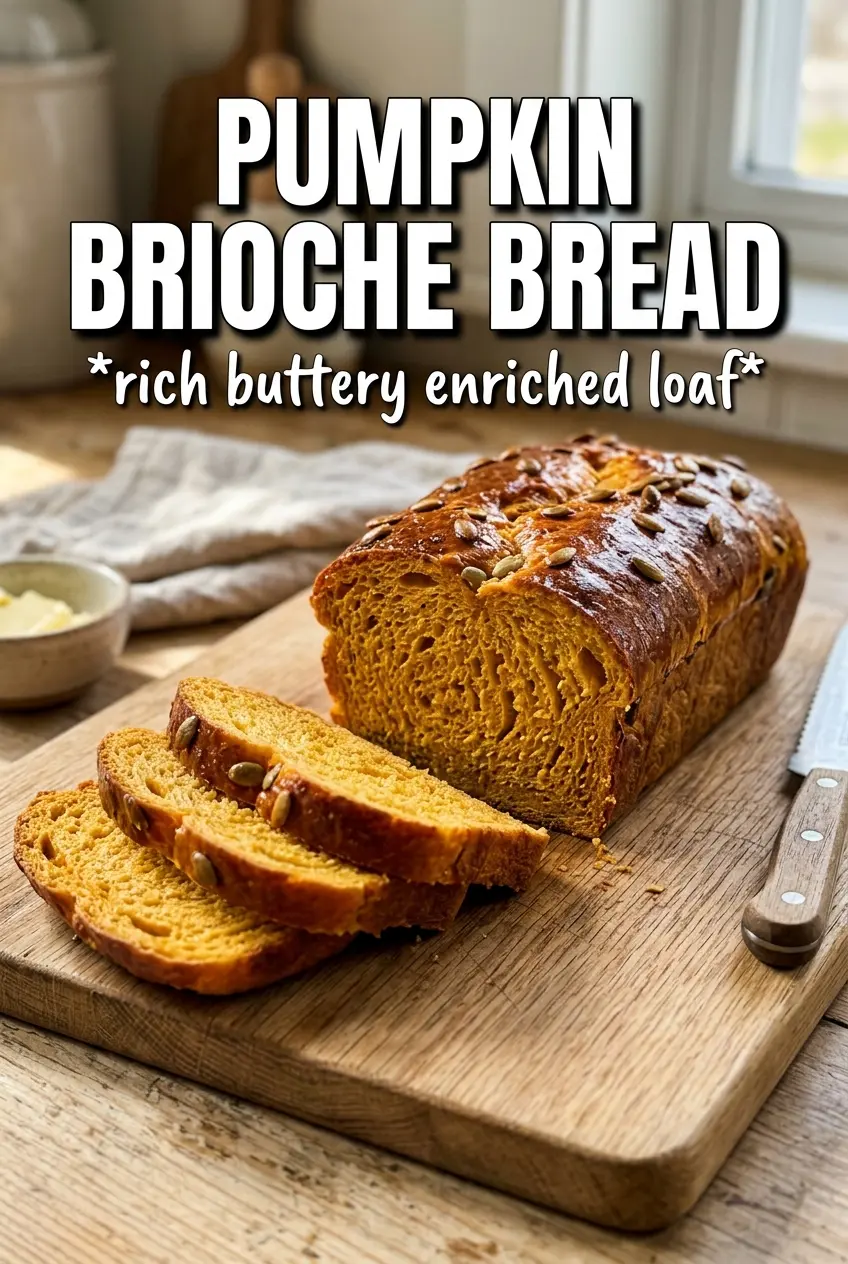
Pumpkin Brioche Bread
Ingredients
Equipment
Method
- Whisk bread flour, granulated sugar, instant yeast, pumpkin pie spice, cinnamon, and salt in a stand mixer with dough hook until evenly combined. Scrape the bowl to remove any dry pockets.
- Add pumpkin puree, eggs, and warm milk, then mix on medium until a smooth dough forms, about 5 minutes. Stop once the dough looks silky and cohesive.
- Add softened unsalted butter 1 tablespoon at a time, waiting until each piece is incorporated before adding the next; this takes 10-15 minutes. The dough should stay very soft and start looking glossy as it comes together.
- Cover the dough and let it rise at room temperature for 1.5 hours, until doubled in size. Look for a puffy dough that springs back slowly when lightly pressed.
- Either refrigerate the dough overnight or shape immediately into a loaf by placing it in a greased 9x5 pan. If shaping right away, proceed to the next rise without delay.
- Let the shaped loaf rise for 1.5 hours until it fills the pan and looks visibly expanded. The dough should appear aerated and reach near the top edge of the pan.
- Brush the top with egg wash (egg mixed with 1 tablespoon milk). Use a light, even coat so the crust bakes to a deep golden sheen.
- Bake at 375°F for 30-35 minutes until deeply golden. The loaf should sound hollow when tapped and look set through the center.
- Cool the loaf completely before slicing for clean pieces. Wait until the interior is no longer warm to the touch.