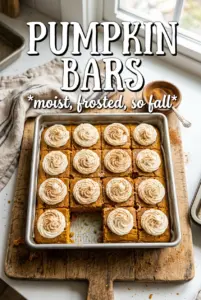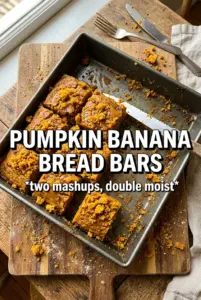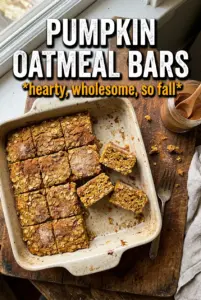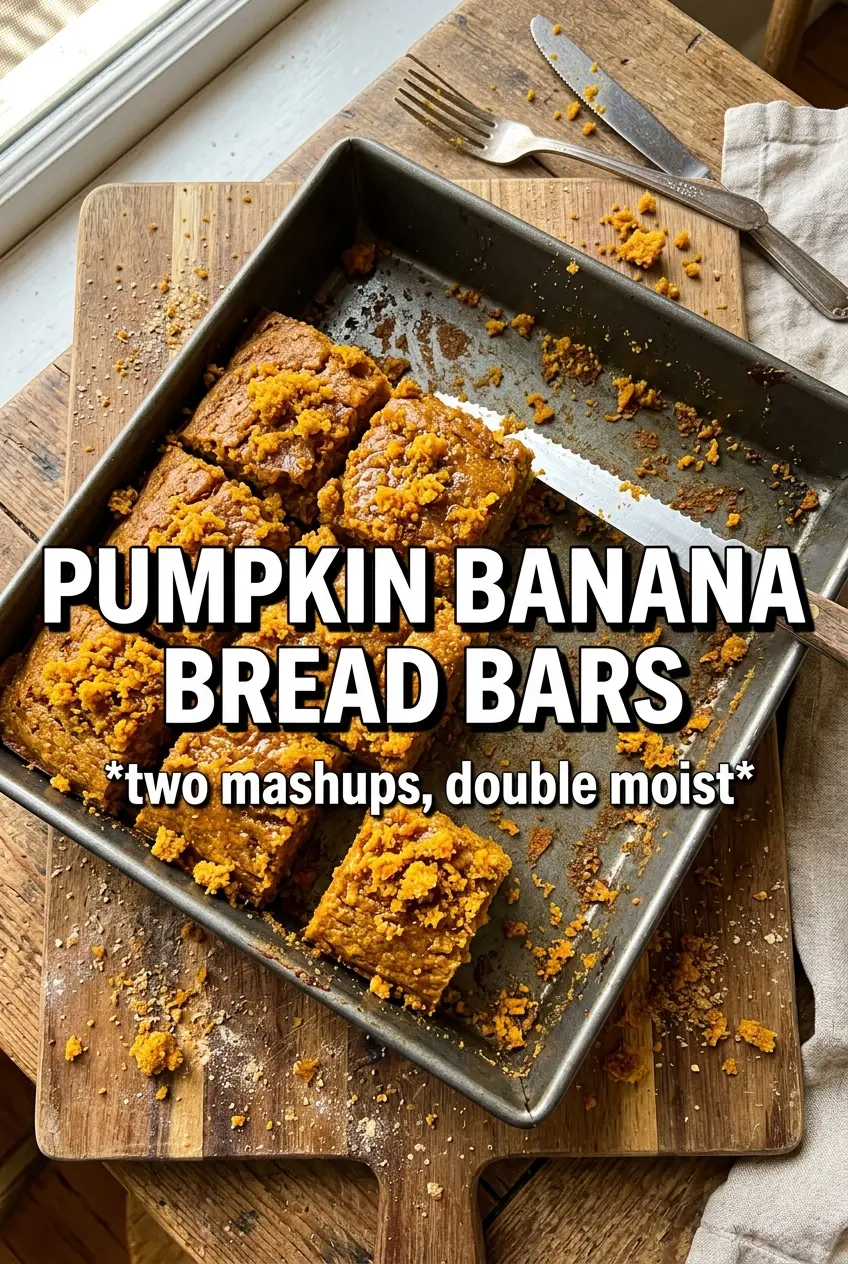
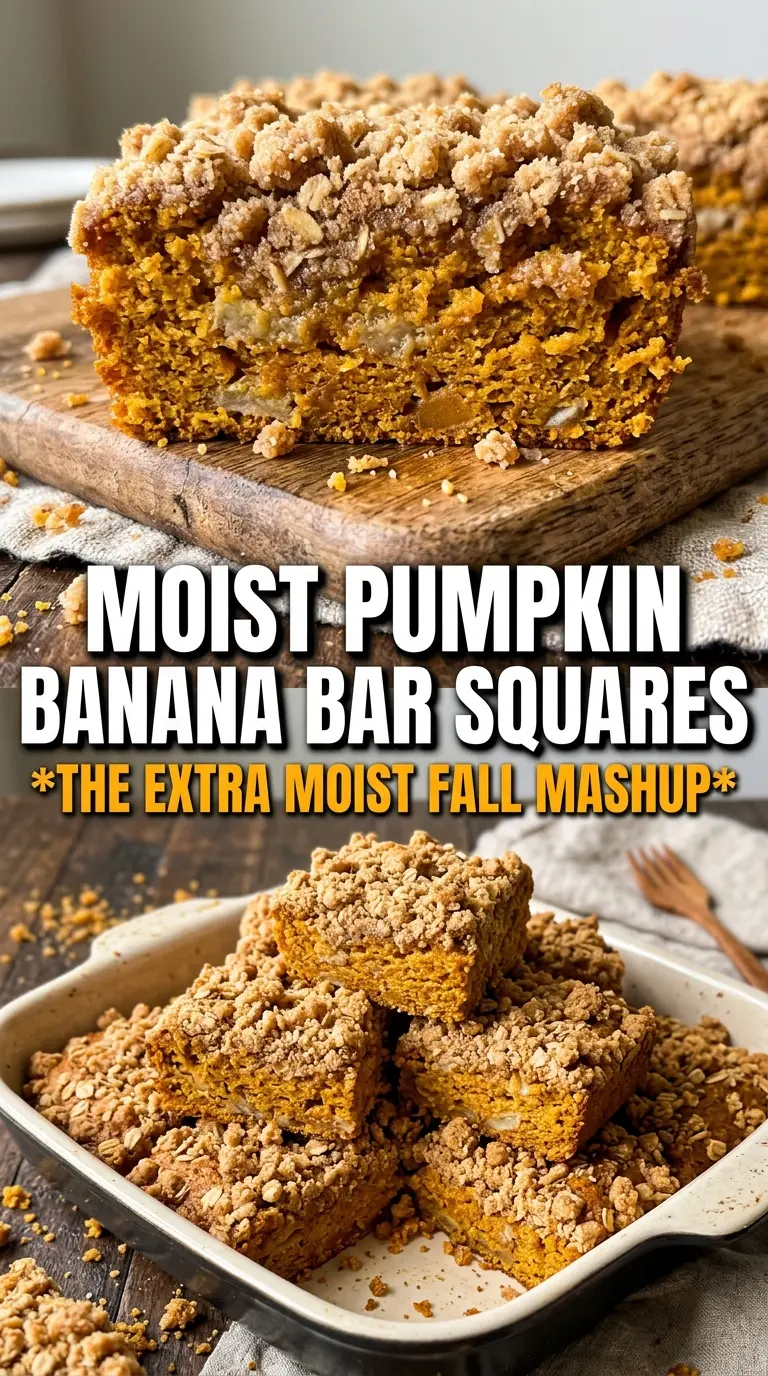
Pumpkin banana bread bars bake up soft, moist, and sliceable, with the warm spice of pumpkin bread and the mellow sweetness of ripe banana in every bite. The texture lands somewhere between quick bread and a snack cake, but the bars cut cleanly once cooled, which makes them easy to serve for breakfast, brunch, or an after-school treat. A maple glaze on top finishes them with just enough sweetness without burying the flavor underneath.
What makes these bars work is the balance of wet ingredients. Banana brings body and natural sweetness, while pumpkin puree keeps the crumb tender and gives the bars that deep orange color and earthy flavor. The batter stays simple, but the order matters: whisk the wet ingredients until smooth, then fold in the dry ingredients just until the flour disappears. That keeps the bars soft instead of dense. Let them cool all the way before glazing, or the maple topping will melt right into the surface instead of sitting in those pretty ribbons.
Below, I’ll walk through the one texture cue that matters most when mixing, plus a few smart swaps if you need to adjust for what’s in your pantry.
The bars came out incredibly moist and the maple glaze set up perfectly once they cooled. I used very ripe bananas and the pumpkin flavor came through without making them heavy.
Save these pumpkin banana bread bars for the days when you want a soft breakfast bar with maple glaze and no mixer required.
The Trick to Keeping Pumpkin and Banana from Turning Dense
The biggest mistake with bars like these is overmixing once the flour goes in. Banana and pumpkin already bring a heavy, moist base, so if you beat the batter after adding the dry ingredients, the bars can bake up tight instead of tender. Stir just until you no longer see dry flour streaks, then stop. The batter should look thick and spreadable, not whipped.
Another thing that matters here is pan size. A 9×13 pan gives you bars that bake through in about 25 to 30 minutes without drying out the edges. If you use a smaller pan, the center can stay gummy even when the top looks done. Watch for the top to look set and a toothpick to come out clean or with just a few moist crumbs, not wet batter.
- Very ripe bananas — Speckled, soft bananas bring the sweetness and moisture that make these bars taste like banana bread, not pumpkin cake with banana added as an afterthought.
- Pumpkin puree — Use plain pumpkin puree, not pumpkin pie filling. The filling is already sweetened and spiced, which throws off the balance and can make the bars taste flat.
- Vegetable oil — Oil keeps the crumb soft for days. Melted butter will work in a pinch, but the bars will set firmer and lose a little of that tender, almost plush texture.
- Maple syrup — The glaze needs real maple flavor to stand up to the banana and pumpkin. Pancake syrup won’t give the same finish, and the glaze will taste one-note.
How to Mix the Batter So the Bars Stay Soft
Whisk the Wet Ingredients Until the Bananas Disappear
Start by mashing the bananas very smooth, then whisk them with the pumpkin, sugars, oil, eggs, and vanilla until the mixture looks even and glossy. Any big banana lumps can leave streaks in the baked bars, and they also make it harder to tell when the batter is fully mixed. The goal is a thick, cohesive base with no pockets of unmixed pumpkin or egg.
Fold in the Dry Ingredients Without Beating the Batter
Add the flour, baking soda, baking powder, spices, and salt all at once, then fold gently with a spatula. Stop as soon as the flour disappears. If you keep stirring to chase every last lump, the gluten tightens and the bars bake up more like a quick bread loaf than soft breakfast bars.
Know When the Center Is Set
Spread the batter evenly into the pan so it bakes at the same rate from edge to middle. Bake until the top springs back lightly and a toothpick comes out clean from the center. If the toothpick has wet batter on it, give the pan another few minutes; if it comes out completely dry, the bars may already be a little overbaked.
What Each Ingredient Is Doing in These Bars
- All-purpose flour — This gives the bars enough structure to slice cleanly. A 1:1 gluten-free flour blend can work, but the texture will be a little more fragile and the bars may need the full bake time.
- Pumpkin pie spice and cinnamon — The spice blend gives you the familiar pumpkin bread taste, while the extra cinnamon keeps the flavor warm and clear. If you only have pumpkin pie spice, you can use it alone, but the bars will taste a touch less layered.
- Brown sugar — Packed brown sugar adds a deeper, molasses note that fits the pumpkin and banana. If you swap it for all white sugar, the bars will still work, but the flavor will be lighter and less rounded.
- Eggs — The eggs bind the batter and help the bars rise just enough to stay soft instead of heavy. For an egg-free version, a commercial egg replacer is the best route; flax eggs can make the center a little too dense for this style of bar.
Brown Butter Pumpkin Banana Bars
Swap the vegetable oil for melted browned butter once it has cooled slightly. The flavor gets deeper and a little nuttier, but the bars will set up a bit firmer than the original. It’s a good trade if you want a more dessert-like finish.
Gluten-Free Version
Use a cup-for-cup gluten-free flour blend in place of the all-purpose flour. The bars will still be moist, but they may need to cool completely before slicing so they hold together cleanly. Let them rest in the pan at least as long as you think they need.
Dairy-Free Maple Glaze
Use an unsweetened non-dairy milk in the glaze. Almond, oat, or soy milk all work, but keep the amount small at first because some alternatives thin out faster than dairy milk. You want a glaze that drizzles, not a runny icing that disappears into the bars.
Storage and Reheating
- Refrigerator: Store in an airtight container for up to 5 days. The bars stay moist, and the flavor actually deepens by day two.
- Freezer: Freeze unglazed or fully cooled glazed bars between layers of parchment for up to 2 months. Thaw in the fridge so the glaze doesn’t get sticky and smudge everywhere.
- Reheating: Warm individual bars in the microwave for 10 to 15 seconds if you want them soft again. Don’t overheat them or the edges dry out fast and the glaze can turn glossy in a way that looks melted, not fresh.