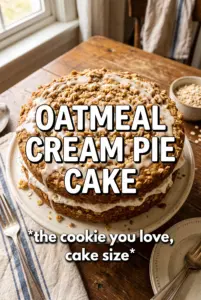
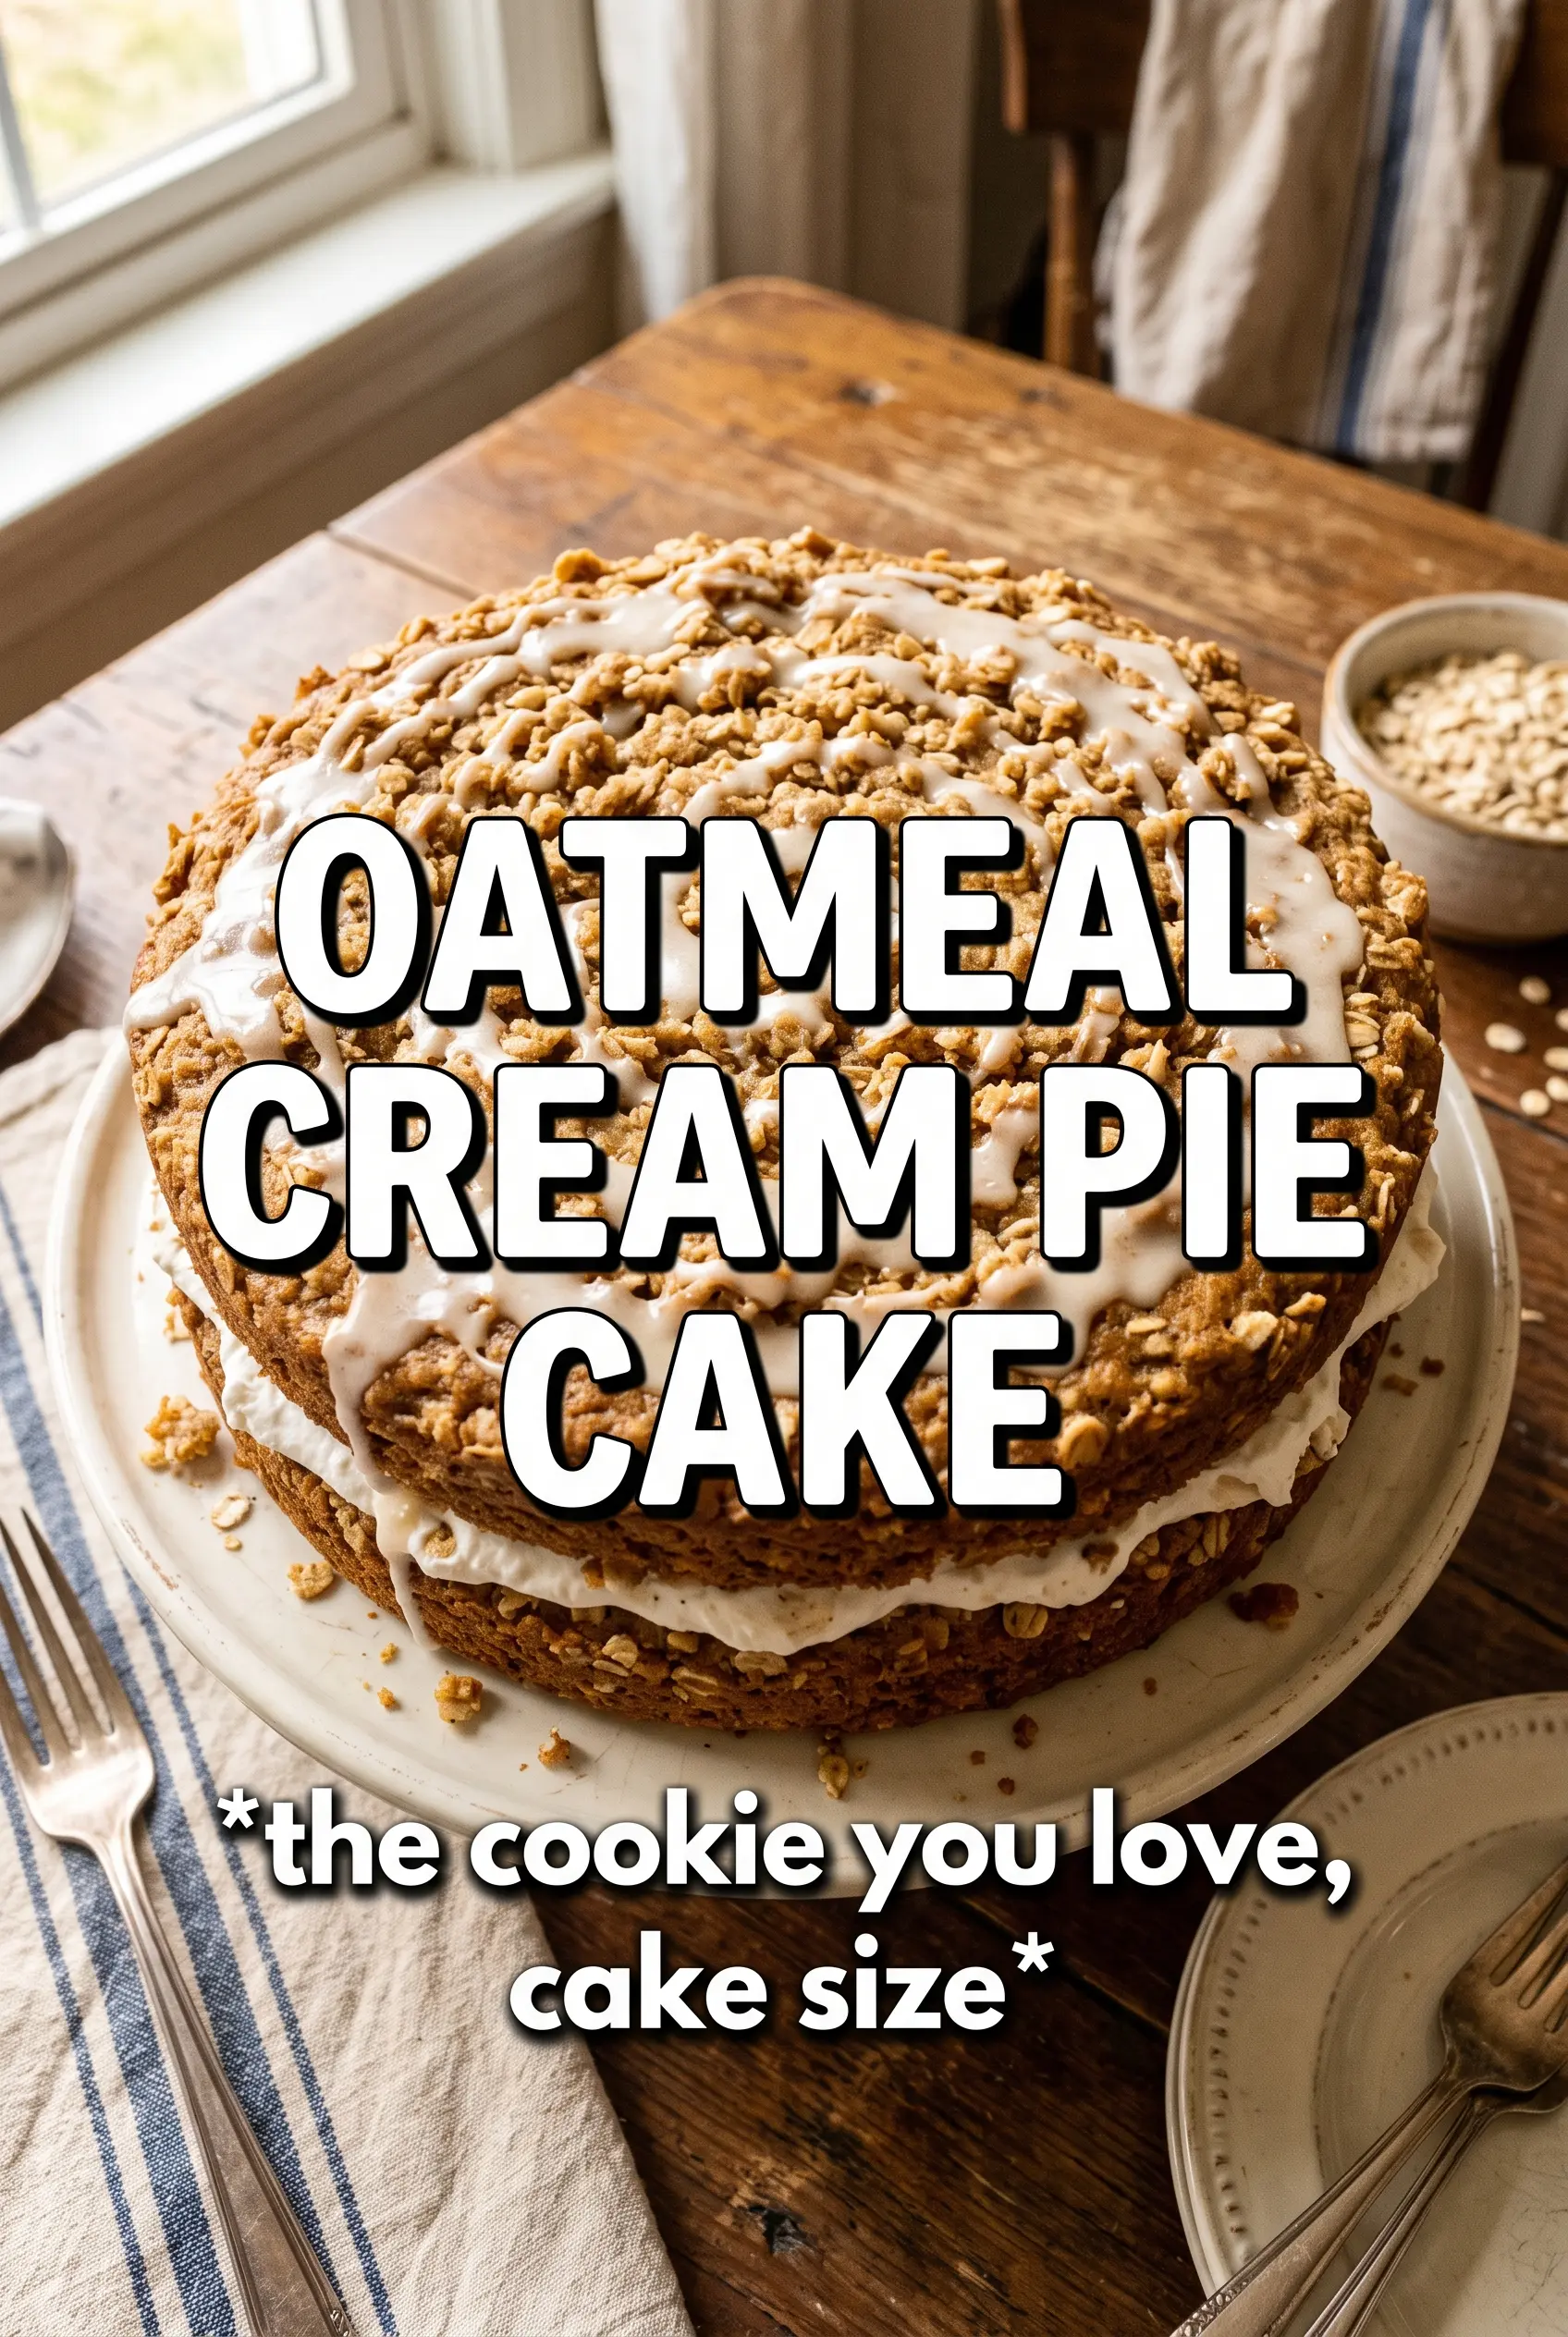
Oatmeal Cream Pie Cake takes everything people love about the snack cake version and turns it into a proper layer cake with soft, spiced crumb and a thick marshmallow filling that tastes nostalgic without feeling heavy. The oatmeal keeps the cake tender and a little chewy at the edges, while the brown sugar and cinnamon bring that familiar cozy sweetness that makes each slice taste like it belongs on a dessert table and a weeknight plate alike.
The trick here is keeping the layers moist enough to stay plush under frosting without turning dense. Sour cream does the work that buttermilk usually handles in spice cakes, adding richness and structure at the same time, and the rolled oats soften just enough in the batter to give the cake its signature texture. The filling leans on cream cheese for stability, but the marshmallow creme keeps it light and fluffy instead of turning it into a straight buttercream.
Below, I’ve included the small details that matter most: how to keep the cake layers even, how to whip the filling so it spreads cleanly, and the best way to store the cake so the frosting stays creamy and the crumb doesn’t dry out.
The cake layers baked up soft and stayed moist for days, and the marshmallow filling was thick enough that it didn’t squish out when I sliced it. My husband said it tasted just like the oatmeal cream pies he grew up with, only better as a cake.
Save this Oatmeal Cream Pie Cake for the kind of dessert that needs soft spice layers and a fluffy marshmallow filling.
The Part That Keeps the Layers Soft Instead of Dry
Most oatmeal cakes go wrong in one of two places: the oats stay too tough, or the crumb bakes up dry because the batter was overmixed and overbaked. This version avoids both by letting the wet ingredients carry the texture. Sour cream brings moisture and a little tang, which keeps the cake from tasting flat, and the oats soften as the batter rests in the heat of the oven. You get that classic oatmeal cookie flavor without the cakey, dusty finish that can happen when the flour takes over.
The other thing that matters is how you mix the batter. Once the dry ingredients go in, stir only until the flour disappears. If you beat it hard at that point, the cake turns tight and loses the soft, snack-cake texture that makes this dessert work. The layers should spring back lightly when touched and pull away from the pan edges just a bit.
What Each Ingredient Is Actually Doing in This Cake
- Rolled oats — These give the cake its oatmeal cookie character and a little chew. Quick oats will work in a pinch, but they soften faster and lose some of that texture. If you use quick oats, the cake will be slightly finer and softer.
- Brown sugar — This is where the deep, caramel-like sweetness comes from. White sugar won’t give the same warmth or moisture, and the cake will taste flatter.
- Sour cream — This is the ingredient that keeps the layers plush. Plain Greek yogurt can step in here, but use full-fat yogurt and expect a slightly tangier finish.
- Cinnamon and nutmeg — They should taste like the back note, not a spice cake that took a wrong turn. If your cinnamon is old, the whole cake loses its backbone, so use fresh spice if you can.
- Marshmallow creme — This is what makes the filling taste like the center of an oatmeal cream pie instead of vanilla frosting. Regular marshmallows won’t give the same smooth, spreadable result.
- Cream cheese and butter — Together they stabilize the filling so it stays fluffy but slices cleanly. The cream cheese must be softened, or you’ll end up with little lumps that never fully beat out.
Building the Cake So the Filling Stays Put
Mixing the Batter Without Toughening It
Start by beating the butter and brown sugar until the mixture looks fluffy and a little lighter in color. That step matters because it traps air and gives the cake a softer rise. Add the eggs one at a time, then mix in the sour cream and vanilla until smooth. Once the dry ingredients go in, fold gently and stop as soon as you no longer see streaks of flour.
Baking the Layers Evenly
Divide the batter evenly between two well-greased 9-inch pans. The batter is thick, so spread it to the edges with a spatula before it goes in the oven. Bake until the tops spring back when lightly pressed and a tester comes out with just a few moist crumbs, not wet batter. If the centers still wobble, give them a few more minutes; pulling them too early leaves the middle gummy once the cake cools.
Whipping the Filling Until It Looks Light, Not Greasy
Beat the butter and cream cheese first until there are no visible lumps. Then add the marshmallow creme, powdered sugar, and vanilla, and whip until the filling looks pale, fluffy, and thick enough to hold ridges. If it looks loose, the butter or cream cheese was too warm. Chill it for a few minutes before assembling, and it will spread much more cleanly.
Assembling and Finishing the Cake
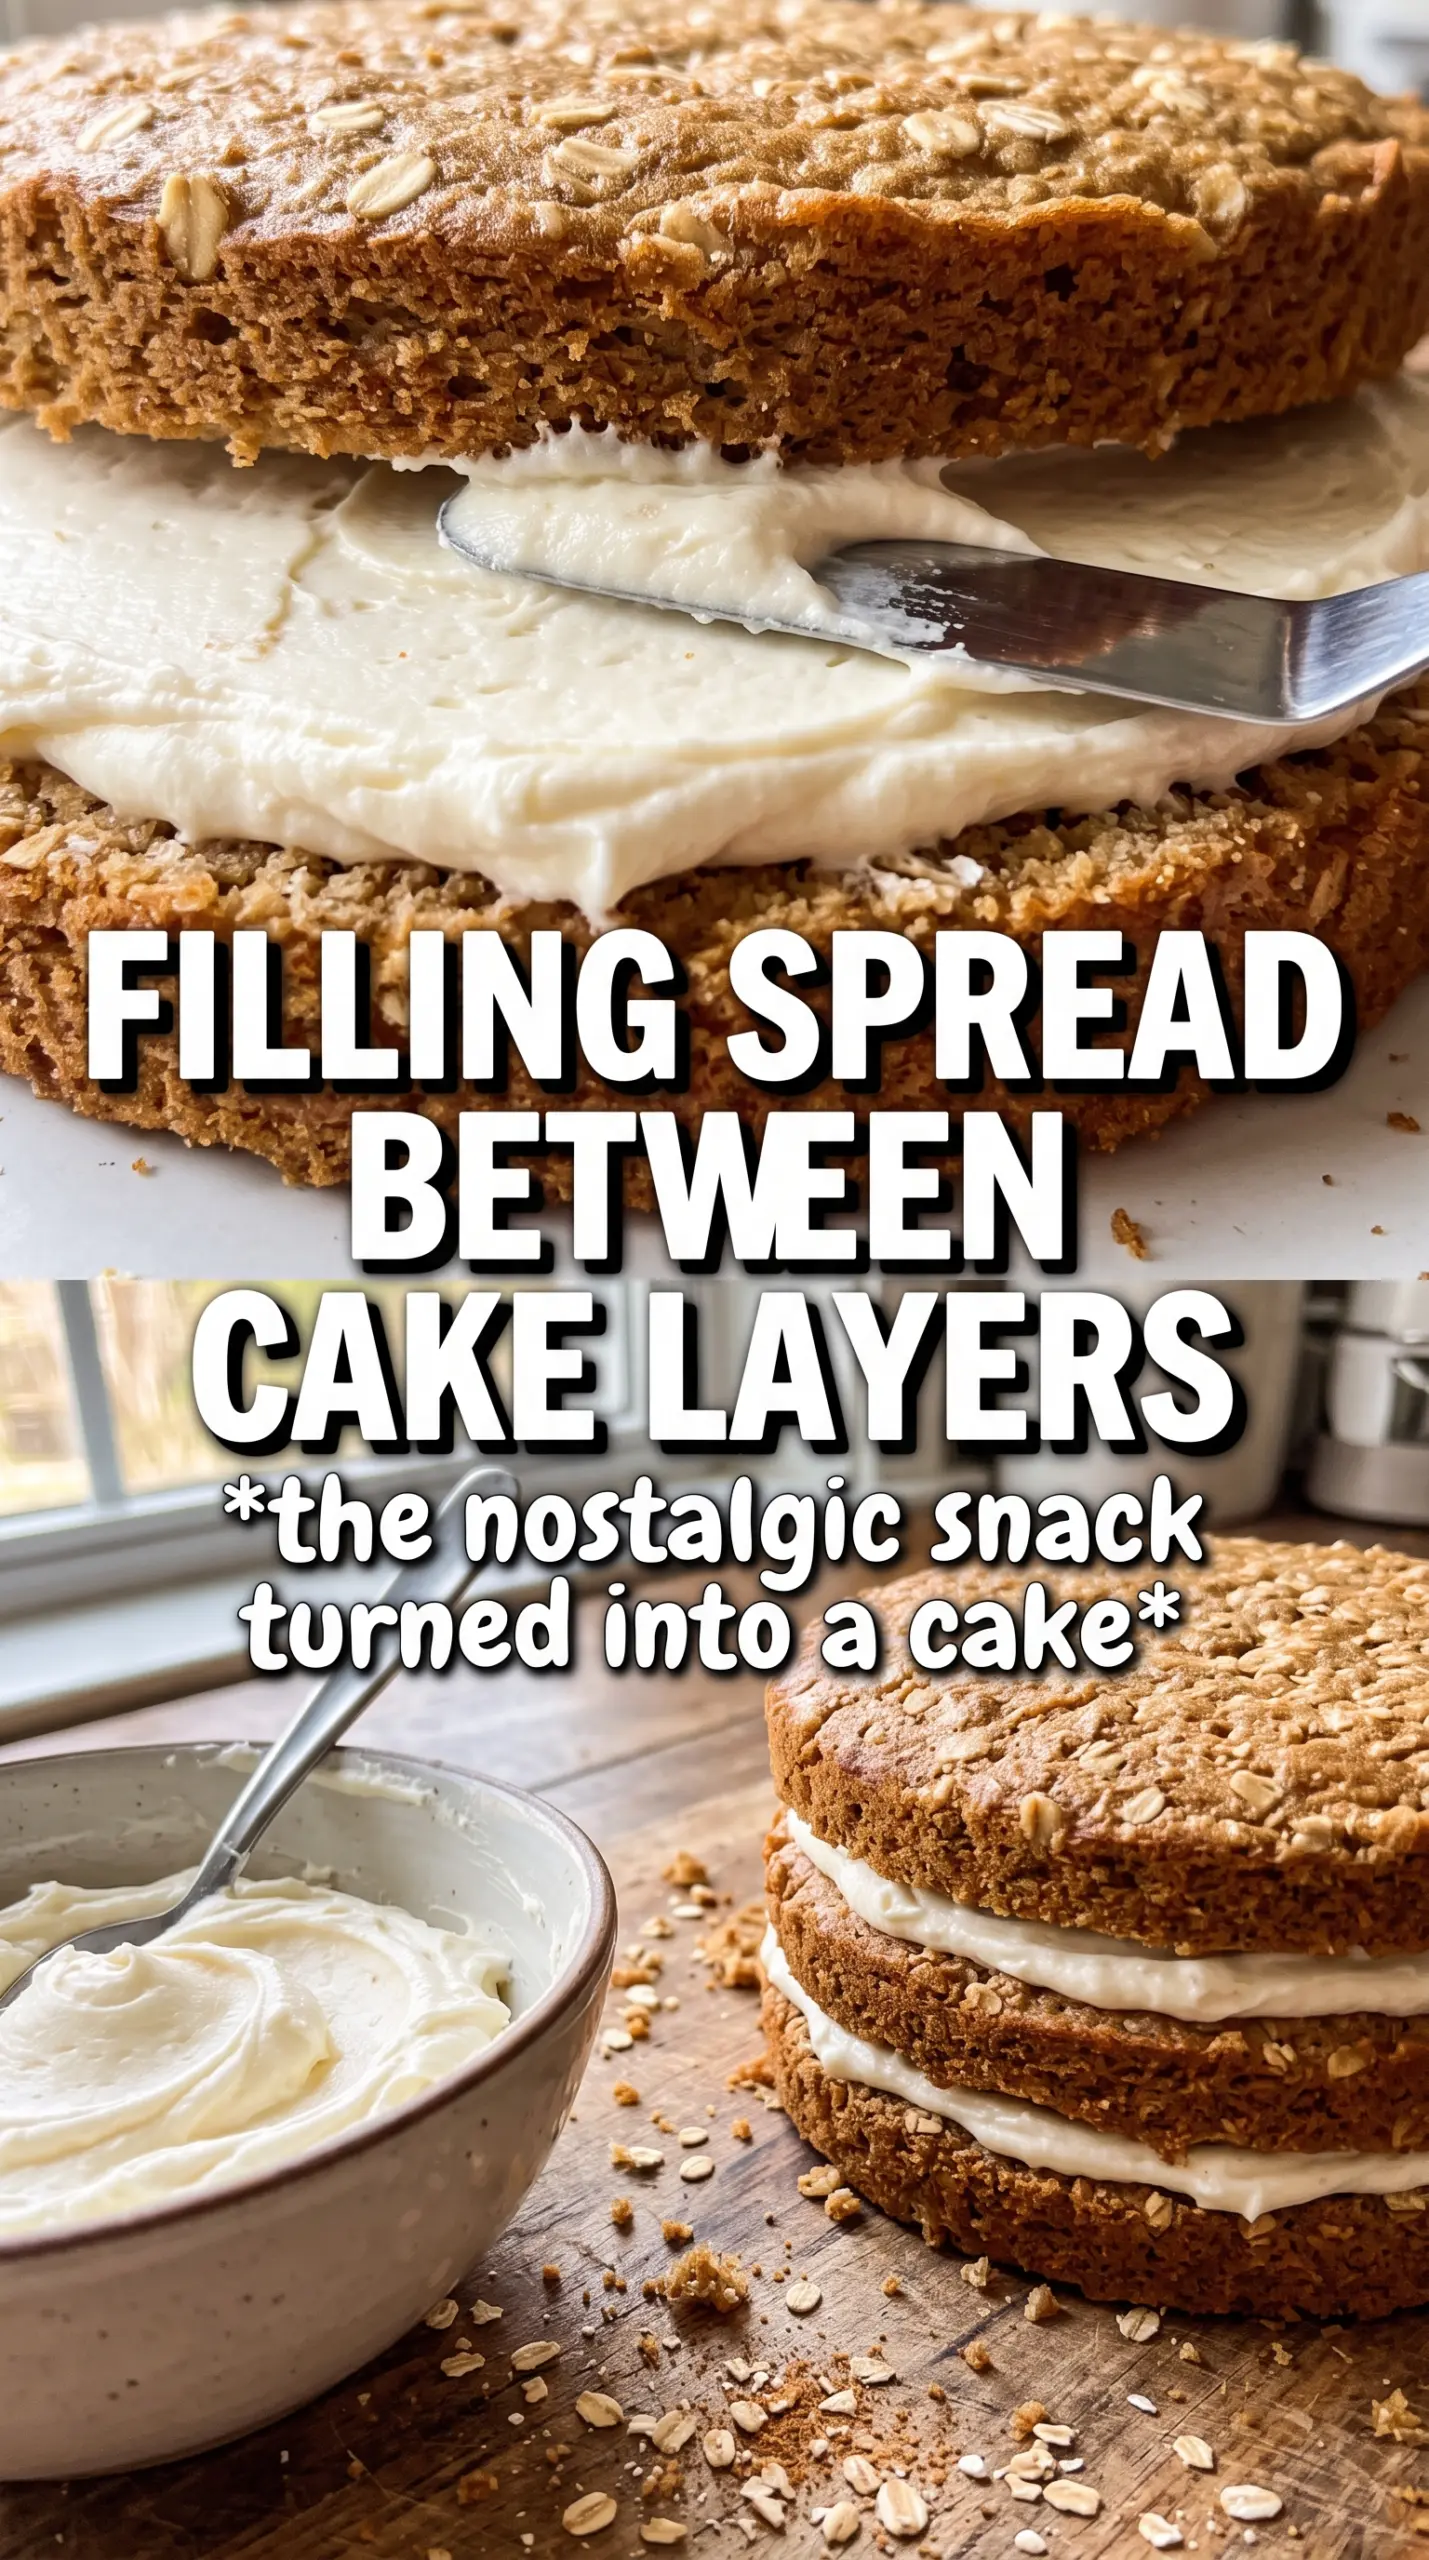
Let the layers cool completely before you even think about frosting. Warm cake will melt the filling and slide around on the plate. Spread a thick layer between the cakes, then use the rest on the outside in a thin, even coat. For the prettiest finish, chill the cake briefly before slicing so the filling sets just enough to cut cleanly.
How to Adapt This for a Bigger Crowd or a Different Pantry
Make it gluten-free with a good 1:1 flour blend
Swap the all-purpose flour for a cup-for-cup gluten-free baking blend that includes xanthan gum. The oats are naturally gluten-free, but use certified gluten-free oats if cross-contamination matters. The texture stays tender, though the crumb will be a little more delicate when sliced.
Use Greek yogurt instead of sour cream
Full-fat plain Greek yogurt works well here if that’s what you have. It brings the same moisture and tang, though the cake may taste a touch brighter and less rich. Use the thickest yogurt you can find so the batter doesn’t thin out.
Bake it as cupcakes for easier serving
This batter turns into excellent cupcakes if you want individual portions. Fill the liners about two-thirds full and start checking them a few minutes early. You’ll lose the dramatic layer-cake look, but you gain easy serving and a higher frosting-to-cake ratio.
Storage and Reheating
- Refrigerator: Store covered for up to 4 days. The cake stays moist, and the filling firms up a bit, which actually helps clean slicing.
- Freezer: Freeze individual slices tightly wrapped for up to 2 months. Thaw in the refrigerator so the filling doesn’t weep.
- Reheating: This cake is best served chilled or at cool room temperature, not warmed. Heat softens the marshmallow filling too much and can make the layers collapse.
Answers to the Questions Worth Asking
Oatmeal Cream Pie Cake
Ingredients
Equipment
Method
- Preheat the oven to 350F, then grease two 9-inch round pans. Keep them ready for batter right after mixing.
- Beat butter and brown sugar until smooth. Add eggs, sour cream, and vanilla and continue beating until combined.
- Fold in flour, oats, baking powder, baking soda, cinnamon, nutmeg, and salt. Mix just until no dry streaks remain.
- Divide the batter evenly between the two pans. Bake for 30-35 minutes, until the centers spring back when gently pressed.
- Cool the cakes completely in the pans, then remove them. Let them cool fully before frosting to prevent melting.
- Beat softened unsalted butter, softened cream cheese, and marshmallow creme until smooth. Continue beating until the mixture is very fluffy.
- Gradually beat in powdered sugar and then mix in vanilla. Stop once the filling is thick and spreadable.
- Frost between the cake layers with a thick layer of marshmallow cream. Spread extra filling on the outside for a complete coating.