Jalapeño Popper Cheesy Chicken Enchiladas bake up with everything people love about a jalapeño popper, tucked into soft tortillas and finished under a blanket of creamy white sauce. The filling stays rich and tangy from cream cheese, the chicken gives it enough substance to feel like a full dinner, and the jalapeños keep each bite bright instead of heavy. The top turns golden and bubbling in the oven, with just enough browned cheese at the edges to make the whole pan feel irresistible.
The part that makes this version work is the balance. Pickled jalapeños bring heat and acidity, which keeps the cream cheese from tasting flat, and the sour cream goes into the sauce off the heat so it stays smooth instead of grainy. A quick flour-and-butter roux gives the sauce body, but you still want it loose enough to pour easily over the rolled tortillas. That’s what keeps the enchiladas soft in the center while the top browns properly.
Below, I’m walking through the one sauce step that matters most, the ingredient swaps that actually hold up, and the storage trick that keeps leftovers creamy instead of dry.
The filling stayed creamy, the sauce thickened up beautifully, and the jalapeños gave it just enough kick without overpowering the chicken. My husband went back for seconds before I’d even sat down.
Love the creamy jalapeño popper filling and golden white sauce? Save these enchiladas for the night you want Tex-Mex comfort with a little heat.
The White Sauce Needs to Be Thick Before the Sour Cream Goes In
Most enchilada sauces go wrong when the dairy is added too soon or over heat that’s too high. This sauce starts with a simple roux, and that matters because the flour needs a minute in the butter to lose its raw taste and give the broth something to cling to. If you add the sour cream before the sauce has thickened, it can turn loose or slightly curdled, especially once it goes back into the oven.
Cook the broth and roux until the sauce coats a spoon and leaves a clear path when you drag your finger through it. Then take the pan off the burner before stirring in the sour cream and Monterey Jack. That off-heat finish keeps the sauce smooth, and it also gives you a richer, silkier texture than just baking broth and cheese together in the pan.
What the Filling Ingredients Are Doing Inside the Tortillas
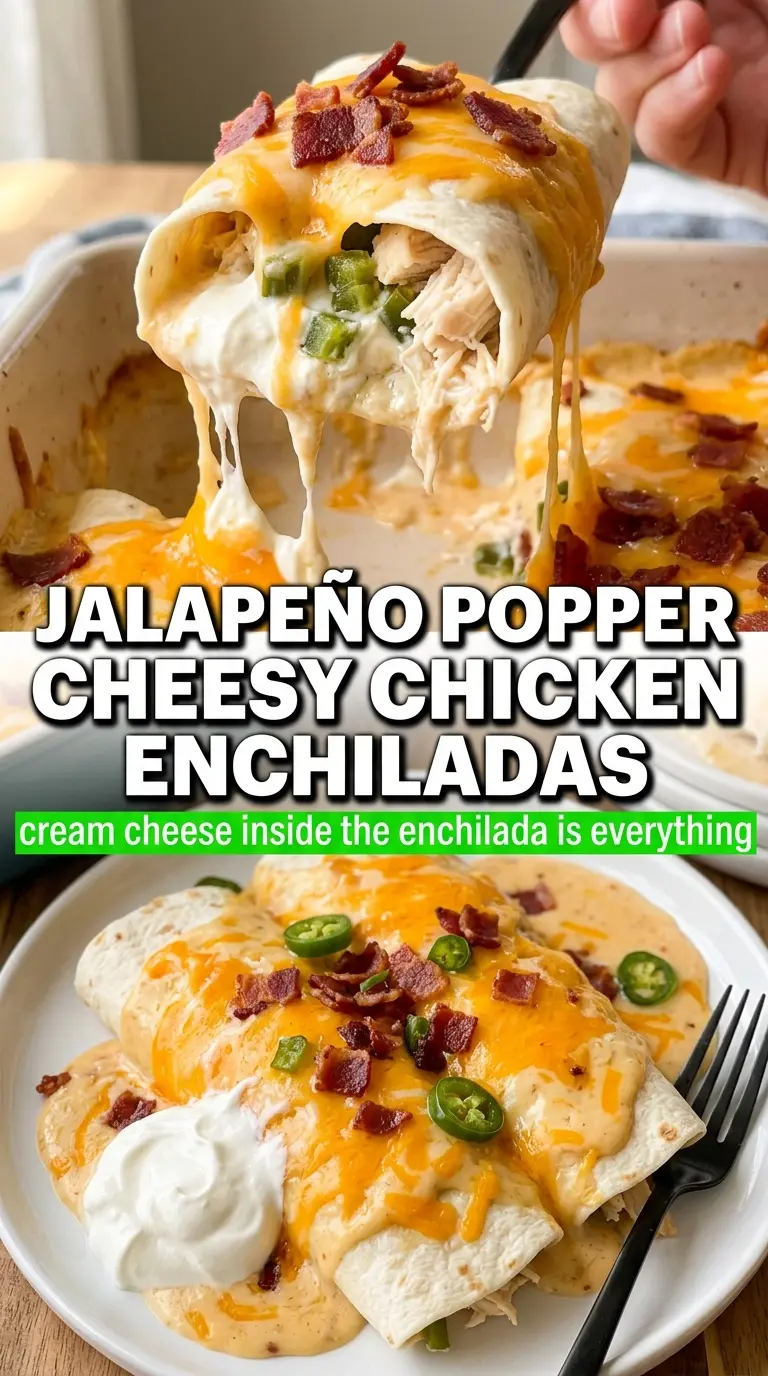
- Shredded chicken — Use cooked chicken that’s moist and easy to pull apart. Rotisserie chicken works well here, but if you cook your own, stop as soon as it’s done so the filling doesn’t dry out in the oven.
- Cream cheese — This is what gives the filling that jalapeño popper texture. Let it soften fully or it’ll clump when you mix it with the chicken. Cold cream cheese never blends evenly.
- Pickled jalapeños — These bring the sharp, tangy heat that makes the dish taste lively. Fresh jalapeños work if that’s what you have, but you lose some of the briny punch. For a milder pan, drain them well and start with a little less.
- Sharp cheddar and Monterey Jack — Cheddar gives the top its bold flavor, while Monterey Jack melts into the sauce and keeps it creamy. Pre-shredded cheese will work, but freshly shredded melts smoother and gives you fewer gritty spots in the sauce.
- Sour cream — This softens the sauce and gives it that cool, tangy finish that balances the jalapeños. Full-fat sour cream holds up best. Light versions can separate more easily in the oven.
Roll, Sauce, and Bake Until the Edges Bubble
Mix the Filling First
Combine the chicken, softened cream cheese, jalapeños, and part of the cheddar until the mixture looks evenly coated and spreadable. If the filling seems stiff, it won’t roll cleanly, and you’ll end up tearing the tortillas. A spoonful should hold together without looking dry or crumbly.
Fill and Roll the Tortillas
Divide the filling across the tortillas, keeping the filling in a loose line rather than piling it in the center. Roll them snugly and place them seam-side down in the baking dish so they stay closed under the sauce. If the tortillas crack, they’re either too cold or too dry, and a quick warm-up in the microwave under a damp paper towel helps.
Build the White Sauce
Melt the butter, whisk in the flour, and cook it just long enough for the mixture to smell a little nutty and lose its chalky look. Add the broth gradually while whisking so the sauce stays smooth instead of turning lumpy. Once it thickens, pull it off the heat before stirring in the sour cream, garlic powder, salt, and Monterey Jack. That’s the moment that keeps the sauce creamy instead of broken.
Finish in the Oven
Pour the sauce over the enchiladas, then scatter the remaining cheddar and jalapeño rounds on top. Bake until the center is hot, the sauce is bubbling around the edges, and the cheese has browned in spots. If the top is browning before the middle is hot, lay a piece of foil loosely over the dish and keep baking until everything is heated through.
How to Adjust These Enchiladas Without Losing the Creamy Texture
Make Them Milder for Kids or Heat-Sensitive Eaters
Use fewer jalapeños in the filling and skip the extra slices on top. You’ll still get the tang from the pickled peppers without the sharper bite. If you want almost no heat, rinse the pickled jalapeños before chopping them.
Gluten-Free Enchiladas That Still Hold Together
Swap in certified gluten-free flour tortillas and use a gluten-free all-purpose flour blend for the sauce. The filling and sauce stay the same, but the tortillas may be a little more delicate, so warm them before rolling and don’t overfill them.
Dairy-Free Version With a Different Finish
Use dairy-free cream cheese, dairy-free sour cream, and a good melting plant-based cheese. The flavor will be a little less tangy and less rich than the original, but the filling still works if your substitutes are soft and spreadable. Choose one that melts cleanly, not one that turns oily.
Turn It Into a Make-Ahead Casserole
Assemble the enchiladas, cover the pan, and refrigerate it before baking. Add a few extra minutes in the oven if it’s going in cold from the fridge. This version actually benefits from a little rest because the tortillas soften and the filling settles into the sauce.
Storage and Reheating
- Refrigerator: Store leftovers in an airtight container for up to 4 days. The tortillas soften a bit more, but the flavor stays great.
- Freezer: These freeze well after baking. Cool completely, wrap tightly, and freeze for up to 2 months. Thaw overnight in the fridge before reheating for the best texture.
- Reheating: Warm covered in a 325°F oven until hot in the center. Microwaving works for single portions, but use lower power if you want to avoid tough tortillas and a greasy cheese layer on top.
Answers to the Questions Worth Asking
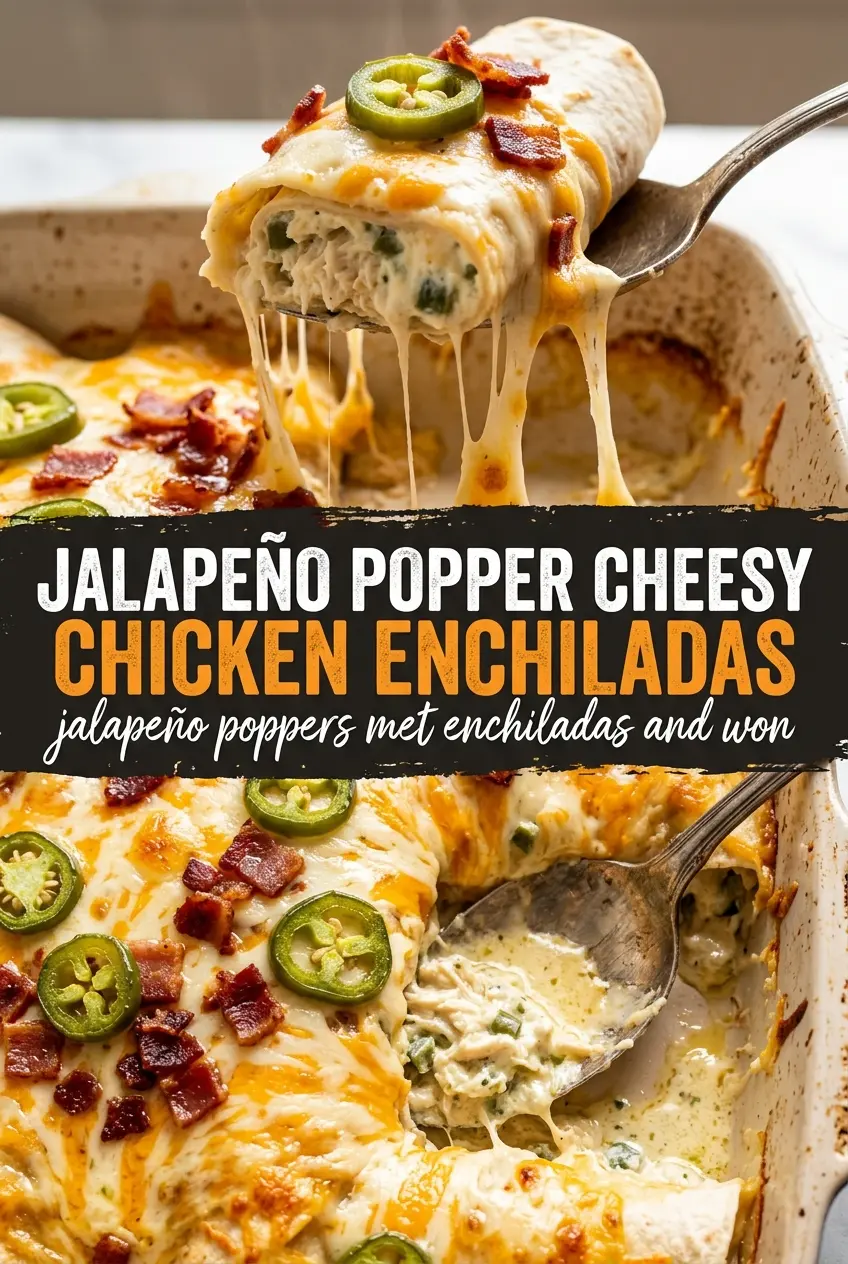
Jalapeño Popper Cheesy Chicken Enchiladas
Ingredients
Equipment
Method
- Preheat the oven to 375°F and grease a 9x13 baking dish until lightly coated for easy release.
- Mix the shredded chicken, softened cream cheese, pickled jalapeños, and 1/2 cup cheddar until the filling looks creamy and evenly combined.
- Divide the filling among the 8 flour tortillas, roll each tortilla up, and place them seam-side down in the greased baking dish.
- In a pot, melt the butter and whisk in the flour, cooking for 1 minute so it forms a smooth paste.
- Gradually add the chicken broth while whisking until smooth and thickened.
- Remove from heat and stir in the sour cream, garlic powder, salt, and the Monterey jack cheese until the sauce is creamy.
- Pour the white sauce over the enchiladas, letting it settle between the rolls.
- Top with the remaining cheddar and scatter jalapeño rounds over the surface so you see green flecks on top.
- Bake 25–30 minutes at 375°F until bubbly around the edges and golden on top.
- Serve immediately so the cheese is hot and the filling stays creamy inside.