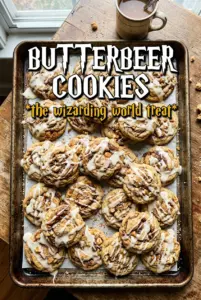
Soft, golden cookies with a buttery butterscotch base and a cream soda frosting disappear fast because they hit that sweet spot between chewy and tender. The cookies bake up with lightly set edges and a middle that stays plush, then the frosting adds a smooth, carnival-style finish that tastes like the butterbeer idea everyone remembers, only in cookie form.
The texture comes from a mix of brown sugar, melted butterscotch chips, and just enough cream soda to give the dough a little lift without making it cakey. I also like that the frosting uses butterscotch sauce instead of trying to fake that flavor with extra extract. It tastes rounder and less sharp, which matters when the cookies themselves are already sweet.
Below, I’ll show you the small timing detail that keeps the cookies soft instead of dry, plus the easiest way to get the frosting thick enough to pipe without turning grainy. If you’ve ever wanted a themed cookie that still eats like a good homemade dessert, this is the one to keep close.
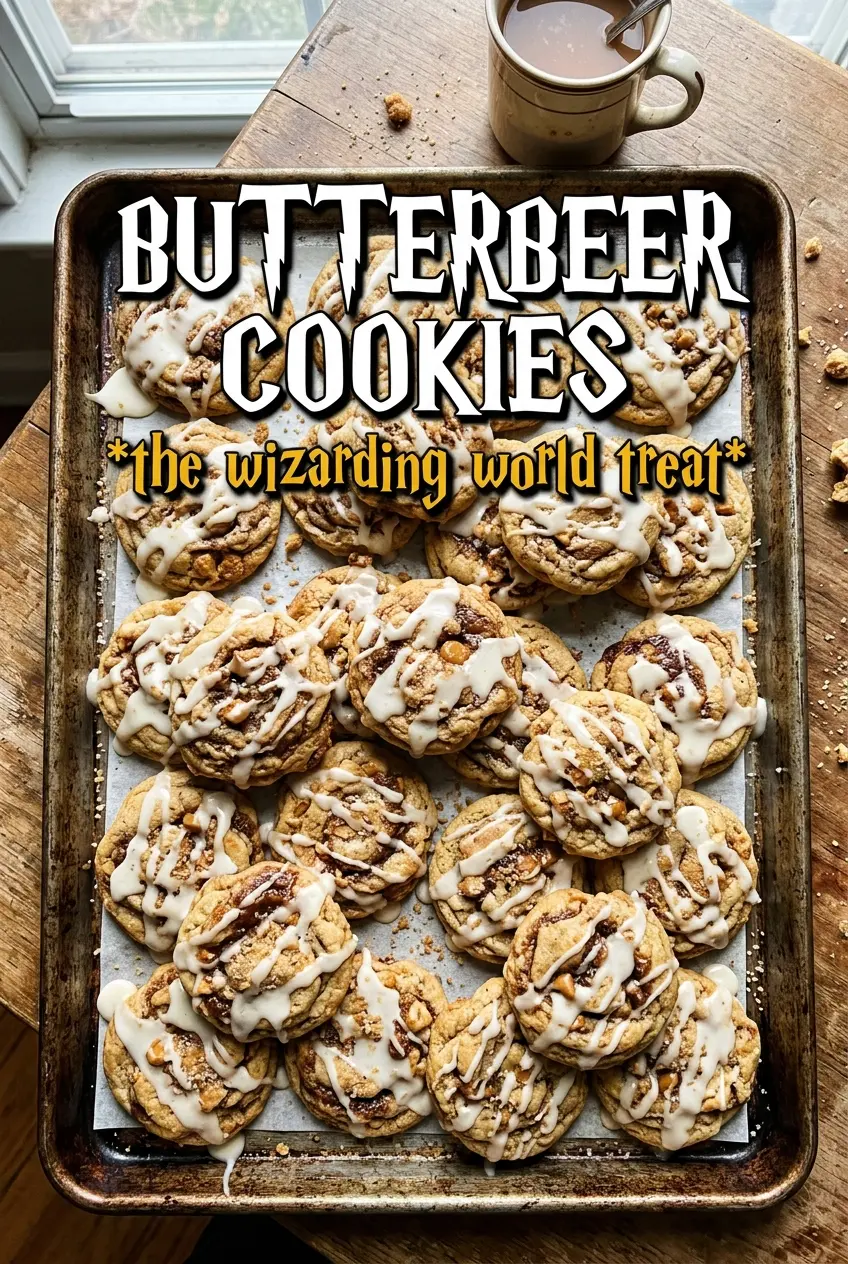
The cookies stayed soft for days, and the cream soda frosting set up just enough that it didn’t slide off when I stacked them. I used a piping bag for the topping and the gold sugar made them look like they came from a bakery.
Save these Harry Potter Butterbeer Cookies for the buttery butterscotch dough, cream soda frosting, and gold sugar finish.
The Trick to Keeping Butterbeer Cookies Soft Instead of Dry
These cookies go wrong in a very specific way: people bake them until they look fully done in the oven, then wonder why they turn dry after cooling. Pull them when the edges are set and lightly golden but the centers still look a little soft. That extra softness finishes setting on the tray, and it’s what keeps the crumb tender instead of crumbly.
The other key move is not overworking the dough after the flour goes in. Once the dry ingredients are mixed, stop as soon as the flour disappears. Too much stirring tightens the dough and makes the cookies puffier and tougher, which works against the soft, buttery texture you want here.
- Cream soda gives the dough a gentle lift and a recognizable butterbeer note. Don’t swap in plain soda water unless that’s all you have; you’ll lose the flavor that makes these feel special.
- Melted butterscotch chips add deeper flavor than extract alone. They help the cookies taste like butterscotch from the inside out, not just on top.
- Brown sugar keeps the texture moist and chewy. White sugar would make the cookies crisper and less rich.
What Each Ingredient Is Actually Doing in the Dough and Frosting
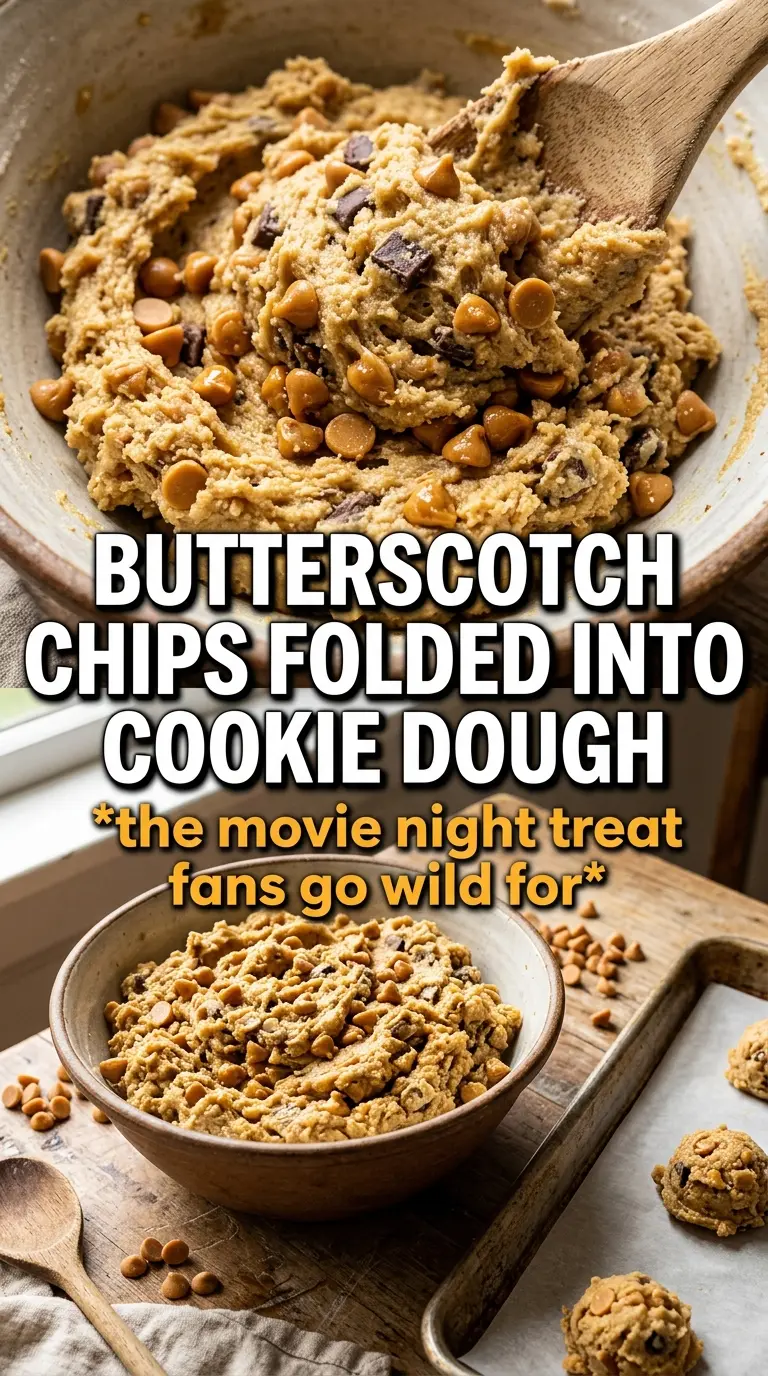
- Butter gives both the cookies and the frosting their rich base. Use real unsalted butter here; margarine won’t give the same flavor or texture, especially in the frosting.
- Butterscotch chips melt into the dough for a round, caramel-like note. If you can’t find chips, butterscotch sauce won’t behave the same way in the cookie base, so it’s better to keep the chips if possible.
- Flour, baking soda, and baking powder work together to give the cookies a soft rise without making them cakey. Measure the flour carefully; too much flour is the fastest way to end up with dry cookies.
- Cream soda belongs in both the dough and the frosting. In the cookies it adds a subtle lift, and in the frosting it loosens the sugar just enough to make it pipeable without tasting thin.
- Butterscotch sauce is what makes the frosting taste full and smooth. Thick store-bought sauce works best; if yours is very runny, use a little less cream soda so the frosting doesn’t slide.
Getting the Dough and Frosting to Behave the Way You Want
Whipping the Base Until It Looks Light
Beat the softened butter and brown sugar until the mixture looks a shade lighter and a little fluffy around the edges. That’s the point where enough air has been worked in to help the cookies stay tender. Add the melted butterscotch chips after the butter mixture is smooth so the warm chips don’t seize up against cold butter. If the chips are too hot, let them cool for a few minutes first or they can start melting the butter and make the dough greasy.
Bringing the Dough Together Without Toughening It
Stir in the egg, vanilla, and cream soda, then add the dry ingredients just until the flour disappears. The dough should be soft and scoopable, not dry or stiff. Use a 2-tablespoon scoop so the cookies bake evenly, because smaller or larger scoops will throw off the timing and leave you with some overbaked while others are underdone. If the dough feels sticky, chill it for 15 minutes instead of adding more flour.
Baking for a Soft Center
Bake at 375°F for 10 to 12 minutes, watching for set edges and pale, slightly underdone centers. The cookies will look more finished after they cool, so don’t wait for deep color. Let them sit on the baking sheet for a few minutes before moving them; if you lift them too soon, the centers can tear because they’re still settling. Cool them completely before frosting, or the topping will melt and slide.
Making the Frosting Thick Enough to Pipe
Beat the butter, butterscotch sauce, powdered sugar, vanilla, and cream soda until the frosting turns smooth and fluffy. Add the cream soda gradually, because too much will make the frosting loose and hard to decorate with. If it gets too soft, beat in a spoonful more powdered sugar. Pipe or spread the frosting only after the cookies are fully cool, then finish with gold sugar sprinkles so they stick without sinking into the topping.
How to Adapt These Butterbeer Cookies for Different Needs
Make Them Gluten-Free Without Losing the Soft Center
Use a good 1:1 gluten-free baking blend in place of the flour. The cookies will still be soft and sweet, but they may spread a little less, so keep the scoop size consistent and check them at the low end of the bake time.
Dairy-Free Version That Still Tastes Rich
Use plant-based butter in both the cookies and frosting, and choose dairy-free butterscotch chips and sauce if you can find them. The texture will still be soft, though the frosting may need a touch less cream soda because non-dairy butter often softens faster than dairy butter.
More Butterscotch, Less Sweet Finish
If you want a stronger butterscotch flavor without making the cookies cloying, keep the dough as written and add a little extra butterscotch sauce to the frosting only. That pushes the flavor up front while keeping the cookie itself balanced.
Storage and Reheating
- Refrigerator: Store frosted cookies in an airtight container for up to 4 days. The frosting stays smooth, though the sprinkles may soften a little.
- Freezer: Freeze the unfrosted cookies for up to 2 months. Frost after thawing for the best texture, since the topping can get sticky in the freezer.
- Reheating: These are best served at room temperature. If you want a just-baked feel, warm the unfrosted cookies for 5 to 7 seconds in the microwave, then add frosting after they cool again.
Answers to the Questions Worth Asking
Harry Potter Butterbeer Cookies
Ingredients
Equipment
Method
- Beat the softened butter and brown sugar until well combined and lighter in color, with a smooth, creamy look.
- Beat in the melted butterscotch chips, then add the egg, vanilla, and cream soda until the batter looks glossy and uniform.
- Fold in the flour mixture just until no dry streaks remain, scraping the sides so the dough stays thick and cohesive.
- Scoop 2-tablespoon rounds and space them on a sheet pan so they have room to spread.
- Bake at 375°F for 10-12 minutes, until the edges look set and the centers still appear slightly soft.
- Cool the cookies completely, until no warmth remains, so the frosting won’t melt or slide.
- Beat the softened unsalted butter with the butterscotch sauce until smooth, then add powdered sugar gradually until thick.
- Mix in 2-3 tablespoons cream soda and vanilla until the frosting is fluffy and pipeable, with soft peaks.
- Pipe or spread the butterbeer frosting onto each cooled cookie, covering the top in a creamy layer.
- Decorate with gold sugar sprinkles immediately so they adhere, leaving a bright golden finish.