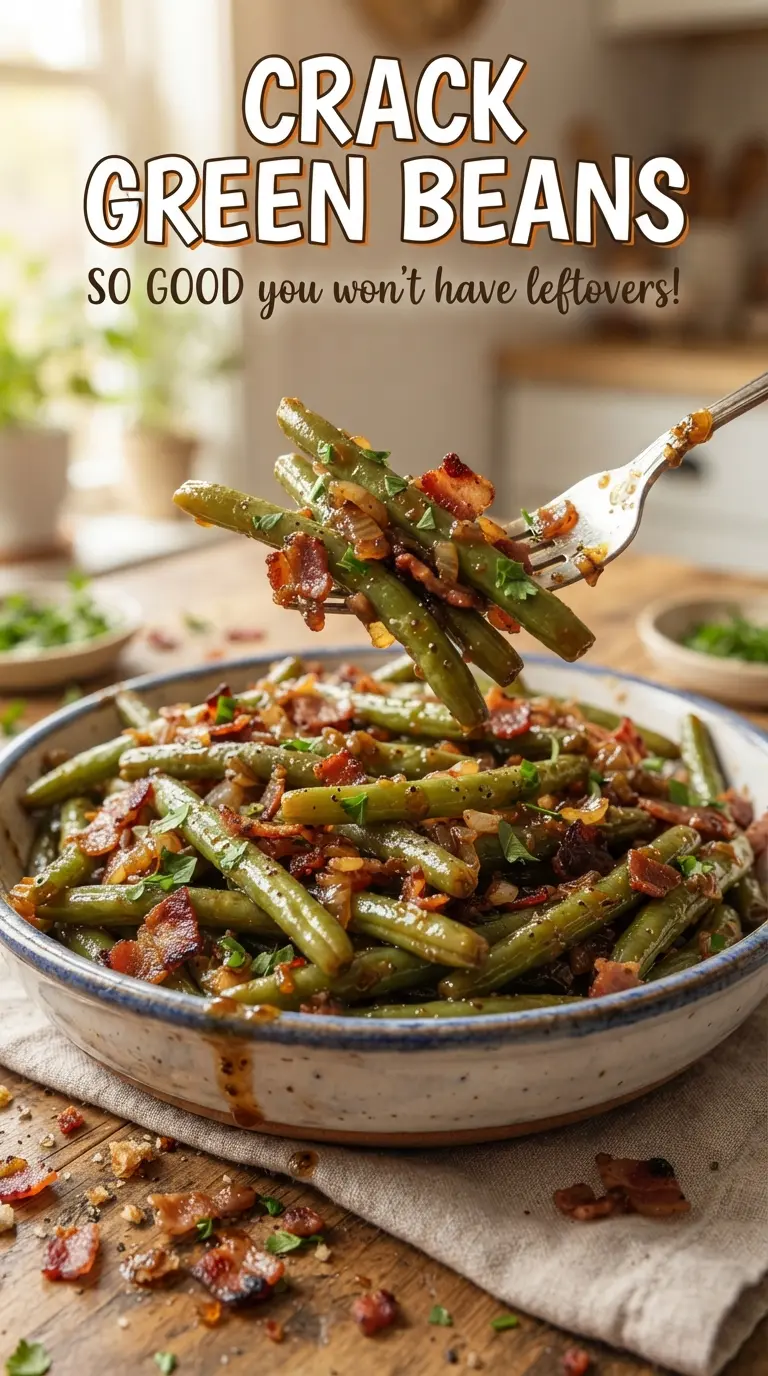
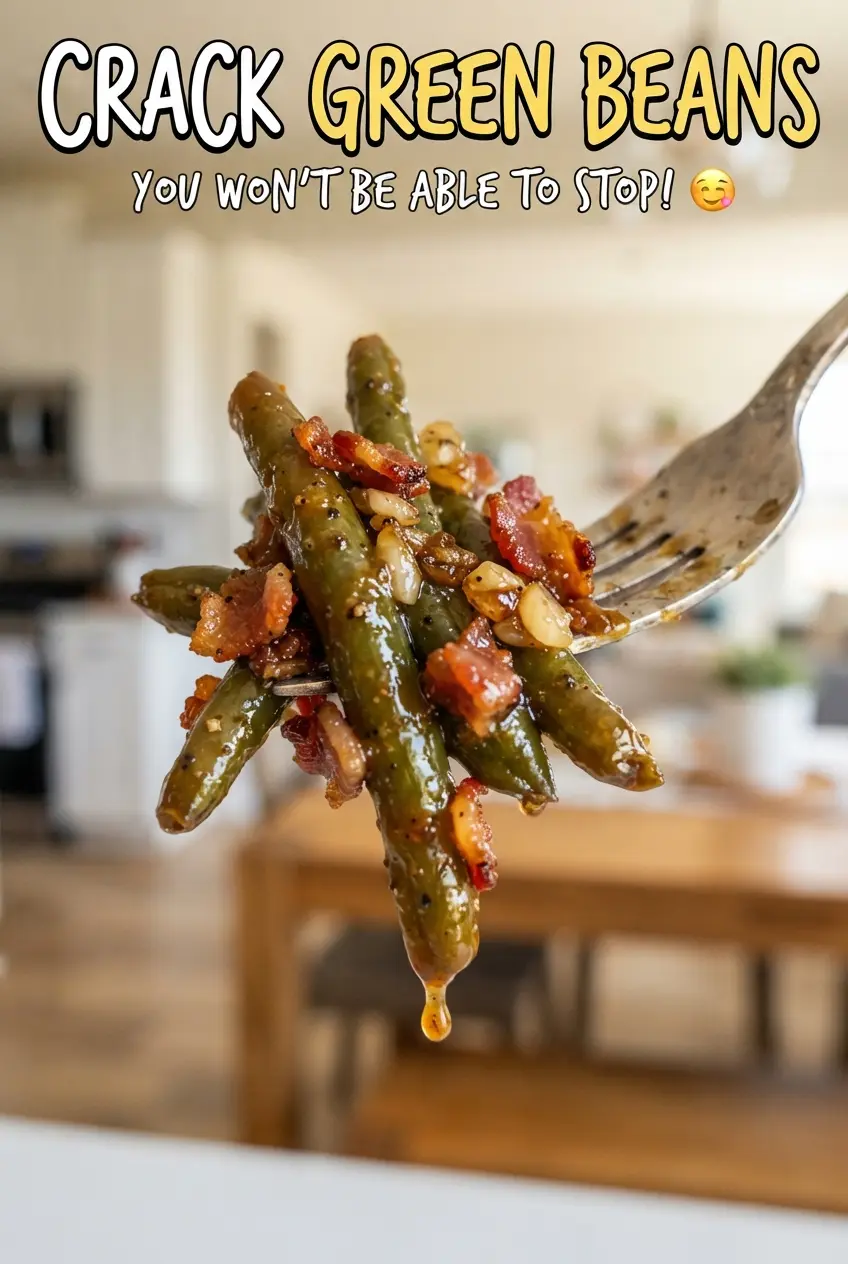
Sticky, salty-sweet green beans with crisp bacon and a glossy glaze have a way of stealing the whole side-dish spread. The beans stay tender but still have some bite, the bacon gives every forkful a smoky crunch, and the brown sugar sauce bakes down into something that clings to the vegetables instead of pooling at the bottom of the dish. It’s the kind of side people taste once and immediately start asking about.
What makes this version work is the quick blanch before baking. That short boil keeps the beans bright and keeps the final texture from turning limp while the oven does the slow work of caramelizing the glaze. The butter and brown sugar melt into the soy sauce and garlic, then reduce just enough in the oven to coat the beans without turning grainy. Bacon goes in mostly crisp so it stays flavorful after the bake instead of disappearing into the sauce.
Below, I’ve broken down the one step that matters most if you want glossy beans instead of a watery pan, plus the small ingredient details that make the whole dish taste balanced instead of just sweet.
The glaze got sticky in all the right places and the green beans still had a little snap. I stirred once like the recipe said and the bacon stayed on top instead of turning chewy.
Save these sticky Crack Green Beans for the side dish that turns crisp bacon and brown sugar glaze into the first thing gone at dinner.
The Trick That Keeps the Beans Crisp Under a Sticky Glaze
The biggest mistake with baked green beans is skipping the blanch. Raw beans need too long in the oven to soften, and by the time the sauce has reduced, the beans underneath can go dull and stringy. A short boil gives them a head start so the oven can focus on building flavor instead of trying to cook the vegetable from the ground up.
There’s another small thing that matters here: drain the beans well after blanching. Water trapped in the dish will thin the glaze and keep the sugar from caramelizing properly. You want the beans hot, dry, and ready to catch the sauce, not sitting in a shallow puddle.
What Each Ingredient Is Actually Doing in This Dish
- Fresh green beans — Fresh beans hold their shape and stay pleasantly snappy after baking. Frozen beans can work in a pinch, but they release more water and give you a softer final texture.
- Bacon — This is where the smoky, savory backbone comes from. Cook it mostly crisp before baking so it keeps some chew and doesn’t disappear into the glaze.
- Brown sugar — It melts into the sauce and caramelizes in the oven, which is what gives the dish its sticky finish. Light brown sugar is fine; dark brown sugar will make the glaze deeper and molasses-forward.
- Soy sauce — This keeps the sweetness in check and adds the salty edge that makes the whole thing taste balanced. Low-sodium soy sauce works well if you want a little less saltiness.
- Butter — Butter helps the glaze cling and gives it a smooth, glossy finish. Melt it before whisking so the sauce comes together fast and evenly.
- Garlic — It softens the sweetness and gives the dish a sharper, more savory finish. Mince it finely so it disperses through the glaze instead of sitting in little burnt pockets on top.
Building the Glaze So It Bakes, Not Burns
Blanching the Beans
Bring a pot of salted water to a boil, drop in the trimmed green beans, and cook them for about 3 minutes. They should brighten in color and soften just enough to bend slightly without going limp. Drain them well right away. If they go into the baking dish dripping wet, the glaze turns thin and the finished beans taste steamed instead of baked.
Getting the Bacon to the Right Point
Cook the chopped bacon until it’s mostly crisp but still has a little flexibility. It will continue to cook in the oven, so taking it all the way to brittle in the skillet leaves you with overdone bits by the end. Drain it on paper towels so the final dish doesn’t carry extra grease that can separate the sauce.
Making the Sauce Hit the Beans Evenly
Whisk the brown sugar, melted butter, soy sauce, garlic, and pepper until the sugar looks mostly dissolved. Pour it over the beans and bacon in the dish, then stir once during baking so the top layer doesn’t dry out while the bottom layer stays untouched. The glaze should look glossy and a little thick around the edges when it’s done, with browned spots where the sugar caramelized against the baking dish.
Make It Without Bacon
Leave the bacon out and add 1 teaspoon smoked paprika plus an extra pinch of salt to the glaze. You lose the meaty richness, but you keep a deep savory note that plays well with the brown sugar.
Lower-Sugar Version
Cut the brown sugar to 1/3 cup for a less sweet side dish. The glaze will be a little looser and less sticky, but the soy sauce and bacon still give you plenty of flavor.
Gluten-Free Adjustment
Use a certified gluten-free soy sauce or tamari. The flavor stays the same, and you won’t sacrifice the salty backbone that makes the glaze work.
Extra-Crispy Finish
If you want more caramelized edges, spread the beans in a slightly thinner layer and let the last 5 minutes go uncovered without stirring. The top gets darker and stickier, but watch it closely because the sugar can go from caramelized to scorched fast.
Storage and Reheating
- Refrigerator: Store leftovers in an airtight container for up to 4 days. The beans soften a bit as they sit, but the flavor holds up well.
- Freezer: Not my first choice. The beans lose too much texture after thawing, and the glaze can turn watery.
- Reheating: Warm in a 325F oven, covered loosely with foil, just until heated through. High heat makes the sugar harden and can dry out the beans before the center is warm.
Answers to the Questions Worth Asking
Crack Green Beans
Ingredients
Equipment
Method
- Preheat oven to 350F. Bring a pot of boiling water and blanch the green beans for 3 minutes, then drain.
- Cook the chopped bacon until mostly crisp. Drain the bacon on paper towels so it stays crunchy on top.
- Place the drained green beans in a 9x13-inch baking dish and top with the bacon. Spread them out in an even layer for consistent glazing.
- Whisk together the brown sugar, melted butter, soy sauce, minced garlic, and black pepper. Pour the glaze over the beans so they’re coated.
- Bake uncovered for 30-35 minutes at 350F, stirring once. Look for a sticky, caramelized glaze that clings to the beans before serving.