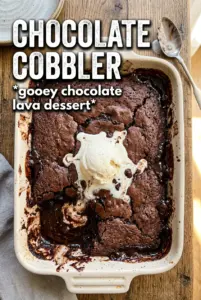
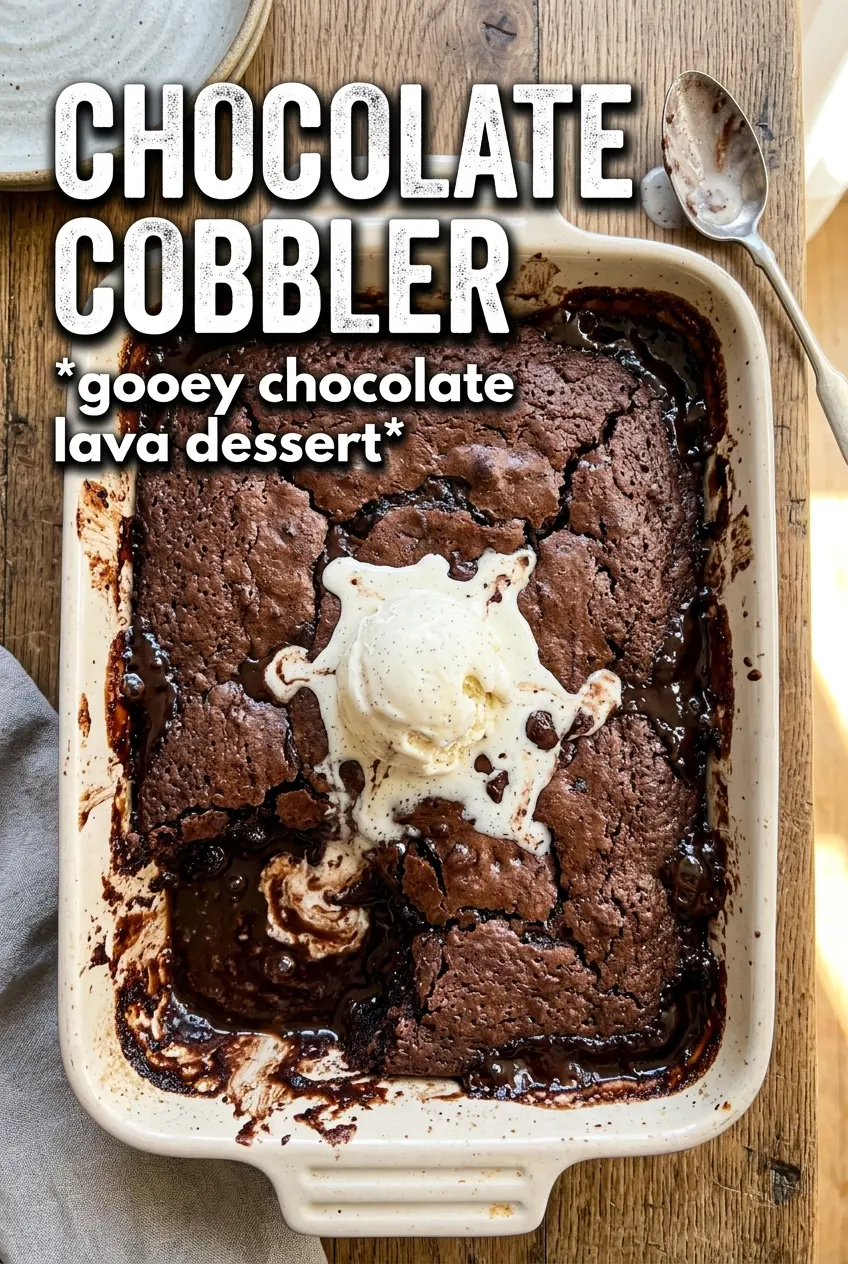
Chocolate cobbler bakes up with a soft cake-like top and a deep, molten sauce underneath, and that contrast is exactly why it keeps getting made on repeat. You scoop through the set top, and the spoon sinks into a warm chocolate layer that tastes part brownie, part pudding, part old-fashioned diner dessert. It’s one of those pans that disappears fast when it lands on the table.
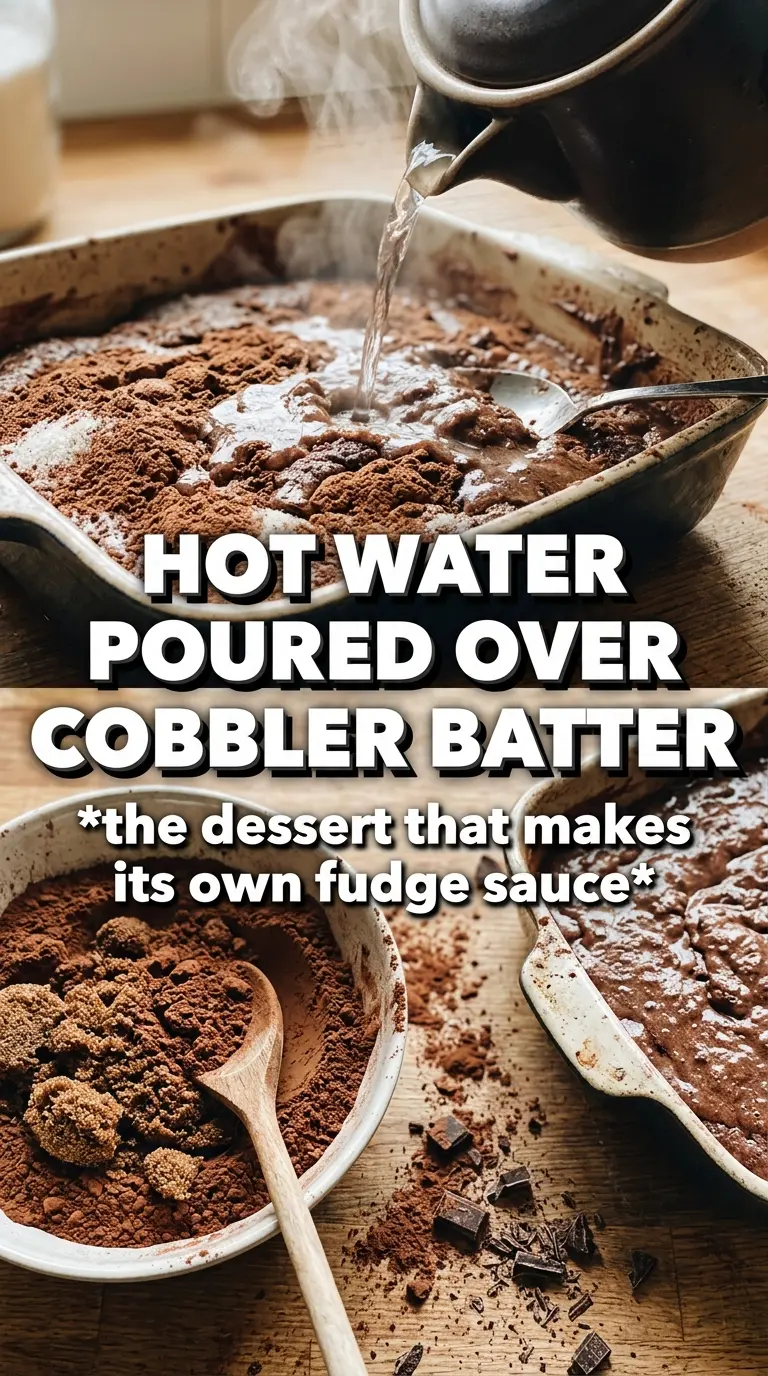
The trick is in the layering. The batter goes into the dish first, then the brown sugar and cocoa, and the hot water gets poured over the top without stirring. That sounds backwards if you’ve never made a self-saucing dessert before, but it’s what lets the sauce form underneath while the top bakes into something tender and just set. Use very hot water, not lukewarm, and don’t overbake it or you’ll lose that spoonable center.
Below, I’ve included the exact point where people usually go wrong, plus a few practical notes on swapping ingredients and storing leftovers. If you like dessert that serves warm and feels a little dramatic when you break into it, this one earns its place.
The top came out cakey and the sauce underneath was thick and glossy, not watery at all. I served it with vanilla ice cream and my husband asked if there was enough left for breakfast.
Save this self-saucing chocolate cobbler for the night you want a fudgy top and a molten chocolate bottom with almost no extra work.
The Part That Makes the Sauce Sink Underneath Instead of Mixing In
Chocolate cobbler works because the batter is thick enough to stay put, but not so thick that it blocks the water from doing its job. The brown sugar and cocoa on top dissolve as the dessert bakes, and the hot water pushes that layer into a sauce while the batter sets above it. If you stir after adding the water, you lose the separation and end up with a more uniform cake instead of that dramatic spoon-through texture.
The other thing that matters is oven timing. Pull it when the top looks set around the edges and still a little soft in the center. It will finish settling as it sits, and the sauce underneath should look glossy, not dry. If you wait until the whole pan looks fully firm, you’ve usually gone a little too far.
What Each Ingredient Is Doing in the Pan
- All-purpose flour — This gives the top its light cake structure. Cake flour makes it a little too delicate, and without enough flour the batter won’t hold the sauce beneath it.
- Granulated sugar — This sweetens the batter and helps the top bake with a soft, tender crumb. It’s not a place to cut back much, since the dessert depends on the balance between the cake layer and the sauce.
- Cocoa powder — You use cocoa in both the batter and the topping, and that’s what gives the dessert its deep chocolate flavor. A standard unsweetened cocoa works well here; Dutch-process will make it a touch darker and smoother.
- Brown sugar — Packed brown sugar melts into the sauce and adds a little molasses depth. You can use light or dark brown sugar, but dark brown will give you a richer, more caramel-like finish.
- Whole milk — This keeps the batter smooth and gives it enough richness to bake up soft. Lower-fat milk works in a pinch, but the texture is a little less tender.
- Melted butter — Butter adds richness and keeps the crumb from tasting dry. Let it cool slightly before mixing so it doesn’t seize the batter or cook the eggs you aren’t using here.
- Very hot water — This is the magic move. It activates the topping layer and starts the sauce-forming process right away; warm water won’t do the same job as well.
Building the Batter, Then Leaving It Alone
Mix the base until it just smooths out
Whisk the dry ingredients first so the cocoa and baking powder are evenly distributed, then stir in the milk, melted butter, and vanilla until the batter looks smooth. You’re not trying to beat air into it. Overmixing doesn’t help here and can make the top a little tougher than it should be.
Spread it into the pan without worrying about perfection
Scrape the batter into the prepared dish and nudge it toward the corners with a spatula. It should be thick but spreadable. If it looks a little uneven, that’s fine, because the topping and hot water will even things out as they bake.
Add the topping and stop there
Mix the brown sugar and cocoa, then sprinkle that mixture evenly over the batter. Pour the hot water over the top in a slow, steady stream. Don’t stir. Stirring is the one move that breaks the layered effect and turns this into something else.
Bake until the surface sets and the center still looks soft
Bake at 350°F for 35 to 40 minutes. The top should look puffed, set at the edges, and slightly shiny in the middle. If the pan bubbles violently and the surface starts looking dry, it’s been in too long. Let it rest for a few minutes before serving so the sauce settles enough to spoon cleanly.
How to Adjust This Without Losing the Self-Saucing Texture
Make it dairy-free
Use a plain unsweetened non-dairy milk like almond or oat milk, and swap the butter for a neutral dairy-free butter or refined coconut oil. The texture stays close, though the flavor gets a little less rich and a little more neutral.
Use dark cocoa for a deeper chocolate finish
Swap in dark cocoa for part or all of the cocoa powder if you want a more intense, less sweet result. The dessert will taste darker and a little more grown-up, but the sauce still forms the same way.
Bake it in a larger dish for a thinner layer
A larger baking dish spreads the batter out more, which gives you a thinner top and a little less sauce depth. It still works, but start checking early so the edges don’t overbake before the center finishes.
Storage and Reheating
- Refrigerator: Store leftovers covered for up to 4 days. The sauce thickens as it chills, so the texture turns more pudding-like.
- Freezer: It freezes, but the sauce won’t stay as silky after thawing. For best results, freeze in portions and expect a softer, less glossy sauce when reheated.
- Reheating: Warm individual servings in the microwave in short bursts until just heated through, or reheat the whole dish loosely covered in a 300°F oven. Don’t blast it too long or the top turns dry before the sauce loosens up again.
Questions I Get Asked About This Recipe
Chocolate Cobbler
Ingredients
Equipment
Method
- Preheat your oven to 350F, then butter a 9x9 or 8x8 baking dish so the batter releases cleanly.
- Whisk all-purpose flour, granulated sugar, cocoa powder, baking powder, and salt until the dry mixture is evenly colored.
- Stir in whole milk, melted unsalted butter, and vanilla extract until the batter is smooth with no dry pockets.
- Spread the batter into the prepared baking dish to create an even layer.
- Mix brown sugar and cocoa powder, then sprinkle the mixture evenly over the batter so it covers the surface.
- Pour the very hot water over everything without stirring, then stop as soon as the surface looks wet and pooled.
- Bake at 350F for 35-40 minutes, until the top is set and springs back lightly when touched.
- Let the chocolate cobbler rest briefly, then serve warm with vanilla ice cream so it melts beside each scoop.