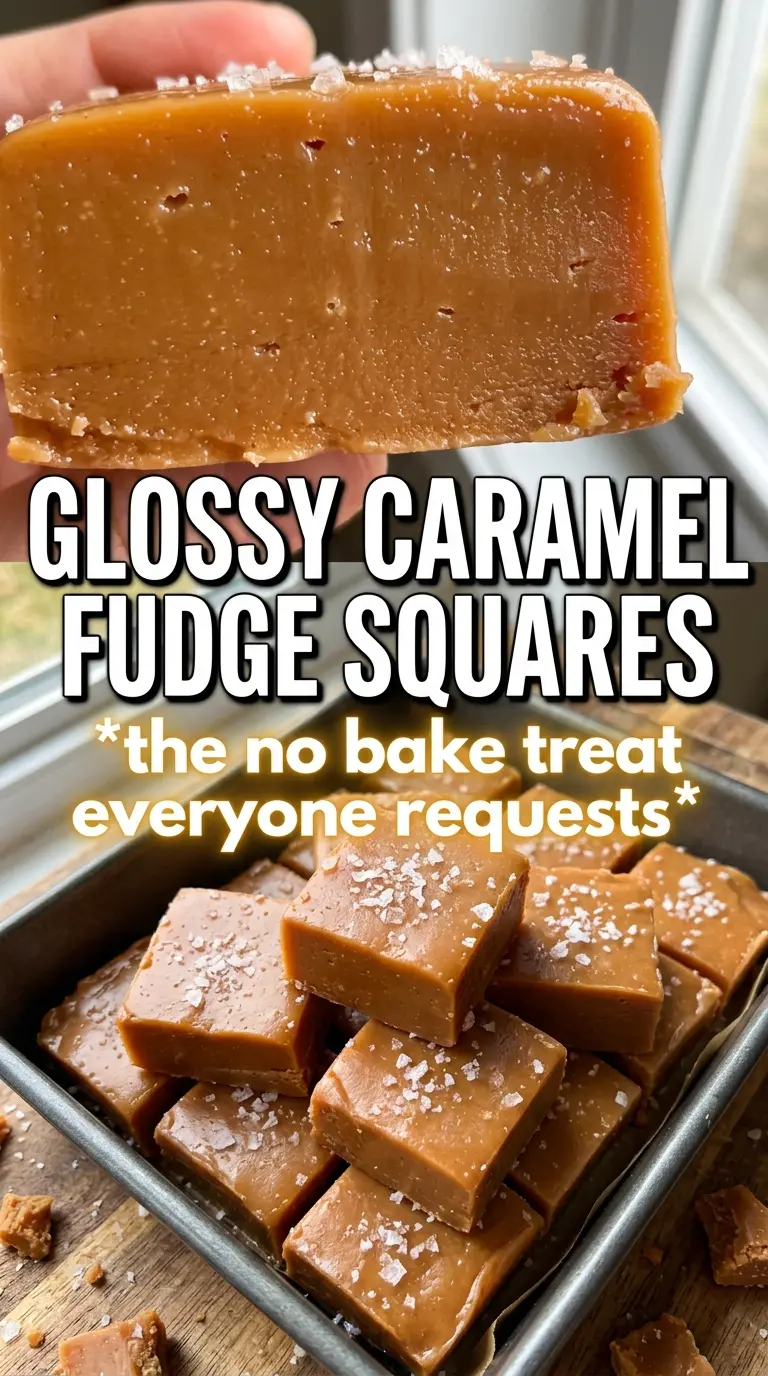
Caramel fudge sets up with a glossy, chewy bite that lands somewhere between old-fashioned candy and a soft caramel square. The flavor is deep and buttery, with a clean finish from the salt on top, and the texture stays dense without turning grainy when it’s cooked to the right temperature. It’s the kind of candy that disappears fast because one square feels rich enough, but not so rich that you stop at one.
The key here is patience with the boil. Sugar, cream, butter, corn syrup, and sweetened condensed milk all go into one pan, but the mixture still needs to reach 238-240°F before it will set with that smooth, sliceable finish. That temperature gives you fudge that cuts cleanly and holds its shape, instead of sinking into a soft caramel puddle. The corn syrup helps keep the sugar from crystallizing, and the condensed milk gives the fudge its creamy body and that caramel color.
Below you’ll find the part that matters most: how to keep the candy from turning gritty, what the thermometer is actually telling you, and the small finishing details that make every square look bakery-worthy.
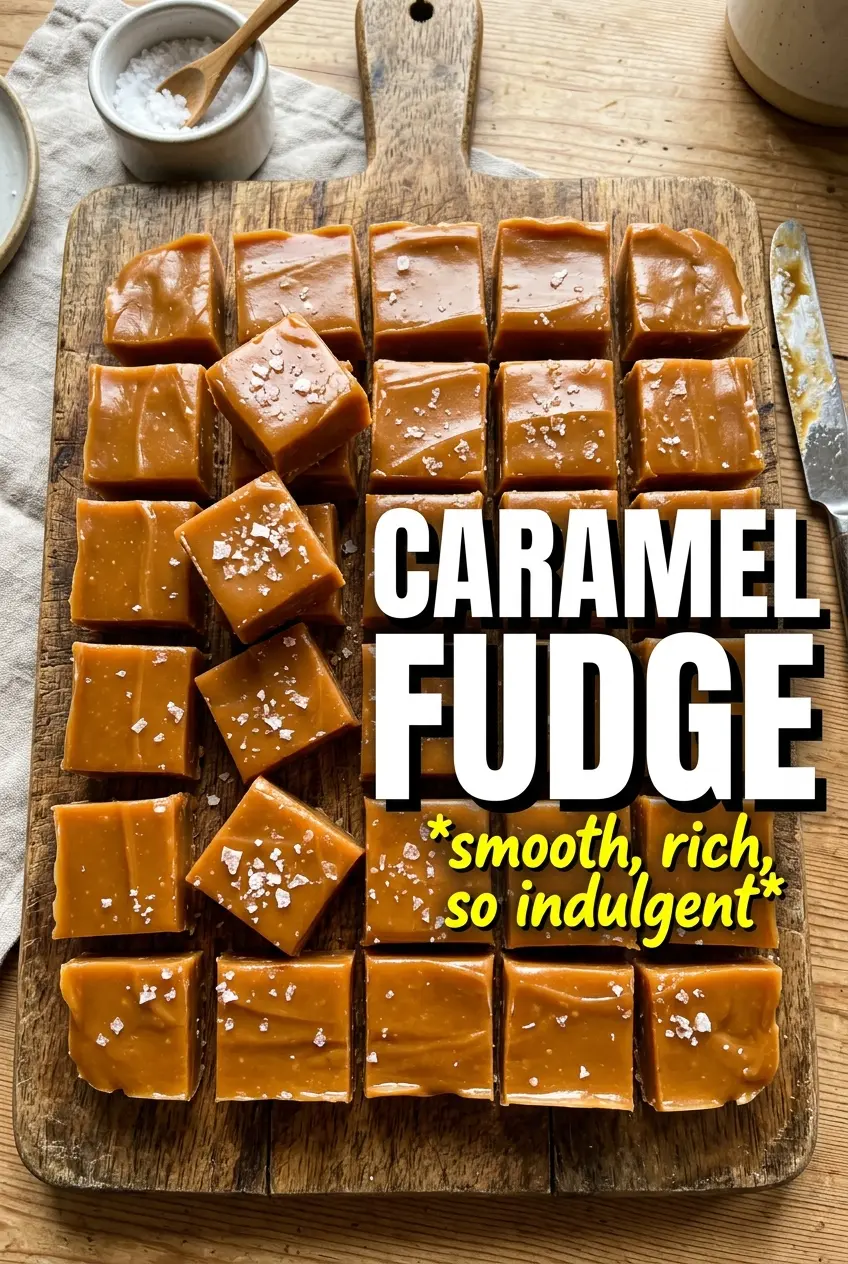
The fudge set up perfectly at 240°F and cut into clean little squares after chilling. The flaky salt on top kept it from tasting too sweet, and the texture stayed smooth instead of grainy.
Save this caramel fudge for the days when you want glossy, buttery squares with a flaky salt finish.
The Temperature Window That Keeps Caramel Fudge Smooth
Caramel fudge gets grainy when the sugar starts crystallizing on the sides of the pan or when it’s pulled off the heat too soon. The corn syrup is doing quiet but important work here: it interferes with crystallization so the mixture cooks into a smooth candy instead of a sandy one. That’s why constant stirring matters at the beginning, when everything is dissolving together and the mixture can look calm right before it starts to boil.
The real turning point is the candy thermometer. Stop at 238-240°F and not a degree lower if you want fudge that slices cleanly after chilling. If you undercook it, the squares stay loose and sticky; if you push it much past that range, the texture turns firmer and can start to feel brittle at the edges. Pull it from the heat the moment it hits the target, then work quickly with the vanilla and salt so the batch pours before it starts to thicken in the pan.
What Each Ingredient Is Doing in This Caramel Fudge
- Granulated sugar — This is the structure of the candy. It melts and concentrates into that caramel base, so regular white sugar is the right choice here; brown sugar would change the flavor and the final texture.
- Unsalted butter — Butter gives the fudge its rich, round finish and keeps the flavor from tasting sharp or one-note. Unsalted is best because you can control the salt yourself, especially since flaky salt goes on top.
- Heavy cream — Cream keeps the mixture smooth and gives the fudge its soft bite. Half-and-half won’t give the same body, and milk is too lean for this kind of candy.
- Light corn syrup — This is the anti-grit ingredient. It helps prevent crystallization, which is what keeps the candy glossy and smooth instead of sandy.
- Sweetened condensed milk — This adds milk solids, sweetness, and a caramel-like depth that turns the mixture into fudge instead of plain soft caramel. There isn’t a true stand-in that behaves the same way.
- Vanilla extract — Stir it in off the heat so the flavor stays warm and clean. If it goes in while the candy is boiling, some of that aroma gets lost.
- Flaky sea salt — This isn’t just garnish. It cuts through the sweetness and gives each square a little crunch on top.
Getting the Candy to Set Without Turning Grainy
Preparing the Pan First
Line the 8×8 pan with parchment and butter it generously before you start the candy. Once the fudge is ready, it begins to set fast, and you won’t have time to mess with the pan. The butter helps the parchment stay put and keeps the candy from sticking to the corners, which is where most clean cuts get ruined.
Cooking the Base to Soft-Ball Stage
Combine everything except the vanilla, salt, and flaky topping in a heavy-bottomed saucepan and bring it to a boil over medium heat, stirring constantly. Once it’s boiling, keep stirring frequently so nothing scorches on the bottom or clings to the sides. The mixture should look thick, glossy, and active, with slow bubbles that pop all over the surface. When the thermometer reaches 238-240°F, take it off the heat right away; lingering on the burner is how you overshoot the set.
Finishing and Setting the Fudge
Stir in the vanilla and salt once the pan is off the heat. The mixture may thicken slightly, which is normal, but it should still pour. Get it into the prepared pan, smooth the top, and scatter the flaky salt while it’s still warm so it sticks. Let it cool at room temperature for an hour, then move it to the refrigerator for another hour until fully set. If you rush the cooling, the center can stay soft and the knife will drag through the squares instead of cutting cleanly.
Chocolate Swirl Finish
Stir in 1/2 cup melted semisweet chocolate after the candy comes off the heat for a marbled look. The chocolate adds a darker, slightly firmer edge and turns the flavor more like a caramel truffle than straight fudge.
Dairy-Free Version
Use a full-fat canned coconut cream in place of the heavy cream and a dairy-free butter substitute with a similar fat content. The result will still set, but the flavor shifts slightly toward coconut and the texture can be a touch softer.
Extra-Salty Bakery Style
Double the flaky salt on top and use a little less vanilla for a sharper caramel flavor. This version leans less candy-sweet and gives you those sweet-salty bites that feel a little more grown-up.
Storage and Reheating
- Refrigerator: Store in an airtight container for up to 2 weeks. The texture stays firm and sliceable, though it becomes a little chewier straight from the fridge.
- Freezer: Freezes well for up to 3 months. Wrap the squares tightly and separate layers with parchment so they don’t stick together when thawed.
- Reheating: Not needed. Let frozen pieces thaw in the refrigerator or at room temperature. Warming this candy makes it soften too much and can leave the edges sticky.
Answers to the Questions Worth Asking
Caramel Fudge
Ingredients
Equipment
Method
- Line an 8x8 pan with parchment and butter generously, so the fudge releases cleanly after setting. Make sure the parchment covers the bottom and extends up the sides for easy lifting.
- Combine granulated sugar, unsalted butter, heavy cream, light corn syrup, and sweetened condensed milk in a heavy-bottomed saucepan. Stir just to mix before you start heating.
- Bring the mixture to a boil over medium heat while stirring constantly. Keep scraping the bottom so it doesn’t scorch.
- Continue cooking, stirring frequently, until the mixture reaches 238-240°F (soft ball stage) on a candy thermometer. The caramel should look glossy and dark amber as it approaches temperature.
- Remove the pan from the heat and stir in vanilla extract and salt. The mixture will look slightly lighter and smoother right after mixing.
- Pour the hot caramel into the prepared 8x8 pan and immediately sprinkle Flaky sea salt for topping. Add the salt while the surface is still glossy so it adheres.
- Cool at room temperature for 1 hour, until the fudge loses most of its surface heat. You should see it start to look set rather than pourable.
- Refrigerate for 1 more hour until set and firm to the touch. The caramel fudge should slice cleanly and feel dense.
- Cut into squares with a sharp knife, wiping the blade between cuts if needed for neat edges. Serve immediately or store for later.