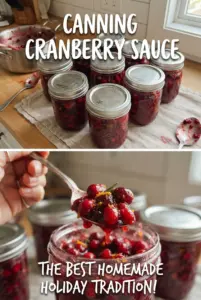
Glossy whole berry cranberry sauce earns its place on the shelf because it sets up with a bright, clean sweetness and enough texture to still feel homemade after canning. The berries hold just enough shape to look beautiful in the jar, but they burst during the boil and turn the liquid into something thick, jewel-toned, and spoonable. It tastes like cranberry sauce, not cranberry jelly pretending to be sauce.
The trick is balancing the liquid and the sugar before the berries go in. That base needs to come fully to a boil so the sugar dissolves cleanly, and the sauce needs a real 10 to 12 minute simmer so the cranberries pop and release their natural pectin. Bottled lemon juice matters here because canning needs a predictable acid level, and the orange zest goes in at the end so it stays fragrant instead of cooking flat.
Below, I’ve included the small details that keep the jars safe and the texture right, plus the one thing that makes this cranberry sauce look as good on the pantry shelf as it does on the table.
The sauce thickened up beautifully in the pot and the jars sealed on the first try. I loved that the orange zest stayed bright, and the cranberries kept enough texture that it wasn’t just smooth jam.
Save this glossy whole berry cranberry sauce for the jars with the bright orange finish and clean, tart-sweet flavor.
Why This Cranberry Sauce Stays Thick After Canning
The common failure with canned cranberry sauce is ending up with a jar of thin syrup at the top and mush at the bottom. Cranberries bring their own pectin, but they need heat long enough to burst and release it. If you pull the pot too soon, the sauce will look loose in the kettle and set even looser after processing. If you cook it hard for too long, you’ll drive off too much liquid and end up with a jammy block that doesn’t spoon well.
The balance here comes from starting with sugar, water, and orange juice, then adding the cranberries once the base is fully boiling. That gives the berries a controlled environment to break down without scorching. The bottled lemon juice keeps the acidity where it needs to be for safe water bath canning, and the 5-minute rest in the canner after turning off the heat helps reduce siphoning from the jars.
What Each Ingredient Is Doing in the Jar
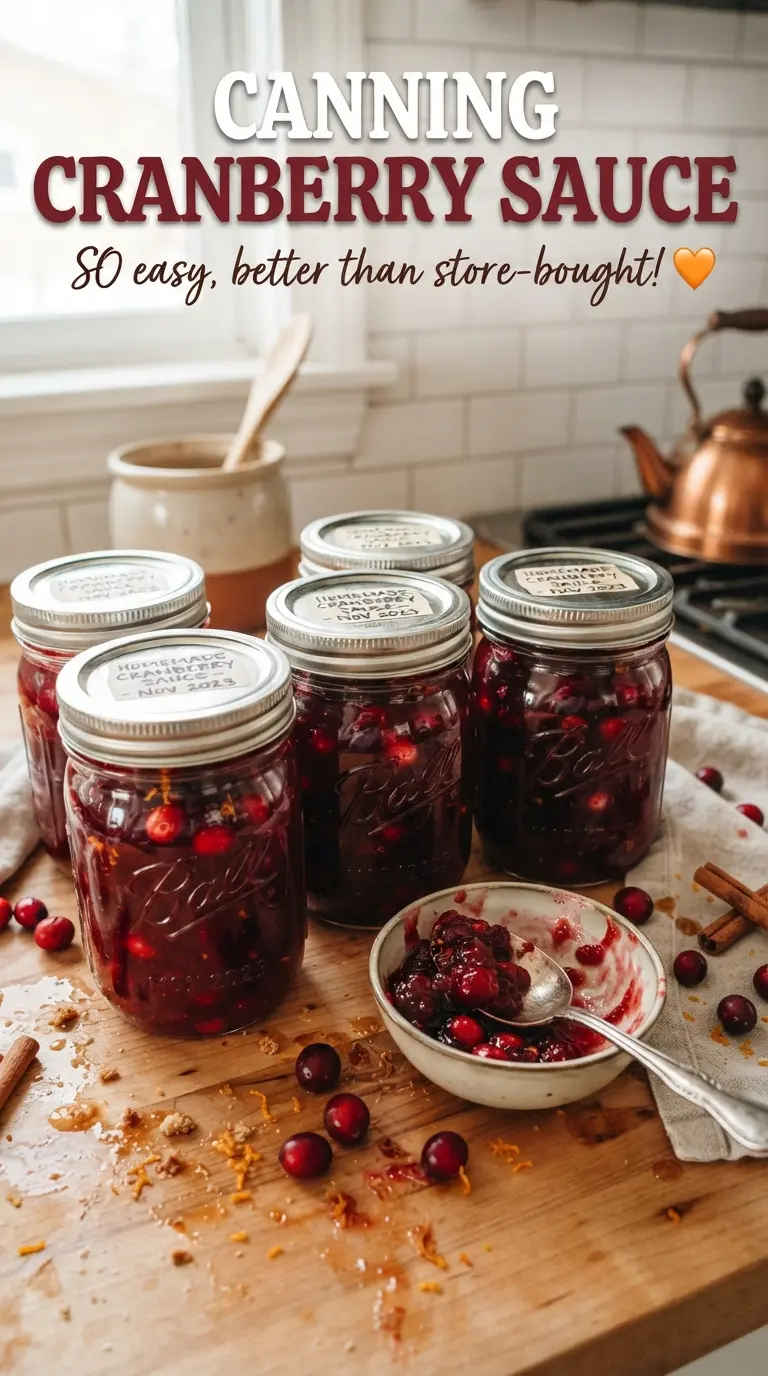
- Fresh cranberries — These are the backbone of the recipe. Frozen cranberries also work without thawing, but old, soft berries can turn mealy instead of holding that pretty whole-berry texture.
- Sugar — This isn’t just for sweetness. It helps the sauce thicken and gives the finished jars a better shelf-stable texture, so cutting it back changes more than flavor.
- Orange juice and orange zest — The juice rounds out the tartness, while the zest brings the bright citrus aroma that makes the sauce taste fresh after canning. Freshly grated zest is best; the bottled stuff won’t give the same lift.
- Bottled lemon juice — Use bottled, not fresh-squeezed. In canning, you want a measured acidity level, and bottled lemon juice gives you that consistency every time.
- Water — It loosens the base enough to dissolve the sugar evenly and gives the cranberries room to break down into sauce instead of scorching on the bottom of the pot.
The Timing That Keeps the Sauce Safe, Sealed, and Spoonable
Getting the Sugar Base Fully Dissolved
Bring the sugar, water, and orange juice to a full boil before anything else goes in. You want the sugar grains gone and the liquid clear, not cloudy with undissolved crystals sitting on the bottom. If the base isn’t boiling when the cranberries go in, the berries can cook unevenly and the sauce can take on a grainy, rushed texture.
Cooking the Cranberries Until They Burst
Add the cranberries and bottled lemon juice, then keep the boil gentle. After a few minutes the berries start to pop open with little hisses, and that’s your cue that the sauce is thickening correctly. Stir often enough to keep the bottom from catching, but don’t beat the berries into a puree unless you want to lose the whole-berry look. When most berries have burst and the sauce coats a spoon, stir in the orange zest.
Filling the Jars Without Losing Heat
Ladle the sauce into hot jars while the sauce is still hot. Cold jars or a long pause between ladling and sealing can drop the temperature fast, and that’s when seals fail. Leave 1/4-inch headspace so the sauce has room to expand during processing without forcing liquid under the lid.
Processing and Cooling the Right Way
Process the jars in a boiling water bath for 15 minutes, adjusting for altitude if needed. When the time is up, turn off the heat and let the jars sit in the canner for 5 minutes before lifting them out. That short rest helps the seals set more cleanly. Then leave the jars alone for 24 hours; moving them early can break the seal or make the sauce separate.
Frozen Cranberries Work Without a Thaw
Frozen cranberries can go straight into the pot, and they’ll behave almost exactly like fresh ones. The sauce may take a minute or two longer to return to a boil, but the texture and flavor stay on track. This is a good swap when fresh berries are out of season or pricey.
A Lower-Sugar Version Changes the Set
You can reduce the sugar a little, but don’t cut it aggressively if you want the same thick, glossy result. Less sugar means a looser sauce and a less stable shelf texture. If you want a tart version, lower it modestly and plan on a softer set, then refrigerate after opening.
Make It Vegan Without Changing Anything
This recipe is naturally vegan as written. The important part is staying with bottled lemon juice and standard canned fruit ingredients so the acidity and process stay consistent. There’s nothing to replace here, which is one reason this recipe is such a dependable pantry staple.
Turning It Into a Chunkier Holiday Relish
Leave the cranberries in larger pieces by stirring less once they start bursting. You’ll get a more rustic texture with visible whole berries and a looser spoonful that works well beside roasted meats. Just don’t undercook it, or the sauce will stay watery instead of settling into a spoonable consistency.
Storage and Reheating
- Refrigerator: Store opened jars in the fridge for up to 3 weeks. The sauce may tighten a bit as it chills, which is normal.
- Freezer: Unsealed cranberry sauce freezes well in airtight containers for about 3 months, though the texture softens slightly after thawing.
- Reheating: Warm only the amount you plan to serve. Use low heat on the stove or short bursts in the microwave, and stir gently so the berries don’t break down into a puree.
Answers to the Questions Worth Asking
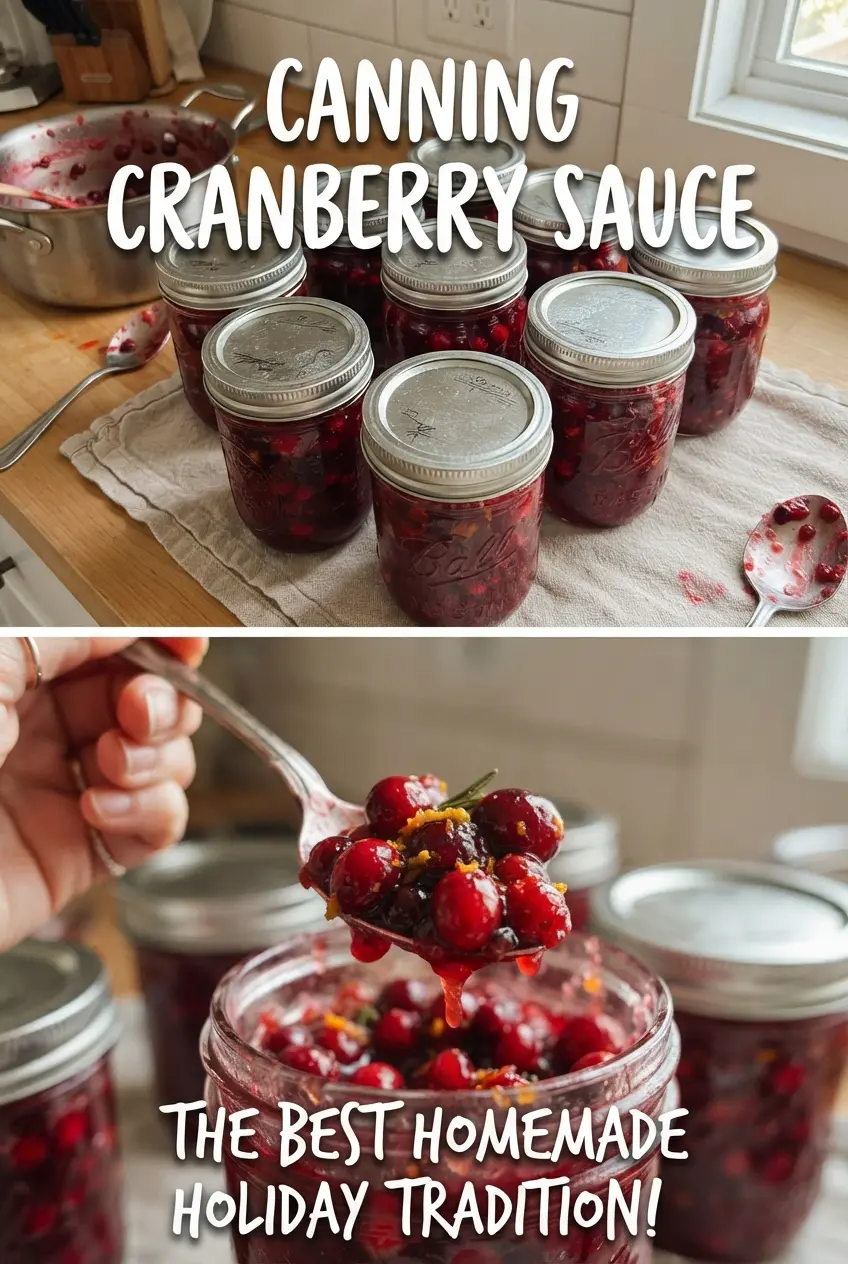
Canning Cranberry Sauce
Ingredients
Equipment
Method
- Wash 12 half-pint mason jars, lids, and bands, then keep the jars hot in simmering water until ready to fill. Keep everything hot to prevent jar-temperature shock.
- Bring sugar, water, and orange juice to a boil in a large pot, stirring until the sugar is fully dissolved. Maintain a steady boil so the syrup starts thickening quickly.
- Add fresh cranberries and bottled lemon juice, then boil gently for 10-12 minutes until the berries burst and the sauce thickens. Watch for popping berries and a more syrupy consistency.
- Stir in orange zest and cook for about 30 seconds to warm through. The zest should stay aromatic without boiling too long.
- Ladle the hot sauce into the hot jars, leaving 1/4-inch headspace. Wipe the rims clean, then apply lids and bands fingertip tight.
- Process in a boiling water bath canner for 15 minutes, adjusting time for altitude. Make sure jars remain at a true rolling boil the entire time.
- Turn off the heat, rest jars in the canner for 5 minutes, then lift out and cool undisturbed for 24 hours. Do not tighten bands after sealing; let seals form naturally.
- Check that the lids have sealed, then store sealed jars in a cool dark place for up to 1 year. Refrigerate any jar with a failed seal and use it first.