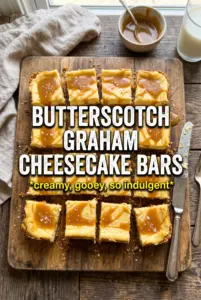
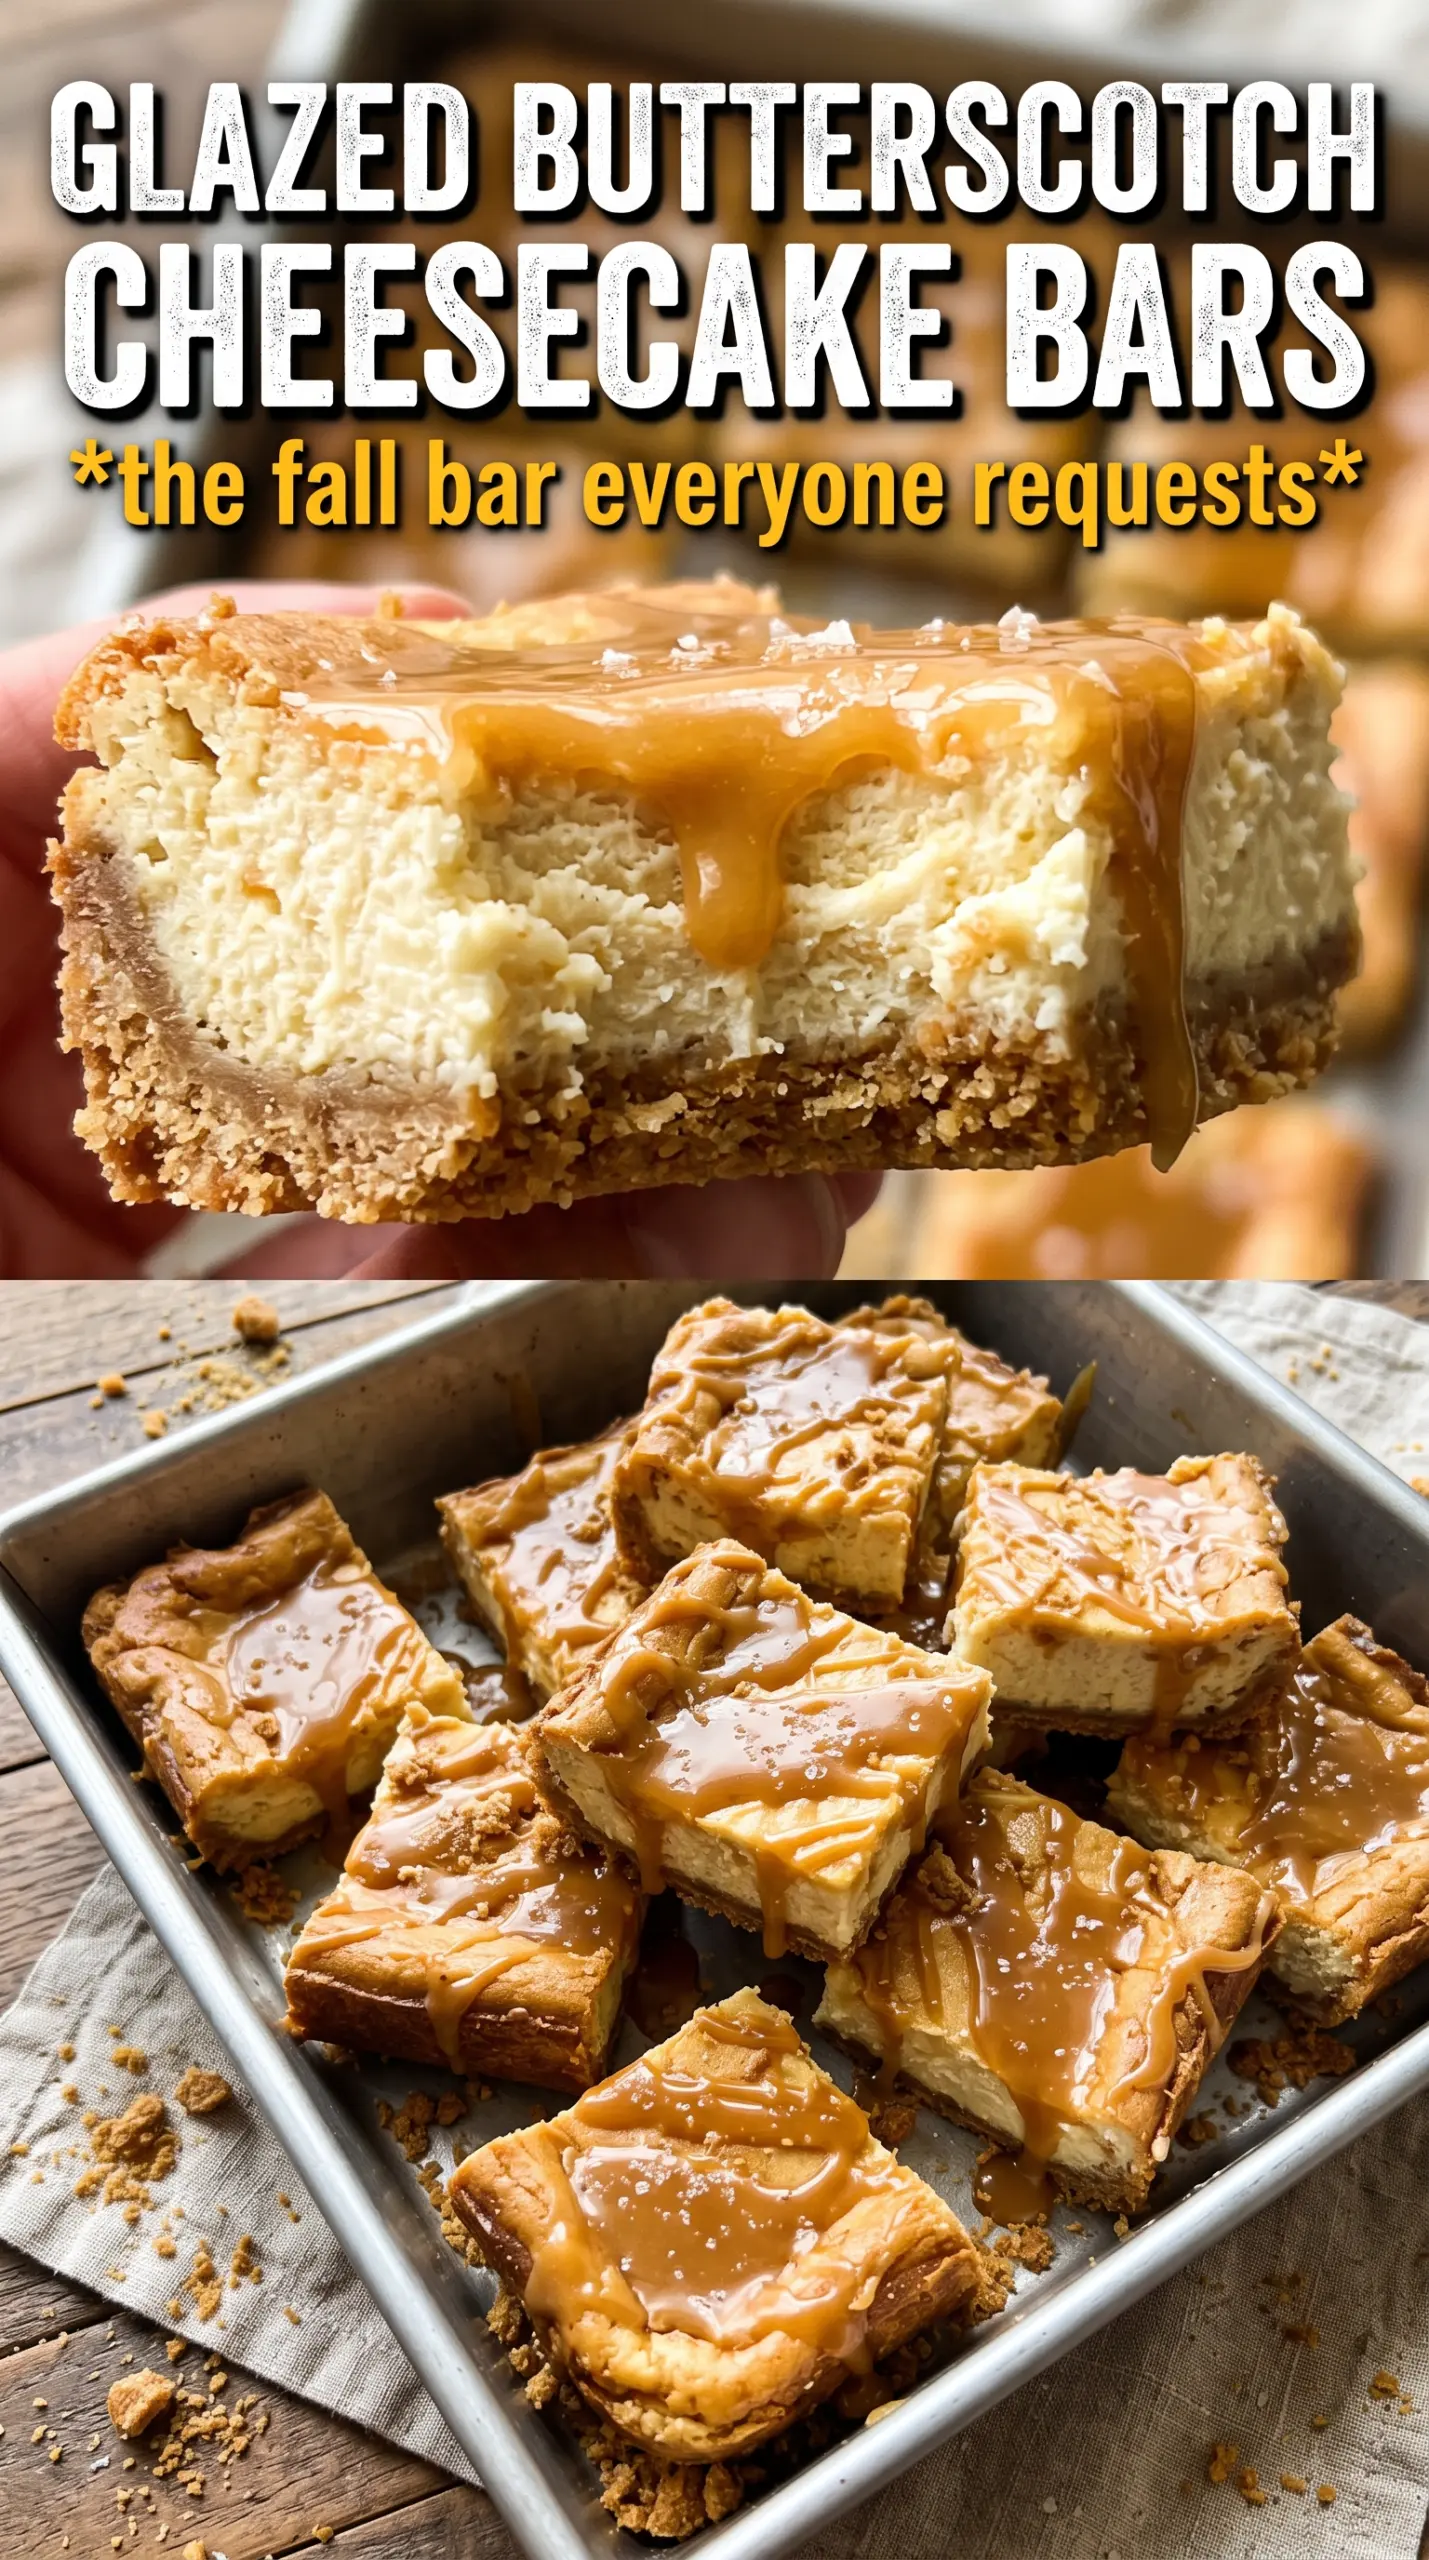
Butterscotch Graham Cracker Cheesecake Bars bring that sweet, toasted, buttery flavor into a creamy bar that slices cleanly and disappears fast. The crust stays crisp under the filling, the cheesecake bakes up smooth instead of airy, and the butterscotch drizzle gives each square a glossy finish that tastes like the best part of a diner pie and a cheesecake all at once.
What makes these bars work is balance. The graham crust gets baked before the filling goes in, so it holds up under the cream cheese layer instead of turning soft. Melted butterscotch chips go into the filling after the cream cheese is smooth, which helps the flavor read clearly without leaving little gritty pockets. Sour cream keeps the texture rich but not heavy, and the extra butterscotch extract pushes the flavor past “sweet” into something deeper and more caramel-like.
You’ll find the small details that matter here: how to tell when the bars are just set, why the chilling time is non-negotiable, and how to drizzle the topping so every piece looks bakery-worthy.
The filling stayed ultra-creamy and the butterscotch flavor came through without being overpowering. I chilled them overnight and the bars cut into perfect squares with that crisp graham crust still holding strong.
Save these Butterscotch Graham Cracker Cheesecake Bars for the kind of dessert that cuts cleanly, chills beautifully, and brings big butterscotch flavor in every square.
The Trick to Cheesecake Bars That Slice Clean Instead of Smearing
The biggest mistake with cheesecake bars is overbaking them. If the center looks fully firm in the oven, it’s already gone too far. These bars should come out when the edges are set and the middle still has a slight wobble; they finish setting as they cool, and that’s what keeps the texture dense, creamy, and smooth instead of dry or cracked.
The other thing that matters is the crust. Press it firmly and bake it before adding the filling. That quick head start gives you a base that tastes toasted instead of raw and keeps the bottom from turning crumbly when you cut the bars. Cold, unmixed cream cheese lumps are another common problem, so soften it fully before you start or the filling won’t beat smooth.
What Each Ingredient Is Doing in These Bars
- Graham cracker crumbs — These give the crust its classic honeyed, toasty base. Fresh crumbs pack more evenly than oversized store-bought crumbs, so pulse them fine if they seem coarse.
- Melted butter — This is what binds the crust so it slices cleanly. Don’t cut it back; too little butter leaves a sandy crust that falls apart.
- Cream cheese — This is the backbone of the filling, and the texture depends on it being fully softened. Brick-style cream cheese gives the best body here, while tub cream cheese can bake up looser.
- Sour cream — It keeps the filling tangy and silky, and it softens the sweetness of the butterscotch. Plain full-fat Greek yogurt works in a pinch, but the flavor will be a little sharper and the filling slightly less rich.
- Melted butterscotch chips — These carry the main butterscotch flavor in the filling and the topping. Let them cool before stirring them in so they don’t melt the cream cheese too aggressively.
- Butterscotch extract — This is what makes the flavor read as butterscotch instead of just sweet cream cheese. If you skip it, the bars still work, but the flavor gets flatter.
Building the Bars So the Filling Stays Smooth
Pressing and Baking the Crust
Mix the graham crumbs, sugar, and melted butter until every crumb looks damp and the mixture holds together when squeezed. Press it firmly into the parchment-lined pan, especially into the corners, because loose edges crumble first when you cut the bars. Bake it just until it smells toasted and looks set, about 10 minutes. If it goes too dark, the finished bars can taste bitter at the bottom.
Beating the Cheesecake Base
Start with the cream cheese and sugar and beat until the mixture is completely smooth before anything else goes in. This is where you get rid of the grainy texture, and once the eggs are added, you can’t fix lumps as easily. Add the eggs one at a time and stop mixing as soon as each one disappears; overbeating traps air, which can cause the bars to puff and crack.
Adding the Butterscotch Without Breaking the Filling
Stir in the sour cream, vanilla, melted butterscotch chips, and butterscotch extract after the base is smooth. The melted chips should be warm, not hot, or they can thin the filling too much. If the mixture looks slightly streaked at first, keep folding gently until it turns one even color. Pour it over the crust and smooth the top before baking so the bars set evenly.
Knowing When to Stop the Bake
Bake until the edges are set and the center still has a small wobble when you nudge the pan. Don’t wait for the middle to look fully firm, because the residual heat finishes the job while the bars cool. Let them cool completely at room temperature, then chill for the full 3 hours. That chill time is what gives you clean slices and the dense, creamy texture these bars need.
Three Useful Ways to Adjust These Bars
Gluten-Free Crust Swap
Use certified gluten-free graham-style crumbs in the same amount. The filling stays exactly the same, and the swap only changes the crust texture slightly, not the final flavor. Press it tightly so the GF crumbs don’t turn sandy when sliced.
Dairy-Free Version
Use a plant-based cream cheese and sour cream, plus dairy-free butter and dairy-free butterscotch chips if you can find them. The bars will still chill into neat squares, but the filling may be a little softer and less tangy than the original. Chill them overnight for the best slice.
Extra-Deep Butterscotch Finish
If you want the butterscotch to stand out more, keep the filling as written and use a generous drizzle on top. You can also sprinkle a few crushed graham crumbs over the drizzle so the bars taste like a layered dessert instead of a plain cheesecake square. This version is richer and a little sweeter, so smaller pieces go a long way.
Storage and Reheating
- Refrigerator: Store in an airtight container for up to 5 days. The crust stays best in the first 2–3 days, but the bars still slice neatly after that.
- Freezer: These freeze well. Wrap the chilled bars individually, then freeze in a sealed container for up to 2 months. Thaw in the refrigerator so the topping doesn’t weep.
- Reheating: No reheating needed. Serve them cold or slightly softened from the fridge. If they sit at room temperature too long, the filling gets too soft and the drizzle can lose its clean finish.
Questions I Get Asked About This Recipe
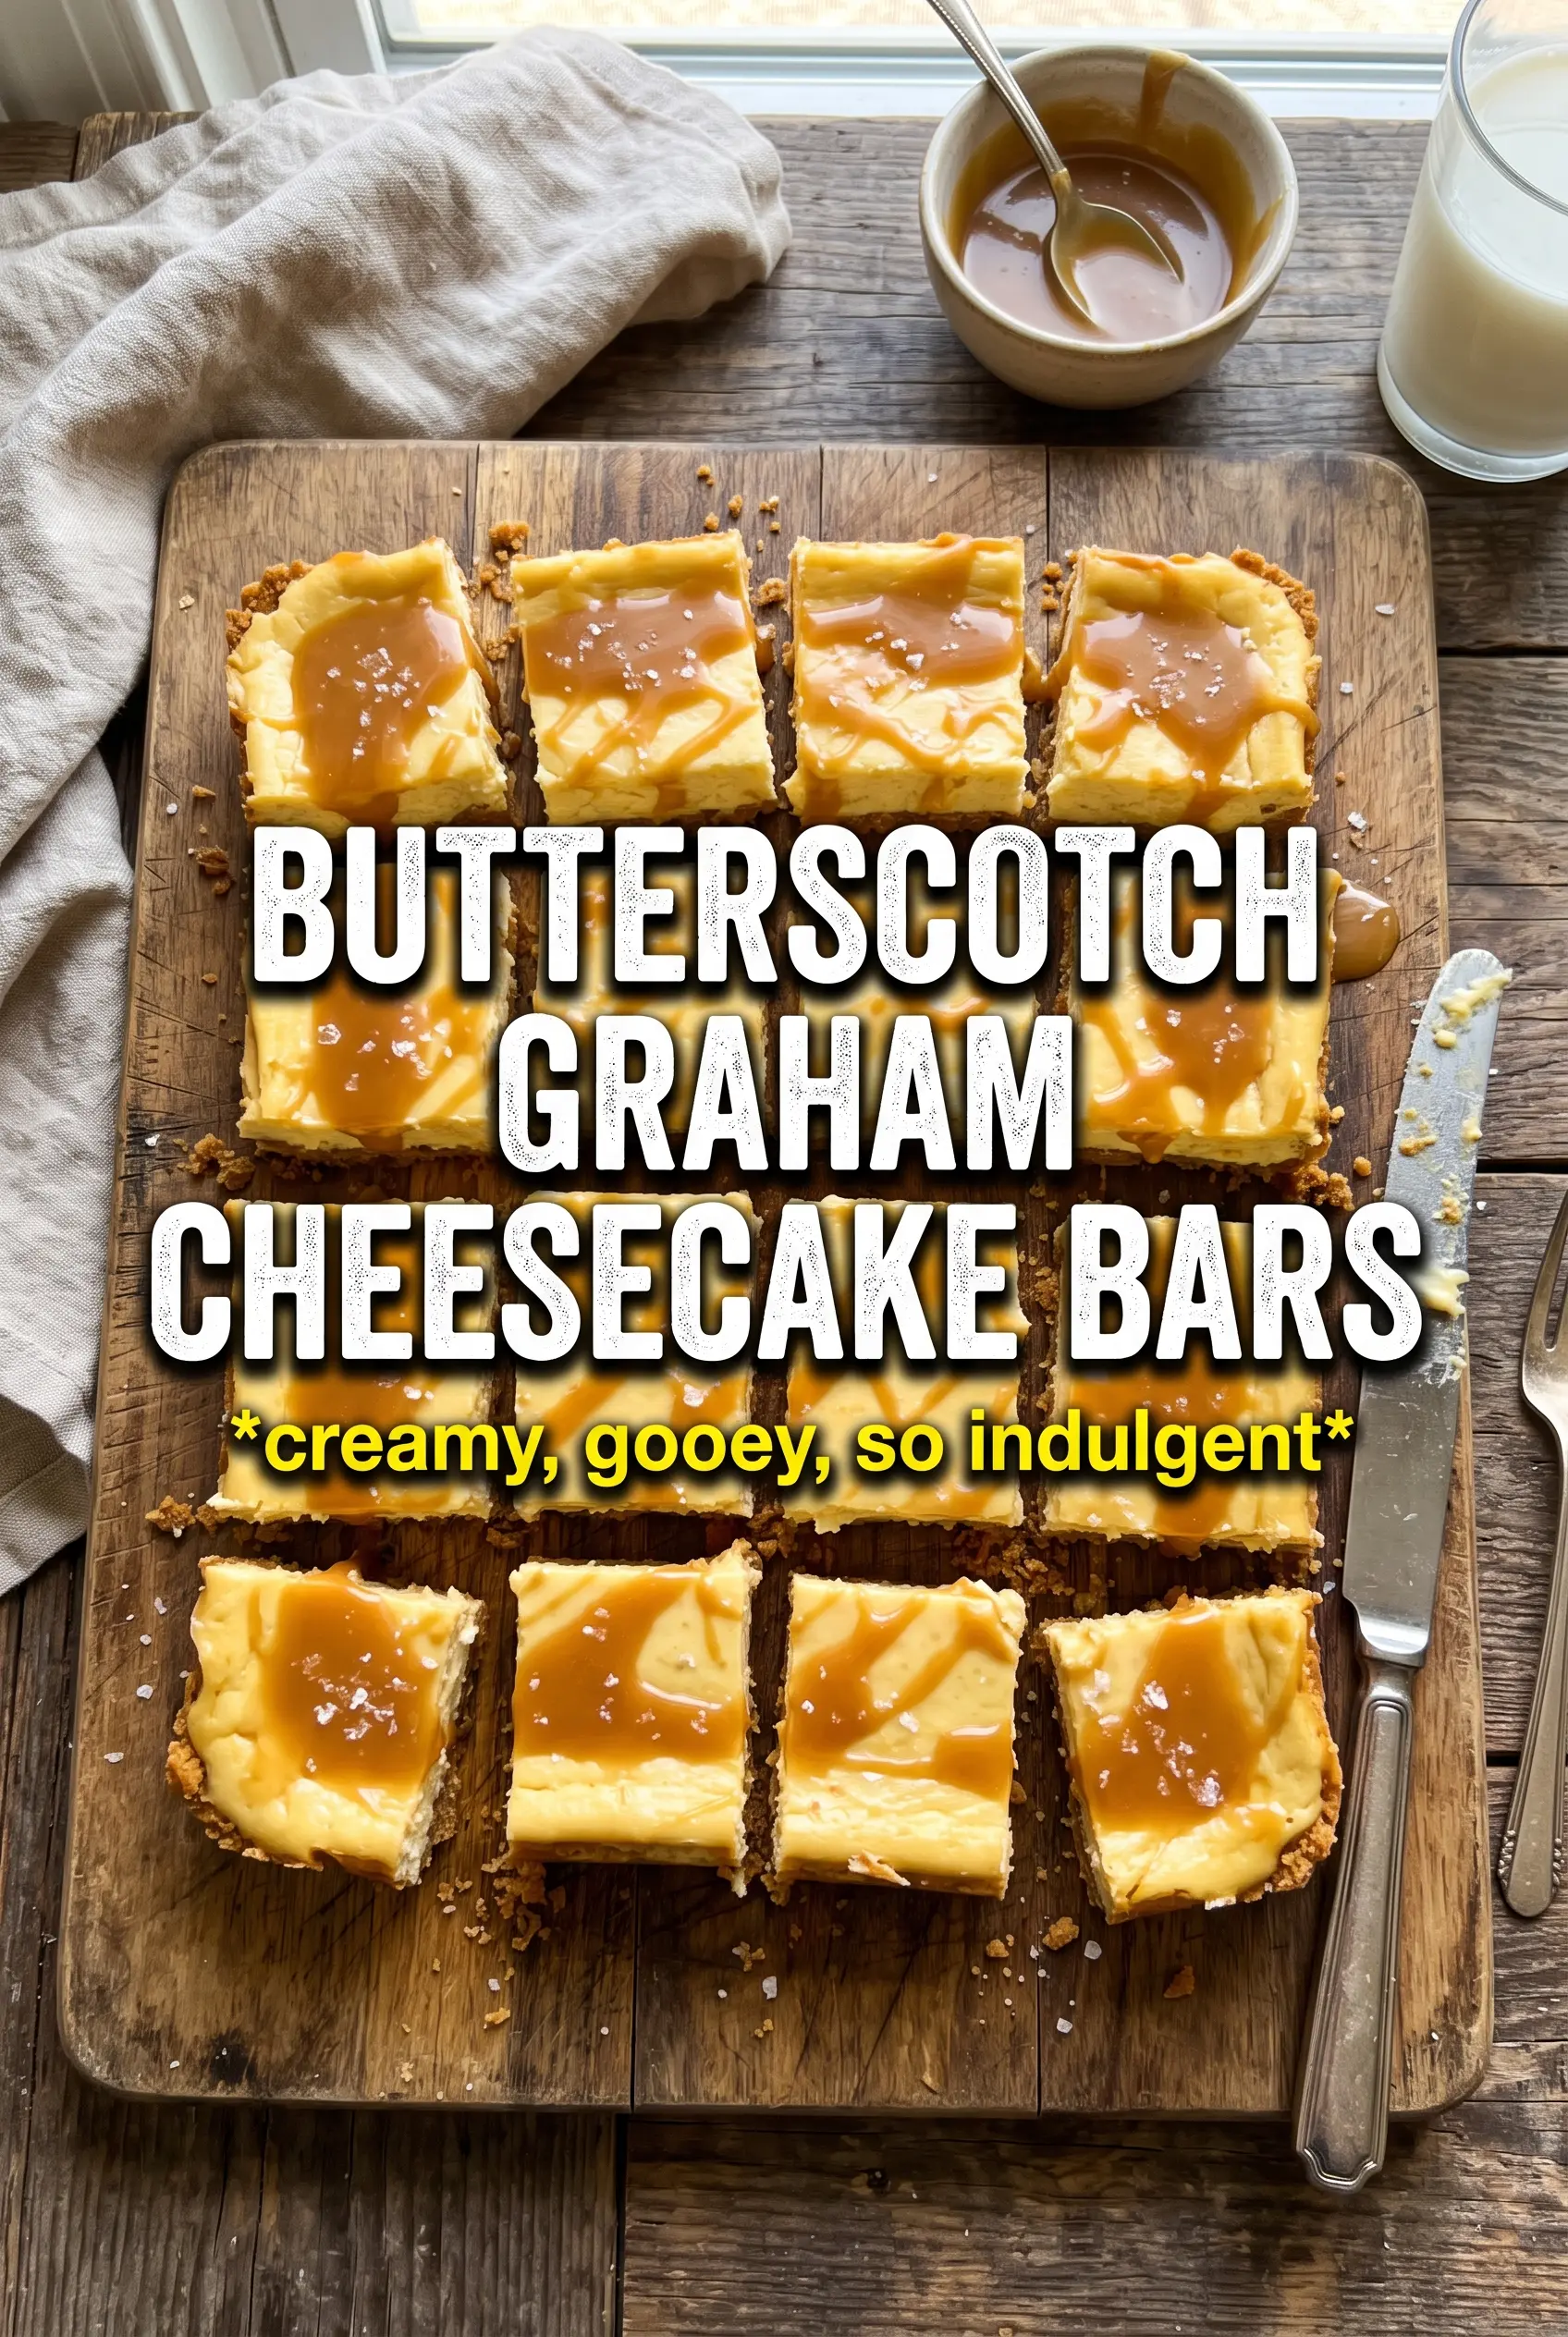
Butterscotch Graham Cracker Cheesecake Bars
Ingredients
Equipment
Method
- Preheat the oven to 325°F and line a 9x13 pan with parchment paper for easy lifting.
- Combine the graham cracker crumbs, sugar, and melted butter, then press the mixture firmly into the pan.
- Bake the crust for 10 minutes, until set and lightly fragrant, then remove to cool slightly.
- Beat the cream cheese and granulated sugar until smooth and lump-free.
- Add the eggs one at a time, beating on low after each addition just until incorporated.
- Stir in the sour cream, vanilla, melted and cooled butterscotch chips, and butterscotch extract until the batter looks glossy and uniform.
- Pour the filling over the baked crust, smoothing the top with a gentle shake.
- Bake at 325°F for 30-35 minutes until the center is just set with a slight wobble.
- Cool the bars to room temperature, then refrigerate for 3 hours to firm up for slicing.
- Melt the butterscotch chips together with the heavy cream until smooth, then drizzle over the chilled bars.
- Scatter crushed graham crackers over the top as a garnish, then slice and serve.