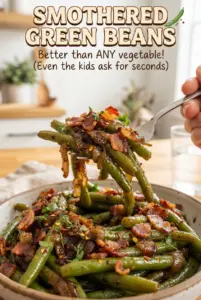
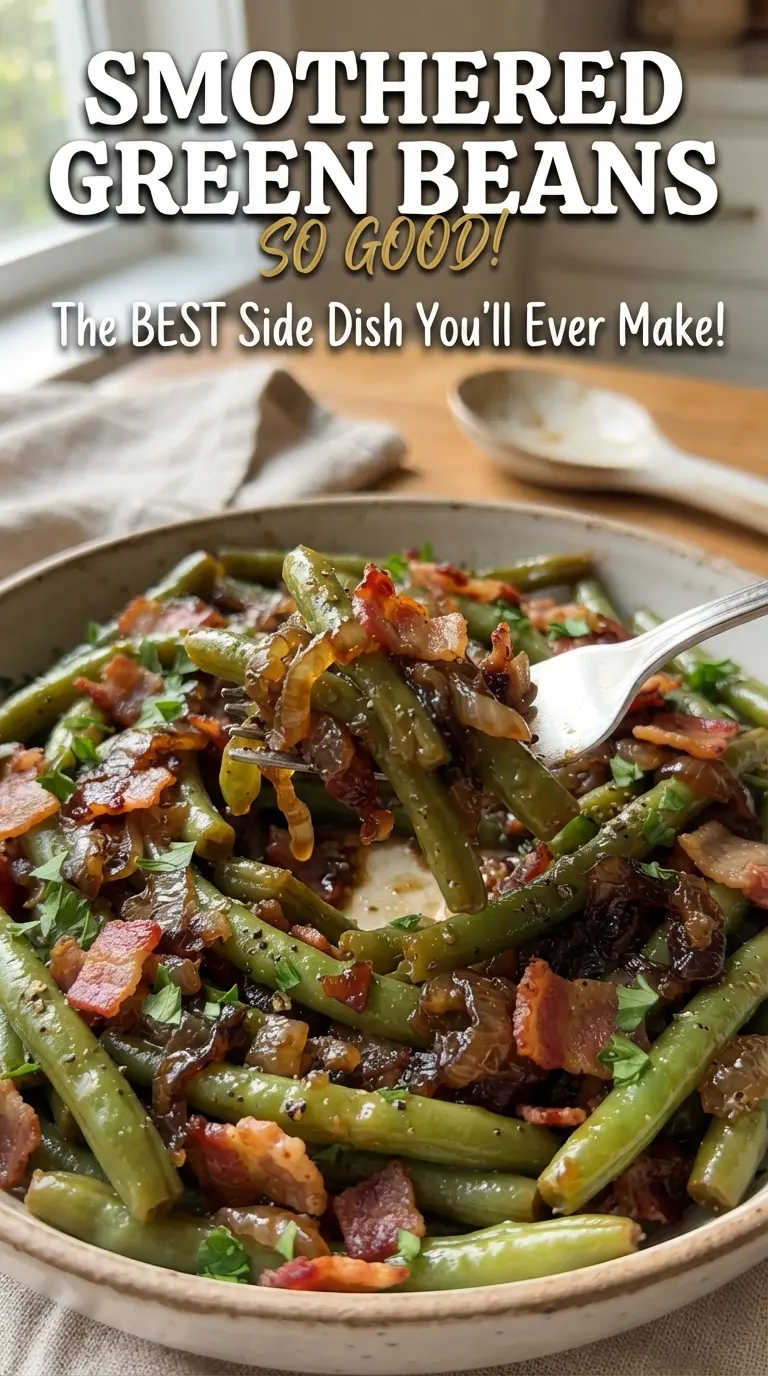
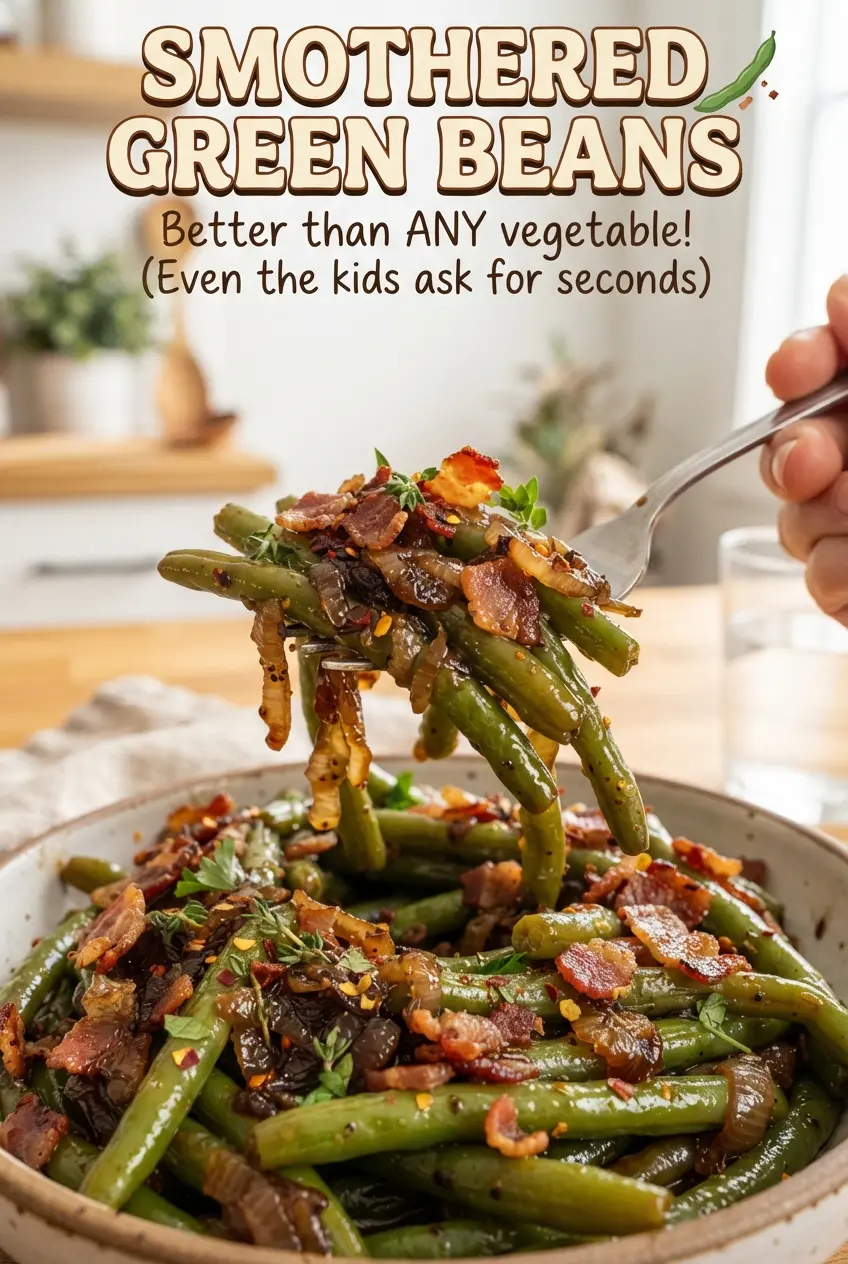
Smothered green beans turn a simple can of beans into a glossy, savory-sweet side dish with bacon, onion, and a buttery sauce that clings to every bite. The beans stay tender, the bacon adds a crisp edge, and the brown sugar mixture bakes down into something rich enough to stand up next to ham, chicken, or a holiday roast without disappearing on the plate.
What makes this version work is the layering. The bacon and onion cook together first, so the onion softens in the fat and picks up that smoky flavor before everything goes into the baking dish. The sauce gets whisked separately, then poured over the beans so the sugar and butter can melt evenly in the oven instead of clumping in one spot. A covered bake keeps the beans from drying out while the sauce turns shiny and sticky.
Below, I’ve included the little timing details that keep the sauce from getting greasy or grainy, plus a few swaps if you need to work with what’s already in your pantry.
The sauce baked into a glossy coating instead of pooling at the bottom, and the bacon stayed crisp enough to give each bite some texture. I served it with pork chops and the pan was scraped clean.
Save these smothered green beans for the nights when you want a glossy, bacon-studded side dish with almost no effort.
The Trick That Keeps the Sauce Glossy Instead of Greasy
Smothered green beans can go wrong when the fat and sugar separate in the oven. The fix is to start with the bacon and onion in the skillet, then use the drippings as part of the base instead of draining them off too early. That gives the sauce a little body and helps the brown sugar melt into the butter instead of floating on top in an oily layer.
Another common miss is overcooking the beans uncovered. These are canned beans, so they don’t need a long roast to become tender. The foil traps enough steam to keep everything cohesive while the sauce thickens, and stirring once during baking helps the glaze coat the beans evenly instead of settling into the corners of the dish.
What the Bacon, Brown Sugar, and Soy Sauce Are Really Doing
- Canned green beans — Canned beans hold their shape better here than fresh beans would. They’re already tender, so they can soak up the sauce without turning tough or requiring a separate blanching step. Drain them well, though, or extra liquid will thin the glaze.
- Bacon — Bacon does more than add salt. It gives the dish smoky depth and renders fat that carries the onion flavor and helps the sauce cling. Cut it before cooking so it browns evenly and you get little crisp edges in every bite.
- Brown sugar — This is what gives the sauce its sticky, lacquered finish. Packed brown sugar melts into the butter and bacon drippings and gives the beans that classic smothered-skillet sweetness. Light or dark both work; dark brown sugar will taste deeper and a little molasses-heavy.
- Soy sauce — Just a tablespoon keeps the sauce from reading flat or candy-sweet. It adds salt and a little savory backbone, which is why this dish tastes balanced instead of cloying. Worcestershire can work in a pinch, but it will taste sharper and less rounded.
- Butter — Melted butter helps the sugar disperse and gives the sauce a soft finish once it bakes. If the butter is too hot when you whisk it with the sugar, it still works, but letting the mixture come together for a moment first helps it pour more smoothly over the beans.
How to Build the Bake So the Beans Stay Tender and the Sauce Clings
Browning the Bacon with the Onion
Cook the bacon and onion together until the bacon is mostly crisp and the onion looks soft and translucent. The onion should not brown hard here; it needs to melt into the sauce later, not fight it with sharp edges. Leave the drippings in the skillet because that fat is part of the flavor base, and draining it now means you’ll have a thinner, less satisfying glaze.
Layering the Beans in the Dish
Spread the drained green beans in the baking dish first, then scatter the bacon and onion on top. This order matters because it keeps the bacon from sinking and lets the sauce work down through the beans as it bakes. If the beans are still dripping wet, the dish will turn watery, so let them drain well before they go in.
Whisking the Sauce Until Smooth
Whisk the brown sugar, melted butter, soy sauce, garlic powder, and pepper until the mixture looks evenly glossy. The sugar won’t dissolve completely at this stage, and that’s fine; it finishes in the oven. Pour it over the beans in a steady stream so it coats the surface instead of landing in one sticky puddle.
Covered Baking and the Final Stir
Cover the dish tightly with foil and bake until the sauce is bubbling and glossy. Stir once halfway through so the top layer doesn’t dry out and the bottom layer doesn’t get all the sauce. When it comes out, the beans should be hot all the way through and the sauce should cling to the spoon instead of looking thin and separated.
Three Ways to Adjust These Smothered Green Beans Without Losing the Point
Make it ahead for a holiday table
You can cook the bacon and onion ahead, mix the sauce, and drain the beans earlier in the day. Hold everything separately, then assemble and bake when you’re ready to serve. That keeps the beans from getting mushy and preserves the bacon texture better than baking the whole dish too far in advance.
Use turkey bacon for a lighter version
Turkey bacon works if you want less richness, but it won’t render much fat, so you may need to add a teaspoon or two of butter to the skillet for the onion. The finished dish will taste a little cleaner and less smoky, which is fine as long as you don’t expect the same deep bacon drippings flavor.
Make it gluten-free without changing the texture
Use a certified gluten-free soy sauce or tamari and everything else stays the same. That swap keeps the sauce salty and balanced without changing the gloss or the way it coats the beans. Check your bacon label too, since some brands use gluten-containing flavorings.
Cut the sweetness if you want a more savory side
Drop the brown sugar to 1/3 cup and add an extra splash of soy sauce. You’ll lose some of the sticky glaze, but the dish will read more like a smoky green bean casserole-style side instead of a sweet-salty glaze dish. That version works well beside ham or rich roasts.
Storage and Reheating
- Refrigerator: Store leftovers in an airtight container for up to 4 days. The sauce thickens as it chills, so the beans will look less glossy straight from the fridge.
- Freezer: It freezes, but the texture gets softer after thawing because canned beans are already delicate. Freeze in a sealed container for up to 2 months if you don’t mind a softer finish.
- Reheating: Warm gently in a covered baking dish at 325F or in the microwave at medium power. High heat can split the butter and make the sauce look greasy, so heat it slowly until just hot.
Answers to the Questions Worth Asking
Smothered Green Beans
Ingredients
Equipment
Method
- Preheat oven to 350F, then set out a 9x13-inch baking dish so it’s ready to fill.
- Cook the chopped bacon and diced onion in a skillet for 8 minutes until the bacon is mostly crisp, and do not drain the drippings.
- Place the drained green beans in a 9x13-inch baking dish, then top with the bacon, onion, and the drippings from the skillet.
- Whisk the brown sugar, melted butter, soy sauce, garlic powder, and black pepper until smooth, then pour over the beans.
- Cover with foil and bake at 350F for 35-40 minutes, stirring once during baking, until the sauce is glossy.
- Stir and serve warm so the sticky sauce coats the green beans evenly.