Scalloped potatoes earn their place on the table when the layers turn silky underneath and the top bakes into a deep golden crust. The best version doesn’t swim in thin sauce or bake up chalky in the center. It slices cleanly, holds together on the plate, and still has enough creaminess to make every forkful feel rich without being heavy.
The trick is building the sauce before it ever touches the potatoes. A quick flour-and-butter base keeps the milk and cream from separating in the oven, and simmering it just until it lightly coats a spoon gives the potatoes enough moisture to cook through without turning soupy. Russets matter here because their starch helps thicken the dish as it bakes, and the thin slices cook evenly instead of collapsing.
Below, I’ve included the little details that keep the sauce smooth, the potatoes tender, and the top properly browned. There’s also a note on slicing, because uneven potatoes are the fastest way to end up with some layers overcooked and others still firm.
The sauce stayed smooth the whole time and the potatoes were tender all the way through without getting mushy. I followed the resting time and the slices held together perfectly when I served them.
Like this golden-topped scalloped potatoes recipe? Save it to Pinterest for the next holiday dinner or cozy side dish night.
The Secret to Tender Layers Without a Broken Sauce
Scalloped potatoes fail in two places: the sauce breaks, or the potatoes bake unevenly. The sauce problem usually starts when the milk goes into a pan that’s too hot, or when the flour hasn’t had enough time with the butter to lose its raw edge. A proper roux gives the sauce body, but the real protection is adding the dairy gradually and letting it simmer just until slightly thickened before it ever hits the oven.
The second mistake is slicing the potatoes too thick or too unevenly. Thin, even slices cook at the same rate, which means the top doesn’t dry out while the bottom is still firm. Russet potatoes work especially well because their starch helps the sauce cling to the layers instead of pooling around them.
What Each Ingredient Is Doing in the Baking Dish
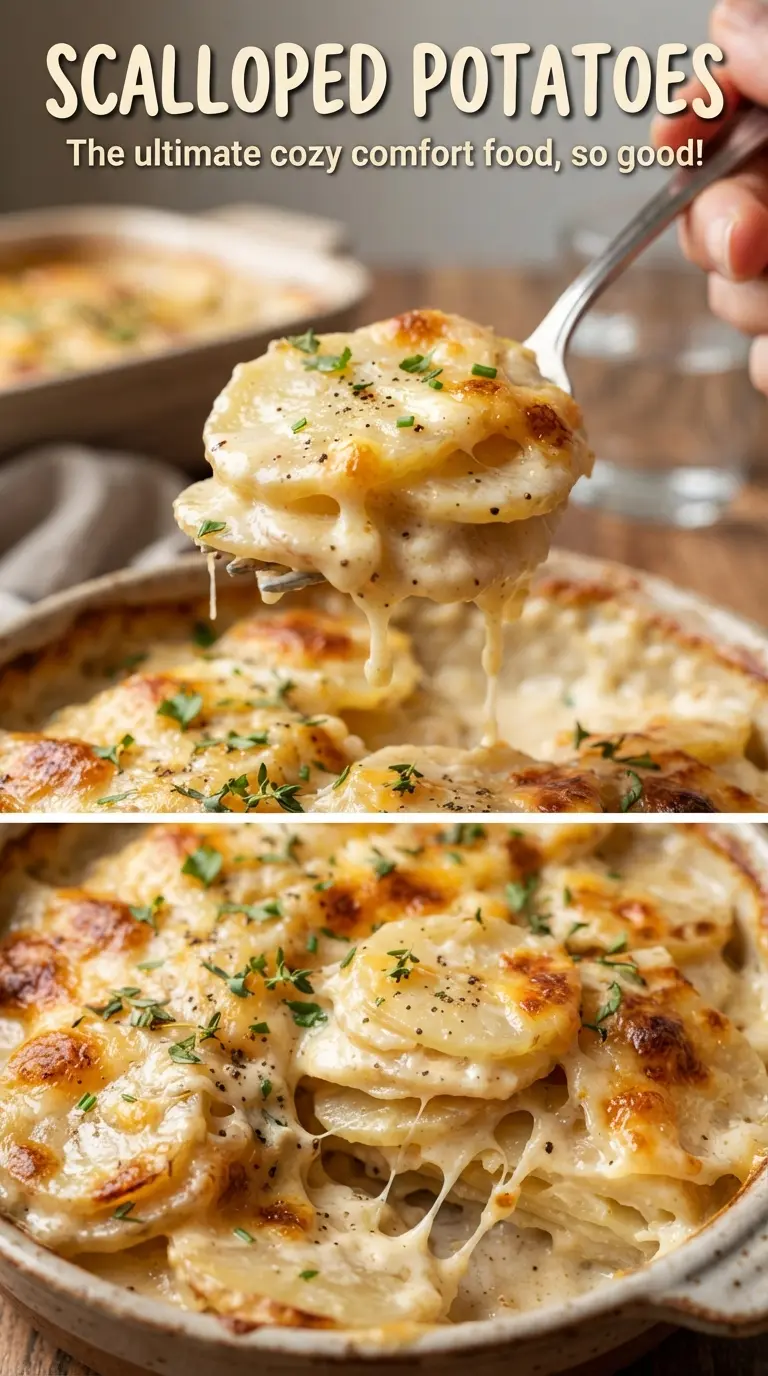
- Russet potatoes — These are the workhorse here. Their starch helps thicken the sauce naturally as the dish bakes, and they soften into tender layers without going waxy. Yukon Golds can work, but they’ll give you a slightly creamier, less fluffy result.
- Whole milk and heavy cream — The combination gives you body and richness. Whole milk alone can taste a little thin in a dish like this, while all cream can feel heavy. If you need a lighter version, use 2% milk for part of the whole milk, but don’t cut the cream completely or the sauce loses its lush texture.
- Butter, flour, and garlic — This is the base that keeps the sauce stable. The butter and flour cook together first so the finished sauce tastes rounded instead of pasty, and the garlic blooms briefly in the butter so it doesn’t taste sharp or raw. If you rush this part, the sauce can taste floury.
- Parmesan — This finishes the top with saltiness and a browned, savory crust. It isn’t there for creaminess; it’s there for that final baked edge. A finely grated Parmesan melts best and browns more evenly than a coarse shred.
- Fresh thyme and onion — The thyme keeps the dish from tasting flat, and the onion turns sweet as it bakes. Thin slices matter because they soften at the same pace as the potatoes. Thick onion pieces can stay too firm and throw off the texture of the layers.
Building the Layers So They Bake Evenly
Starting the Sauce
Melt the butter over medium heat, then cook the garlic for just 30 seconds before whisking in the flour. You want the mixture to look smooth and pasty, not clumpy, and it should smell nutty rather than raw. When the milk and cream go in, add them gradually while whisking so the sauce stays silky. If it looks grainy at this stage, the heat is too high; lower it and keep whisking until it smooths out.
Layering the Potatoes and Onion
Build the dish in three layers, and season as you go if needed. Pour enough sauce over each layer to coat the potatoes without flooding the pan, then press the slices down gently so the sauce settles between them. The potatoes should look partially submerged, not dry around the edges. Uneven layering leaves air pockets, and those pockets turn into firm spots after baking.
Baking Covered, Then Uncovered
The covered bake does the real cooking. Foil traps steam so the potatoes turn tender before the top has a chance to brown too early. Once the potatoes are fork-tender, remove the foil, add the Parmesan, and bake until the top is deeply golden and the edges are bubbling. If the top browns before the center is soft, the dish needs more time covered, not a hotter oven.
Resting Before Serving
Let the dish sit for 15 minutes after it comes out of the oven. That pause lets the sauce settle back into the layers, which makes serving cleaner and keeps the casserole from collapsing into a runny pool. Skip that rest and the first scoops will slide apart. After the short wait, the texture firms up just enough to cut and serve neatly.
How to Adapt These Scalloped Potatoes for Different Tables
Make Them Gluten-Free
Swap the all-purpose flour for a gluten-free 1:1 blend that includes xanthan gum. The sauce will still thicken, but it may need an extra minute on the stove to lose any starchy taste. Don’t use cornstarch here unless you’re comfortable adjusting the method, because it thickens differently and can turn a little gluey if overheated.
A Lighter Version That Still Tastes Rich
Use 2 cups whole milk and 2 cups half-and-half instead of the full milk-and-cream combination. You’ll lose a little of the lush finish, but the sauce will still bake up creamy and dependable. Going lower than that usually gives you a thinner result that doesn’t coat the potatoes as well.
Swap the Herb Profile
Thyme can be replaced with finely chopped rosemary, but use a lighter hand because rosemary is sharper and more piney. Chives also work if you want something softer and more onion-forward. Either way, add the herb to the sauce so it infuses the whole dish instead of sitting just on top.
Storage and Reheating
- Refrigerator: Store covered for up to 4 days. The sauce will tighten as it chills, which is normal.
- Freezer: It freezes, but the texture softens a bit after thawing. For best results, freeze in portions and wrap tightly once fully cooled.
- Reheating: Reheat covered at 350F until hot through, then uncover for a few minutes to bring back some of the top crust. The biggest mistake is blasting it in the microwave, which makes the sauce separate and the potatoes turn mealy.
Answers to the Questions Worth Asking
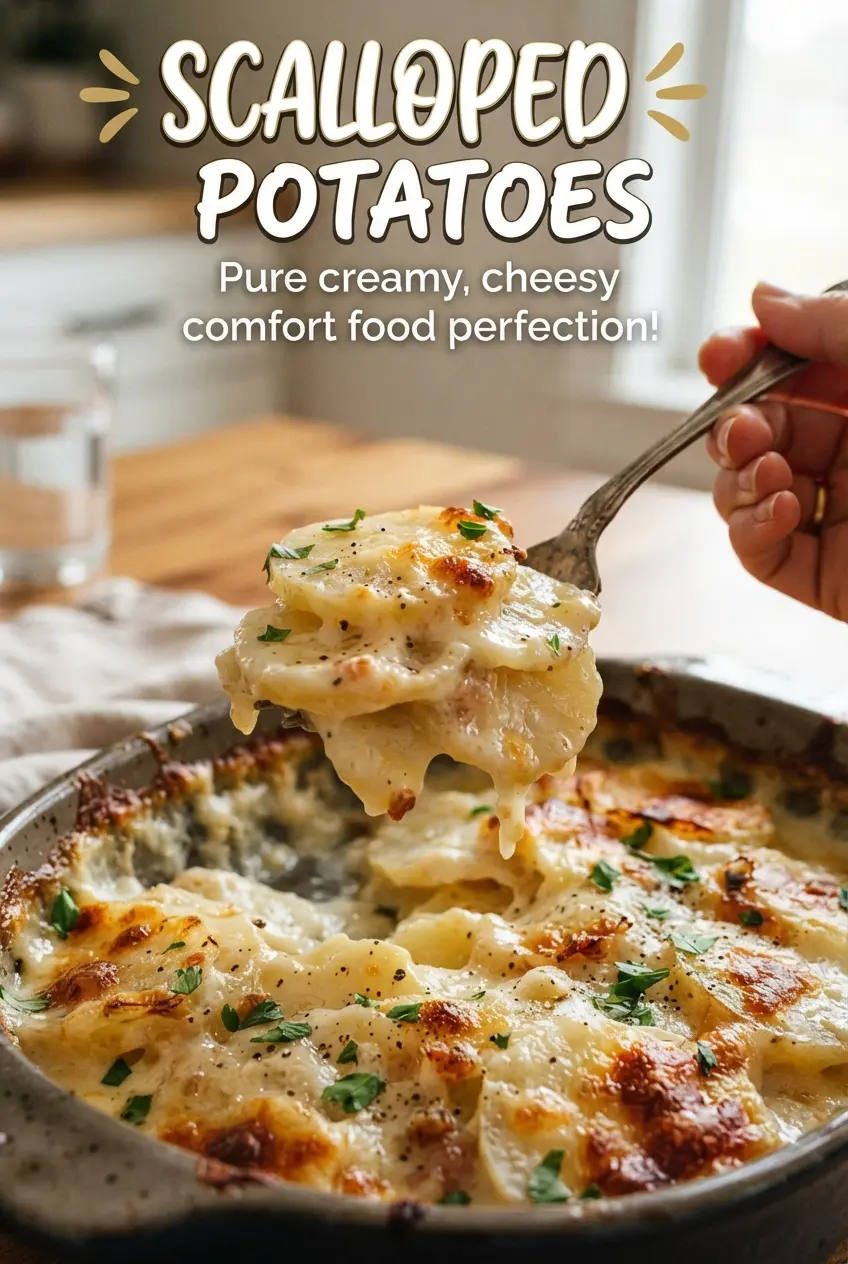
Scalloped Potatoes
Ingredients
Equipment
Method
- Preheat oven to 375F, then butter a 9x13-inch baking dish with butter so the potatoes won’t stick.
- Peel and slice the russet potatoes into 1/8 inch-thick rounds, and thinly slice the onion for even layering.
- Melt 4 tablespoons butter in a Dutch oven, add minced garlic, and cook for 30 seconds until fragrant.
- Whisk in all-purpose flour and cook for 1 minute to remove the raw flour taste.
- Gradually whisk in the whole milk and heavy cream, then simmer until slightly thickened.
- Season the sauce with salt, black pepper, and fresh thyme leaves, stirring until evenly combined and glossy.
- Layer half of the sliced potatoes and onion in the baking dish, then pour sauce over the layer to coat.
- Add a second layer of potatoes and onion, pour sauce over it, then finish with a third layer and pour remaining sauce over the top.
- Cover the dish with foil and bake for 1 hour to cook through the potato layers.
- Uncover, sprinkle with grated Parmesan, and bake 25-30 minutes at 375F until golden on top and fork-tender.
- Rest the scalloped potatoes for 15 minutes before serving so the sauce thickens slightly and layers hold together.