Golden, crisp tortillas with molten cheese and briny, herb-packed filling hit that sweet spot between fast dinner and something you’d happily make again tomorrow. These Mediterranean quesadillas keep the crunch on the outside and the filling balanced inside, so every bite gives you stretchy mozzarella, salty feta, and those punchy little bursts from roasted red peppers and olives.
What makes this version work is the way the cheeses are paired. Mozzarella gives you the melt and the pull, while feta brings the sharp, crumbly bite that keeps the quesadilla from tasting flat. The spinach goes in raw and cooks down just enough under the heat of the pan, and the filling stays structured because the tortillas are folded over a modest amount instead of being packed edge to edge.
Below you’ll find the small details that keep the tortilla crisp, the filling from spilling out, and the cheese from turning greasy. I’ve also included a few easy swaps, because this recipe is flexible enough to work with chicken, chickpeas, or whatever you’ve got on hand.
I was worried the spinach would make them soggy, but these crisped up beautifully and the feta stayed creamy instead of disappearing into the filling. The tzatziki on the side made them taste like restaurant food.
Crispy Mediterranean quesadillas with feta, spinach, and tzatziki are the kind you’ll want to pin for fast dinners that still feel special.
The Crisp Seal That Keeps the Filling Inside
The biggest mistake with quesadillas like this is overfilling them. Mediterranean ingredients are flavorful, but they’re also juicy, and too much filling pushes moisture toward the tortilla seam before the cheese has time to glue everything together. A modest layer of filling lets the mozzarella melt into the spinach and peppers instead of leaking them out into the pan.
Medium heat matters more than people think. Too hot, and the tortilla browns before the cheese melts; too low, and the tortilla softens and steams instead of crisping. You want steady heat that gives the outside time to turn deeply golden while the cheese turns fully molten all the way through.
- Don’t pack the pan. One quesadilla at a time gives you control over browning and keeps the tortilla from tearing when you flip it.
- Let the skillet preheat. A warm pan is what starts the crisping immediately instead of soaking the tortilla in oil.
- Press lightly after folding. A gentle press helps the tortilla seal around the filling and keeps the layers tight.
What Each Ingredient Is Actually Doing in This Dish
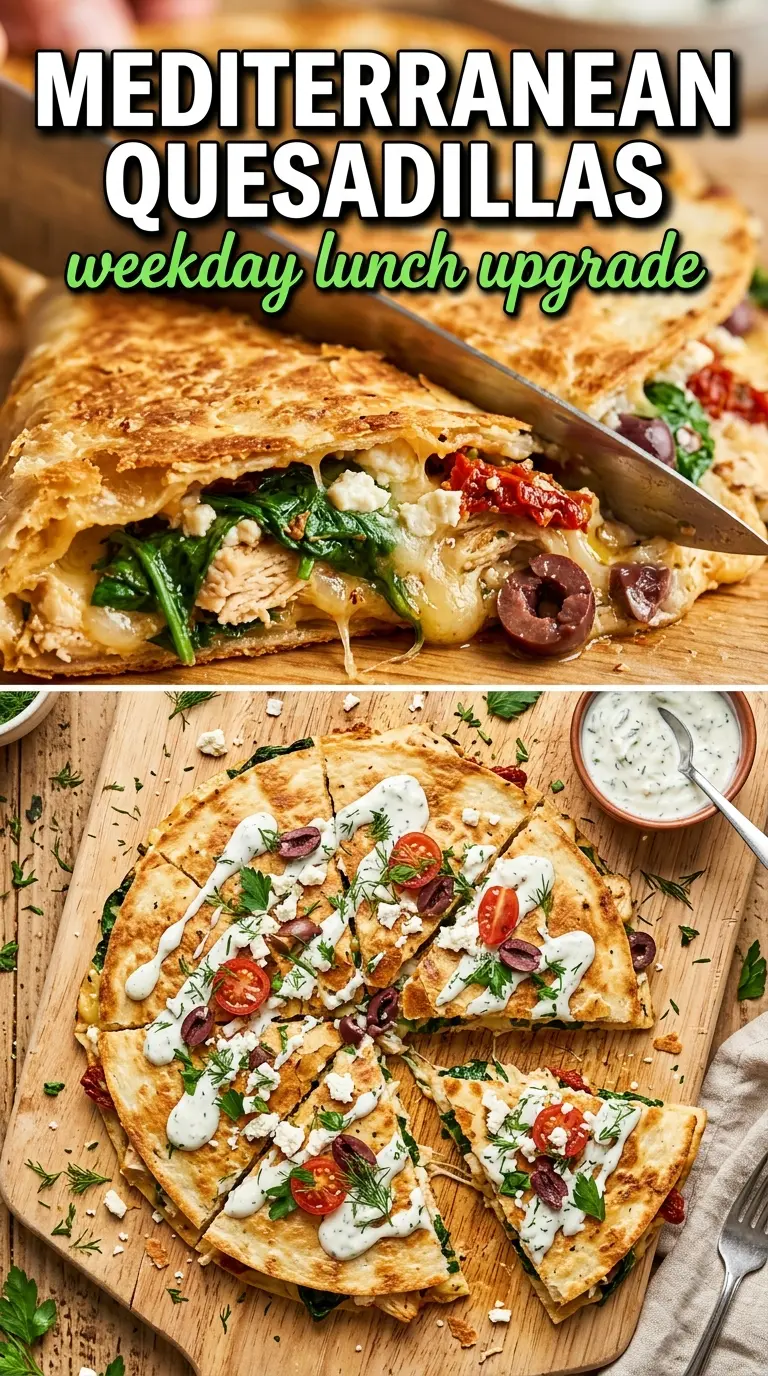
- Flour tortillas — These brown evenly and fold without cracking. Use the large size so the filling stays contained and the fold doesn’t split when you turn it.
- Mozzarella — This is the melt insurance. Shredded mozzarella gives you that stretchy, cohesive interior that holds the quesadilla together as it cools slightly.
- Feta — Feta won’t melt into a puddle, and that’s the point. It adds salty, tangy pockets that keep the filling tasting bright instead of heavy.
- Roasted red peppers — Their sweetness balances the olives and feta. Pat them dry if they’re packed in a lot of liquid so the tortilla stays crisp.
- Kalamata olives — They bring the briny punch that makes these taste distinctly Mediterranean. Halve them so the flavor spreads through each wedge instead of staying trapped in a few big bites.
- Chicken or chickpeas — Chicken keeps it hearty and familiar, while chickpeas make the filling vegetarian without losing substance. If using chickpeas, drain and pat them dry so they don’t steam the filling.
- Tzatziki and hummus — The dips turn this from a simple quesadilla into a full plate. Tzatziki adds coolness and tang, while hummus gives it a creamy, earthy contrast.
Building the Quesadilla So It Browns Before It Leaks
Layer the Filling in the Right Order
Start with mozzarella on the tortilla first. That cheese melts into the bread and helps anchor the filling before you add the spinach, peppers, olives, feta, and oregano. Keep the filling on one half only and leave a clean border at the edge so the fold closes neatly instead of squeezing everything out when the cheese melts.
Cook for Color, Not Just for Melt
Set the folded quesadilla in the warm skillet and let it sit long enough for the underside to turn golden before you move it. If you keep nudging it around, the tortilla can tear and the cheese won’t have time to act like glue. You’ll know it’s ready to flip when the bottom is crisp and releases easily from the pan.
Finish Gently So the Cheese Stays Inside
After you flip, the second side usually needs a little less time. Pull it when both sides are deeply golden and the cheese has melted all the way to the edges, then rest it for a minute before slicing. That short pause keeps the filling from running out in a hot, loose rush when the knife goes in.
Three Ways to Adjust These Mediterranean Quesadillas
Make it vegetarian with chickpeas
Swap the chicken for chickpeas and lightly crush a few of them with a fork so the filling holds together better. You’ll get a heartier texture than a fully veggie mix, and the feta, olives, and peppers still carry the flavor.
Make it gluten-free with certified GF tortillas
Use sturdy gluten-free tortillas that can handle folding without cracking. They usually brown a little faster than standard flour tortillas, so lower the heat slightly and watch the first side closely.
Make it dairy-light
You can reduce the feta and mozzarella, but don’t remove both or the quesadilla loses the melt that holds it together. If you want a lighter version, keep a smaller amount of mozzarella for structure and let the olives, peppers, and oregano do the louder work.
Add more heat
A pinch of red pepper flakes or a spoonful of chopped pepperoncini gives the filling sharper contrast. Add it sparingly; the goal is a little bite against the creamy cheese, not a filling that overpowers the herbs and brine.
Storage and Reheating
- Refrigerator: Store leftovers for up to 3 days. The tortilla softens a little, but the flavor stays good.
- Freezer: These freeze better before slicing. Wrap tightly, freeze up to 2 months, and reheat from frozen for the best texture.
- Reheating: Warm in a dry skillet over medium-low heat until the tortilla crisps back up and the center heats through. The microwave will melt the cheese, but it also turns the tortilla limp.
Answers to the Questions Worth Asking

Mediterranean Quesadillas
Ingredients
Equipment
Method
- Heat a large skillet over medium heat and brush lightly with olive oil so it coats the cooking surface. Keep the pan steady at medium heat before adding the tortillas.
- On one half of each tortilla, layer mozzarella, chicken or chickpeas, spinach, roasted red peppers, olives, feta, and a sprinkle of oregano. Aim for an even layer so the cheese melts and holds the filling together.
- Fold the empty half of the tortilla over the filled half to form a half-moon. Press gently to help the edges adhere.
- Cook each quesadilla for 3–4 minutes per side until golden and crispy and the cheese is fully melted. Flip once, and watch for browning along the folded edge.
- Slice into wedges and serve with tzatziki and hummus for dipping. Arrange wedges so the interior layers of spinach and roasted red pepper are visible.