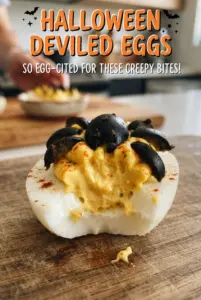
Bright green Halloween deviled eggs bring the kind of playful, savory bite that disappears fast from a party tray. The filling stays creamy and tangy, the whites hold their shape, and the olive spiders give each egg just enough spooky detail to make the whole platter feel festive without turning fussy.
The trick is in the yolk filling. A little Dijon and vinegar keep it from tasting flat, and the mayo gives it that smooth, pipeable texture that sits neatly in the egg whites. The green gel food coloring is there for drama, but a tiny amount goes a long way; you want a vivid, even color, not a swampy tint. Chilling the eggs before peeling also matters more than people think, because warm eggs tear easily and leave you with rough edges instead of clean little cups.
Below, I’ve included the details that help these eggs hold up on a party table, plus a few simple variations if you want to change the look or make them work with what’s already in your kitchen.
The filling turned out extra smooth, and the green color stayed bright even after chilling. My kids thought the olive spiders were hilarious, and the tray was gone in minutes.
Save these Halloween deviled eggs for a spooky appetizer with creamy green filling and olive spider toppers.
The Part That Keeps the Filling Smooth Instead of Grainy
Deviled eggs only look simple. The filling can turn lumpy fast if the yolks are mashed while the eggs are still warm or if the mayonnaise goes in too late and sits in streaks. Start with completely chilled eggs, then mash the yolks first so you can break them down before the wet ingredients loosen everything. That gives you a filling that pipes cleanly and holds its shape on the platter.
The other thing that matters here is balance. Dijon and vinegar keep the yolk mixture bright enough to cut through the richness of the mayo, which is important when you’re serving these cold. Green food coloring should be added at the end, a drop at a time, because it deepens quickly once it’s mixed in. If the color looks uneven, keep stirring rather than adding more dye right away.
What the Eggs, Mayo, and Olives Are Each Doing Here
- Eggs — Older eggs peel a little easier than super-fresh ones, which helps keep the whites neat. If you only have fresh eggs, the ice bath matters even more.
- Mayonnaise — This gives the filling its creamy body. Light mayo works, but the texture will be looser and less rich.
- Dijon mustard — Dijon adds sharpness and depth that plain yellow mustard can’t quite match. If you use yellow mustard, the eggs will taste milder and a little sweeter.
- White vinegar — The vinegar wakes up the filling and keeps the flavor from feeling heavy. Lemon juice can stand in if that’s what you have, though the finish will taste brighter and less classic.
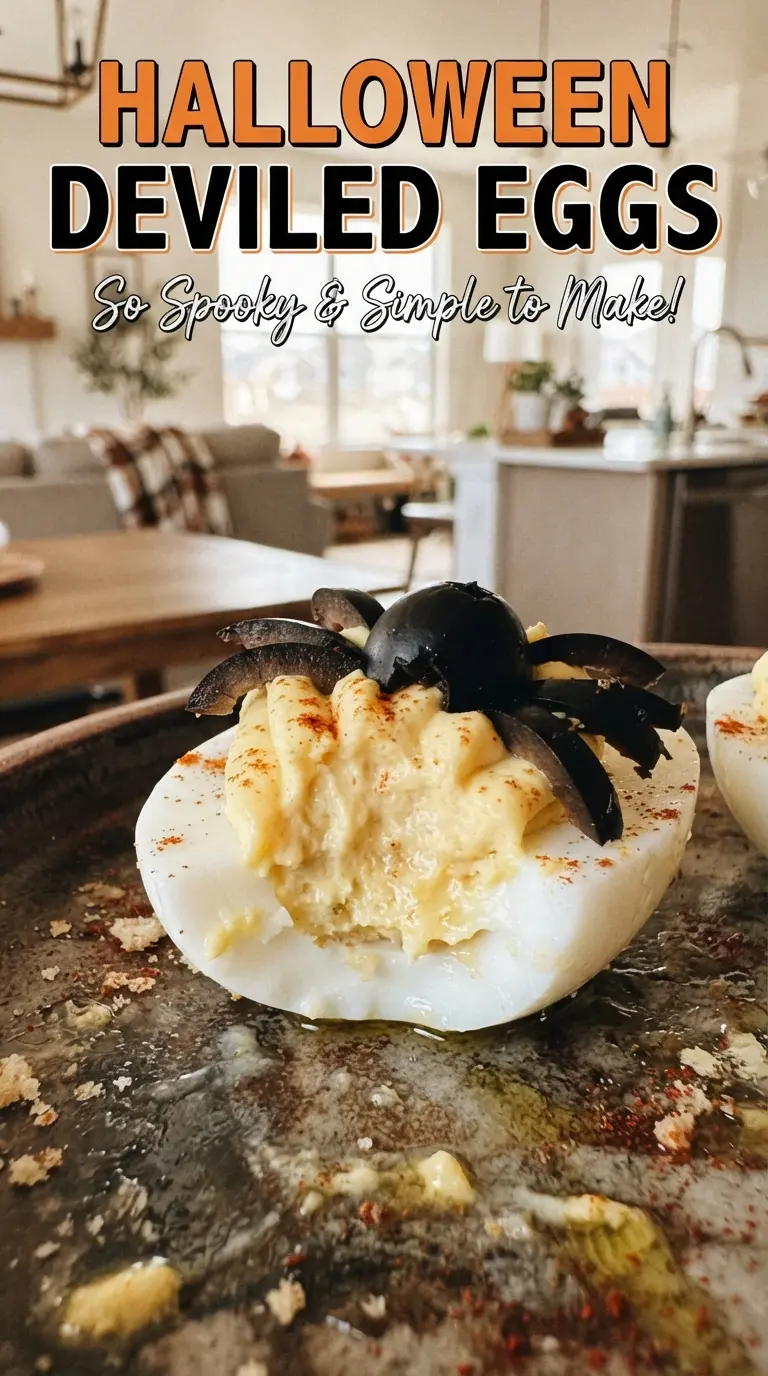
- Black olives — These do double duty as the spider body and legs. Use pitted olives so slicing them into neat strips is easy and the topping stays tidy.
Building the Filling and Dressing the Spiders
Boiling and Chilling for Clean Peeling
Set the eggs in cold water first, then bring the pot up to a boil so the whites cook gently and don’t turn rubbery. Once the water boils, cover the pot, pull it off the heat, and let the eggs sit for 12 minutes. The ice bath after that is not optional if you want easy peeling; it stops the cooking and helps the shell release from the egg white instead of tearing it.
Mashing the Yolk Base Until It’s Silky
Halve the eggs lengthwise and pop the yolks into a bowl. Mash them first into fine crumbs before adding the mayo, Dijon, vinegar, and salt, because that’s what keeps the filling from tasting sandy. Stir until the mixture looks smooth and thick, then work in the green gel food coloring until the color is even. If the filling looks stiff, a little more mayonnaise loosens it; if it looks too soft to pipe, give it a few minutes in the fridge.
Making the Olive Spiders Look Sharp
Pipe or spoon the filling into the egg whites, then build the spider on top right before serving. Cut each olive in half; use one half as the body and slice the others into thin strips for legs. Press the legs into the filling so they stay in place, but don’t bury them too deep or the shape gets lost. Chill the eggs briefly after assembling so the filling sets and the spiders stay put on the platter.
How to Change These for a Different Crowd or a Different Pantry
Skip the Food Coloring
Leave out the green gel dye and the filling becomes a classic pale yellow. The olive spiders still carry the Halloween look, so you keep the theme without the bright color.
Dairy-Free by Default
This recipe is already dairy-free as written, since the creaminess comes from mayonnaise. Just check your mayo label if you’re serving someone with specific dietary needs.
Make Them a Little More Tangy
Add an extra splash of vinegar or a small pinch more Dijon if you want a sharper bite. The filling will taste brighter, but don’t overdo it or the acidity will overpower the eggs.
Storage and Reheating
- Refrigerator: Store covered for up to 2 days. The whites stay best on day one, and the olive decorations may loosen slightly after sitting.
- Freezer: Don’t freeze deviled eggs. The whites turn rubbery and watery once thawed.
- Reheating: Serve them cold straight from the fridge. If they sit out too long, the filling softens and the olive toppings can slip, so set them out just before guests arrive.
Questions I Get Asked About This Recipe
Halloween Deviled Eggs
Ingredients
Equipment
Method
- Place the eggs in a pot and cover with cold water, then bring to a boil over high heat. Cover the pot, remove from the heat, and let the eggs stand for 12 minutes.
- Chill the eggs in an ice bath for 10 minutes to stop cooking. Peel them, then halve each egg lengthwise and set the whites aside.
- Mash the yolks with mayonnaise, Dijon mustard, white vinegar, and salt until smooth. Stir in 2–3 drops of green gel food coloring until the filling is bright green.
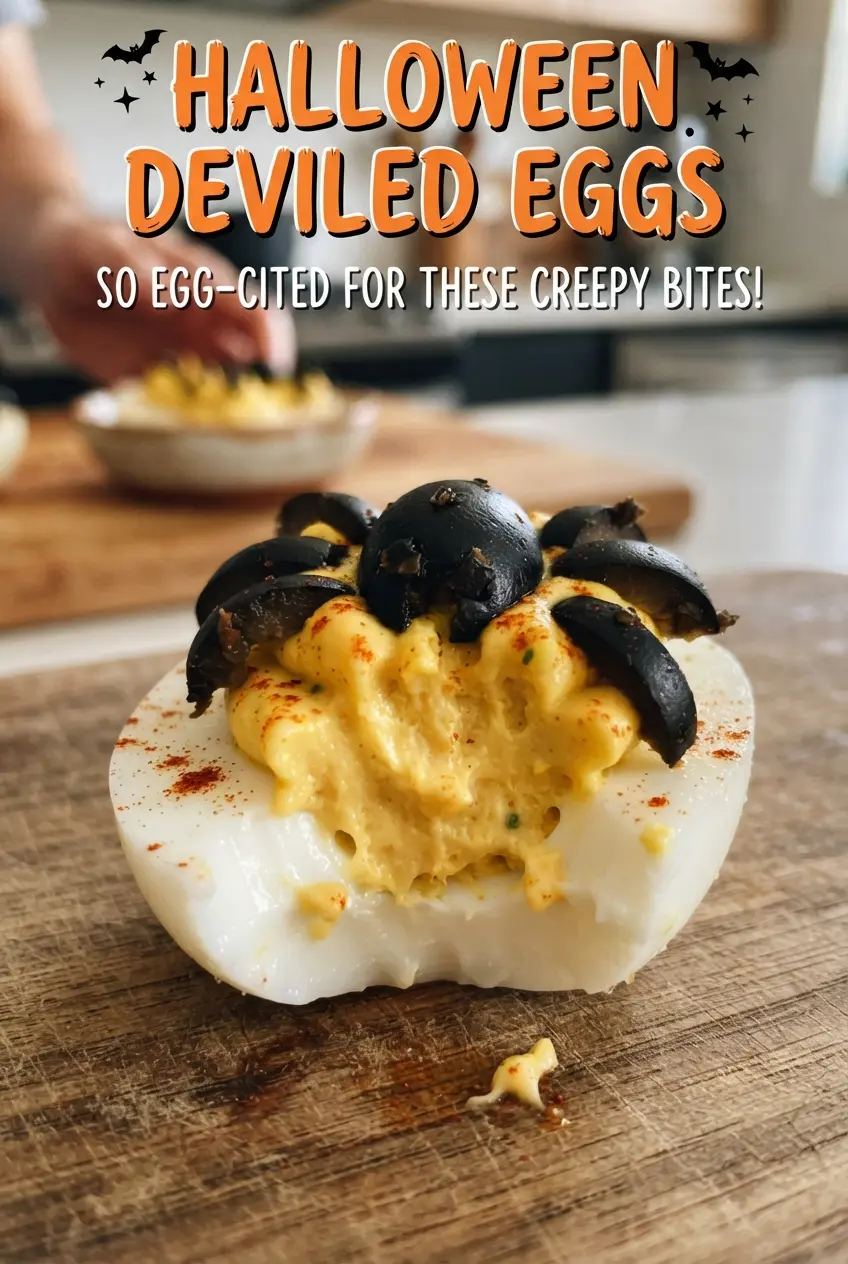
- Pipe the green filling into the egg whites so the tops are neat and rounded. Halve the pitted black olives lengthwise and place one half dome-side up on each egg for the spider body.
- Slice the remaining olive halves into thin strips and arrange 8 legs around each body. Chill until serving so the spiders stay firm and easy to plate.