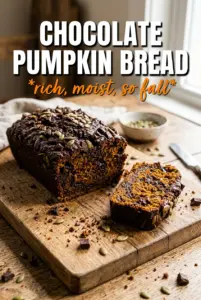
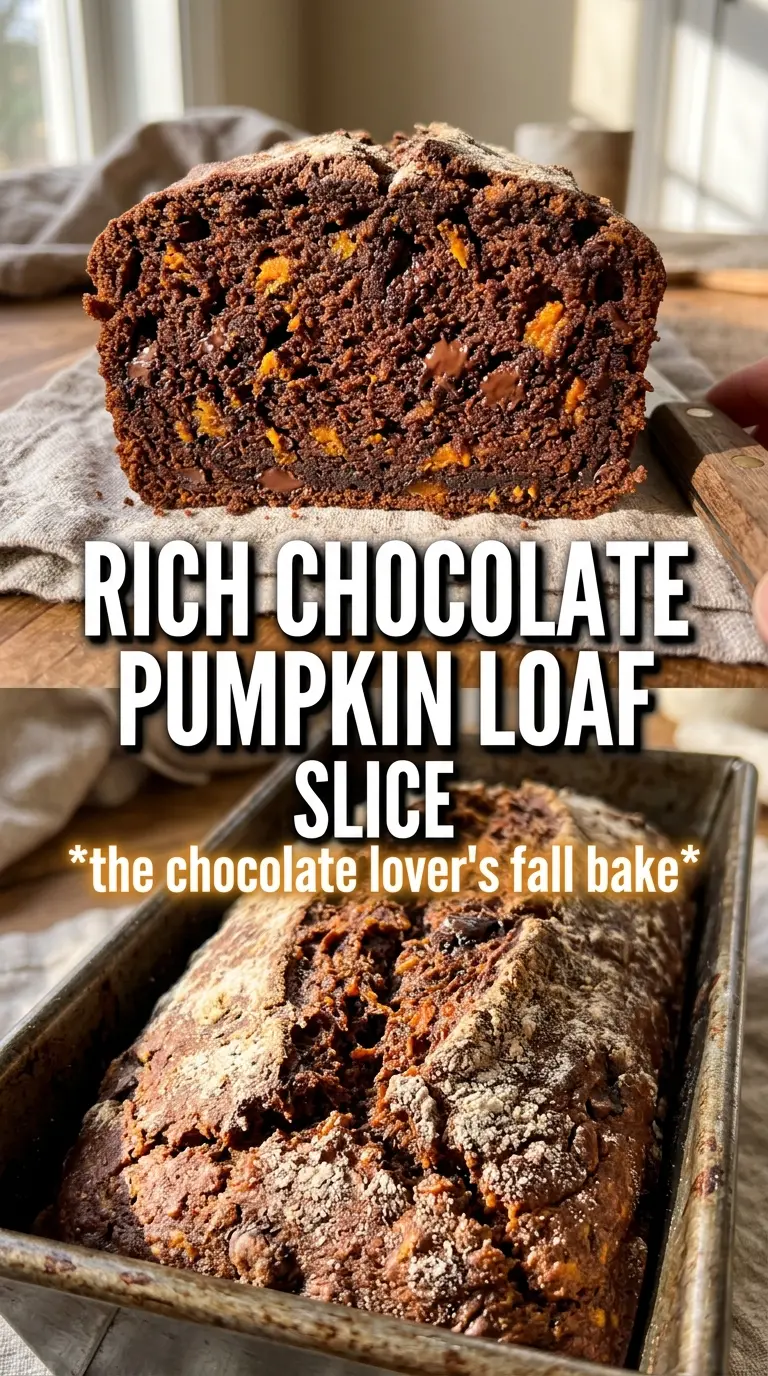
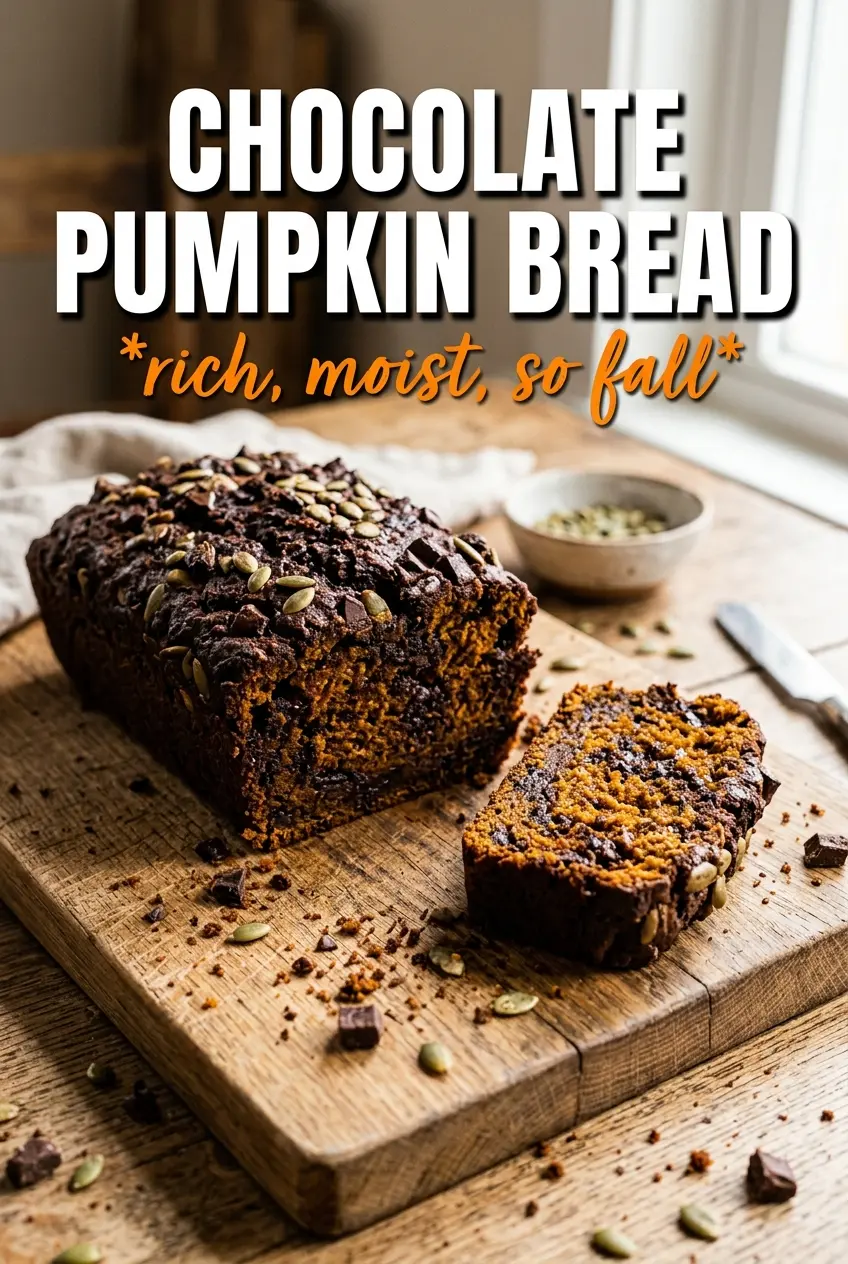
Chocolate pumpkin bread lands somewhere between a quick bread and a brownie loaf, with a moist crumb, a deep cocoa edge, and melty chocolate chips in every slice. The pumpkin keeps it tender for days, while the cocoa and warm spice give it enough backbone to taste rich instead of merely sweet. That balance is what makes a second slice hard to resist.
The trick here is using pumpkin puree for structure and moisture, then leaning on both granulated and brown sugar for a loaf that bakes up plush without tasting heavy. The chocolate glaze on top isn’t just decoration; it seals in the finish and makes each slice taste a little more bakery-style. Folding the chips in by hand keeps the batter from overworking and gives you better pockets of chocolate instead of muddy streaks.
Below you’ll find the exact timing that keeps the center from sinking, plus a few smart swaps if you want to make this loaf dairy-free or turn it into muffins.
The crumb stayed unbelievably moist and the chocolate glaze set up just enough that I could slice it cleanly the next day. My kids kept picking out the melted chocolate chips and asking for another piece.
Save this chocolate pumpkin bread for the days when you want a moist loaf with a cocoa-rich crumb and a glossy chocolate glaze on top.
The batter needs just enough mixing to stay tender
Quick breads with cocoa can go dry or dense fast if the flour gets overworked. The pumpkin puree already brings a lot of moisture, so the real job is keeping the crumb light while still giving the loaf enough structure to hold the chips and glaze. Mix until the flour disappears and stop there. A few streaks are better than a loaf that bakes up tough.
Another thing that trips people up is the batter thickness. This one should be scoopable and thick, not pourable like cake batter. That thickness helps the chips stay suspended instead of sinking to the bottom, and it also gives the loaf its dense, sliceable texture without making it heavy.
What each ingredient is doing in this loaf
- Pumpkin puree — This is the backbone of the bread’s moisture and softness. Use pure pumpkin puree, not pumpkin pie filling, or the loaf will come out overly sweet and spiced in a way you can’t control.
- Cocoa powder — Cocoa gives the bread its dark, rich base. A standard unsweetened cocoa works well here; Dutch-process cocoa will make the color deeper and the chocolate flavor a little smoother, but either will work.
- Brown sugar — Brown sugar adds a touch of molasses depth that plain white sugar can’t fully replace. It also helps the crumb stay softer for longer.
- Vegetable oil — Oil keeps this loaf tender even after it cools. Butter would give a slightly richer flavor, but it can’t match the same long-lasting moisture.
- Chocolate chips — Dark chips keep the bread from tasting one-note sweet. Dividing them lets you get chocolate throughout the loaf and a few nice pockets on top.
- Chocolate glaze — The glaze is optional, but it adds a finished look and a soft, glossy top. If you skip it, the bread will still be good; it just leans more breakfast loaf than dessert loaf.
How to keep the center baked without drying out the edges
Mixing the dry ingredients first
Whisk the flour, cocoa, leaveners, spice, cinnamon, and salt until the color looks even all the way through. Cocoa tends to clump more than flour, and if those clumps stay in the bowl, you’ll see dry pockets in the finished loaf. This step also spreads the baking soda and baking powder evenly, which matters because the loaf is fairly dense and needs a consistent rise.
Building the pumpkin base
Whisk the pumpkin puree, both sugars, oil, eggs, and vanilla until the mixture looks smooth and glossy. You’re not trying to whip air into it; you’re just dissolving the sugars and blending everything into one coherent base. If the eggs are still streaky, keep whisking before the flour goes in or the batter will mix unevenly later.
Folding in the flour and chips
Add the dry ingredients to the pumpkin mixture and fold just until no dry flour remains, then fold in 1 cup of the chocolate chips. Use a spatula and work from the bottom of the bowl so you don’t leave cocoa at the bottom. The batter should look thick and heavy, and that’s your cue that it’s ready for the pan.
Baking to the right doneness
Pour the batter into the prepared loaf pan, scatter the remaining chips on top, and bake until a toothpick comes out with only a few moist crumbs. In this loaf, the center finishes slowly, so don’t pull it out just because the top looks set. If the top browns too quickly, tent it loosely with foil for the last 15 minutes so the middle can finish without overbaking the crust.
Finishing with the glaze
Let the bread cool in the pan for 15 minutes before lifting it out, then drizzle on the glaze while the loaf is warm but not hot. If the bread is too hot, the glaze will melt off and disappear into the crumb. If it’s fully cool, the drizzle will sit on top in thick ribbons instead of settling into that smooth, bakery-style finish.
How to adapt this loaf when you need a different finish
Dairy-free version
The loaf itself is already dairy-free as written. For the glaze, swap the butter and cream for dairy-free butter and a splash of coconut milk or oat milk. The glaze will set a little softer, but it still gives you that shiny finish.
Muffin conversion
Divide the batter into lined muffin cups and bake at 350F for about 18 to 22 minutes. You’ll lose the dramatic loaf slice, but you gain faster baking and easy portioning. Check early because the pumpkin keeps them moist even when they’re done.
Extra chocolate, less spice
If you want a deeper chocolate loaf, reduce the pumpkin pie spice a little and keep the cinnamon in place. That makes the cocoa stand out more without losing the warmth that makes the bread taste finished. Don’t cut the spice completely or the loaf can taste flat.
Storage and Reheating
- Refrigerator: Store tightly wrapped for up to 5 days. The crumb stays moist, but the chocolate chips will firm up a bit when chilled.
- Freezer: Freezes well. Wrap the whole loaf or individual slices in plastic and then foil, and thaw at room temperature.
- Reheating: Warm slices for 10 to 15 seconds in the microwave or a few minutes in a low oven. Long reheating dries out quick bread fast, so stop as soon as the chocolate starts to soften.
Questions I Get Asked About This Recipe
Chocolate Pumpkin Bread
Ingredients
Equipment
Method
- Preheat the oven to 350F and grease a 9x5 loaf pan with a light coating so the loaf releases cleanly.
- Whisk all-purpose flour, cocoa powder, baking soda, baking powder, pumpkin pie spice, cinnamon, and salt until evenly combined and dark streaks are gone.
- Whisk pumpkin puree, granulated sugar, brown sugar, vegetable oil, eggs, and vanilla extract until smooth and glossy.
- Fold the flour mixture into the pumpkin mixture until just combined, then fold in 1 cup of the dark chocolate chips for visible pockets of chocolate.
- Pour the batter into the prepared loaf pan and scatter the remaining dark chocolate chips on top.
- Bake at 350F for 60-65 minutes, until a toothpick comes out clean or with only a few moist crumbs attached.
- Cool the loaf for 15 minutes so the glaze sets rather than melting off, then drizzle with the chocolate glaze.
- Melt the chocolate chips, butter, and cream together until smooth, glossy, and pourable.