Japanese zucchini turns tender at the center, deeply golden at the edges, and glossy enough to look like it came straight off a hibachi grill. The best versions don’t drown the squash in sauce; they let the zucchini sear first, then coat it with a salty-sweet glaze that clings instead of pooling in the pan. That contrast is what makes the dish worth repeating.
The trick is giving the zucchini a real chance to brown before the glaze goes in. If the pan is crowded or the heat is too low, the rounds steam and go soft before they ever pick up color. A little butter helps with browning, soy sauce brings the savory backbone, and mirin gives the finish that rounded sweetness you expect from Japanese-style side dishes. Garlic and ginger go in late so they perfume the pan without burning.
Below, I’ll show you exactly when to leave the zucchini alone, when to toss, and how to keep the glaze shiny instead of sticky. There’s also a simple swap for when you don’t have mirin on hand.
The zucchini browned instead of getting soggy, and the soy-mirin glaze coated every slice without making the skillet watery. My husband kept picking at the leftovers straight from the pan.
Love the glossy soy-butter glaze on this Japanese zucchini? Save it to Pinterest for a fast hibachi-style side that browns beautifully and disappears fast.
The Reason the Zucchini Browns Before It Softens
Zucchini has one job here: hit the pan hard enough to caramelize before it starts giving up too much water. If you stir constantly, you lose the best part of the dish — those browned surfaces that hold onto the glaze. Let the first side sit undisturbed until it turns deep gold, then flip once and finish the second side. That short pause is what keeps the texture from collapsing.
The other mistake is adding the soy mixture too soon. Butter and oil need a minute to work on the zucchini first, and the garlic and ginger only need a brief moment at the end or they’ll taste sharp instead of fragrant. Once the glaze goes in, the heat should stay high enough to reduce it quickly. If the pan looks watery, the zucchini wasn’t browned enough before the sauce went in.
What Each Ingredient Is Actually Doing in This Dish
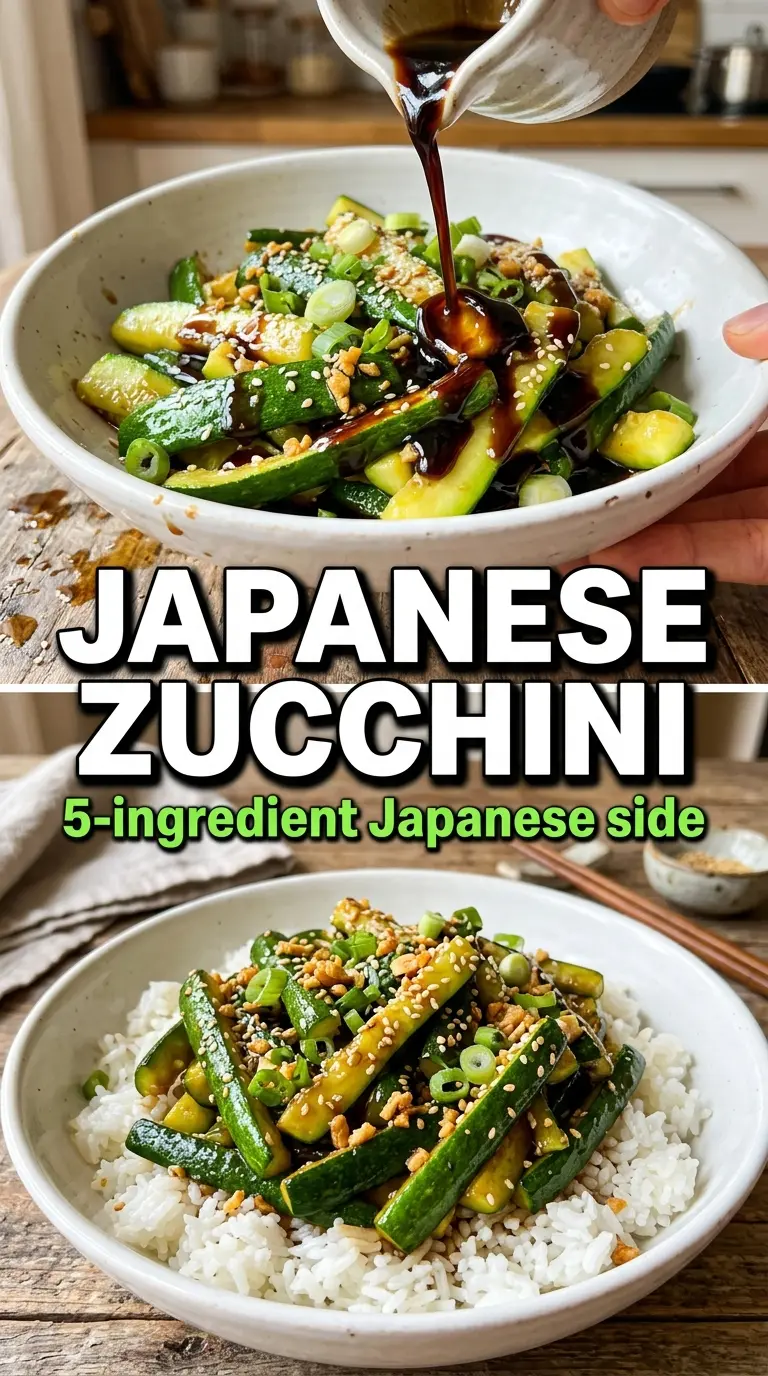
Zucchini — Medium zucchini works best because the rounds are thick enough to sear without turning mushy. Smaller zucchini can get floppy faster, while oversized ones tend to have more water and bigger seeds. Slice them into 1/2-inch coins so they keep some bite after tossing in the glaze.
Butter — This gives the zucchini the rich, browned edge that makes the dish taste like more than just vegetables and soy sauce. If you need a dairy-free version, use a neutral oil plus a small splash more sesame oil, but the flavor will be less round. Don’t use all oil here unless you want a flatter finish.
Soy sauce and mirin — These are the backbone of the glaze. Soy sauce brings salt and depth; mirin adds sweetness and shine without making the sauce taste sugary. If you don’t have mirin, honey works well, but use the full teaspoon and keep the sauce moving so it doesn’t catch in the pan.
Sesame oil, garlic, and ginger — Sesame oil is for aroma, not frying, so a teaspoon is enough. Garlic and ginger go in at the end of the searing stage because they burn fast and turn bitter if they sit in the pan too long. Fresh ginger matters here; powdered ginger won’t give the same bright finish.
Sesame seeds and green onions — These finish the dish with texture and a fresh bite. Toasted sesame seeds are great if you have them, but plain seeds still work. The green onions should go on after the pan comes off the heat so they stay sharp and snappy.
Getting the Glaze On Without Turning the Pan Watery
Building the Sear
Heat the butter in a large skillet over medium-high until it foams, then add the zucchini in a single layer. Don’t pile the slices on top of each other; they need direct contact with the pan or they’ll steam. Leave them alone for about 3 minutes until the underside is deeply golden, then flip and cook the second side for 2 minutes. If the rounds are pale and soft at this stage, the heat was too low or the pan was too crowded.
Adding the Aromatics
Once the zucchini has color, add the garlic and ginger and stir for about 30 seconds. You’re looking for fragrance, not browning. If the garlic starts to darken, the pan is too hot, and the next splash of sauce can taste harsh rather than savory. At this point the skillet should still look mostly dry except for the butter and browned spots.
Reducing the Sauce to a Coating
Whisk the soy sauce, mirin, and sesame oil together, then pour it over the zucchini and toss to coat. Keep it moving for 1 to 2 minutes until the liquid turns glossy and clings to each piece instead of sitting at the bottom of the pan. If it looks thin, give it another 30 seconds; if it disappears too fast, the heat was a bit too high, and you’ll want to pull the pan sooner next time. Finish with sesame seeds and green onions off the heat.
Three Smart Ways to Adapt This Japanese Zucchini
Dairy-Free Soy-Garlic Zucchini
Swap the butter for a neutral oil and keep the sesame oil in the glaze. You’ll lose a little of the rich, browned flavor that butter brings, but the dish still comes out glossy and savory. Use a skillet with a little extra surface area so the zucchini can still sear instead of steaming.
Using Honey Instead of Mirin
Honey works when you want the sweet finish but don’t have mirin. Use the same amount, and stir the sauce as it hits the pan so it doesn’t thicken unevenly. The result is a little deeper and less delicate than mirin, but it still gives the zucchini that lacquered coating.
Making It a Full Vegetable Side
Add sliced mushrooms or thin bell pepper strips after the zucchini has browned, then continue with the garlic, ginger, and glaze. Mushrooms bring extra savoriness and peppers add sweetness, but both release moisture, so give the pan a little more time to reduce. This is the easiest way to stretch the dish without losing the hibachi-style finish.
Storage and Reheating
- Refrigerator: Store in an airtight container for up to 3 days. The zucchini softens a bit as it sits, but the flavor stays good.
- Freezer: I don’t recommend freezing this one. Zucchini turns watery and grainy after thawing, and the glaze won’t cling the same way.
- Reheating: Reheat in a skillet over medium heat for a few minutes until warmed through. The microwave works in a pinch, but it makes the zucchini soft and can loosen the glaze. Add a pinch of sesame seeds or a fresh slice of green onion after reheating to wake it back up.
Questions I Get Asked About This Japanese Zucchini
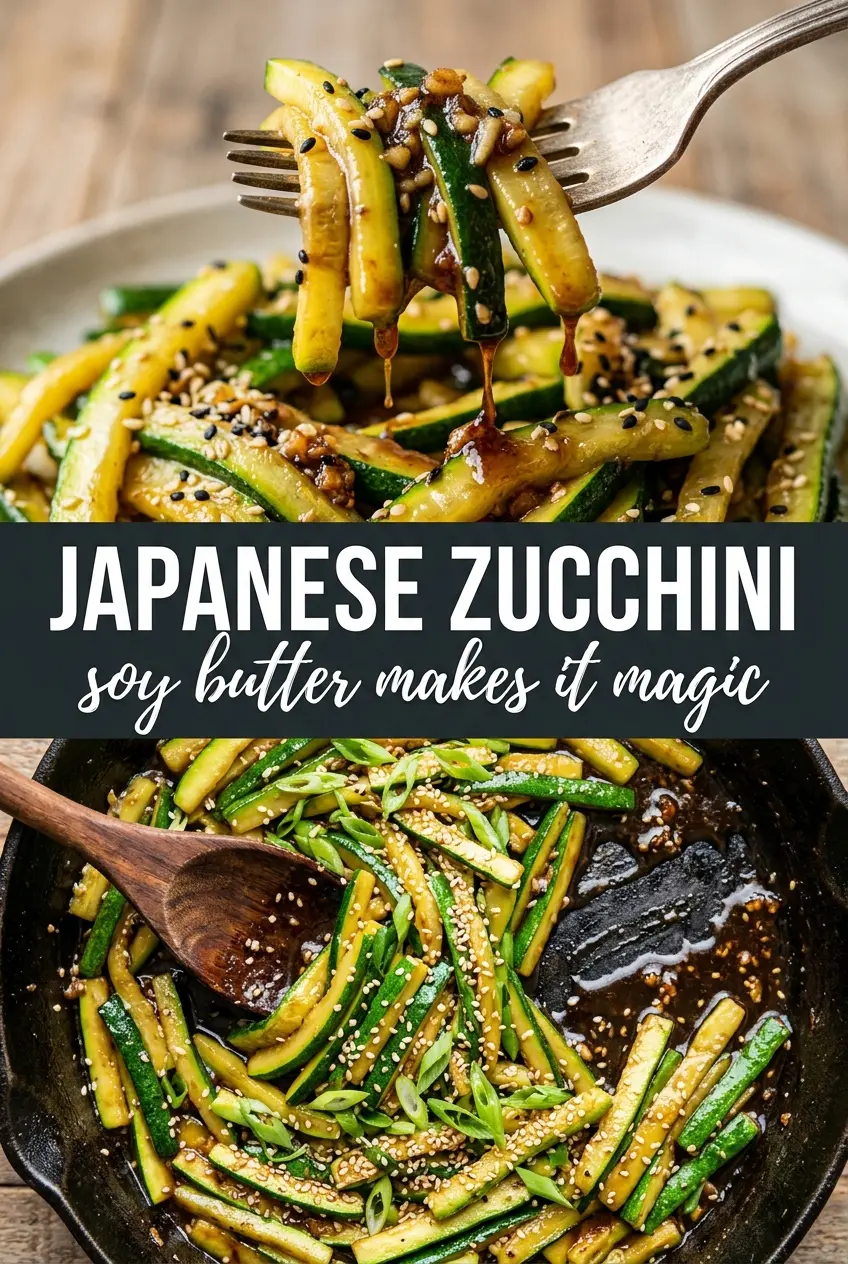
Japanese Zucchini (Soy-Butter Hibachi Style)
Ingredients
Equipment
Method
- Heat butter in a large skillet over medium-high heat until foamy.
- Add zucchini rounds in a single layer and cook undisturbed for 3 minutes, until the bottoms are deeply golden.
- Flip the zucchini and cook for 2 more minutes, until the second side is golden.
- Add garlic and ginger and cook for 30 seconds, until fragrant but not browned.
- In a small bowl, whisk soy sauce, mirin (or honey), and sesame oil together, then pour over the zucchini and toss to coat.
- Cook for 1–2 minutes more, stirring occasionally, until the glaze reduces and coats every piece.
- Remove from heat, then sprinkle with sesame seeds and green onions and serve immediately.