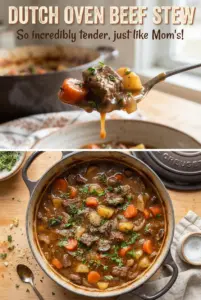
Thick, glossy Dutch oven beef stew is the kind of dinner that tastes like it’s been worked on all day, even though most of the time is spent in the oven. The beef turns fork-tender, the potatoes soak up the broth without falling apart, and the carrots keep just enough shape to give each spoonful some bite. What makes this version worth keeping is the way the sauce tightens up on its own, turning rich and clingy instead of thin and watery.
The flour on the beef does more than help with browning. It also gives the stew a little body from the start, so the broth finishes with a deeper, silkier texture. Tomato paste, wine, and Worcestershire layer in the kind of savory depth that keeps the pot from tasting flat, and the long covered bake does the rest. Browning the beef in batches matters here; crowded meat steams, and steamed meat won’t give you the same dark, savory base.
Below, I’ll show you how to keep the sauce from going dull or greasy, which ingredients really matter, and the small timing choices that keep the vegetables tender instead of mushy.
The beef got incredibly tender and the broth thickened up perfectly after the last hour with the potatoes and carrots. I loved that the wine and tomato paste gave it a deep, rich taste without making it taste heavy.
Save this Dutch oven beef stew for the kind of slow-braised comfort dinner that comes out rich, tender, and spoon-thick.
The Reason the Beef Tastes Braised Instead of Boiled
The biggest mistake with stew is dumping everything in at once and waiting for magic. The beef needs a hard sear first, and it needs room in the pan so the surface can brown instead of steam. Those browned bits on the bottom are the base of the stew’s flavor, and the wine pulls them loose before the broth goes in.
The other detail that matters is when the vegetables enter the pot. Potatoes and carrots don’t go in at the beginning because they’d turn soft and start dissolving before the beef finishes. Adding them for the final hour keeps them tender and intact while still giving them enough time to absorb the broth.
What Each Ingredient Is Doing in the Pot
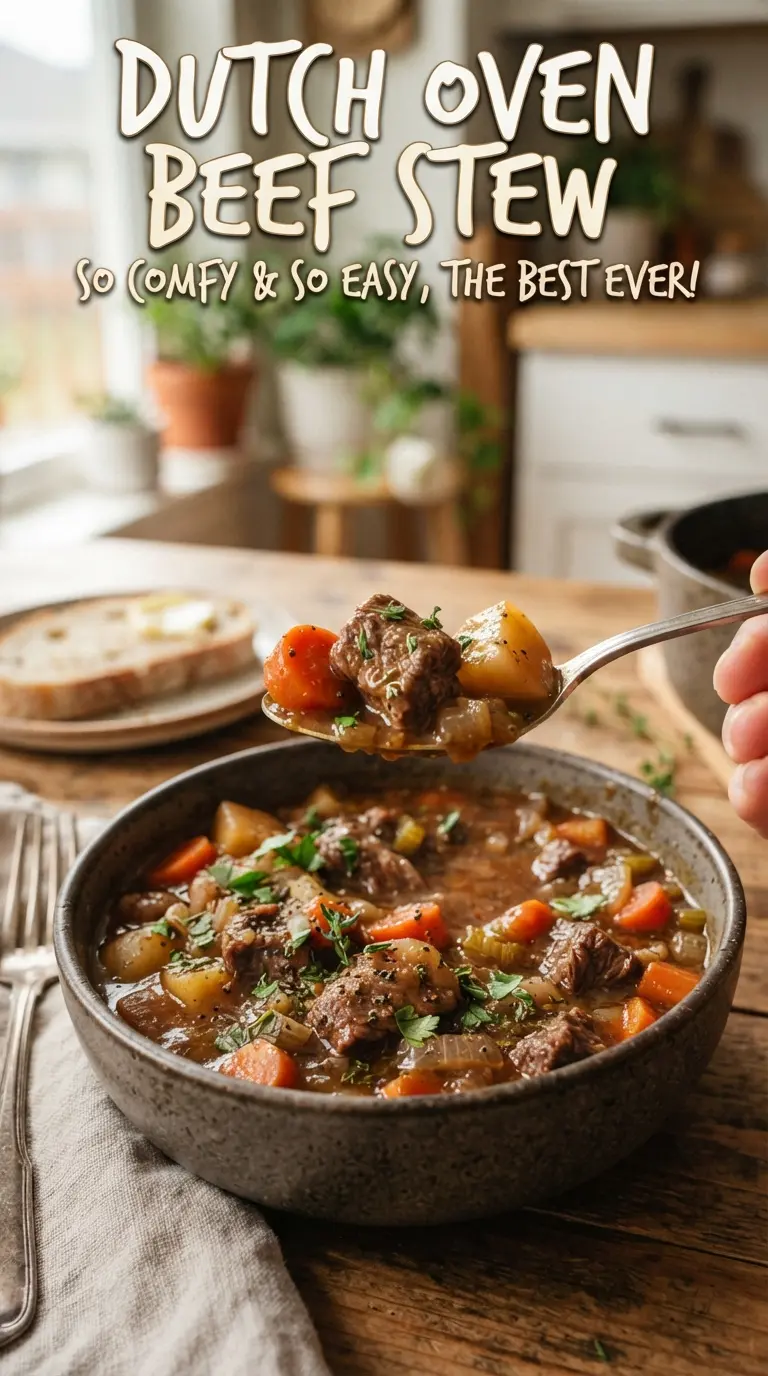
- Beef chuck — This cut has the connective tissue that breaks down into tenderness during a long bake. Leaner stew meat can work, but it usually dries out before the sauce has time to deepen.
- Flour — The light coating helps the beef brown and gives the stew a little built-in thickness. If you skip it, the broth stays looser unless you reduce it longer at the end.
- Dry red wine — This adds acidity and depth while lifting the browned bits from the pan. Use a wine you’d actually drink; cooking wine tastes rough and leaves that behind in the finished pot.
- Tomato paste — It adds concentrated sweetness and a dark, savory edge once it hits the hot pot. Let it cook for a minute with the onions so it loses the raw, tinny taste.
- Fresh rosemary, thyme, and bay leaves — Fresh herbs give the broth a clean, woodsy finish that dried herbs can’t fully match here. If you need to use dried, cut the amount down and keep a close eye on it so the stew doesn’t turn dusty.
- Baby potatoes and carrots — These hold their shape better than larger, chunkier cuts and cook at the same pace once they’re added later. Halving the potatoes helps them absorb the broth without turning mushy on the outside and hard in the center.
Building the Stew So the Sauce Stays Rich
Season and Brown in Batches
Pat the beef dry, season it well, and toss it with the flour before it hits the hot oil. Browning works best in a single layer with space around each piece, because crowded meat gives off steam and loses that deep brown crust. You’re looking for a dark, even sear on several sides, not a pale tan color. If the flour starts to look gummy in the pot, the heat is too low or the pan is too crowded.
Cook Down the Aromatics
Once the beef is out, the onion goes in to soften and pick up the drippings left behind. Garlic and tomato paste only need about a minute; the paste should darken slightly and smell sweeter, not scorch. This is where the stew starts to taste layered instead of just salty. If the garlic browns fast, pull the pot off the heat for a moment before moving on.
Deglaze Before the Braise
The wine does the heavy lifting here. Pour it in and scrape every bit from the bottom of the pot while it simmers, because those browned bits dissolve into the sauce and give it its backbone. Let it bubble for a couple of minutes so the harsh alcohol edge cooks off. If you rush this part, the stew can taste sharp instead of rounded.
Let the Oven Do the Slow Work
Once the broth, Worcestershire, herbs, and beef go back in, cover the Dutch oven and bake it until the meat starts yielding to a fork. The long, steady heat is what turns chuck into something spoon-tender without shredding it to dust. Add the potatoes and carrots only after the beef has had time to soften, then finish uncovered only if the broth needs a little tightening. Pull out the bay leaves and herb stems before serving so the pot stays smooth to eat.
How to Adapt This Stew Without Losing the Deep, Savory Base
Gluten-Free Version
Use a gluten-free all-purpose flour blend or skip the coating and brown the beef plain. The stew will still be rich, but the sauce will stay a little looser unless you simmer it longer at the end. Check the Worcestershire sauce label too, because some brands contain gluten.
No Wine, Still Deep Flavor
Swap the wine for more beef broth plus 1 tablespoon red wine vinegar or balsamic vinegar. You’ll lose a little of the mellow complexity that wine brings, but the acidity still keeps the broth from tasting flat. Add the vinegar with the broth, not at the end, so it mellows as the stew cooks.
Make It Dairy-Free and Paleo-Friendly
This stew already fits both of those styles as written if your broth and Worcestershire sauce do. The only thing to double-check is the label on the broth, since some brands sneak in additives or sugar. Keep the method the same and you’ll still get that long-braised texture.
Storage and Reheating
- Refrigerator: Keep leftovers covered for up to 4 days. The broth thickens as it chills, which is normal.
- Freezer: This freezes well for up to 3 months. Cool it completely first, then portion it into freezer containers so the potatoes don’t get smashed when you thaw it.
- Reheating: Warm it gently on the stovetop over low to medium-low heat with a splash of broth or water if needed. High heat can make the beef tighten up and can cause the potatoes to break apart before the center is hot.
Questions I Get Asked About This Recipe
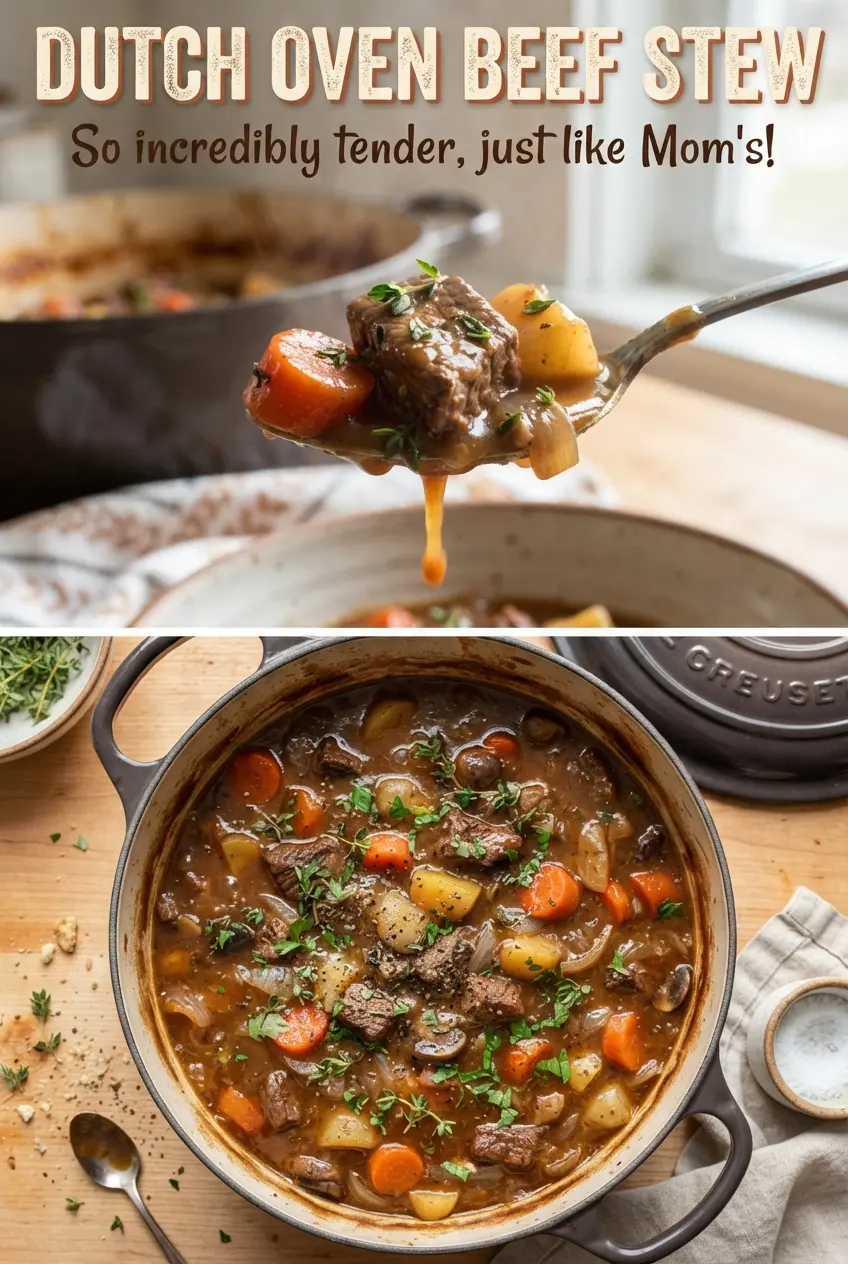
Dutch Oven Beef Stew
Ingredients
Equipment
Method
- Preheat the oven to 325F. Season the beef with salt and black pepper, toss with the flour, and brown in batches in the Dutch oven until well-seared.
- Heat 3 tablespoons olive oil in the Dutch oven as needed while browning. Transfer browned beef to a plate and keep any fond (browned bits) in the pot.
- Cook the diced onion in the Dutch oven for 5 minutes. Add the minced garlic and tomato paste and cook for 1 minute, stirring until fragrant.
- Pour in the dry red wine and scrape the bottom of the Dutch oven. Simmer for 2 minutes, loosening all browned bits.
- Add beef broth, Worcestershire sauce, rosemary, thyme, and bay leaves to the pot. Return the browned beef, cover, and bake at 325F for 2 hours.
- Stir the stew to distribute the ingredients. Add the halved baby potatoes and cut carrots, cover, and bake for 1 hour more at 325F until everything is tender.
- Remove the herb stems and bay leaves from the stew. Taste and serve hot, with fork-tender beef and vegetables in a thick glossy gravy.