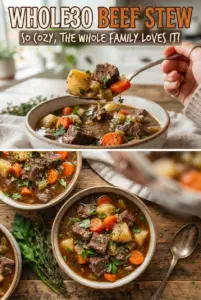
Rich beef stew earns its place in the regular rotation because it gives you that deep, slow-cooked comfort without asking for anything fancy. The beef turns tender enough to cut with a spoon, the broth builds into something thick and savory, and the potatoes and carrots soak up all that flavor instead of tasting like an afterthought. It’s the kind of pot that makes the kitchen smell like dinner has been worth waiting for.
The key is in the browning and the simmer. Coating the beef lightly in flour helps the meat sear and gives the broth a little body later, but the real difference comes from taking the time to brown in batches instead of crowding the pot. Tomato paste, Worcestershire, and the browned bits on the bottom create a broth with more depth than water-and-broth alone can manage.
Below, I’ve included the small timing details that keep the vegetables from turning mushy, plus a few smart swaps if you need to work with what’s already in your pantry.
The beef got fall-apart tender and the broth thickened up beautifully after the flour-coated meat simmered. I added the potatoes right on time, and they held their shape instead of turning to mush.
Love a stew with tender beef and a rich brown broth? Save this one for the nights when you want a pot of true comfort food.
The Browned Bits Are What Give This Stew Its Real Depth
Beef stew can taste flat when the meat goes straight into liquid without a proper sear. Browning the beef in batches builds a crust on the outside and leaves caramelized bits in the pot, which dissolve into the broth once you add the liquid. That’s where the stew gets its darker color and layered flavor, not from extra seasoning.
Coating the beef with flour before browning does two jobs here: it helps the meat color a little faster, and it gives the finished broth a light, natural thickness. The trick is to keep the flour layer thin. If the beef looks pasty, the flour will clump instead of helping the stew. Brown the meat in a hot pot, leave space between the pieces, and don’t rush the onion step afterward. Those browned bits need the broth to pull them loose.
What Each Ingredient Is Doing in This Pot
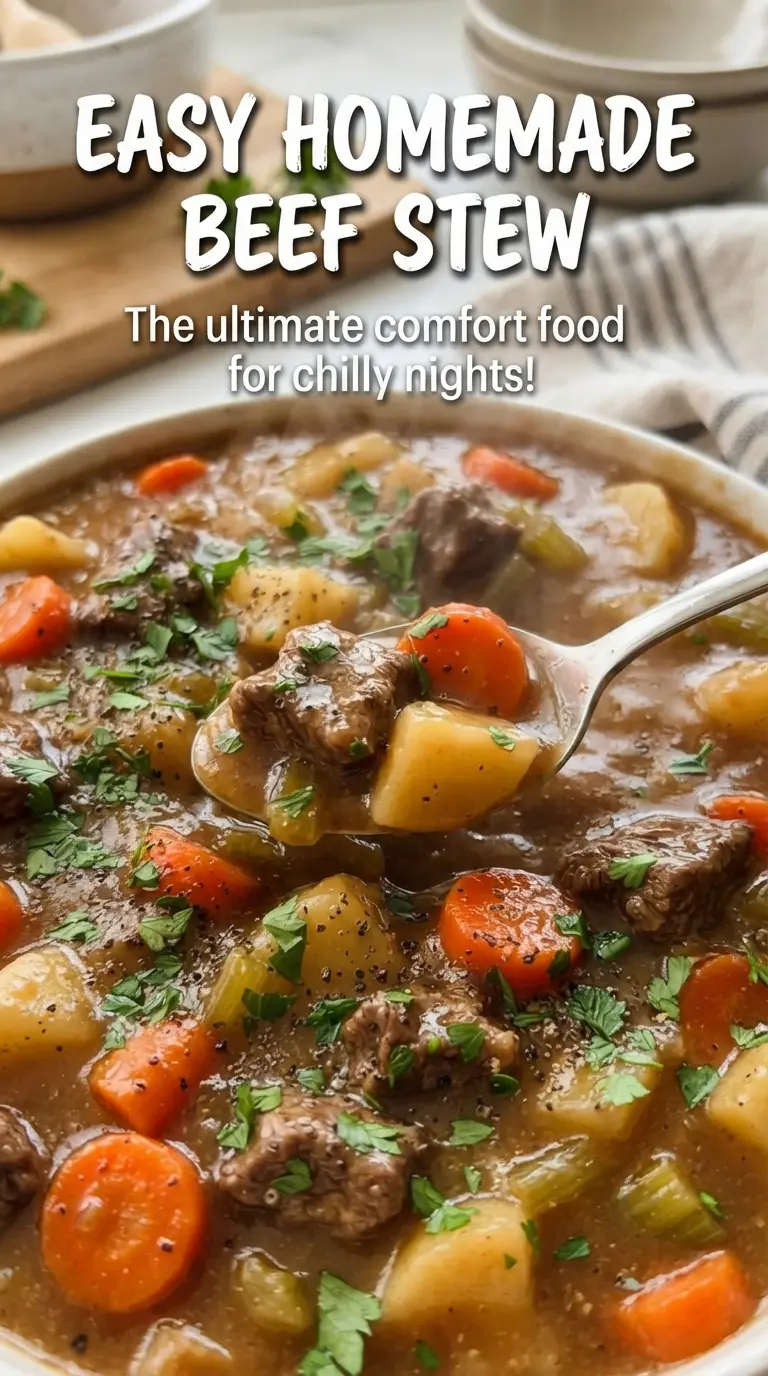
- Beef stew meat — Chuck-style stew meat is the right choice because it has enough connective tissue to soften during the long simmer. Leaner cuts can turn dry before the vegetables are done.
- All-purpose flour — This lightly coats the beef and thickens the broth as it cooks. Cornstarch won’t give you the same body at the start, and it doesn’t cling to the meat the same way.
- Tomato paste — This doesn’t make the stew taste like tomato; it deepens the color and adds a concentrated savory base. Let it cook for a minute with the broth so it loses any raw edge.
- Worcestershire sauce — It brings a quiet hit of tang and umami that makes the broth taste finished. There isn’t a great one-to-one substitute, but a splash of soy sauce plus a little extra salt will get you close if needed.
- Potatoes and carrots — Adding them later keeps them intact. If they go in at the start, the potatoes break down and the carrots turn dull and soft before the beef is tender.
Building the Stew So the Beef Turns Tender, Not Dry
Browning the Beef in Batches
Coat the beef with the flour, salt, and pepper, then brown it in hot oil in a single layer. You’re looking for a deep brown crust, not full cooking at this stage. If the pot is crowded, the meat steams and the bottom goes gray instead of forming those useful browned bits. Set the beef aside once each batch is seared so the pieces keep their color and the pot stays hot enough to continue browning.
Cooking the Onion and Garlic
Add the onion to the same pot and cook it until softened and translucent, about 4 minutes. It should pick up a little color from the drippings, which helps the stew taste rounder. Garlic goes in at the end for only 30 seconds; any longer and it can burn once the broth hits the pan. Burnt garlic will make the whole pot taste bitter, so keep this part quick.
Simmering the Base
Stir in the broth, tomato paste, Worcestershire sauce, thyme, and bay leaf, scraping up every browned bit stuck to the bottom. That scraping is not cleanup work; it’s flavor. Bring the pot to a gentle simmer, return the beef, and cover it loosely. Keep the heat low enough that you see only small bubbles breaking at the surface. A hard boil tightens the meat instead of relaxing it into tenderness.
Adding the Vegetables at the Right Time
After the beef has had its long simmer, add the potatoes and carrots and cook until both are tender, about 45 to 60 minutes more. This timing keeps the vegetables from collapsing before the beef is done. Potatoes should slip off a fork but still hold their edges. If the broth looks a little thin near the end, let it simmer uncovered for a few minutes after the vegetables are tender.
Finishing the Pot
Pull out the bay leaf, taste the broth, and adjust the salt and pepper before serving. The stew should taste balanced and full, not just salty. Fresh parsley at the end wakes up the whole pot and gives a clean finish against the rich broth. If the stew sits for 10 minutes before serving, it thickens a little more and the flavor settles in nicely.
How to Adapt This Stew Without Losing the Good Part
Make It Gluten-Free
Use a gluten-free all-purpose flour blend to coat the beef, or skip the flour and thicken the finished stew with a cornstarch slurry near the end. You’ll still get a rich broth, though it won’t have quite the same built-in body from the start.
Use Red Wine for a Deeper Pot
Replace 1 cup of the beef broth with dry red wine after the onions cook and let it reduce for a minute before adding the rest of the liquid. The stew gets a darker, slightly richer finish. Don’t use sweet wine here or the broth will taste unbalanced.
Add Peas or Mushrooms at the End
If you want more vegetables, stir in mushrooms with the onions or add peas during the last 5 minutes. Mushrooms deepen the savory flavor, while peas keep their color and texture if they’re added late. Put either in too early and they’ll lose the texture that makes them worth adding.
Make It Dairy-Free and Still Hearty
This stew is already naturally dairy-free, so there’s nothing to remove. The rich texture comes from the flour, the beef drippings, and the long simmer, which means you don’t need cream to make it feel substantial.
Storage and Reheating
- Refrigerator: Store in an airtight container for up to 4 days. The stew thickens as it chills, and the flavor gets even deeper by day two.
- Freezer: It freezes well for up to 3 months. Cool it completely first, and leave a little headspace in the container because the liquid expands.
- Reheating: Warm it gently on the stove over low heat until the broth loosens and the beef is hot through. A hard boil can make the potatoes split apart and turn the meat stringy.
Answers to the Questions Worth Asking
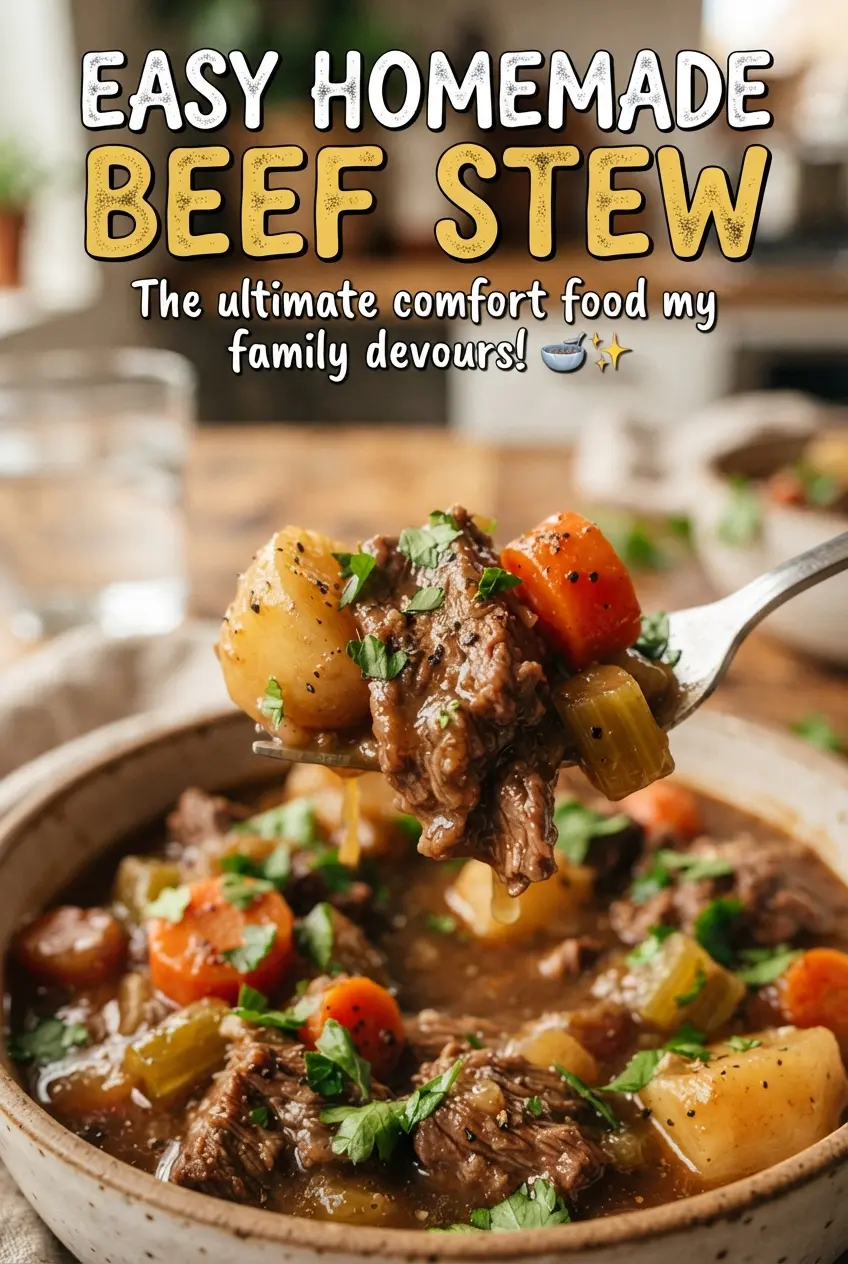
Easy Homemade Beef Stew
Ingredients
Equipment
Method
- Toss the beef stew meat with all-purpose flour, salt, and black pepper, then brown in hot vegetable oil in a large Dutch oven in batches and set aside.
- Cook the onion for 4 minutes in the Dutch oven, then add the garlic and cook for 30 seconds.
- Stir in beef broth, tomato paste, Worcestershire sauce, dried thyme, and bay leaf, scraping the bottom to loosen browned bits.
- Return the browned beef to the pot, cover, and simmer on low for 1 1/2 hours until the meat is tender.
- Add the potatoes and carrots, then simmer for 45-60 minutes more until everything is tender.
- Remove the bay leaf, adjust seasoning, and top with fresh parsley before serving.