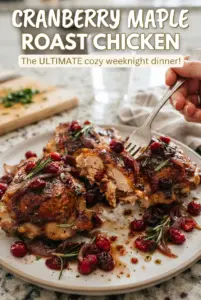
Cranberry maple roast chicken lands on the table with bronzed skin, juicy meat, and a pan sauce that tastes sharper and deeper than a simple glaze. The cranberries burst in the oven and pull the maple in two directions at once: sweet at first, then tart enough to keep every bite from feeling heavy. It’s the kind of roast that looks special without asking for anything complicated from the cook.
The trick is building flavor in layers. Butter and rosemary go under and over the skin so the chicken bastes itself as it roasts, and the orange and garlic in the cavity perfume the meat from the inside. The glaze goes on later, not at the start, so the maple doesn’t burn before the bird is cooked through. The cranberries and broth added near the end turn the drippings into a glossy sauce instead of a sticky mess.
Below, you’ll find the timing that keeps the skin lacquered instead of scorched, plus the small pan detail that makes the sauce worth spooning over every slice.
The glaze turned sticky and glossy, and the cranberries broke down into the pan sauce right at the end. The chicken stayed juicy even after resting, and the rosemary butter under the skin made the whole house smell incredible.
Save this cranberry maple roast chicken for the roast-night when you want glossy skin, tart cranberries, and a pan sauce worth serving with a spoon.
The Secret to Keeping the Maple Glaze from Burning
Maple syrup burns faster than most people expect, especially on a whole chicken that needs enough time in the oven to cook all the way through. That’s why the first stretch of roasting happens with just seasoning, butter, and aromatics. The glaze goes on after the chicken has already built some color and the skin has started to tighten, which gives you a deep lacquer instead of a bitter, darkened crust.
The other piece that matters is the cranberry timing. If they go in too early, they collapse completely and dry out before the chicken finishes. Added near the end with the broth, they burst just enough to thicken the pan juices and keep the glaze moving around the pan instead of sticking in one spot.
What Each Ingredient Is Doing in This Roast
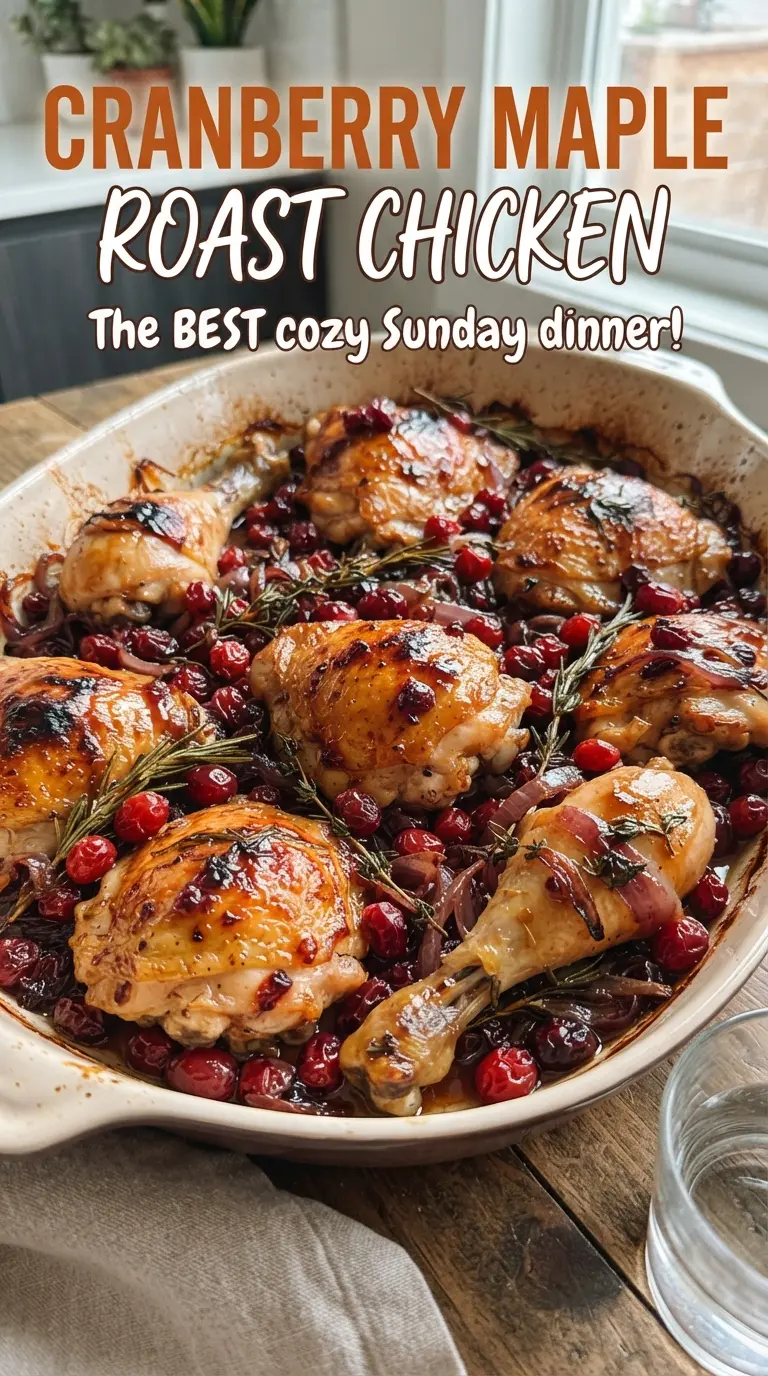
- Whole chicken — A 5-pound bird gives you enough time in the oven to build color without drying out the breast. A smaller chicken will roast faster, so start checking earlier; a larger one may need extra minutes before the glaze stage.
- Butter and rosemary — The butter helps the skin brown evenly, and the rosemary perfumes the fat so the flavor goes straight into the meat. Softened butter matters here because it spreads under the skin without tearing it.
- Orange and garlic — These aren’t just garnish. The orange steams inside the cavity and keeps the bird from tasting flat, while the garlic softens and sweetens as it roasts.
- Cranberries, maple syrup, and Dijon — This trio is the whole point of the dish. Maple gives gloss, Dijon sharpens the sweetness, and cranberries bring the tartness that keeps the sauce balanced.
- Chicken broth — It loosens the pan drippings just enough to turn them into a spoonable sauce. Water won’t give you the same depth, so use broth here if you can.
Roasting the Bird in Two Phases for Better Skin and Juicier Meat
Seasoning Under the Skin
Pat the chicken dry first, then season inside and out with salt and pepper. Dry skin is what gives you browning instead of steaming, and the butter mixed with rosemary should go under the skin as well as over it so the breast stays moist while the skin crisps. If the butter is too cold, it will tear the skin; if it’s too soft and greasy, it won’t stay put. Room-temperature butter spreads best and gives you an even layer.
The First Roast
Set the chicken in the pan with the onion wedges around it and tuck the orange halves and garlic into the cavity. Roast for the first 50 minutes without the glaze so the skin can set and take on color. You’re looking for pale golden skin that’s starting to bronze at the edges, not full caramelization yet. If the bird is already deeply dark before the glaze goes on, your oven is running hot and the second stage needs closer watching.
Glazing and Finishing the Pan Sauce
Whisk the maple syrup and Dijon together, brush on half, then add the cranberries and broth to the pan. Roast 25 to 30 minutes more, brushing with the remaining glaze once the skin has enough structure to hold it. The chicken is done when the thigh reaches 165F and the juices run clear, but don’t skip the rest; 15 minutes lets the juices settle so they stay in the meat instead of spilling onto the board. Spoon the cranberry pan sauce over the carved chicken while it’s still warm and glossy.
How to Adapt This Chicken When You Need a Different Finish
Dairy-Free Roast Chicken
Swap the butter for olive oil or a plant-based butter that handles heat well. You’ll lose a little of the rounded richness butter brings, but the skin will still brown nicely and the rosemary will still carry through the meat. Olive oil gives a slightly leaner finish; plant-based butter keeps the closest texture to the original.
No Fresh Cranberries
Frozen cranberries work with no changes, and they’ll still burst into the sauce beautifully. Dried cranberries won’t give you the same tart pop or pan sauce, so they’re not a true substitute here. If all you have is dried, you’d need extra broth and a splash of vinegar to mimic the balance, but the texture changes completely.
Gluten-Free and Pantry-Friendly
This recipe is naturally gluten-free as written, so the main job is checking that your Dijon and broth are certified gluten-free if that matters for your kitchen. The result doesn’t change at all, which is one reason this roast works so well for a mixed table. Serve it with potatoes, rice, or roasted vegetables to catch the sauce.
Storage and Reheating
- Refrigerator: Store leftovers in an airtight container for up to 4 days. The skin softens, but the flavor stays excellent.
- Freezer: The carved chicken freezes well for up to 2 months, especially if you keep some sauce with it. Freeze in portions so it thaws evenly.
- Reheating: Reheat covered in a 325F oven with a splash of broth until warmed through. The common mistake is blasting it in the microwave, which makes the breast meat stringy and the glaze sticky in the wrong way.
Answers to the Questions Worth Asking
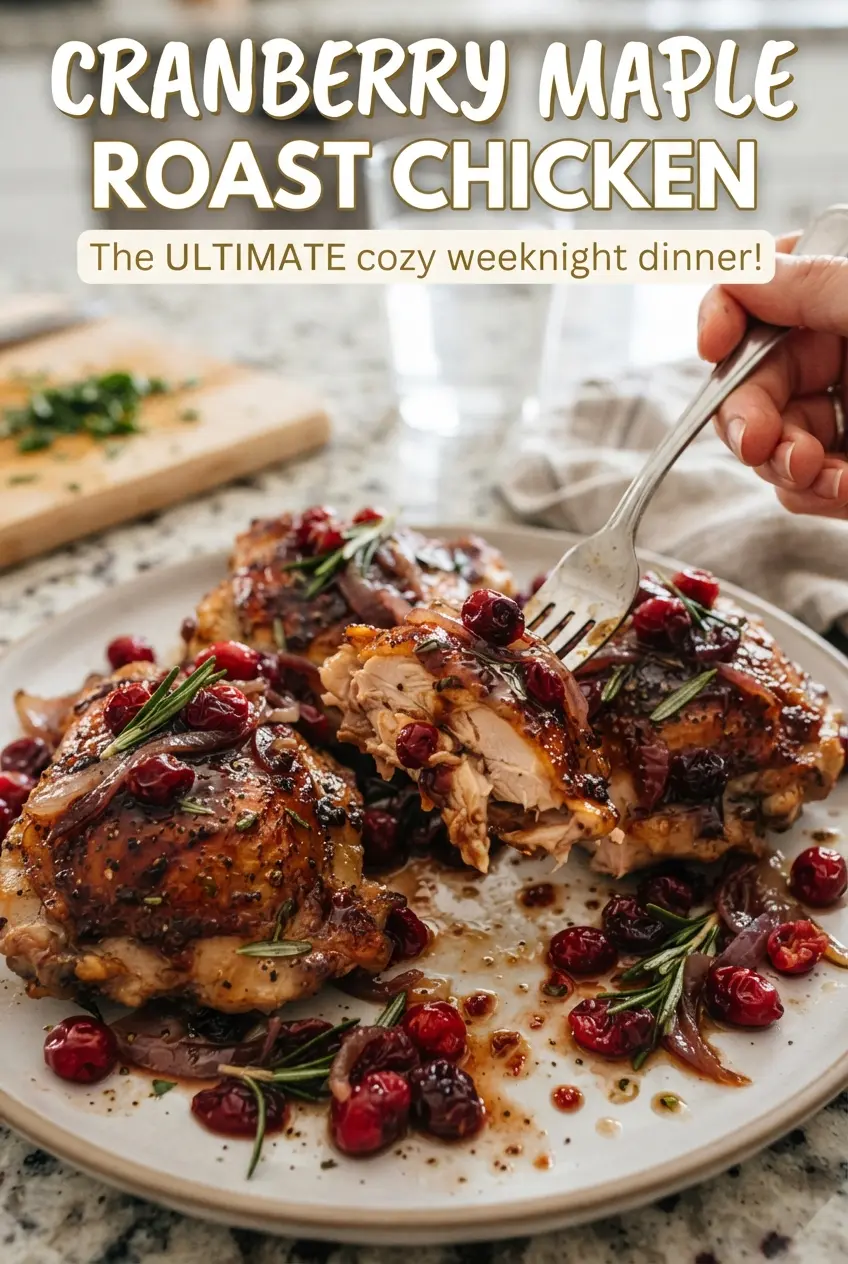
Cranberry Maple Roast Chicken
Ingredients
Equipment
Method
- Preheat the oven to 425F and place a roasting pan in the oven to heat while you prep the chicken.
- Pat the whole chicken dry, then season the inside and out with salt and black pepper.
- Mix softened butter with chopped fresh rosemary, then rub it under and over the skin.
- Stuff the cavity with orange halves and garlic, then set the chicken in a roasting pan with the red onion wedges around it.
- Roast for 50 minutes until the skin starts to turn golden.
- Whisk maple syrup and Dijon mustard, then brush half of the glaze over the chicken.
- Add fresh cranberries and chicken broth to the roasting pan, then return to the oven for 25-30 minutes.
- Continue roasting until the thigh reaches 165F, brushing with the remaining glaze during the final roasting time.
- Rest the chicken for 15 minutes, then carve and spoon the cranberry pan sauce over the top.