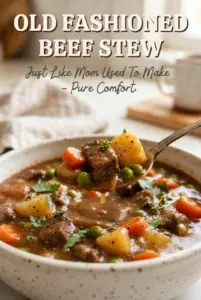
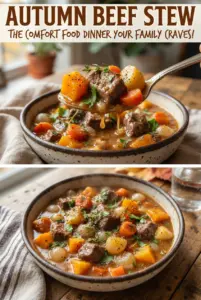
Old fashioned beef stew earns its place in the rotation because it turns a modest cut of beef into something deeply savory, spoon-tender, and full of gravy that clings to potatoes and carrots. The beef stays intact instead of shredding into strings, the broth thickens into a proper sauce, and every bite tastes like it had time to become itself.
The trick is to treat the beef in two stages: first, a hard brown sear that builds the foundation, then a long, gentle simmer that coaxes the chuck into tenderness without drying it out. The flour on the beef helps with both browning and thickening, but the real flavor comes from scraping up the browned bits after the tomato paste goes in and the broth hits the pan. That’s where the stew gets its deep, beefy backbone.
Below, I’ll walk through the part that matters most — how to keep the stew from turning muddy or thin — plus the ingredient swaps and storage details that make this one practical for real weeknight cooking and next-day leftovers.
The beef got that deep brown crust I usually miss, and the gravy thickened up beautifully without getting gluey. My husband went back for a second bowl and asked if there was enough left for lunch tomorrow.
Save this old fashioned beef stew for the nights when you want deep-brown beef, thick gravy, and tender vegetables in one Dutch oven.
The Browning Step That Gives This Stew Its Real Flavor
Most stew recipes go flat because the beef is crowded in the pan and steamed instead of browned. That’s the mistake to avoid here. Brown the cubes in batches until the outside is deeply colored and the bottom of the pot has real brown bits stuck to it. Those bits are the base of the gravy, and they matter more than any single spice in the list.
Flouring the beef before it hits the oil does two jobs: it helps the meat brown, and it gives the liquid something to cling to later. The stew thickens naturally as it simmers, so you don’t need a heavy flour slurry at the end. Keep the heat gentle once the broth goes in. A hard boil will tighten the beef before it has time to turn tender.
What Each Ingredient Is Doing in the Pot
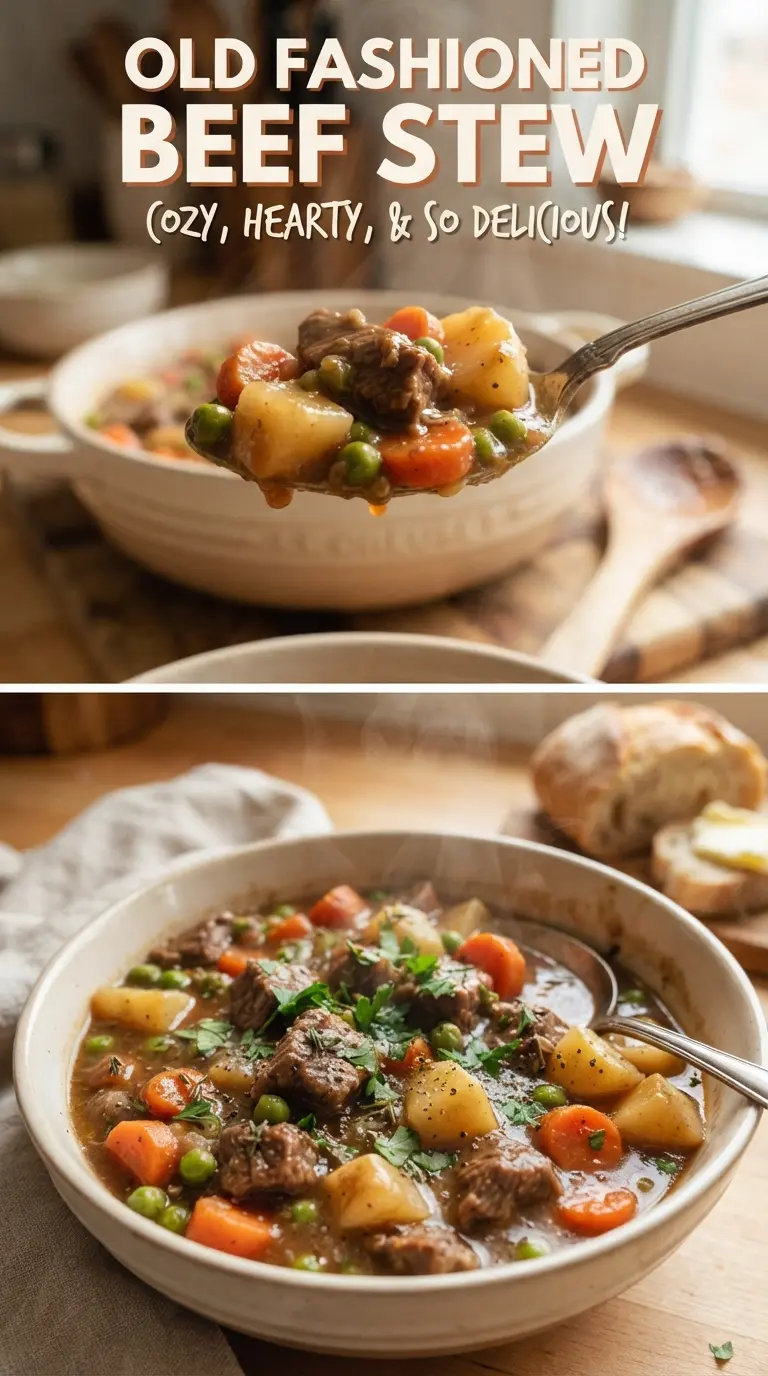
- Beef chuck — This is the right cut because it has enough connective tissue to turn tender during a long simmer. Leaner stew meat gets dry and tough before the gravy has time to develop.
- Flour — It coats the beef for better browning and gives the stew a light body as it cooks. All-purpose flour works best here; cornstarch won’t give the same rounded, stew-like texture.
- Tomato paste — This deepens the broth without making it taste like tomato sauce. Let it cook for a minute with the onion and garlic so it loses that raw edge.
- Worcestershire sauce — A small amount sharpens the beefiness and brings some savory depth that broth alone can’t cover. It’s one of those ingredients you notice most when it’s missing.
- Russet potatoes — They soften enough to thicken the stew a little as they break down around the edges. Yukon Golds will hold their shape better, but russets give you a creamier gravy.
- Frozen pearl onions — These add sweetness and little bursts of onion flavor without needing extra prep. If you only have chopped onion, use it in the base as written and skip the pearl onions rather than adding more bulk at the end.
Building the Pot in the Right Order
Brown the Beef Without Crowding the Pan
Heat the oil until it shimmers, then add the floured beef in a single layer. If the pieces are touching too much, they’ll steam and stay pale, which leaves the stew tasting thin later. Let each batch sit until the surface is a deep brown and the meat releases on its own. That crust is flavor, not a cosmetic detail.
Cook Down the Onion Base
Once the beef comes out, the onion goes into the same pot to pick up the fond. Cook it until it turns soft and glossy, then stir in the garlic and tomato paste just long enough to smell sweet and concentrated. If the paste sticks, the heat is too high. Lower it and stir until it darkens slightly.
Simmer Low and Slow
When the broth and seasonings go in, scrape the bottom clean so every browned bit dissolves into the liquid. Return the beef, cover the pot, and keep the simmer gentle. You want the occasional lazy bubble, not a hard boil. After about two hours, the beef should be close to tender; if it still resists, give it more time instead of turning up the heat.
Add the Vegetables Near the End
Potatoes, carrots, and pearl onions go in after the beef has already softened. If they cook from the beginning, they’ll turn to mush before the meat is done. In the last 45 minutes, the potatoes should become fork-tender and the gravy should thicken enough to coat a spoon. Pull the bay leaves before serving and adjust the salt at the very end.
How to Adapt This for Different Kitchens and Different Tables
Gluten-Free Version
Swap the all-purpose flour for a gluten-free flour blend that can coat and brown the beef, or brown the beef without flour and thicken the finished stew with a cornstarch slurry. The flavor stays the same, but the body will be a little less rustic if you skip the flour entirely.
Make It More Winey and Deep
If you want a richer stew, replace 1 cup of the broth with dry red wine and let it reduce for a minute after the tomato paste cooks. The wine adds depth and a little brightness, but too much will push the stew away from that classic old-fashioned flavor.
Use Different Root Vegetables
Parsnips, turnips, or sweet potatoes can stand in for some of the potatoes and carrots if that’s what you have. Parsnips bring sweetness, turnips stay a little firmer, and sweet potatoes will soften faster, so add them later if you don’t want them to disappear into the gravy.
Make-Ahead and Leftovers
This stew tastes even better the next day once the broth settles and the beef finishes soaking up the seasoning. Store it covered in the refrigerator, then reheat it gently over low heat with a splash of water or broth if the gravy tightens up too much.
Storage and Reheating
- Refrigerator: Store for up to 4 days. The gravy will thicken as it chills, and the potatoes will soften a bit more.
- Freezer: Freezes well for up to 3 months, though the potatoes may be a little softer after thawing. Cool it completely first and leave a little space at the top of the container.
- Reheating: Reheat slowly on the stove over low heat, stirring often. A fast boil can break the potatoes apart and make the beef stringy before the center is hot.
Answers to the Questions Worth Asking
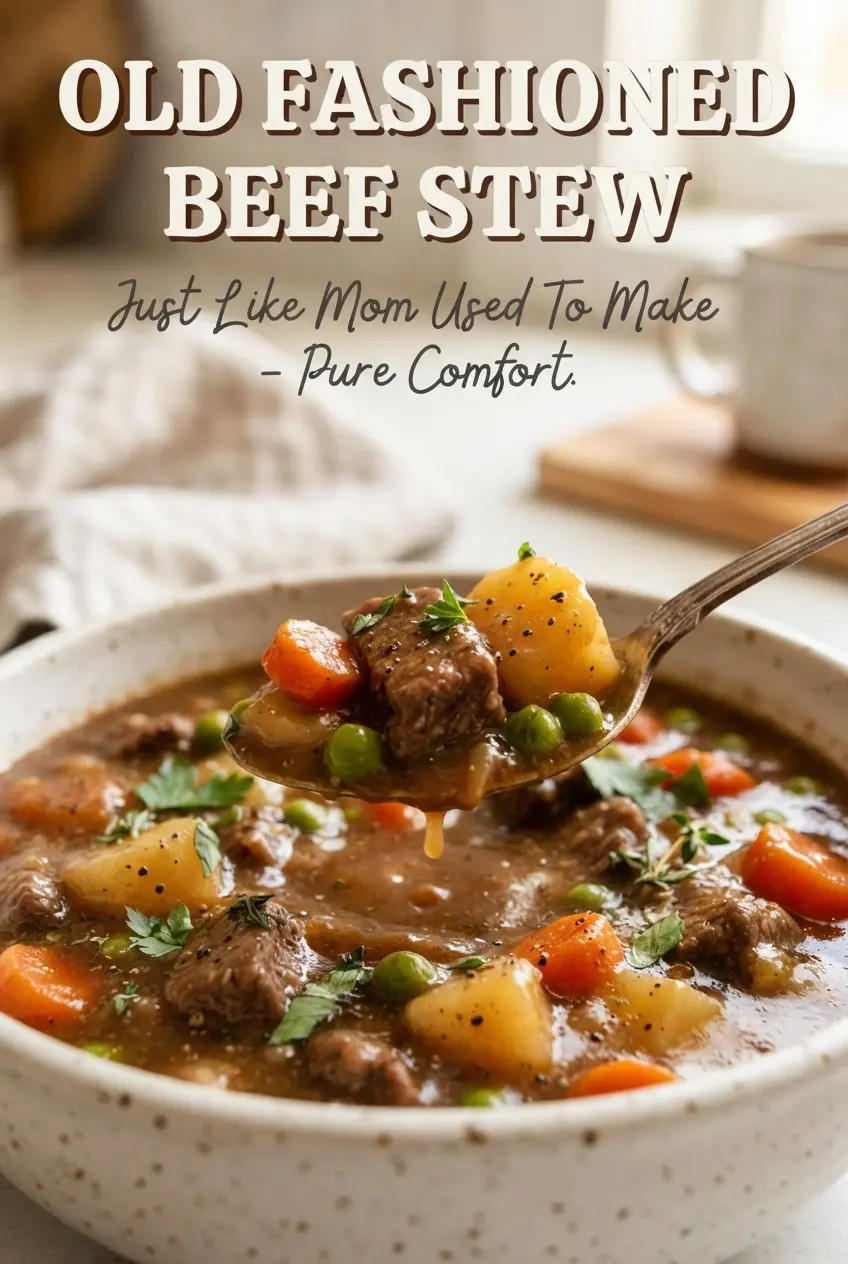
Old Fashioned Beef Stew
Ingredients
Equipment
Method
- Toss the beef chuck with all-purpose flour, salt, and black pepper until evenly coated. Add vegetable oil to a hot Dutch oven and brown the beef in batches until deep brown on all sides, using a quick sear and avoiding overcrowding.
- Return all browned beef to the Dutch oven, keeping any browned bits in the bottom. Leave the lid off briefly so the surface stays browned before building the stew.
- Add chopped onion to the Dutch oven and cook for 5 minutes, stirring to pick up browned bits. Stir in minced garlic and tomato paste and cook for 1 minute until fragrant.
- Add beef broth, water, Worcestershire sauce, sugar, paprika, dried thyme, and bay leaves, then scrape up the browned bits from the bottom. Bring to a simmer, then return the beef to an even layer.
- Cover the Dutch oven and simmer gently for 2 hours, keeping a steady low bubble. Stir once or twice to ensure the beef cooks evenly and the gravy thickens gradually.
- Add russet potatoes, carrots, and frozen pearl onions, then stir to distribute evenly. Cover and simmer for 45 minutes, until the potatoes and carrots are tender and the gravy has thickened.
- Remove bay leaves and season to taste with additional salt and black pepper if needed. Serve hot with a thick, hearty texture and visible chunks of beef and vegetables.