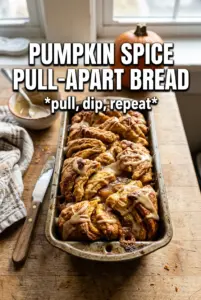
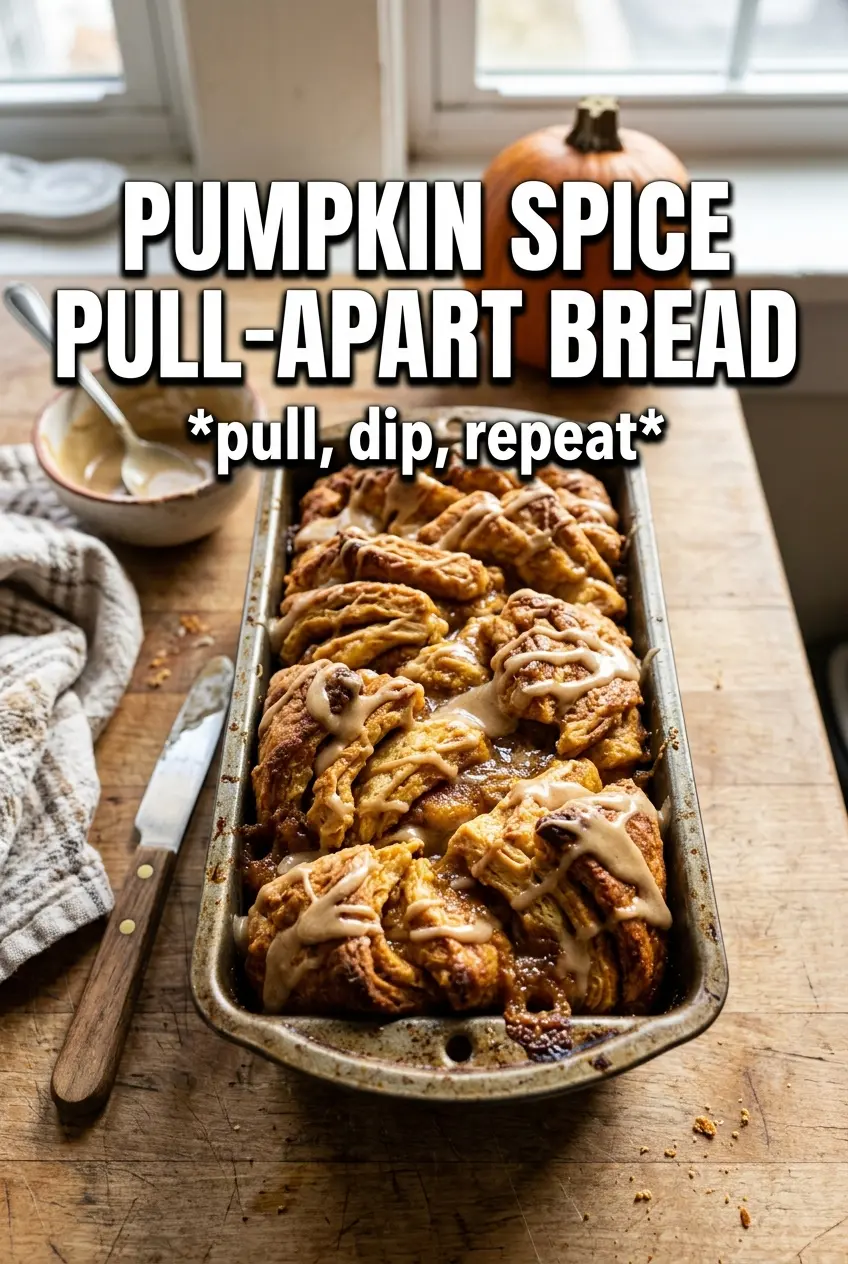
Pumpkin spice pull apart bread bakes into soft, layered squares with buttery edges, a tender pumpkin crumb, and ribbons of cinnamon sugar tucked into every stack. Pulling off a warm piece gives you the best parts at once: the crackly top, the plush center, and that sweet spiced filling that melts into the bread as it bakes.
What makes this version work is the balance between the pumpkin puree and the yeast dough. Pumpkin adds flavor and color without weighing the dough down, but only if the liquid and flour stay in check. The dough should feel soft and slightly tacky after kneading, not stiff. That’s what gives you those pull-apart layers instead of a dense loaf.
Below, I’ll show you how to stack the strips so the bread rises upward in the pan instead of spreading out, plus the small timing detail that keeps the glaze from disappearing into the loaf instead of sitting on top.
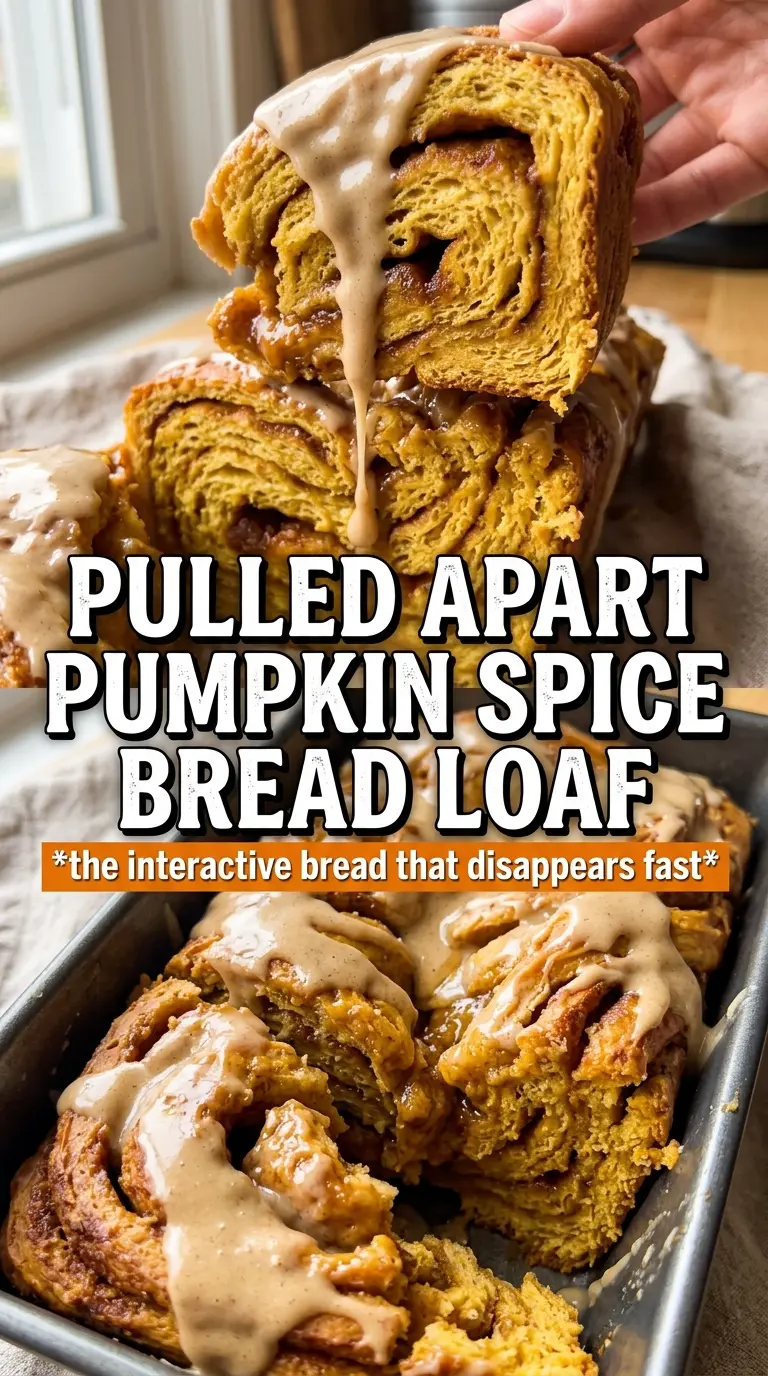
The layers baked up fluffy and separate, and the cream cheese glaze soaked just enough into the warm bread without making it soggy. I loved how the pumpkin spice filling stayed in those little pockets instead of running out everywhere.
Save this pumpkin spice pull apart bread for a soft, layered loaf with cinnamon sugar pockets and a warm cream cheese glaze.
The Trick to Keeping the Layers Tall Instead of Clogged
The biggest mistake with pull apart bread is packing the dough too tightly once it’s cut and stacked. You want the pieces close enough to hold together, but not crushed into one heavy mass. If the layers are jammed down hard in the pan, the bread rises sideways or bakes into a dense loaf instead of a tall, feathery one.
The other point that matters is the second rise. It should look puffy and organized, with the stacked pieces touching but not overflowing the pan. That rise gives the yeast time to fill the seams, which is why each section pulls away cleanly after baking. Cut it into the pan too soon and the loaf will still taste fine, but the texture won’t have that airy, layered pull.
- Yeast — Warm milk wakes it up fast, but the milk should be warm, not hot. If it feels uncomfortable on your wrist, it’s too hot and can kill the yeast before the dough has a chance to rise.
- Pumpkin puree — This adds moisture and a mild earthy sweetness. Use plain pumpkin puree, not pumpkin pie filling, or the dough will be too sweet and the spice balance will be off.
- Butter — Melted butter goes into both the dough and the filling, and that’s what gives the bread its soft richness. In the filling, it helps the sugar cling to each layer instead of falling to the bottom of the pan.
- Brown sugar — This is what creates the gooey cinnamon pockets. Packed brown sugar gives the filling enough moisture to melt into a sticky ribbon instead of baking dry.
What Each Layer Is Doing While the Bread Rises
- Warm milk — This gives the yeast a gentle start and helps the dough come together smoothly. If you use cold milk, the rise drags; if you use hot milk, the yeast can fail before you ever mix in the flour.
- Pumpkin pie spice + cinnamon + nutmeg — Pumpkin pie spice builds the base flavor, while the extra cinnamon and nutmeg sharpen the filling. That separate spice blend in the filling keeps the bread from tasting flat once the glaze goes on top.
- Cream cheese — Full-fat cream cheese makes the glaze thick enough to sit on the loaf instead of running off. Low-fat versions can work, but they’re thinner and less stable when the bread is still warm.
- Powdered sugar — This dissolves into a smooth glaze without grit. Add the milk slowly so you can stop at a drizzle consistency; too much at once turns it thin and watery.
Building the Dough, the Stacks, and the Final Glaze
Mixing and Kneading the Pumpkin Dough
Start by activating the yeast in the warm milk, then mix in the sugar, butter, egg, and pumpkin before adding the flour, pumpkin pie spice, and salt. Knead until the dough turns smooth and elastic, about 7 to 8 minutes by hand or with a dough hook. If it clings a little to the bowl but still pulls away from your fingers, that’s the right place to stop. Too much flour makes the loaf dry and tight, and pull apart bread needs a dough that stays supple.
Rolling, Filling, and Cutting the Sheets
Roll the dough into a 12×16 rectangle so the thickness stays even from edge to edge. Brush the surface with melted butter, then scatter the sugar and spice filling all the way to the corners so every bite has flavor. Cut the dough into long strips first, stack those strips, and then slice the stack into square blocks. If the layers slide around a little, that’s fine; just keep the cut edges facing up so the filling shows when the bread bakes.
Stacking in the Pan and Baking Through
Place the little stacks on their sides in a greased 9×5 loaf pan, then let them rise until puffy and snug against each other. Bake at 350°F until the top is deeply golden and the center is set, tenting with foil halfway through so the sugar doesn’t burn before the middle catches up. The loaf should sound slightly hollow at the top and feel springy when pressed gently. If the top browns too fast, the foil isn’t optional — it protects the crust while the inside finishes.
Finishing With the Warm Cream Cheese Glaze
Stir the glaze until smooth and pour it over the bread while the loaf is still warm, not piping hot. Warm bread helps the glaze settle into the ridges without melting into a puddle. If the loaf cools completely, the glaze sits more thickly on top, which is fine, but you lose that little bit of seeped-in sweetness between the layers.
How to Adapt It for Different Kitchens and Different Mornings
Dairy-Free Version
Use unsweetened almond milk or oat milk in the dough, plant-based butter in the dough and filling, and a dairy-free cream cheese for the glaze. The bread will still rise and bake well, though the glaze will be a little softer and less tangy than the original.
Make-Ahead Morning Prep
Shape the stacked dough in the loaf pan, cover it tightly, and refrigerate overnight after the first rise and shaping. The next morning, let it sit at room temperature until it looks puffy again before baking. Cold dough straight from the fridge bakes unevenly, so give it time to take the chill off.
Less-Sweet Brunch Loaf
Cut the brown sugar in the filling back slightly and use a thinner glaze or none at all. You’ll get a more bread-forward loaf with a cleaner pumpkin spice finish, which works well if you’re serving it alongside eggs or coffee.
Storage and Reheating
- Refrigerator: Store covered for up to 4 days. The bread firms up a bit in the fridge, but the layers stay intact.
- Freezer: Freeze slices or the whole loaf, wrapped tightly, for up to 2 months. Thaw overnight in the fridge before warming.
- Reheating: Warm individual slices in the microwave for 15 to 20 seconds or in a low oven until just heated through. Don’t blast it on high heat or the glaze can melt off and the bread turns tough.
Questions I Get Asked About This Recipe
Pumpkin Spice Pull Apart Bread
Ingredients
Equipment
Method
- In a mixing bowl, combine the warm milk and yeast, then add the sugar, melted butter, egg, and pumpkin puree. Let sit for 5 minutes until foamy.
- Add the flour, pumpkin pie spice, and salt and knead for 7-8 minutes until smooth and elastic. Cover and keep the dough warm for best rise.
- Place the dough in a lightly greased bowl and rise for 1 hour, until doubled in size. The dough should look puffy and spring back slowly when pressed.
- Roll the dough into a 12x16 rectangle on a lightly floured surface. Aim for even thickness so the layers bake uniformly.
- Brush the rectangle with the melted butter, then sprinkle the filling mixture evenly over the surface. Leave a small border so filling doesn’t spill too much.
- Cut the rectangle into 4 strips lengthwise. Keep the strips aligned for the stacked layers.
- Stack the 4 strips and cut them into 6 square stacks. You should have 6 chunky stacks for the loaf pan.
- Place the stacks on their sides in a greased 9x5 loaf pan. Cover and let rise for 30 minutes until slightly puffed.
- Bake at 350F for 35-40 minutes until golden brown. Tent with foil halfway through to prevent over-browning.
- Make the glaze by mixing cream cheese, powdered sugar, milk, and vanilla until smooth. Drizzle over the warm loaf right after baking so it soaks into the layers.