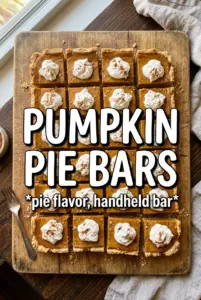
Pumpkin pie bars deliver all the creamy, spiced comfort of a classic pie, but in a form that slices cleanly and travels well. The shortbread crust stays sturdy under the custard, and the filling sets up smooth with just enough wobble in the center to turn silky once it cools. You get the flavor people expect from pumpkin pie without rolling dough or worrying about a crimped edge.
What makes this version work is the contrast: a buttery crust that bakes first, then a pumpkin filling that goes onto the hot crust and finishes low and slow after an initial blast of heat. That first high-temperature bake helps the custard start setting before the oven is reduced, which keeps the texture from turning grainy or overbaked. The evaporated milk adds richness without making the filling heavy, and the mix of cinnamon, ginger, cloves, and pumpkin pie spice gives the bars a layered spice note instead of a flat one.
Below, I’ll show you the small details that matter most, including how to know when the center is set, how to cut the bars cleanly, and what to do if you want to make them ahead for a crowd.
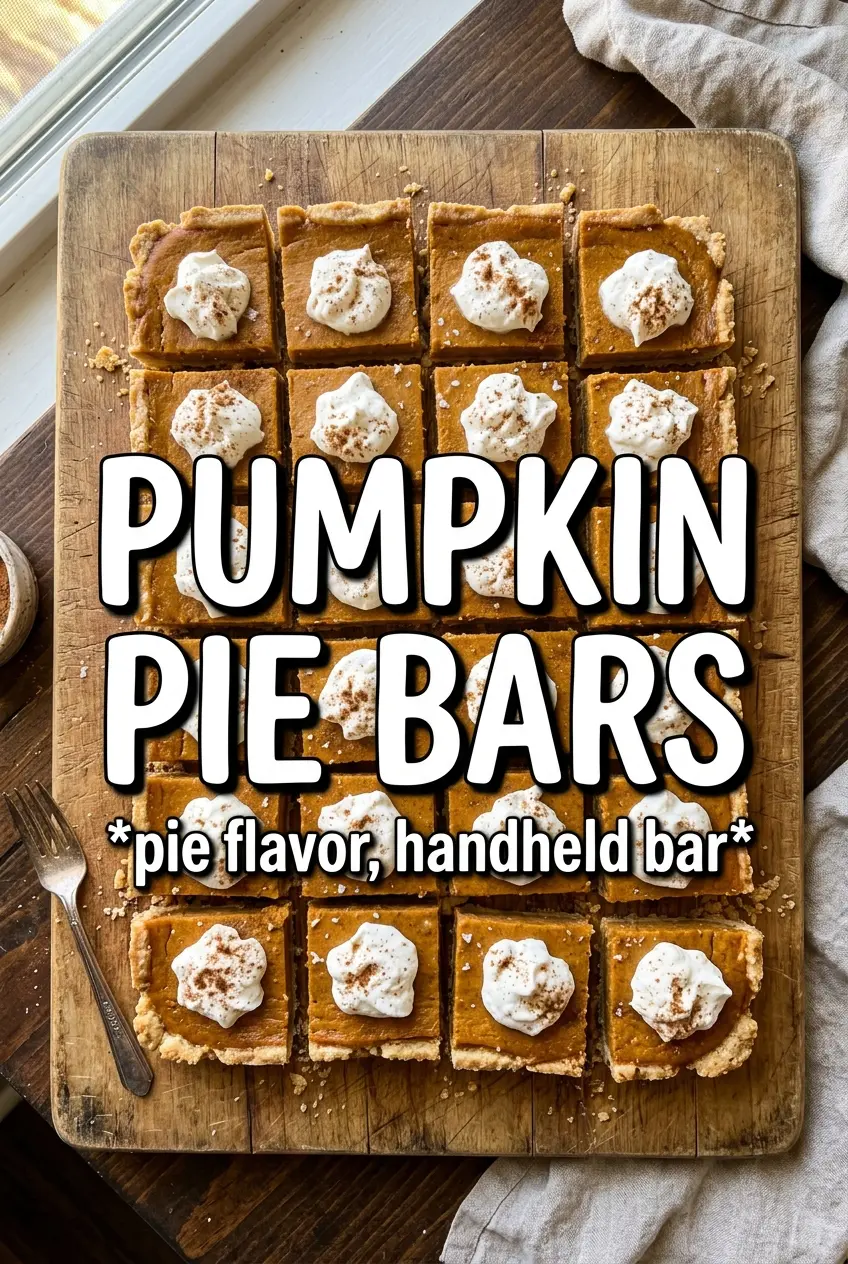
The crust stayed crisp even under the pumpkin filling, and the bars cut into neat squares after chilling. I served them with whipped cream and cinnamon, and they disappeared fast.
Pumpkin Pie Bars with that buttery crust and silky spiced filling are perfect for chilling, slicing, and serving with a cloud of whipped cream.
The Trick to Keeping the Custard Set, Not Watery
The biggest mistake with pumpkin bars is treating the filling like a quick batter instead of a custard. Eggs and evaporated milk need controlled heat, and if the oven runs too hot for too long, the filling can puff, crack, or take on a spongy texture instead of staying smooth. The two-stage bake solves that problem: the first blast of high heat helps the edges set, then the lower temperature finishes the center gently.
Let the crust bake first until it looks pale gold, not deeply browned. That gives the filling a firm base and keeps the bottom from turning soggy. Once the filling goes in, pull the bars when the center still has a small wobble; residual heat finishes the job during cooling, which is why the chill time matters as much as the bake.
What Each Ingredient Is Actually Doing in These Pumpkin Pie Bars
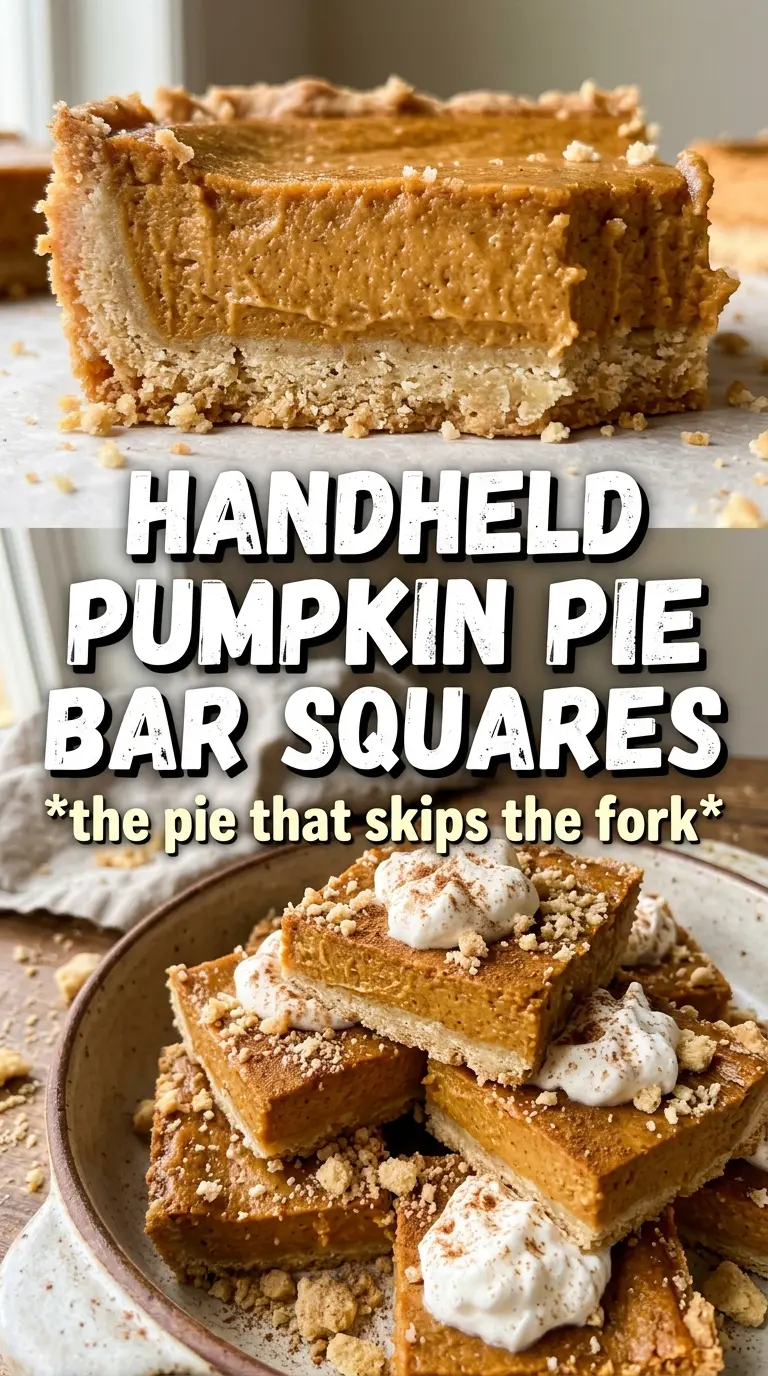
- Cold unsalted butter — This is what gives the crust its short, tender bite. Cold butter cuts into the flour and bakes into a crumbly base instead of a dense one, so keep it cold until the moment you mix.
- Powdered sugar — It helps the crust bake up fine and delicate, with a little melt-in-your-mouth sweetness. Granulated sugar works in a pinch, but the texture will be a little less smooth.
- Pumpkin puree — Use pure pumpkin, not pumpkin pie filling. The filling depends on controlling the sugar and spice yourself, and canned pumpkin gives the cleanest, most reliable texture.
- Evaporated milk — This adds richness and body without the heaviness of cream. Whole milk can work, but the filling won’t set quite as luxuriously.
- Pumpkin pie spice, cinnamon, ginger, and cloves — The spice blend gives depth, while the extra cinnamon, ginger, and cloves keep the flavor from tasting one-note. If you only have pumpkin pie spice, you can use it alone, but the bars lose some of that layered warmth.
- Vanilla — It softens the edges of the spices and makes the pumpkin taste rounder. Don’t skip it unless you have to.
Building the Crust and Filling So Nothing Turns Soggy
Pressing the Crust the Right Way
Mix the flour, powdered sugar, salt, and cold butter just until the dough clumps when you squeeze it. If it turns pasty, the butter has warmed too much and the crust will bake up greasy instead of sandy. Press it firmly and evenly into the pan, especially in the corners, because thin spots overbake and create weak slices later. A pre-baked crust should look dry on top with the faintest golden color at the edges.
Whisking the Filling Until It’s Fully Smooth
Whisk the pumpkin, evaporated milk, eggs, sugar, spices, salt, and vanilla until no streaks of egg white remain. Any unmixed egg can bake into little ribbons or leave the surface uneven. Pour it over the hot crust right away so the transition from crust to custard starts immediately. If the crust cools too much, the bottom can soften before the filling sets.
Watching for the Final Wobble
After the oven drops to 350°F, bake until the edges are set and the center still jiggles just a little when you move the pan. If the middle looks liquid, it needs more time; if it looks firm all the way across, it’s probably overbaked and may crack as it cools. Pull it early rather than late, then let the bars cool completely before chilling. The refrigerator finish is what gives you clean squares instead of a soft, messy slice.
How to Adapt These Pumpkin Pie Bars for Different Needs
Gluten-Free Crust Swap
Use a 1:1 gluten-free flour blend in place of the all-purpose flour. The crust will still bake into a tender base, though it may be a little more delicate when slicing, so chill the bars fully before cutting.
Dairy-Free Version
Replace the butter with a solid plant-based butter that bakes well, and use full-fat canned coconut milk in place of evaporated milk. The filling will be a little richer and carry a faint coconut note, but it still sets nicely.
Extra-Spiced Filling
If you like a stronger spice finish, add an extra 1/4 teaspoon each of cinnamon and ginger. Don’t push the cloves too far, because that’s the spice most likely to take over and make the bars taste sharp instead of warm.
Storage and Reheating
- Refrigerator: Store covered for up to 4 days. The crust stays firm, and the filling slices even cleaner after a full chill.
- Freezer: These freeze well. Cut into bars, wrap individually, and freeze in a single layer before moving them to a container.
- Reheating: Serve chilled or let sit at room temperature for 15 to 20 minutes. Don’t microwave them hot, or the custard can loosen and the crust loses its texture.
Questions I Get Asked About This Recipe
Pumpkin Pie Bars
Ingredients
Equipment
Method
- Preheat the oven to 425F, then line a 9x13 pan with parchment. This helps the bars lift out cleanly after baking.
- Combine all-purpose flour, powdered sugar, and salt, then cut in the cold butter until the dough just holds together. Stop once the mixture looks like moist crumbs.
- Press the crust firmly and evenly into the pan, then bake for 15 minutes until pale golden. Keep an eye on edges so they don’t brown too much.
- Whisk pumpkin puree, evaporated milk, eggs, granulated sugar, pumpkin pie spice, cinnamon, ginger, cloves, salt, and vanilla until smooth. Scrape the bowl so no lumps remain.
- Pour the filling over the hot crust, then bake at 425F for 15 minutes. You’ll see the center begin to set as it bakes.
- Reduce the heat to 350F and bake 25-30 more minutes until the filling is set with just a slight wobble in the center. The bars should look mostly set but not fully firm.
- Cool the pan completely on the counter for 0 minutes. Letting it cool first prevents cracks and helps the custard set.
- Refrigerate for 2 hours to fully chill. The bars will slice more cleanly after this step.
- Cut into bars and serve with whipped cream. Add it right before serving for the best texture.