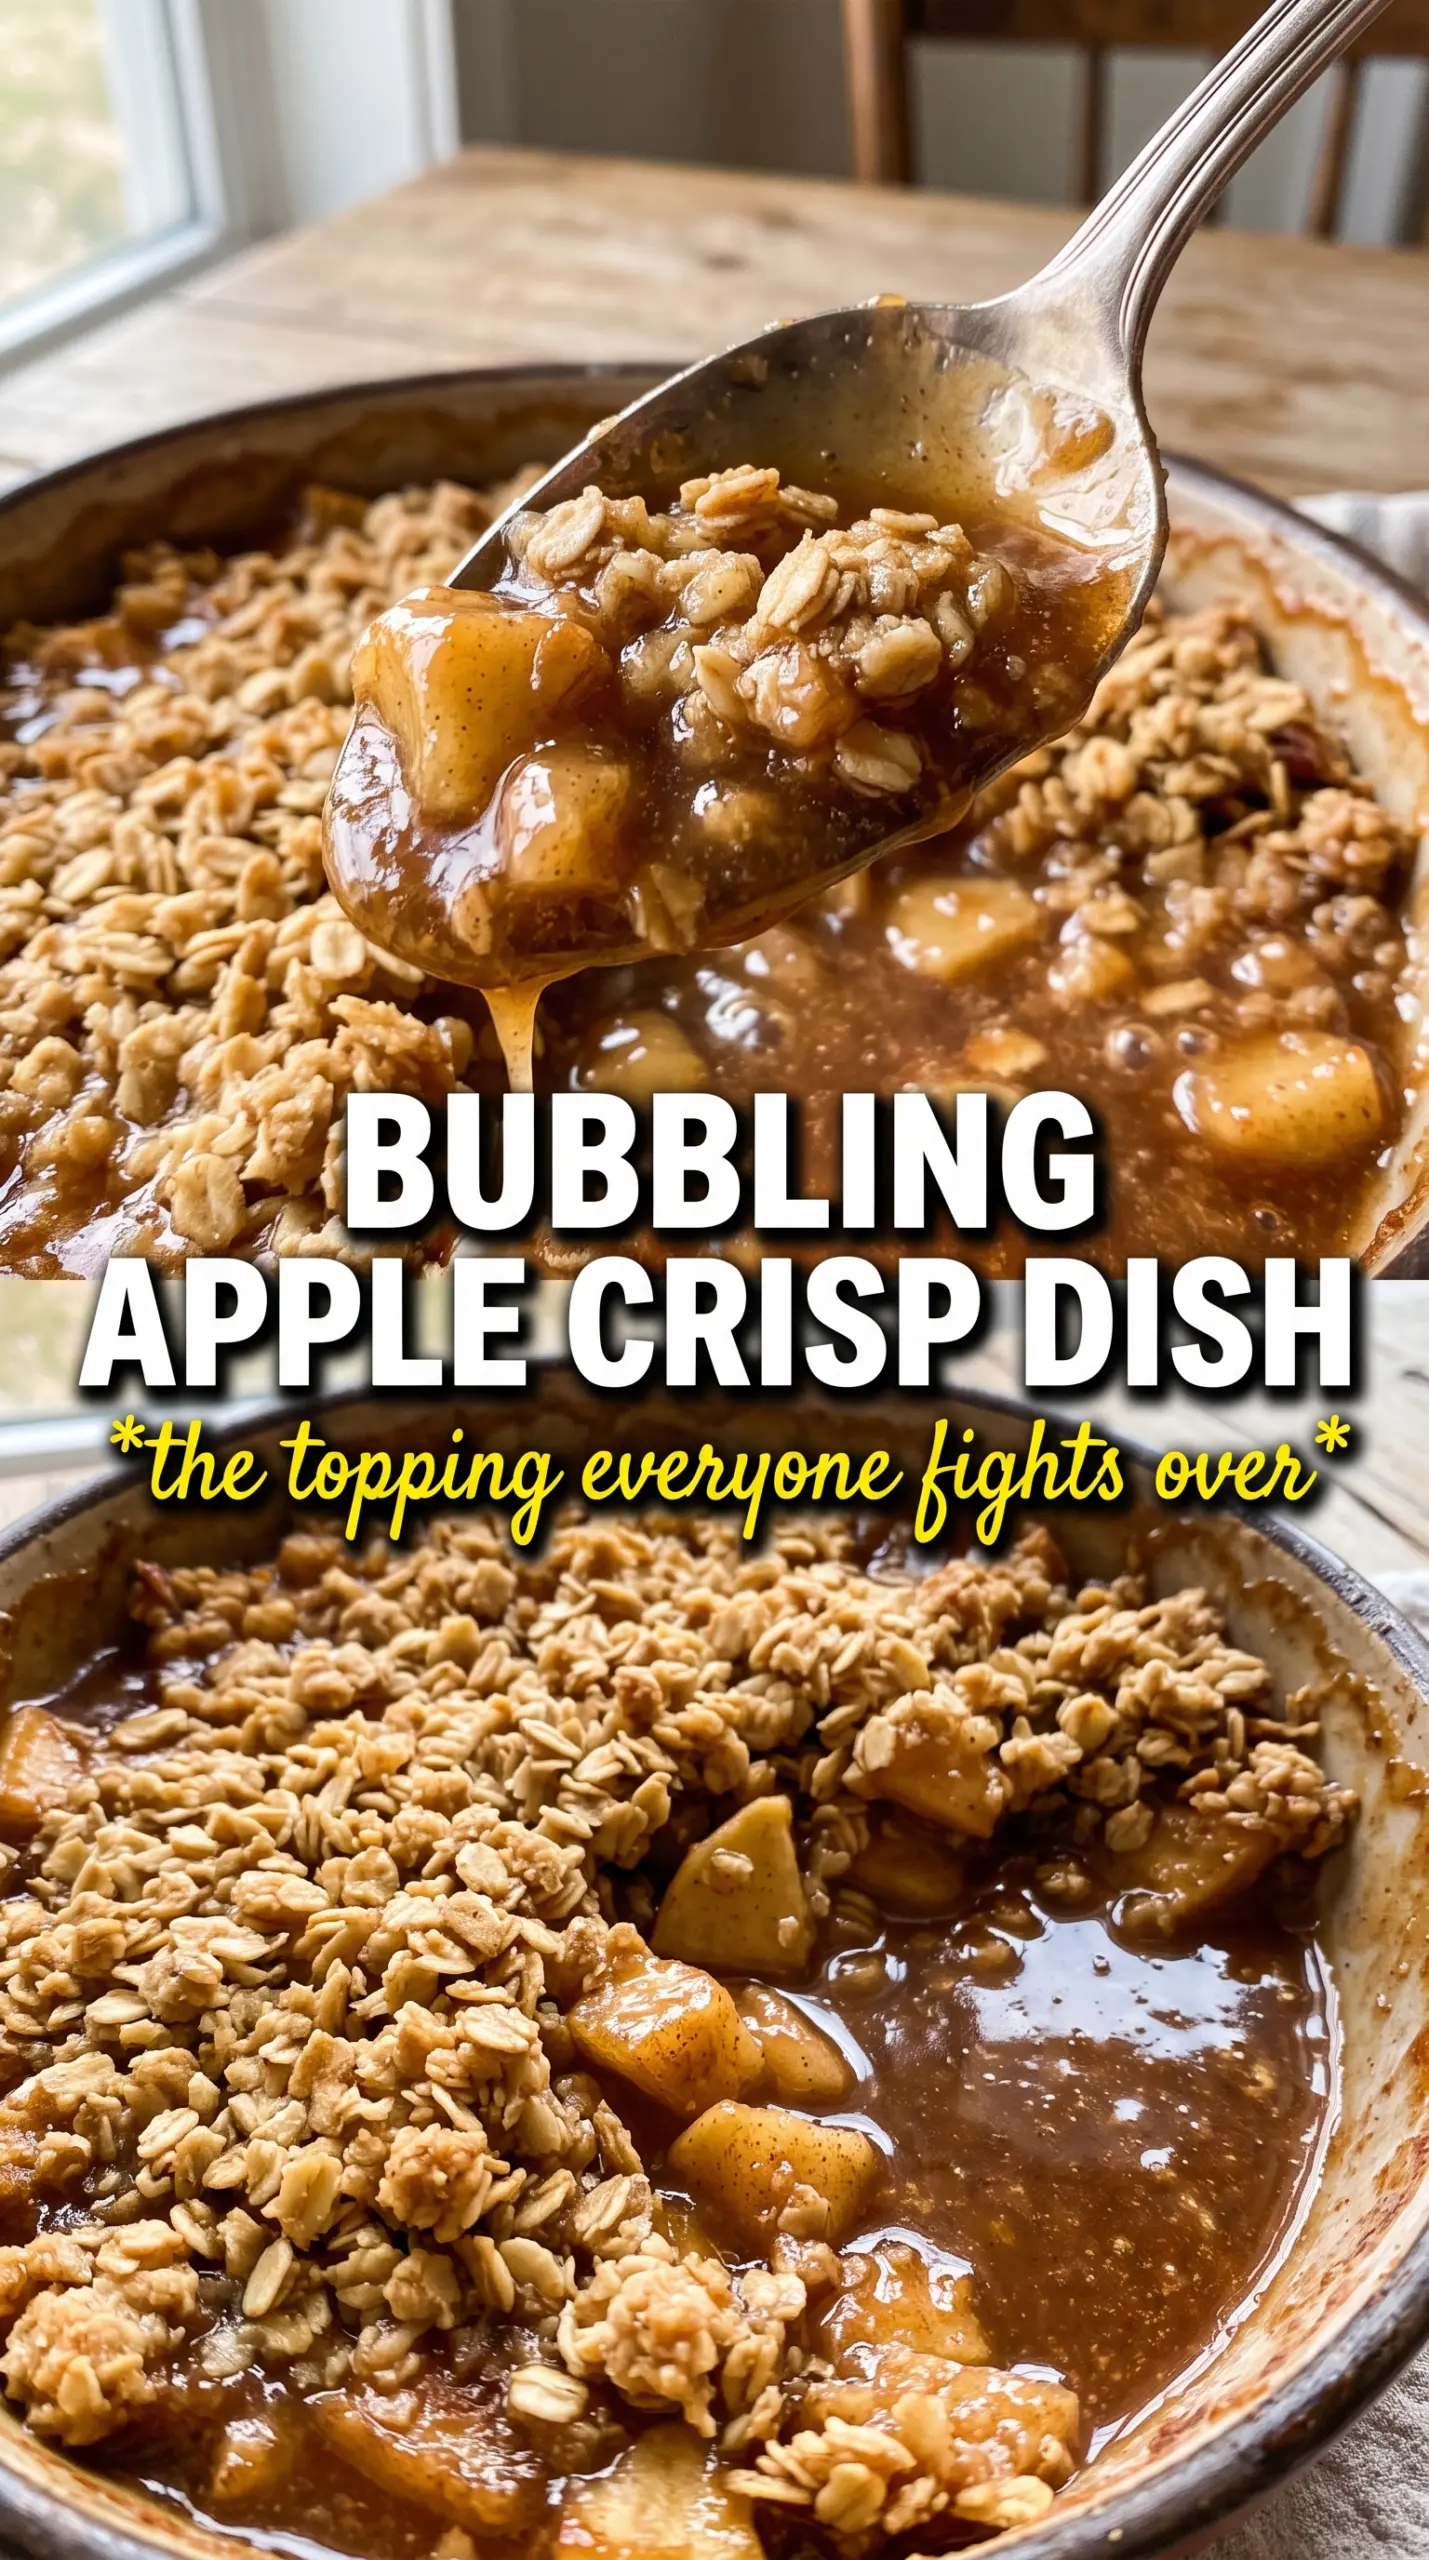
Golden oat crumble, bubbling cinnamon apples, and a cold scoop of vanilla ice cream are what make apple crisp worth putting on repeat. The topping bakes into crisp, chunky crags while the apples underneath turn soft and glossy without collapsing into applesauce. That contrast is the whole point, and it’s what turns a simple pan of fruit into a dessert people keep spooning back into while it’s still warm.
The trick is using a mix of tart Granny Smith and sweeter Honeycrisp apples so the filling tastes full instead of flat, and tossing the fruit with cornstarch before it bakes so the juices thicken instead of running thin. The topping stays in big clumps because the butter is cold and stays cold until it hits the oven, which gives you those browned edges and crunchy little pockets that are the best part.
Below, I’ll show you how to keep the topping crisp, how to avoid watery filling, and which apple swaps still give you a dessert that tastes like it came from someone who knows exactly what they’re doing.
The topping stayed crisp all the way to the edges, and the filling thickened up instead of turning runny. I used half Granny Smith and half Honeycrisp like suggested, and the flavor was perfect with the vanilla ice cream.
Save this apple crisp for the nights when you want bubbling cinnamon apples under a thick, crunchy oat topping.
The Reason Apple Crisp Stays Juicy Under a Crisp Topping
Apple crisp falls apart when the fruit and topping compete for the same moisture. Too much liquid in the filling makes the topping soft. Too little thickener, and you end up with a puddle at the bottom of the dish instead of a spoonable sauce. The goal here is to let the apples release juice, then trap that juice just enough that it turns glossy and thick in the oven.
The other mistake is overworking the crumble. If you rub the butter in until it looks sandy, the topping bakes up flat instead of forming those craggy chunks that brown at the edges. Cold butter cut into the dry ingredients gives you pockets of steam, and those pockets are what turn into crisp, toasted bits on top.
- Apples: Granny Smith keeps the filling tart and structured, while Honeycrisp adds sweetness and a softer bite. That mix keeps the dessert from tasting one-note.
- Cornstarch: This is what turns the apple juices into a light syrup. Flour can work in a pinch, but it won’t thicken as cleanly.
- Cold butter: Use it straight from the fridge and cube it first. Soft butter blends in too fast and gives you a pasty topping instead of a crumbly one.
- Lemon juice: Just enough to wake up the apples and keep the flavor bright. It also keeps the slices from tasting dull once they bake.
What Each Ingredient Is Actually Doing in This Apple Crisp
- Granny Smith apples — These hold their shape and bring enough tartness to keep the filling from turning candy-sweet. If you use only soft, sweet apples, the result can taste mushy and one-dimensional.
- Honeycrisp apples — These soften beautifully without disappearing, and they give the filling a juicy, fragrant sweetness. If you can’t find them, Pink Lady is the closest swap.
- Brown sugar — Brown sugar gives the filling and topping a deeper caramel note that white sugar can’t fully replace. In the topping, it also helps the crumble brown and stay tender in the middle.
- Rolled oats — Old-fashioned oats are the right choice here because they stay chewy under the crisp top. Quick oats work, but the texture turns tighter and a little pastier.
- All-purpose flour — This holds the crumble together just enough to make chunky clusters. If you want a gluten-free version, a good 1:1 baking blend usually works, though the topping may be a touch more delicate.
- Butter — Butter is what makes the topping taste rich and bake into crisp edges. There isn’t a real substitute that gives the same flavor, but vegan baking sticks can work if they stay cold and firm.
Building the Filling and Topping So They Bake at the Same Pace
Coating the Apples
Toss the sliced apples with the sugars, cinnamon, nutmeg, cornstarch, and lemon juice until every piece looks lightly coated. You want the cornstarch evenly clinging to the fruit, not sitting in little white patches at the bottom of the bowl. Once it bakes, the apples should look glossy and thickened, not wet and soupy. If your slices are cut too thin, they’ll collapse before the topping has time to crisp.
Cutting in the Butter
Work the cold butter into the oats, flour, sugar, cinnamon, and salt until the mixture looks like uneven pebbles and small clumps. Stop before it becomes a fine meal. Those bigger pieces are what bake into crisp, caramelized nuggets instead of a dry sandy layer. If the butter starts softening in your hands, pop the bowl in the fridge for ten minutes and keep going.
Baking Until the Edges Bubble
Spread the crumble evenly over the apples and bake until the top is deep golden and the filling bubbles up around the edges. That bubbling matters more than the clock because it tells you the cornstarch has activated and the fruit has fully cooked. If the top looks done but the filling isn’t visibly bubbling, the apples will taste undercooked and the juices may stay thin. Let it rest for 10 minutes before serving so the filling settles and doesn’t run everywhere when you scoop it.
How to Adapt This for Bigger Batches, Dietary Swaps, or a Different Apple Drawer
Gluten-Free Apple Crisp
Swap the all-purpose flour for a good 1:1 gluten-free baking blend. The topping will still brown and crisp, but it may be a little more delicate when you spoon it. Keep the butter cold and don’t overmix so the crumble still holds together.
Dairy-Free Version
Use a plant-based butter stick that’s meant for baking, not a tub spread. You’ll lose a little of the classic butter flavor, but the topping still bakes into crisp clusters if the substitute stays cold.
All Granny Smith or All Honeycrisp
You can use one apple variety if that’s what you have. All Granny Smith gives you a tarter, firmer filling, while all Honeycrisp makes the dessert sweeter and a little juicier. The mixed-apple version tastes more balanced, but either one works.
Storage and Reheating
- Refrigerator: Store covered for up to 4 days. The topping softens as it sits, but the flavor stays good.
- Freezer: Freeze baked apple crisp for up to 2 months. Cool it completely, wrap it well, and thaw overnight in the fridge before reheating.
- Reheating: Warm in a 325F oven until heated through and the topping perks back up. The microwave works in a pinch, but it softens the crumble fast, which is the main thing you’re trying to preserve.
Questions I Get Asked About This Apple Crisp
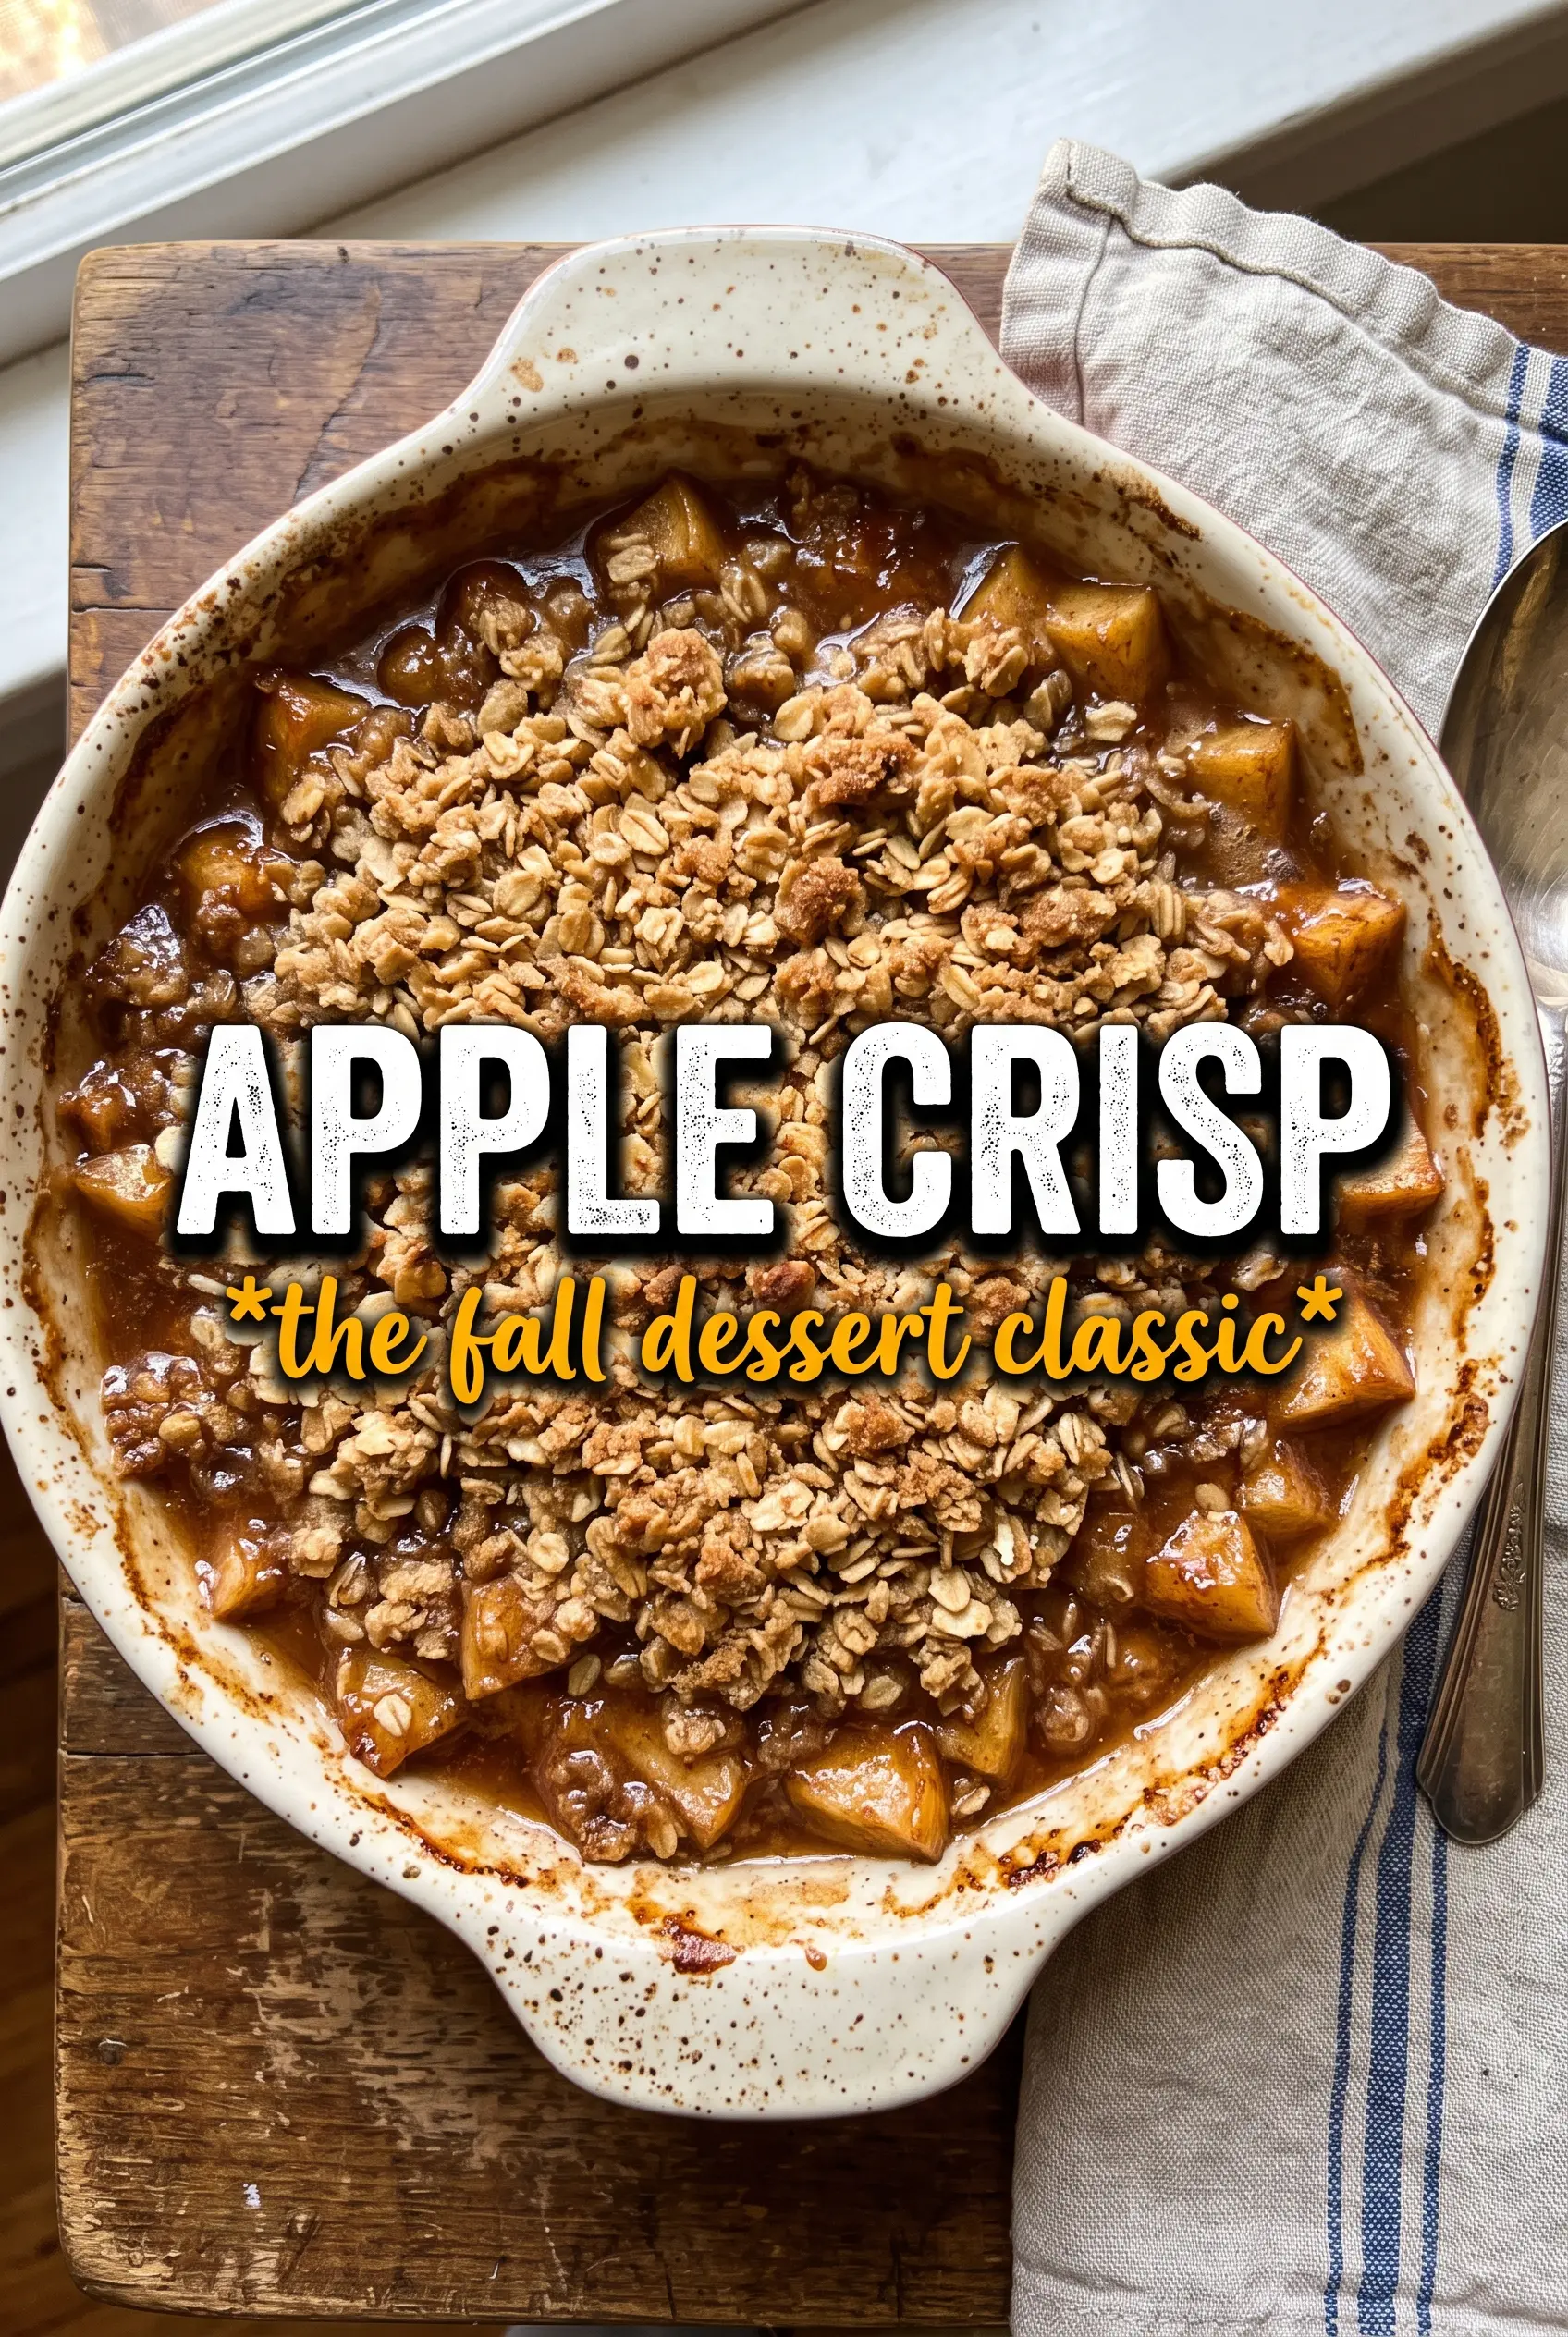
Apple Crisp
Ingredients
Equipment
Method
- Preheat the oven to 375°F and grease a 9x13 baking dish. Keep the dish ready so the apples can go in right away.
- Toss the sliced apples with both sugars, cinnamon, nutmeg, cornstarch, and lemon juice, then spread them in the prepared dish. The apples should look evenly coated with a thick, spiced layer.
- Combine the rolled oats, all-purpose flour, packed brown sugar, cinnamon, and salt, then cut in the cold butter until large chunky clumps form. Stop when the mixture holds together in big crumbs rather than fine sand.
- Scatter the crumble evenly over the apples so the topping reaches the edges. Aim for visible clumps on top.
- Bake for 40-45 minutes at 375°F until the topping is deeply golden and the apple filling bubbles. You should see bubbling around the edges and a crisp, browned surface.
- Rest the apple crisp for 10 minutes before serving. This helps the filling thicken so the crumble stays together when scooped.
- Serve warm with vanilla ice cream. Let the ice cream melt slightly into the bubbling apple filling.