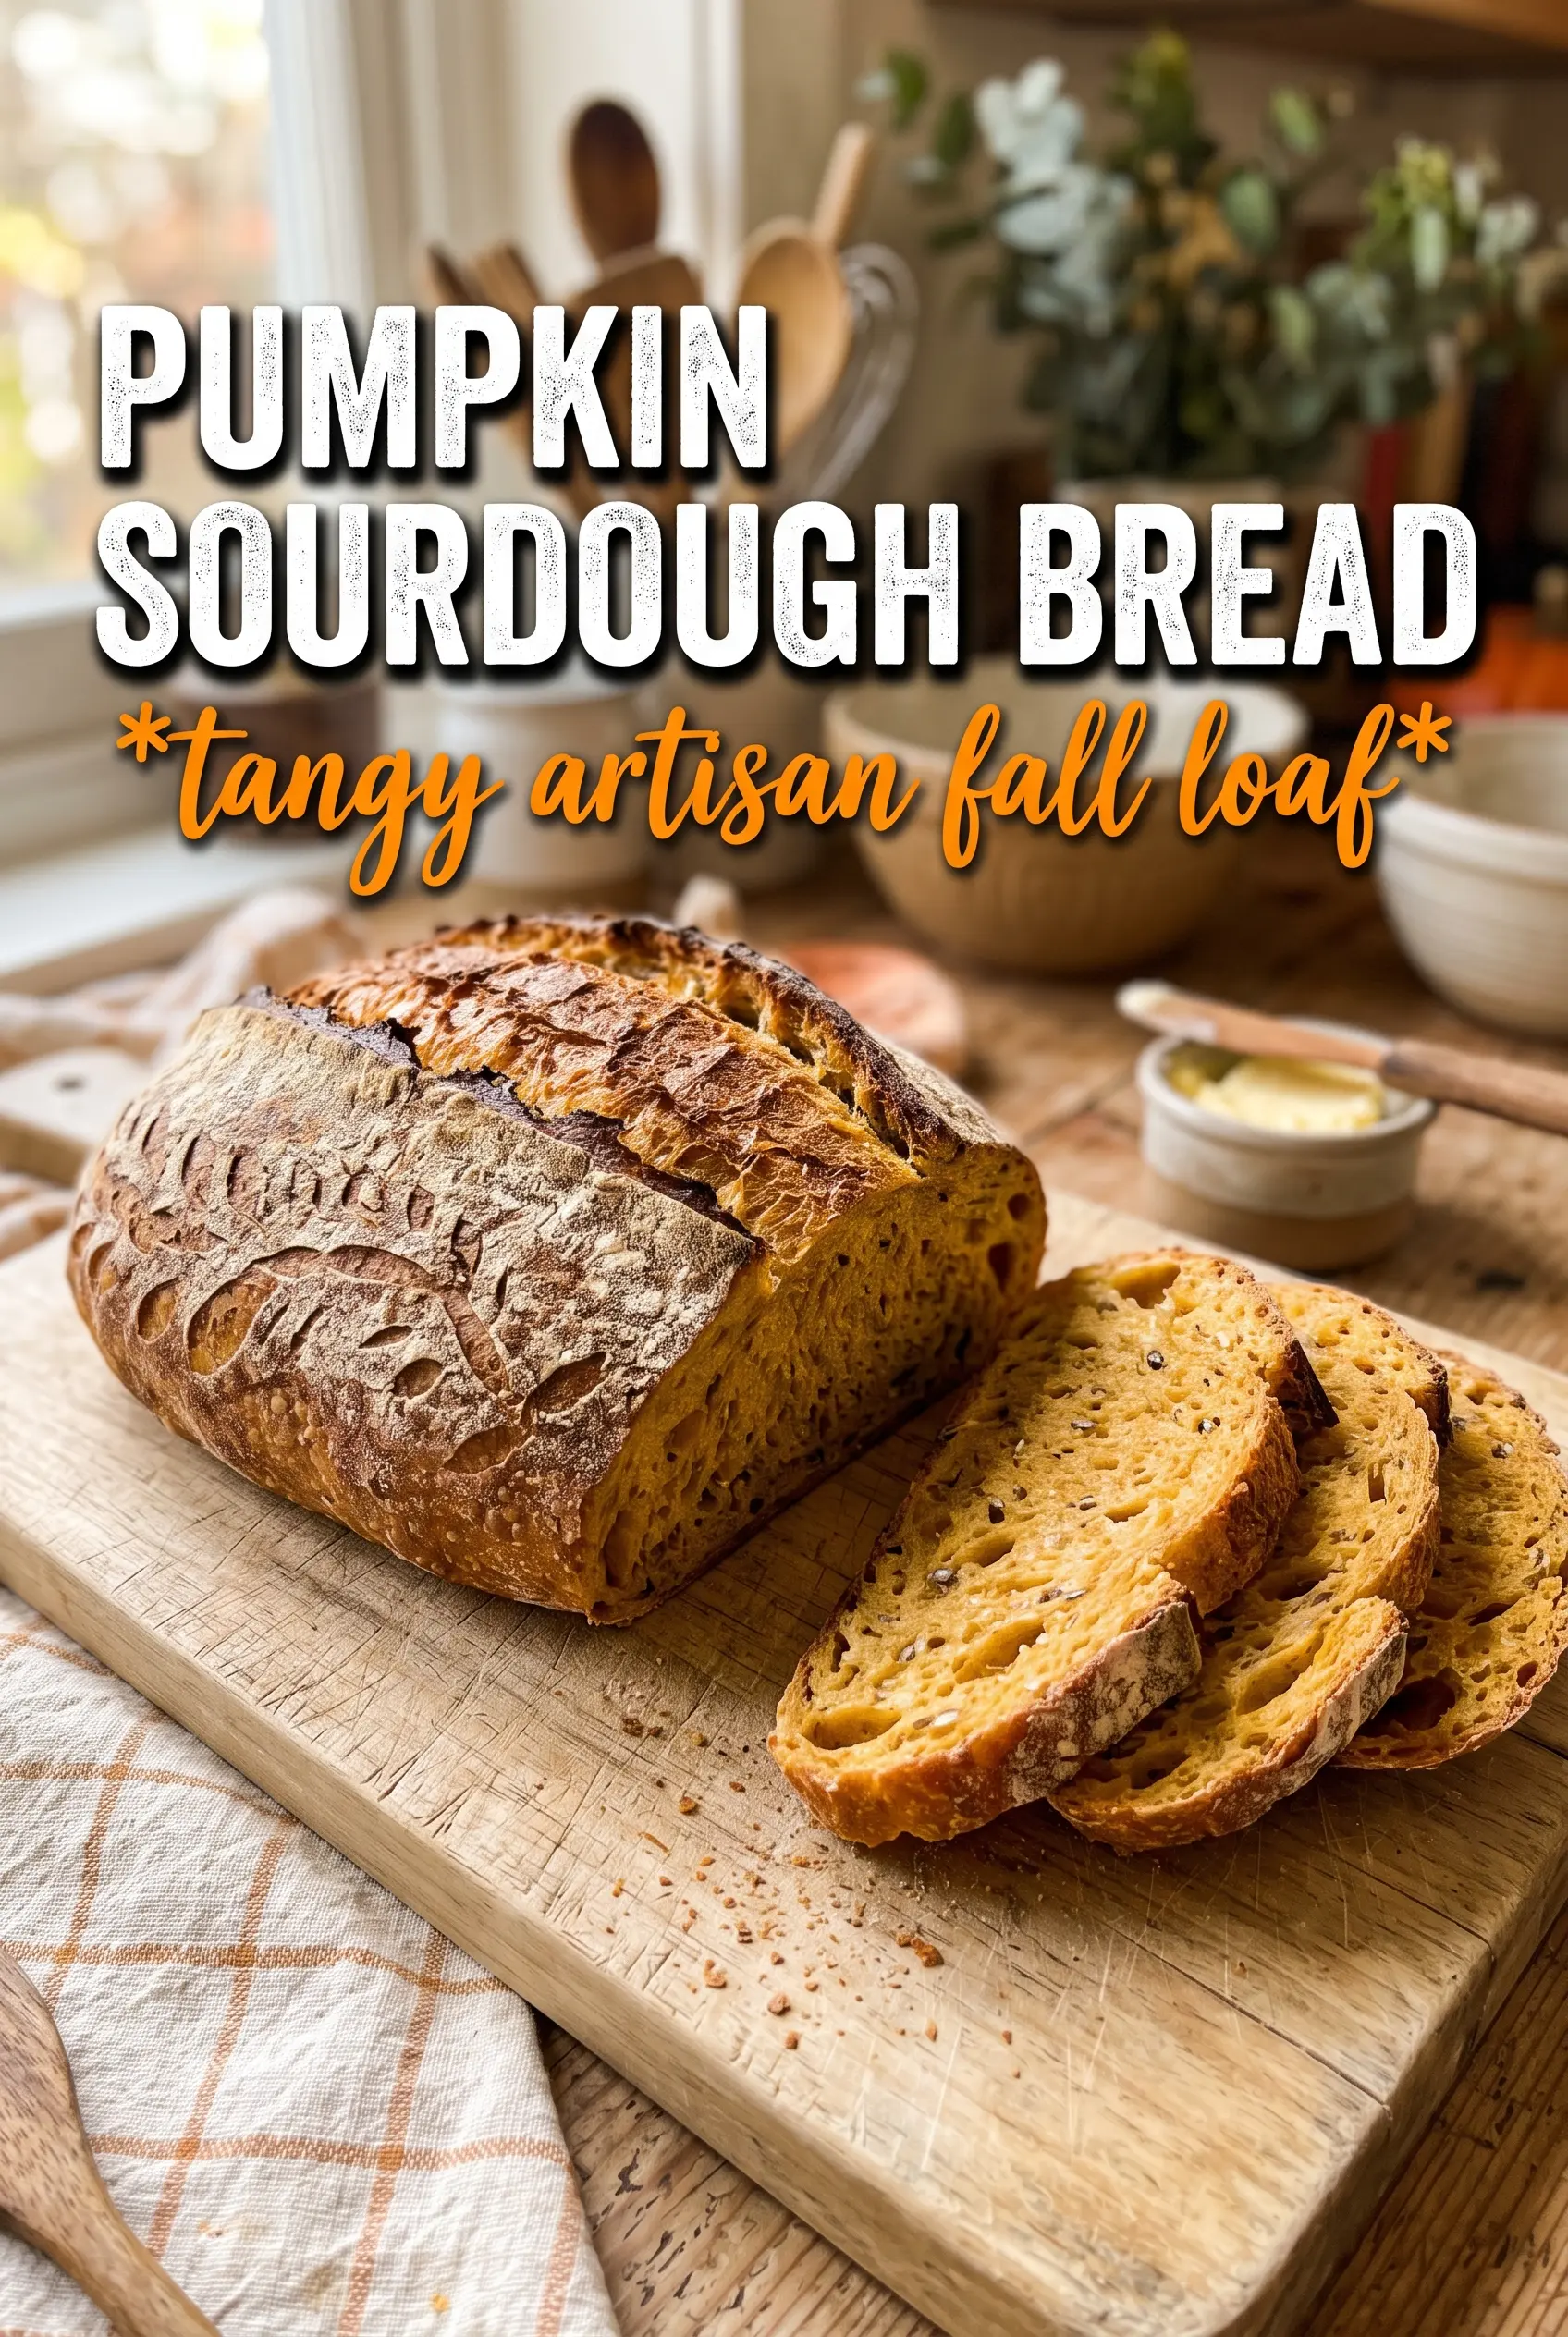
Golden-crusted pumpkin sourdough bread comes out with a gentle sweetness, a tangy wheat flavor, and a crumb that stays tender for days. The pumpkin doesn’t make it cake-like or dense when it’s handled the right way; it gives the loaf a warm color, extra moisture, and a soft, almost custardy middle that still slices cleanly.
The trick is balancing the pumpkin puree with enough bread flour and a strong starter so the dough still builds structure during the long fermentation. Maple syrup helps the crust deepen without turning the loaf sweet, and the whole wheat flour adds a little more flavor without weighing the bread down. The spices stay in the background, where they should, instead of overpowering the sourdough.
Below, I’ll walk through the part that matters most: how to manage the wetter dough so it still holds shape, how to judge the proof by look and feel instead of the clock alone, and what to do if you want a taller loaf or a softer sandwich-style crumb.
The crumb stayed open even with the pumpkin, and the loaf sliced cleanly after cooling overnight. I loved that the spice was there without taking over, and the crust came out deeply golden in my Dutch oven.
Save this pumpkin sourdough bread for the loaf that bakes up tall, golden, and lightly spiced with a soft amber crumb.
The One Thing That Keeps Pumpkin Sourdough From Turning Heavy
Pumpkin puree changes the game because it adds moisture and body at the same time. That’s great for tenderness, but it also means the dough can spread if you treat it like a standard white sourdough. The loaf needs enough gluten development early on, then enough tension at shaping to hold the gas that builds during the cold proof.
The other common mistake is pushing fermentation by the clock instead of the dough. Pumpkin slows the visual read a little because the dough starts out thicker and darker, so look for a rounded, airy dough that jiggles slightly when you move the bowl. If it’s still tight and matte, it needs more time.
- Active starter — This needs to be strong and bubbly. A sluggish starter can’t support the extra moisture from the pumpkin, and the loaf will bake up flatter.
- Bread flour — The higher protein content gives the dough the backbone it needs. All-purpose flour works in a pinch, but the loaf will be softer and less structured.
- Pumpkin puree — Use plain puree, not pumpkin pie filling. Pie filling has sugar and spices already added, which throws off both fermentation and flavor balance.
- Rice flour for the banneton — This matters more than most people think. It keeps the sticky dough from clinging during the overnight proof and helps the loaf release cleanly.
What Each Ingredient Is Doing in This Loaf

- Bread flour — This is the main structure. If you swap in all-purpose, the bread will still work, but the crumb will be softer and the loaf may not hold as much height.
- Whole wheat flour — Just a little adds depth and a nutty edge that works well with pumpkin. More than this starts to weigh the dough down, so don’t overdo it unless you’re ready to adjust the water and expect a denser loaf.
- Active sourdough starter — It brings the lift and the tang. It should be at peak or just past peak when you mix the dough, because this loaf relies on fermentation strength to carry the extra moisture.
- Pumpkin puree — This brings color, tenderness, and a mild earthy sweetness. If your puree looks watery, drain it briefly on a towel or scale it carefully, because too much extra moisture makes shaping harder and can flatten the bake.
- Maple syrup — It doesn’t make the bread taste like dessert. It helps round out the sourness and gives the crust better color in the oven.
- Pumpkin pie spice and cinnamon — These should read as background warmth, not a spice loaf. If yours are old, the bread will taste flat even if the sourdough is good, so use fresh spices if you can.
How to Build the Dough So It Still Holds Shape
Autolyse Before the Salt Goes In
Mix the flour, starter, water, pumpkin puree, maple syrup, and spices first, then let the dough rest for 30 minutes before adding salt. That rest gives the flour time to hydrate and starts gluten development without extra effort. If the dough looks shaggy and sticky at this stage, that’s normal; don’t chase smoothness yet. The salt goes in after the rest because it tightens the dough and slows hydration, which is exactly what you want once the base has started forming.
Stretch, Fold, and Let the Dough Organize Itself
After the salt is mixed in, do four sets of stretch and folds, spaced 30 minutes apart. The dough should go from slack and sticky to more elastic and smoother each round, though it’ll still feel softer than a lean sourdough. If it tears immediately when you stretch it, stop pulling so hard and let it rest longer between folds. By the last set, it should hold together in a loose mound instead of puddling across the bowl.
Watch the Bulk, Not the Clock Alone
Bulk ferment at room temperature until the dough has roughly doubled and looks airy and domed, usually 4 to 6 hours depending on your kitchen and starter. The surface should show bubbles along the sides and feel lighter when you lift the bowl. If you shape it too early, the crumb stays tight; if you push it too far, it gets weak and can collapse in the oven. The sweet spot is a dough that has volume and life but still has enough strength to hold a shape.
Cold Proof for Better Scoring and Better Oven Spring
Once shaped, put the loaf seam-side up in a floured banneton and refrigerate it overnight for 8 to 12 hours. That cold proof firms the dough, makes scoring cleaner, and deepens the flavor. If the banneton isn’t well floured, the sticky dough can glue itself to the basket and tear when you turn it out. Rice flour works best here because it doesn’t absorb the same way wheat flour does.
Bake Hot, Then Pull Back the Heat With the Lid On
Preheat the Dutch oven to 500F for a full 45 minutes so the loaf gets a strong burst of heat right away. Bake covered first, then uncover for the final 20 to 25 minutes until the crust is deep golden and the loaf sounds hollow when tapped. If you slice too soon, the crumb can gum up and look underbaked even when it’s not. Let it cool completely on a wire rack; this bread finishes setting as it cools.
How to Adapt Pumpkin Sourdough Bread Without Losing the Good Part
Gluten-Free Isn’t a Straight Swap Here
This dough depends on wheat gluten for structure, so a simple gluten-free flour swap won’t behave the same way. If you need gluten-free bread, use a recipe built around a gluten-free flour blend and binder system instead of trying to convert this one.
For a Softer, Slightly Sweeter Breakfast Loaf
Replace the whole wheat flour with more bread flour and keep the maple syrup. The crumb comes out a little lighter and the pumpkin reads more gently, which works well if you want slices for toast or a morning sandwich.
For a Stronger Sourdough Tang
Let the bulk ferment go a little longer, but only until the dough still has strength. A longer ferment brings out more tang and makes the pumpkin taste less sweet, though pushing it too far can weaken the loaf.
Storage and Reheating
- Refrigerator: Store sliced or unsliced bread for up to 4 days. The crust softens a bit in the fridge, but the crumb stays moist.
- Freezer: This freezes well. Wrap the loaf tightly or freeze in slices, then thaw at room temperature in the wrapper so the bread doesn’t dry out.
- Reheating: Warm slices in a toaster or the whole loaf in a 300F oven for 10 to 15 minutes. Don’t microwave it unless you’re fine with a soft crust.
Questions I Get Asked About This Recipe
Pumpkin Sourdough Bread
Ingredients
Equipment
Method
- Mix bread flour, whole wheat flour, active sourdough starter, room-temperature water, pumpkin puree, maple syrup, pumpkin pie spice, and cinnamon until no dry flour remains. Rest for 30 minutes to hydrate the dough.
- Add salt and mix thoroughly until fully incorporated and the dough looks cohesive. Perform 4 sets of stretch and folds, resting 30 minutes between each set.
- Let the dough bulk ferment at room temperature for 4-6 hours, until it doubles in volume and turns visibly bubbly. The dough should feel airy and light when you check it.
- Shape the dough into a boule or batard and place it seam-side up in a floured banneton. Dust with rice flour for shaping so it releases cleanly.
- Refrigerate overnight for 8-12 hours to complete the cold proof. Keep the dough covered so it doesn’t dry out.
- Preheat the oven to 500F with a Dutch oven inside for 45 minutes. The pan should be fully preheated for best oven spring.
- Carefully transfer the dough to the hot Dutch oven, then score the top with quick, confident cuts. Bake covered at 500F for 20 minutes.
- Uncover the Dutch oven and continue baking at 500F for 20-25 more minutes, until the crust is deeply golden. Look for a firm, richly colored exterior.
- Cool the loaf completely on a wire rack before slicing. Wait until fully cool so the crumb sets and stays airy.