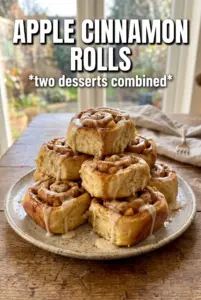
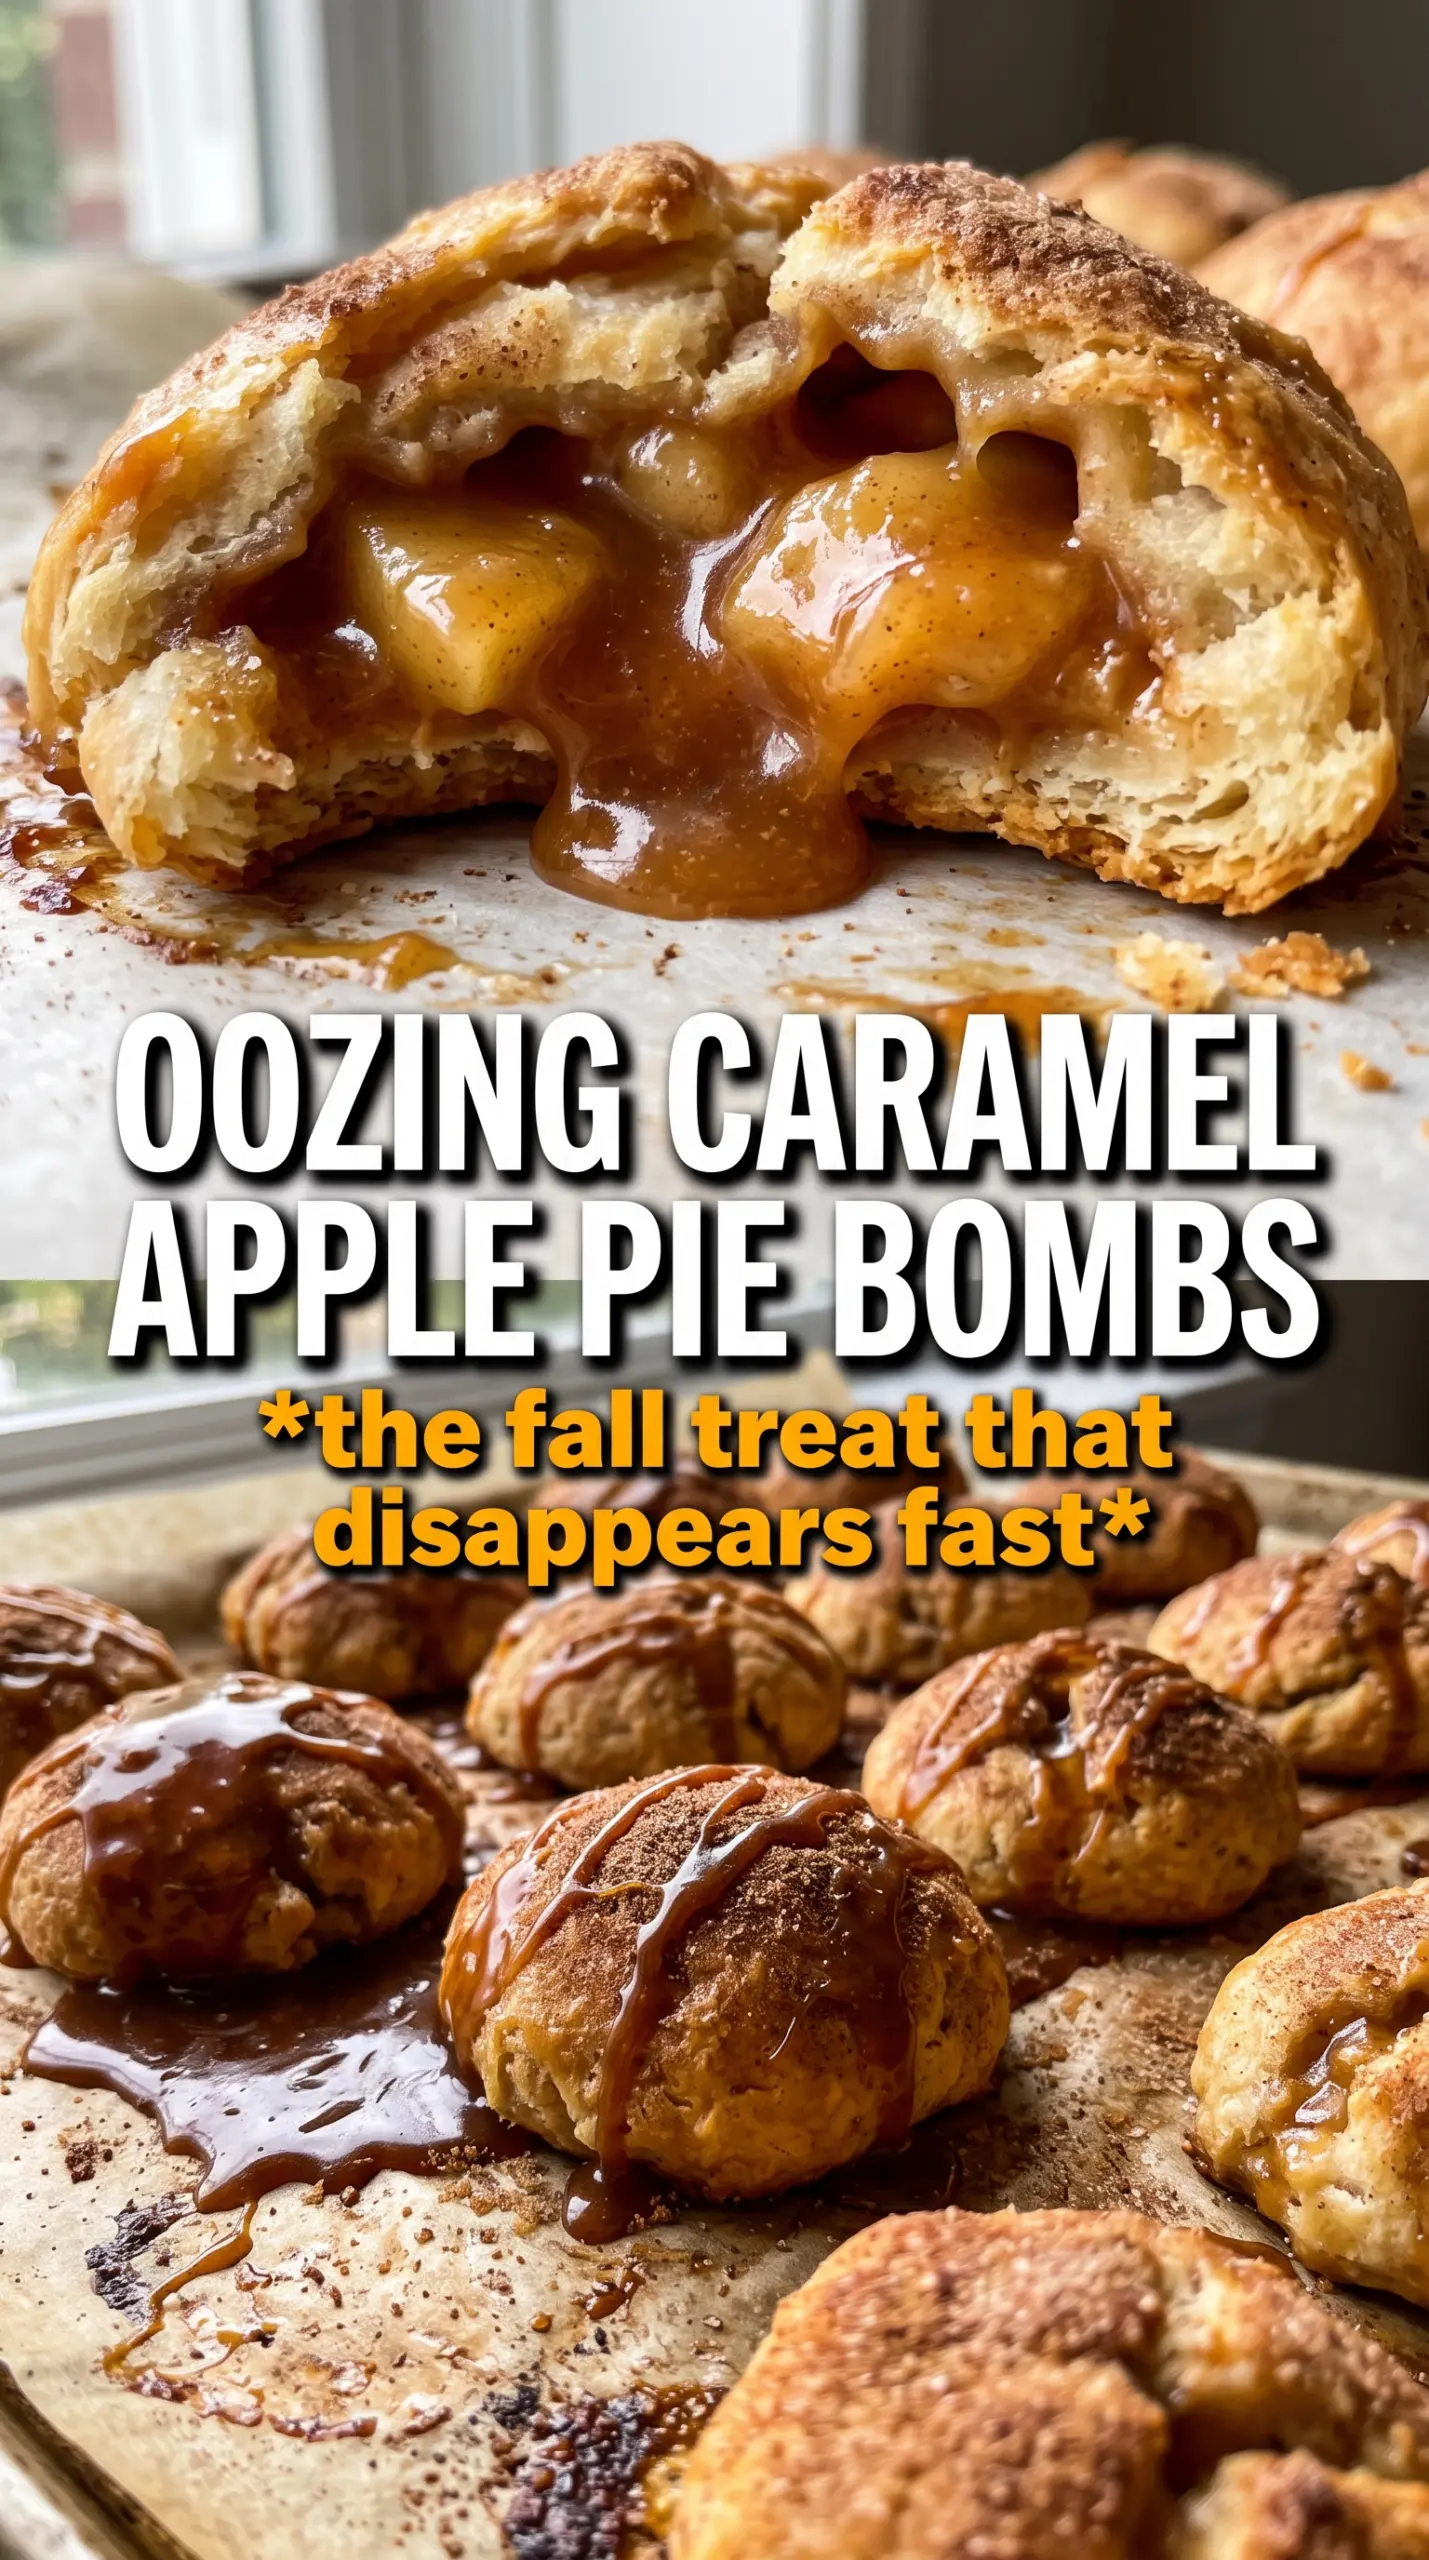
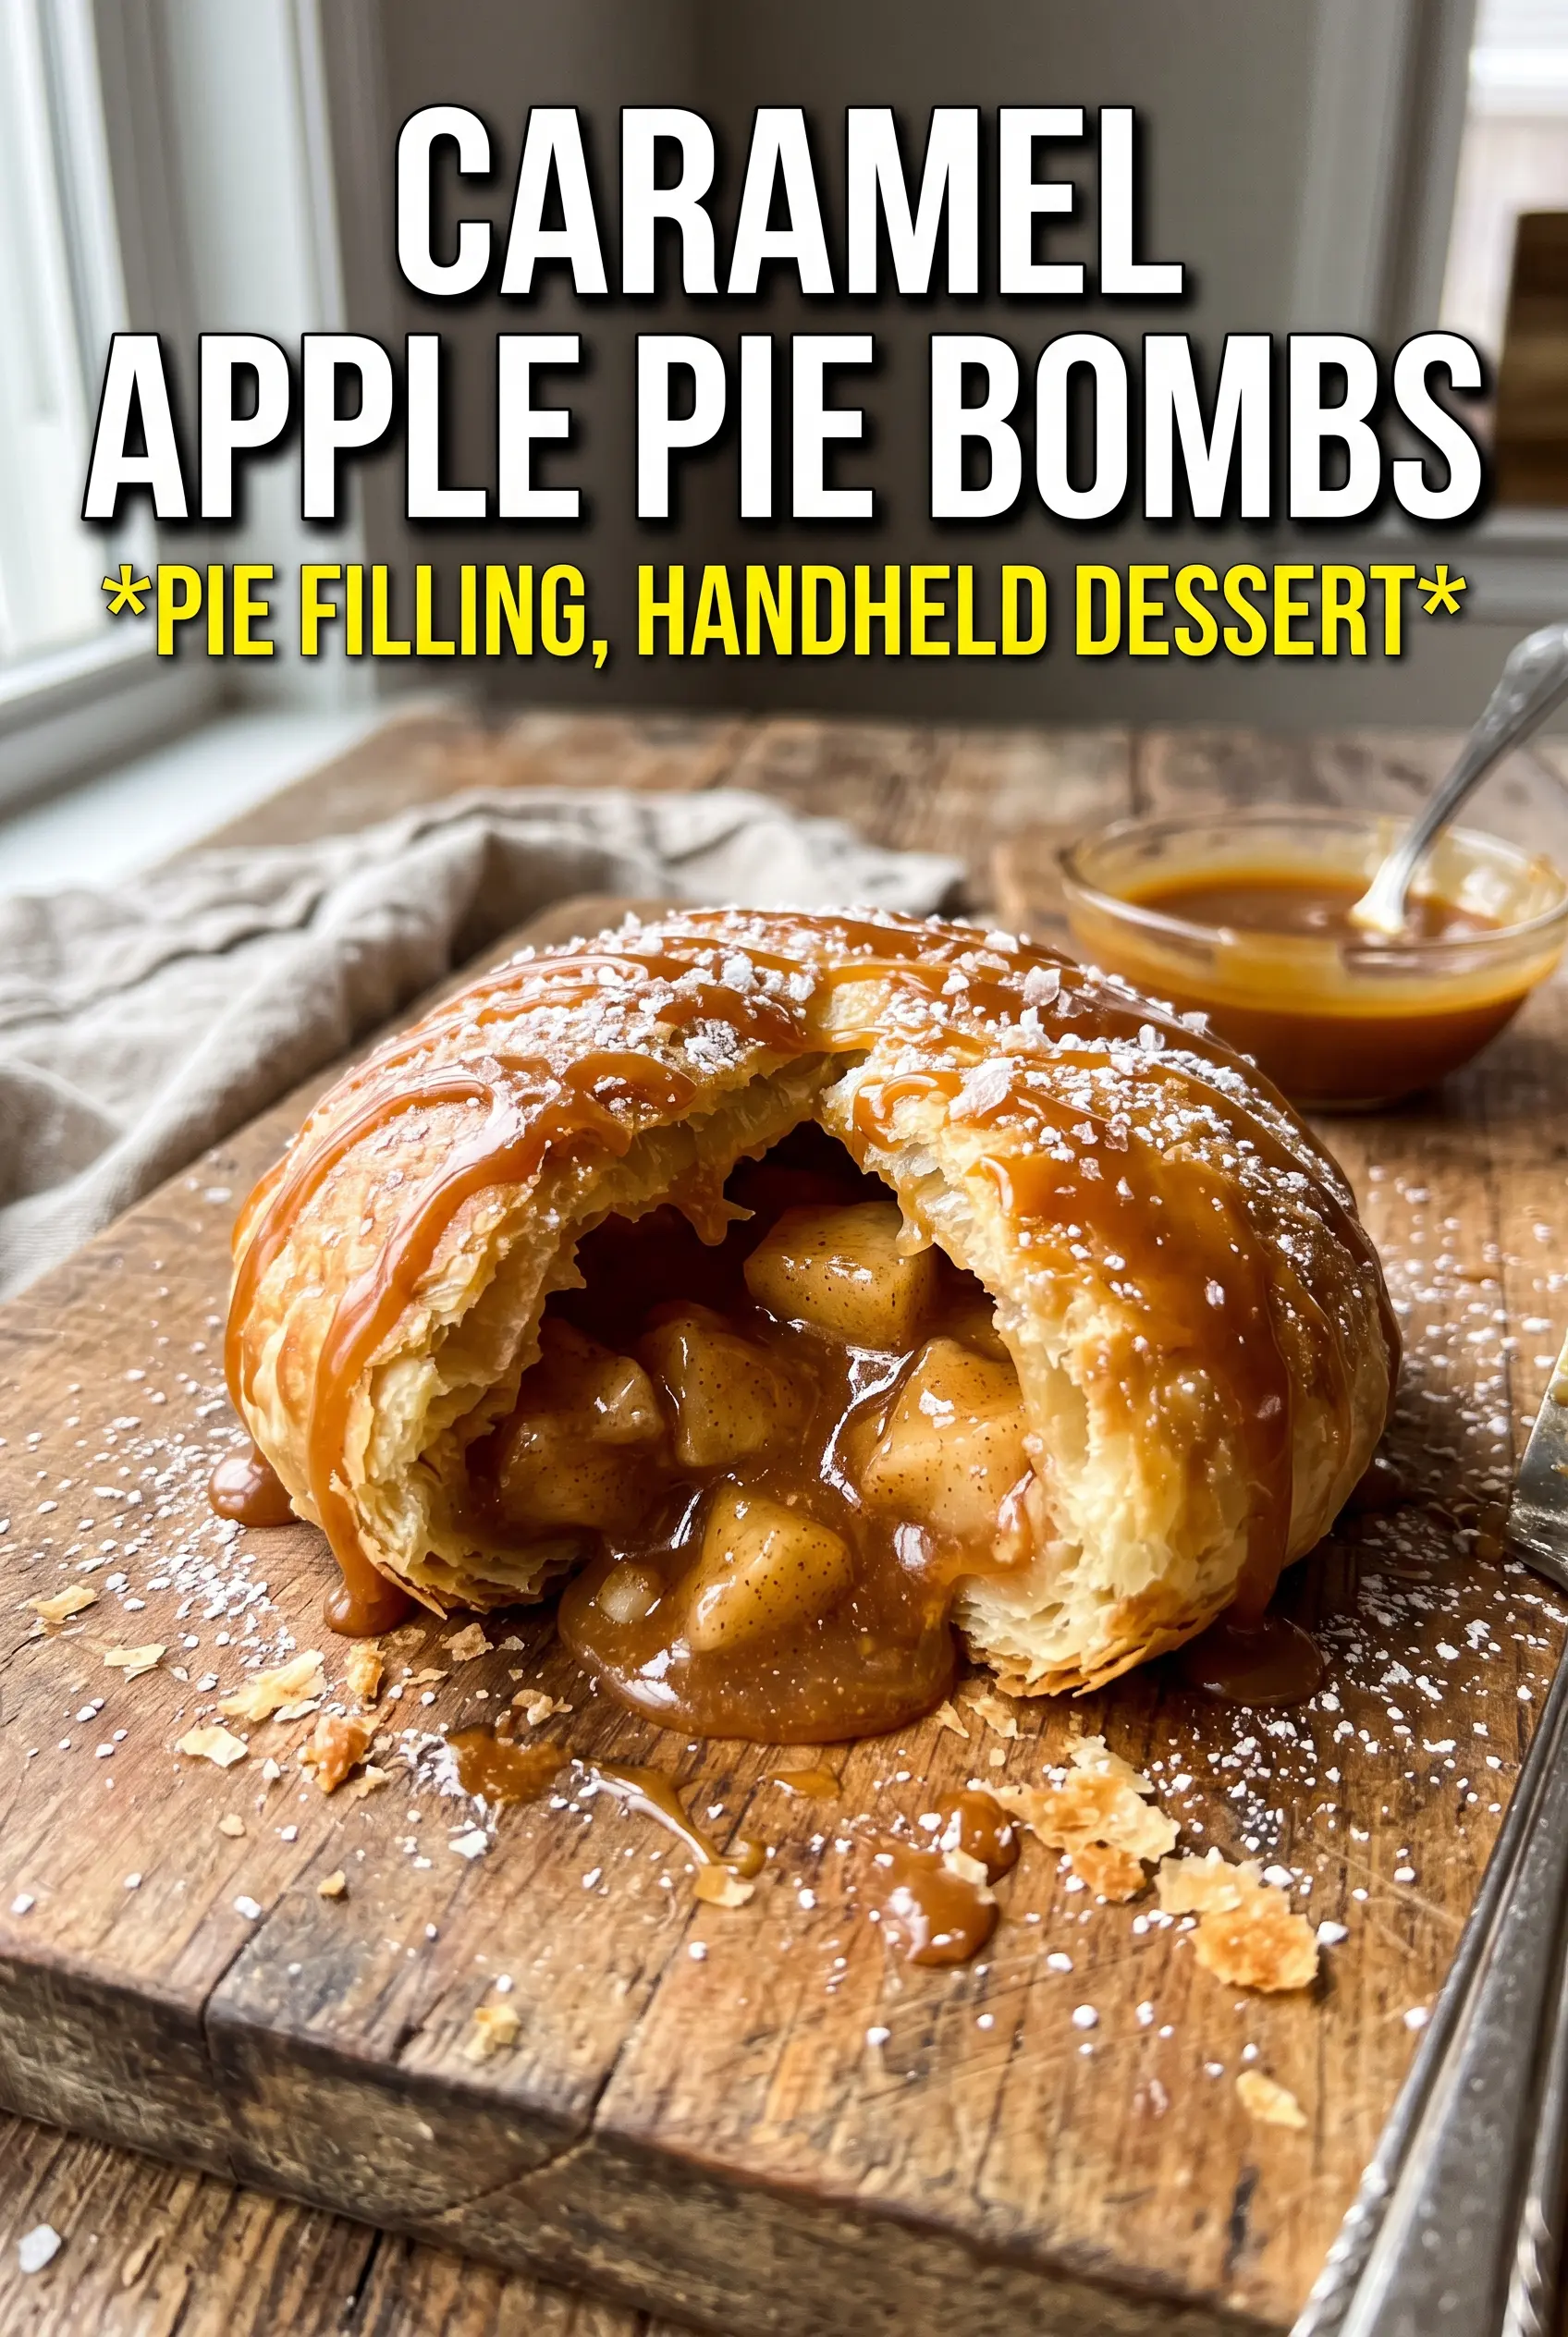
Caramel Apple Pie Bombs bake up with a crackly cinnamon-sugar shell, a soft biscuit dough center, and a warm apple-caramel filling that spills out in the best way when you bite in. They land somewhere between hand pie and bakery-style dessert roll, but without the fuss of making pie dough from scratch. The outside turns deeply golden in the oven, while the inside stays gooey and fragrant with cinnamon, butter, and caramel.
What makes these work is keeping the filling thick and completely cooled before you wrap it. If the apples are still wet or hot, the dough softens, the seals slip open, and the caramel can leak out before the bombs finish baking. A little cornstarch gives the apples body, and the biscuit dough keeps things easy without losing that tender, pull-apart texture.
Below, I’ll show you how to keep the filling contained, how to get that cinnamon-sugar coating to cling, and the small timing detail that keeps the caramel center soft instead of disappearing into the dough.
The filling thickened up right on the stove, and the bombs stayed sealed while baking. I split one open while it was still warm and the caramel center was perfect with the cinnamon sugar crust.
Save these caramel apple pie bombs for the night you want a gooey apple filling and a cinnamon-sugar crust without making a full pie.
The trick to keeping the filling inside the dough
The biggest failure with stuffed biscuit desserts is a filling that’s too loose or too hot. Once that warm apple mixture hits the dough, it starts softening the edges before you get a chance to pinch them shut, and that’s when leaks happen in the oven. Cook the apples until the liquid looks glossy and thick, not watery, then spread them out so they cool all the way down before assembly.
The other detail that matters is how you seal the dough. Pinch the edges together first, then roll the ball smooth with both hands so the seam disappears underneath. If you only press the dough closed without smoothing it out, the seam usually opens once the biscuits puff in the oven.
- Thickened filling — The cornstarch isn’t optional here. It turns the apple juices into a spoonable filling instead of a runny one that escapes during baking.
- Cool filling — Warm filling is the fastest way to tear or slacken the dough. Cool it completely before wrapping.
- Firm pinch — A light pinch won’t hold against oven steam. Press the dough together firmly so the seal stays intact.
What the biscuit dough, caramel, and cinnamon sugar are each doing
Refrigerated biscuit dough — This gives you a soft, sturdy wrapper that bakes up fast and browns well. I’d use the canned version here; homemade dough isn’t necessary, and anything too delicate makes sealing harder.
Apples — A firm baking apple holds its shape better than a mealy one, so the filling tastes like actual apple pieces instead of applesauce. Dice them small so they soften in time without turning mushy.
Soft caramel candies — These melt into the center and create that pull-apart caramel pocket. If you swap in caramel squares, use the same amount; just keep them centered so they don’t burn against the pan.
Cinnamon sugar and melted butter — The butter helps the coating stick, and the sugar bakes into a crisp shell. Don’t skip the butter brush; without it, the coating falls off instead of turning sandy and crackly.
Building the bombs so they bake evenly and stay sealed
Cooking down the apple filling
Start the apples, butter, brown sugar, cinnamon, nutmeg, and cornstarch in a skillet over medium heat. Stir often until the apples soften and the juices turn thick and glossy, about 5 to 7 minutes. If the mixture still looks wet in the pan, it will leak in the oven. Spread it on a plate and let it cool completely before you touch the biscuit dough.
Wrapping the filling cleanly
Flatten each biscuit into a circle large enough to hold the filling without stretching thin. Add about a tablespoon of apple filling and one caramel candy to the center, then bring the edges up and pinch them together firmly. A small amount of filling is enough; overstuffing is what causes split seams and caramel spills.
Getting the coating on before baking
Brush each sealed ball with melted butter, then roll it in the cinnamon-sugar mixture until the whole surface is coated. This step gives the bombs their crisp, fragrant crust and helps them brown evenly. Arrange them on parchment with space between each one so the sides can set instead of steaming into each other.
Baking until the outside turns deep gold
Bake at 375°F until the tops are deeply golden and the dough no longer looks pale or glossy, about 18 to 20 minutes. If the bombs are still light in color, the biscuit dough hasn’t fully cooked through, even if the filling is hot. Let them sit a few minutes before drizzling so the caramel sauce stays on top instead of disappearing right away.
How to adapt these for different kitchens and different cravings
Use pears instead of apples
Firm pears work if you want a softer, more floral filling. Cook them the same way, but keep a close eye on them because pears break down faster than apples and can turn mushy if they go too long.
Make them dairy-free
Use a plant-based butter substitute in both the filling and the coating, and check that your caramel candies and sauce are dairy-free. The texture stays close to the original, though the caramel flavor may be a little less buttery.
Make them less sweet
Cut the cinnamon-sugar coating back slightly and drizzle with less caramel sauce after baking. The bombs still taste like dessert, but the apple filling comes through more clearly and the finish feels a little less sticky.
Storage and Reheating
- Refrigerator: Store leftovers in an airtight container for up to 3 days. The coating softens a little, but the filling stays good.
- Freezer: Freeze after baking, once completely cooled, for up to 2 months. Wrap tightly so the caramel doesn’t pick up freezer flavors.
- Reheating: Warm in a 325°F oven for 8 to 10 minutes. The microwave works in a pinch, but it softens the dough and can make the caramel center burst out.
Answers to the questions worth asking
Caramel Apple Pie Bombs
Ingredients
Equipment
Method
- Cook the diced apples with butter, brown sugar, cinnamon, nutmeg, and cornstarch over medium heat for 5-7 minutes, stirring, until thickened with glossy juices.
- Cool the thickened apple mixture completely so it won’t melt the caramel candies when you assemble the bombs.
- Preheat the oven to 375F and line a baking sheet with parchment for easy release.
- Separate the refrigerated biscuits and flatten each into a 4-inch circle.
- Place 1 tablespoon apple filling and 1 soft caramel candy in the center of each biscuit circle.
- Wrap the dough around the filling and pinch firmly to seal, then roll into a smooth ball with the seam on the bottom.
- Brush each dough ball with melted unsalted butter, then roll in cinnamon sugar so the outside looks evenly coated.
- Bake for 18-20 minutes at 375F until deeply golden with a set exterior.
- Drizzle with caramel sauce and serve warm for a gooey caramel-and-apple center.