Fudgy red velvet brownies bring together the deep cocoa bite of a brownie with the tangy cream cheese swirl people expect from red velvet cake, and the result is a pan of bars that cuts cleanly and eats like a bakery dessert. The edges set up with a little chew, the center stays dense and moist, and that swirl bakes into little ribbons instead of disappearing into the batter.
The trick is keeping the brownie base just mixed once the flour goes in and not overbaking the pan. Red velvet batter can go from glossy and thick to dry and crumbly fast if it stays in the oven too long. The cream cheese layer also needs to be smooth enough to dollop and swirl without sinking, which is why the filling starts with room-temperature cream cheese and a full beat before it hits the batter.
Below, I’ve included the small things that matter most: how to get the color right, how to swirl without muddying the top, and how to keep the bars fudgy after they cool.
The swirl stayed right on top and the brownies baked up fudgy instead of cakey. I chilled them overnight like you suggested and they sliced into perfect clean squares.
Save these red velvet brownies for the kind of dessert that cuts clean, swirls beautifully, and stays fudgy under that cream cheese topping.
The Part That Keeps Red Velvet Brownies Fudgy Instead of Dry
The biggest mistake with red velvet brownies is treating them like cake batter. Once the flour goes in, the batter should be folded just until you stop seeing dry streaks. Overmixing builds structure, and structure is the enemy of a brownie that should be dense, plush, and a little sticky in the center.
The other failure point is the bake time. Pull these when the top looks set and the middle still has a slight wobble, because carryover heat keeps cooking them as they cool in the pan. If you wait until a toothpick comes out totally clean, you’ve already gone too far and the texture turns more cakey than fudgy.
The swirl helps here too. A rich cream cheese layer adds moisture and tang, but it also gives you a visual cue: when the top is puffed and the cream cheese is set, the brownies are close.
What Each Ingredient Is Doing in These Brownies
- Melted butter — This gives the brownies a dense, fudgy crumb instead of a whipped, cakey one. Melted butter also mixes quickly with the sugar and helps the batter stay glossy.
- Red food coloring — You need enough to give the brownies that unmistakable red velvet color after the cocoa goes in. Gel coloring works too, but liquid food coloring is the easiest swap; just use enough to get a deep red batter before baking.
- Cocoa powder — This brings the classic red velvet chocolate note, but it’s not a full-on chocolate brownie. Use unsweetened cocoa powder, and sift it if yours is clumpy so it disappears smoothly into the batter.
- White vinegar — The vinegar sharpens the cocoa and gives red velvet its subtle tang. Don’t skip it; even a small amount changes the flavor enough to make the brownies taste like red velvet instead of plain chocolate bars.
- Cream cheese — Full-fat cream cheese gives the swirl its rich, tangy body. Low-fat cream cheese can work, but it won’t set as cleanly and the swirl can bake up a little looser.
Building the Swirl So It Stays on Top
Mix the Brownie Base Just Until It Comes Together
Whisk the melted butter and sugar until the mixture looks thick and shiny, then add the eggs, vanilla, and red food coloring. Once the flour, cocoa, vinegar, and salt go in, fold with a spatula only until the batter looks uniform. If you keep stirring past that point, the brownies tighten up and lose that soft, fudgy center.
Make a Cream Cheese Filling That Dollops Cleanly
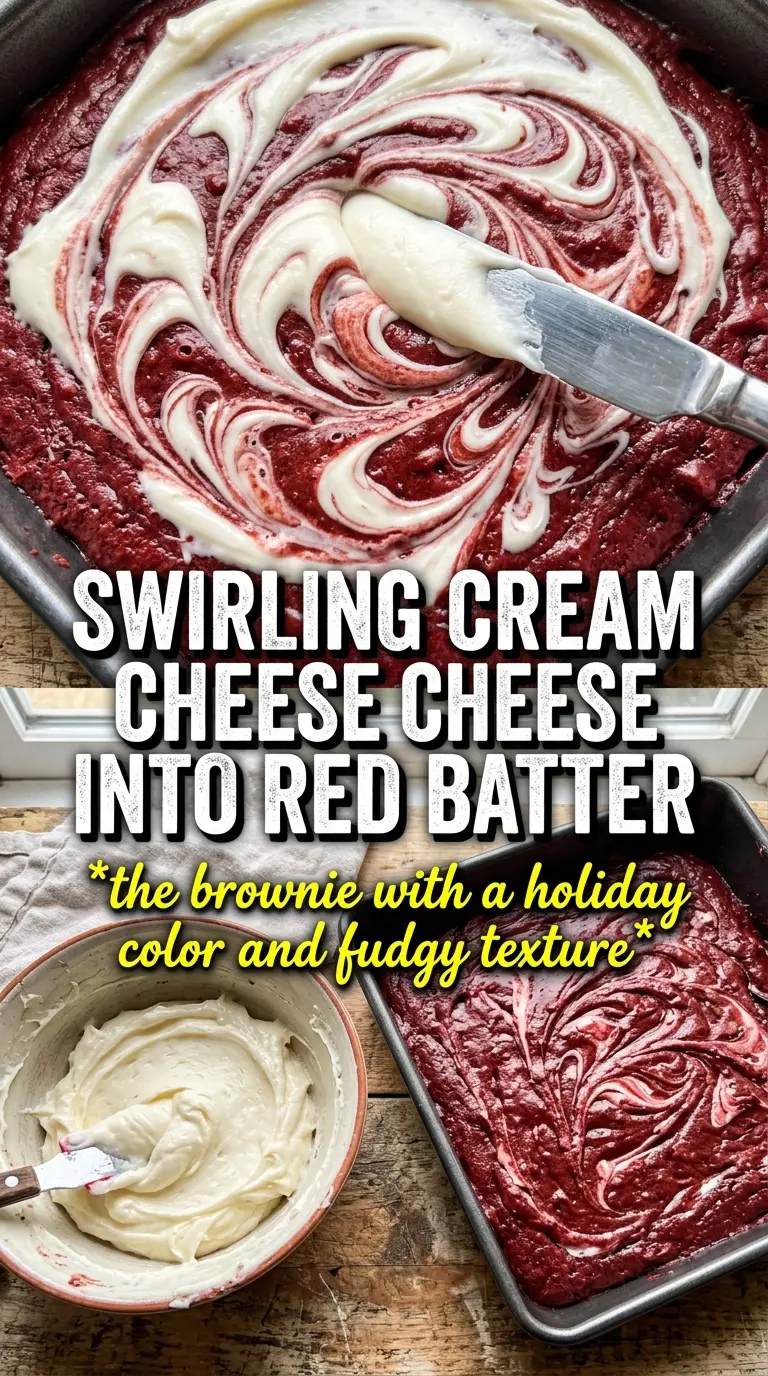
Beat the cream cheese, sugar, egg, and vanilla until the mixture is smooth and free of lumps. It should be loose enough to spoon but thick enough to sit in mounds on the brownie batter. If your cream cheese is cold, the filling stays lumpy and tears through the batter when you try to swirl it.
Swirl Without Muddying the Top
Spread the brownie batter into the lined pan first, then drop the cream cheese mixture over the surface in spoonfuls. Use a knife or skewer to drag through the two batters in wide figure-eight motions. Stop early. If you over-swirl, the layers blend into a pale pink top and you lose both the look and the contrast of the cream cheese ribbon.
Bake Until the Center Just Sets
Bake at 350°F until the edges are set and the center no longer looks wet, usually 25 to 30 minutes. The top should look matte, and the cream cheese swirl should be puffed and lightly set. Let the pan cool completely before cutting, or the brownies will smear and collapse instead of slicing into neat squares.
Three Ways to Adjust These Brownies Without Losing the Good Part
Gluten-Free Version
Swap the all-purpose flour for a good 1:1 gluten-free baking blend. The texture stays close to the original as long as the blend contains xanthan gum, though the edges may be a touch more delicate when you cut them.
Extra-Dark Red Velvet Brownies
Use the full 3 tablespoons of food coloring and an extra tablespoon of cocoa if you want a deeper red-brown color and a slightly stronger chocolate note. The brownies will taste a little less sweet and look more dramatic once baked.
Dairy-Free Brownies
Use a plant-based butter and a dairy-free cream cheese that’s meant for baking. The swirl won’t taste exactly the same, but it still gives you that tangy contrast against the cocoa base.
Storing the Brownies for Clean Slices Later
Refrigerator: Store in an airtight container for up to 5 days. The cream cheese swirl firms up in the fridge, which actually makes the bars slice cleaner after a chill.
Freezer: These freeze well. Wrap individual squares tightly and freeze for up to 2 months, then thaw in the fridge so the swirl doesn’t sweat.
Reheating: If you want a softer brownie, let a square sit at room temperature for 15 to 20 minutes. Don’t microwave them long, or the cream cheese layer turns greasy and the brownie goes from fudgy to rubbery.
Answers to the Questions Worth Asking
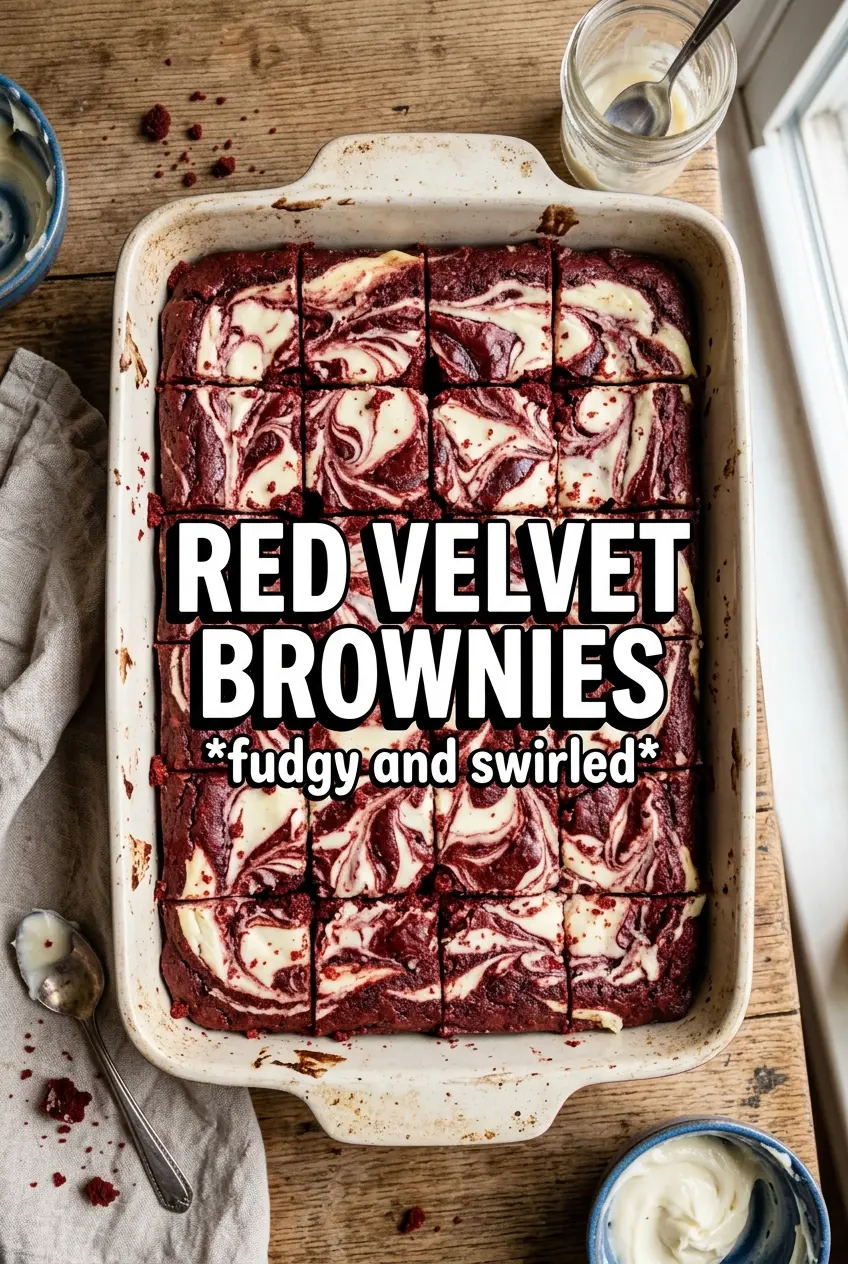
Red Velvet Brownies
Ingredients
Equipment
Method
- Preheat oven to 350F and line a 9x13 pan with parchment, leaving overhang so the brownies lift out cleanly.
- Whisk the melted unsalted butter and granulated sugar until glossy, then whisk in the eggs, vanilla, and red food coloring until the batter is evenly tinted.
- Fold in the all-purpose flour, cocoa powder, white vinegar, and salt until no dry flour pockets remain.
- Spread the red velvet batter evenly into the lined pan.
- Beat the cream cheese swirl mixture—cream cheese, 1/4 cup sugar, egg, and vanilla—until smooth and pourable.
- Dollop the cream cheese swirl over the batter and swirl gently with a knife tip for marbled streaks.
- Bake for 25-30 minutes at 350F until the edges are set and the center looks slightly firm rather than wet.
- Cool completely before cutting so the center sets and the red interior holds its shape.