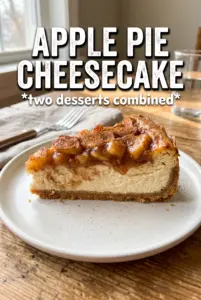
Caramel apple cheesecake lands somewhere between a bakery-style fall dessert and a classic New York-style slice, and that combination is exactly why it disappears fast. You get a crisp graham cracker crust, a creamy filling that stays dense without tasting heavy, and a spiced apple layer that cuts through all that richness instead of getting lost in it. The oat streusel on top adds a little crunch, and the caramel drizzle gives each slice that glossy finish people always reach for first.
The trick is keeping every layer distinct. The apples need a quick cook with cornstarch so they turn thick and spoonable instead of leaking juice into the cheesecake. The filling stays smoother when the cream cheese and eggs are at room temperature, and the water bath helps the center bake evenly without drying out the edges. If you’ve ever had a cheesecake crack, slump, or come out with a soggy top, this version is built to avoid all three.
Below, I’ll walk through the part that matters most: how to keep the streusel crisp, how to tell when the center is set, and what to do if you want to make the whole dessert a day ahead.
The apple layer stayed neat instead of running into the cheesecake, and the streusel kept its crunch even after chilling overnight. My slice held together perfectly and the caramel made it taste like something from a good bakery.
Caramel Apple Cheesecake has the best of both worlds: creamy cheesecake, spiced apples, and a crunchy oat streusel finish.
The Mistake That Ruins Apple Cheesecake Before It Ever Bakes
The biggest problem with caramel apple cheesecake is moisture. Apples throw off juice, cheesecake batter is delicate, and streusel can go soft fast if the layers aren’t handled in the right order. If the apple mixture isn’t cooked long enough, that liquid has nowhere to go except into the filling, which turns the center loose and muddy instead of cleanly sliced.
The fix is simple: cook the apples until the filling looks thick and glossy, then let it cool before it goes on the cheesecake. That cornstarch doesn’t just thicken the sauce; it keeps the apple layer from bleeding into the custard as it bakes. The water bath matters here too, because cheesecake bakes best when the heat is gentle and even. That’s what keeps the middle creamy while the edges set without turning rubbery.
- Graham cracker crumbs — These give you a sturdy, slightly sweet base that stands up to the filling. Store-bought crumbs work fine, but if you crush them yourself, grind them fine so the crust presses together evenly.
- Cream cheese — Use full-fat blocks, not tub spread. The texture is denser and more stable, which is what you want when the dessert has both apples and streusel on top.
- Apples — A firm baking apple is best because it holds its shape after cooking. Granny Smith gives you more tartness; Honeycrisp or Braeburn soften a little more and lean sweeter.
- Sour cream — This keeps the filling tangy and smooth. If you need a substitute, plain full-fat Greek yogurt works, but the cheesecake will taste a touch sharper.
- Cold butter for the streusel — Cold butter is what creates those sandy, crisp crumbles. If the butter melts before baking, the topping turns dense instead of crumbly.
Building the Layers So the Cheesecake Bakes Cleanly
Press the crust hard and bake it first
Mix the graham cracker crumbs, sugar, and melted butter until the texture looks like damp sand, then press it firmly into the springform pan. Use the bottom of a measuring cup to pack it tight, especially along the edges, because a loose crust will crumble when you slice the cheesecake. The 10-minute bake gives the crust enough structure to stay crisp under the filling instead of turning soft and pasty.
Cook the apples until the juices tighten up
Cook the diced apples with brown sugar, cinnamon, butter, and cornstarch until the mixture looks thick enough to mound on a spoon. You’re not trying to soften the apples into applesauce; they should still have some shape so the layer feels distinct in each bite. Let it cool before assembling, or the heat will start loosening the cheesecake batter before it even hits the oven.
Mix the filling just until smooth
Beat the cream cheese and sugar first, then add the eggs one at a time, followed by sour cream, vanilla, and cinnamon. Stop mixing as soon as the batter looks silky, because overbeating adds air and that extra air can puff the cheesecake, then make it fall. Pour it over the crust, spread the cooled apples over the top, and keep the layers even so the streusel doesn’t slide off one side.
Bake low, slow, and with the water bath in place
Set the springform pan in the water bath and bake until the edges are set but the center still has a slight wobble. That wobble is what you want; a cheesecake that looks firm all the way through is usually overbaked and will crack as it cools. Let it cool completely before it goes into the refrigerator, because rushing the chill can cause condensation and soften the streusel.
How to Adapt This When You Need a Different Finish
Gluten-Free Version
Swap the graham crackers for gluten-free graham-style crumbs and use a measure-for-measure gluten-free flour blend in the streusel. The texture stays close to the original, but the topping may be a little more delicate, so let the cheesecake chill fully before slicing.
Dairy-Free Adjustment
Use dairy-free cream cheese, plant-based butter, and a thick unsweetened coconut or soy yogurt in place of sour cream. The filling will still set, but it won’t taste quite as rich or tangy as the original, so don’t skip the cinnamon and vanilla.
Make It More Apple-Forward
Add an extra apple to the filling or pile the cooked apple layer a little thicker in the center. That gives you more fruit in each slice, but it also adds moisture, so keep the apple mixture thick and fully cooled before layering.
Storage and Reheating
- Refrigerator: Store covered for up to 5 days. The streusel softens a little, but the flavor gets even better after a night in the fridge.
- Freezer: Cheesecake freezes well without the caramel drizzle. Wrap individual slices tightly and freeze for up to 2 months, then thaw overnight in the refrigerator.
- Reheating: Don’t reheat the cheesecake itself. Serve it cold or let it sit at room temperature for 20 to 30 minutes so the texture softens slightly. Add caramel just before serving so it stays glossy.
Answers to the Questions Worth Asking
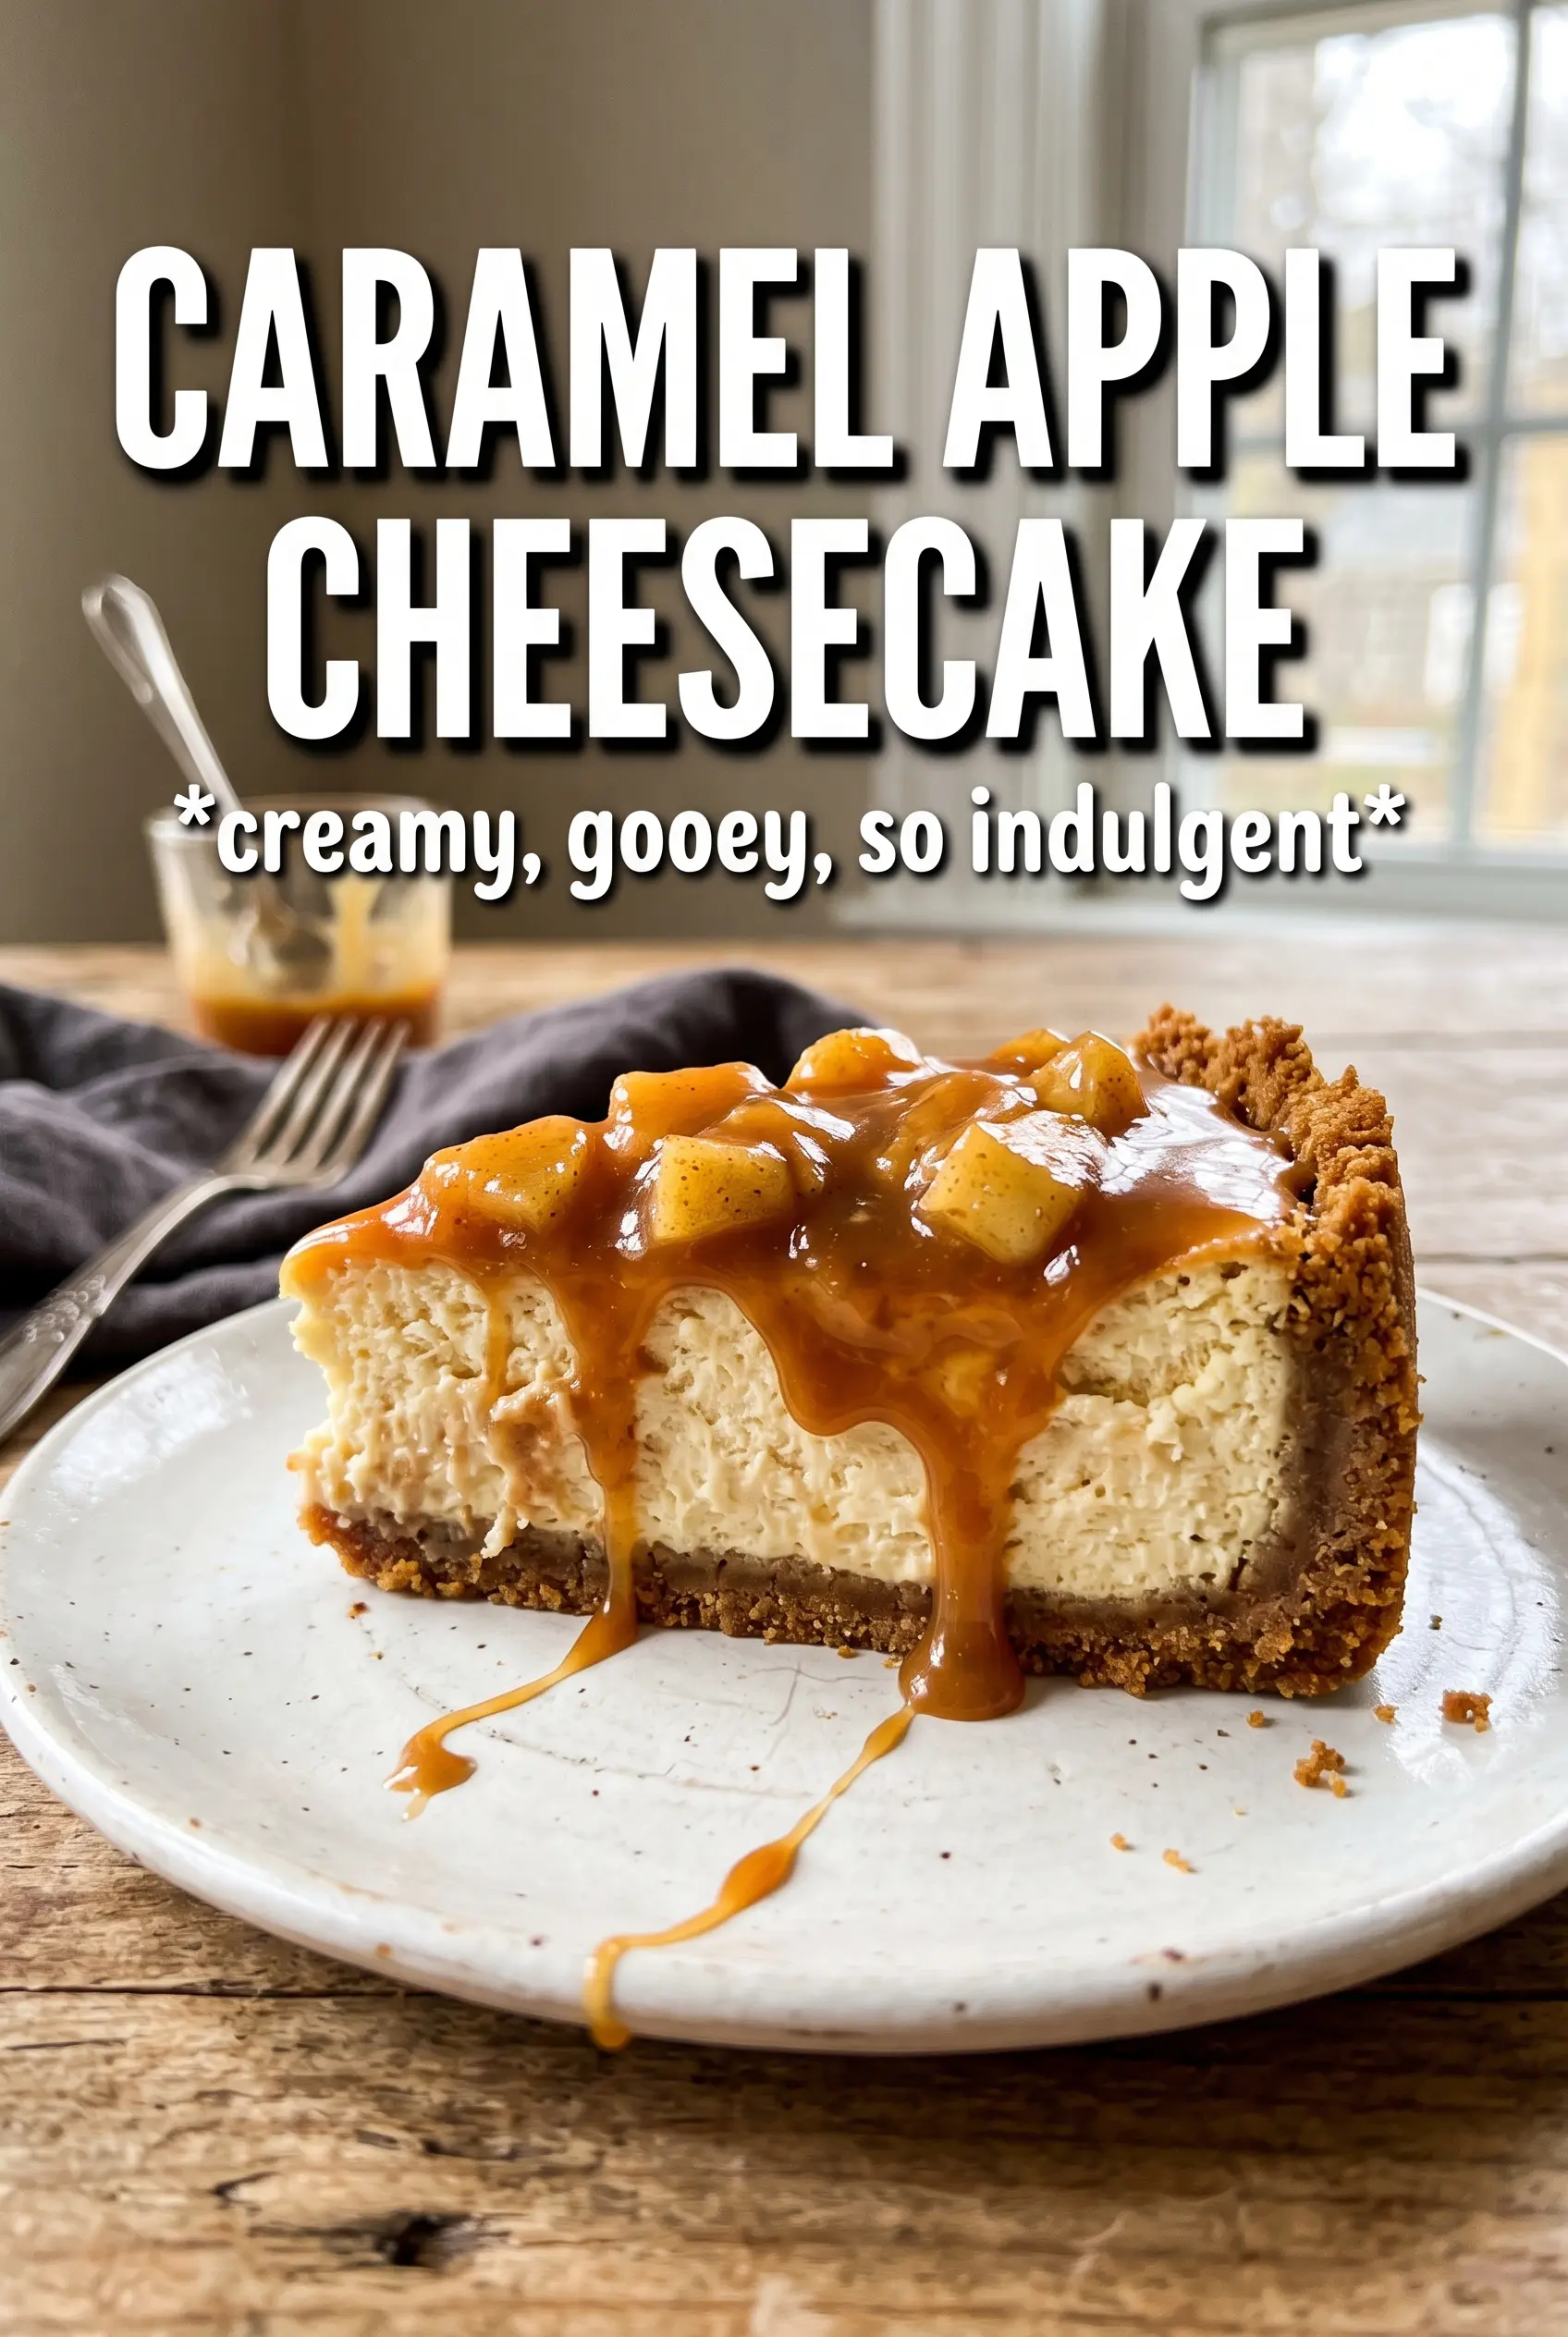
Caramel Apple Cheesecake
Ingredients
Equipment
Method
- Preheat the oven to 325F and press the crust mixture (graham cracker crumbs, sugar, and melted butter) into a 9-inch springform pan. Bake for 10 minutes, then remove and keep the crust ready.
- Cook the apple layer ingredients (peeled diced apples, brown sugar, cinnamon, butter, and cornstarch) for 5 minutes, until thickened. Cool completely after cooking.
- Beat the cheesecake filling (cream cheese, sugar, eggs, sour cream, vanilla, and cinnamon) until smooth, then pour it over the baked crust. Top with the cooled apple layer.
- Scatter the streusel over the top (oats, flour, brown sugar, cinnamon, and cold butter). Make sure the crumbs cover the surface evenly.
- Bake the cheesecake in a water bath for 60-65 minutes at 325F until just set. Cool completely before chilling.
- Refrigerate the cheesecake for 6 hours to fully chill. Just before serving, drizzle with caramel sauce.