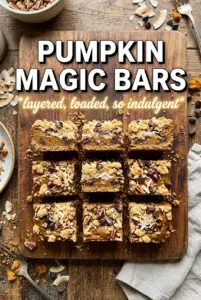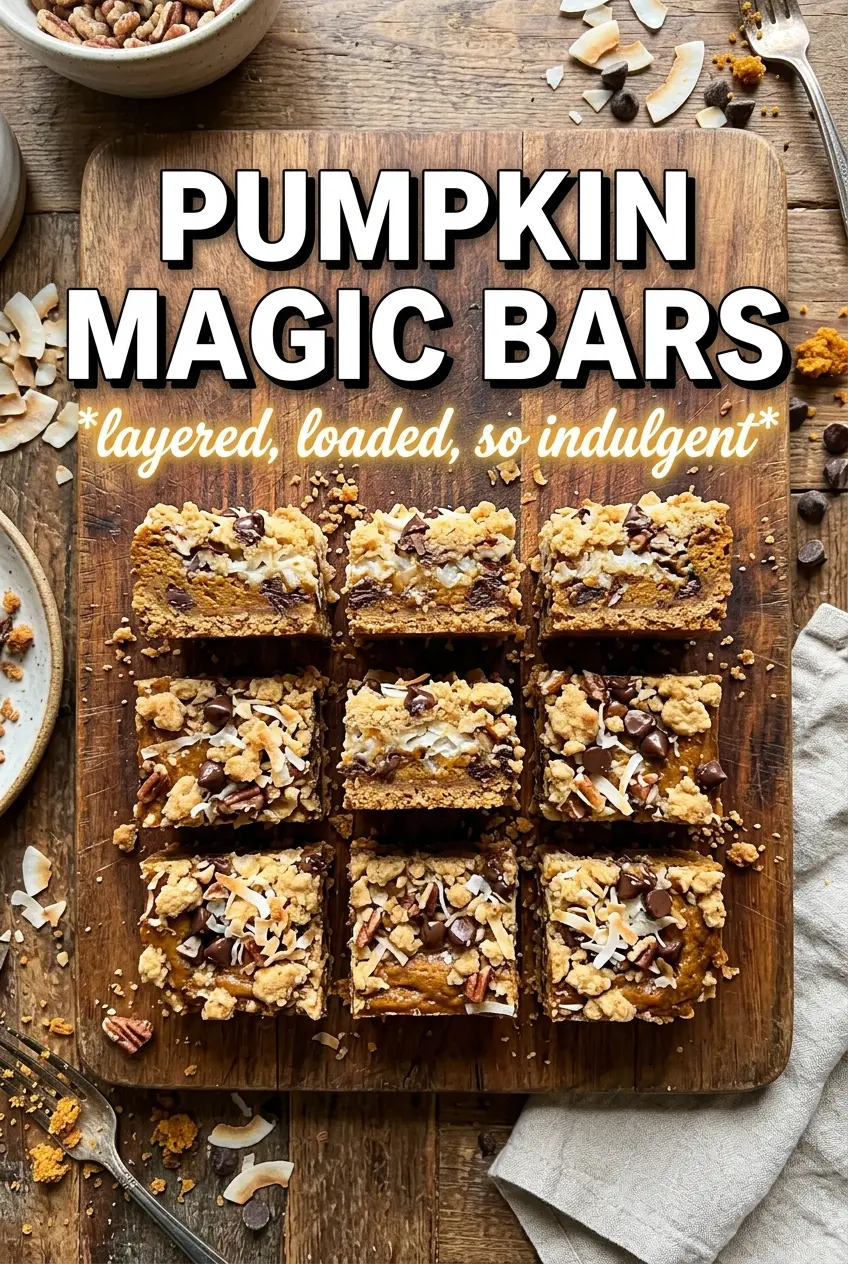
Pumpkin Magic Bars bake up with a chewy, layered bite that lands somewhere between a cookie bar and a pie filling, and that’s exactly why they disappear fast. The gingersnap crust brings a warm snap under the soft pumpkin layer, while the coconut, white chocolate, butterscotch, pecans, and toffee bits melt and toast into one rich top layer. Every square gives you contrast: crisp edges, a creamy center, and little pockets of crunch.
What makes this version work is the balance in the pumpkin layer. Pumpkin puree alone can make bars taste flat or watery, so it gets whisked with sweetened condensed milk, pumpkin pie spice, and cinnamon to give you sweetness, body, and enough spice to stand up to all the toppings. The crust also matters here. Gingersnap crumbs hold their own against the pumpkin and brown-sugar sweetness better than plain graham crumbs ever could.
Below, I’ve broken down the parts that matter most so you don’t end up with a soggy base or bars that fall apart when you cut them. The layering order, the gentle press, and the cooling time all make a difference.
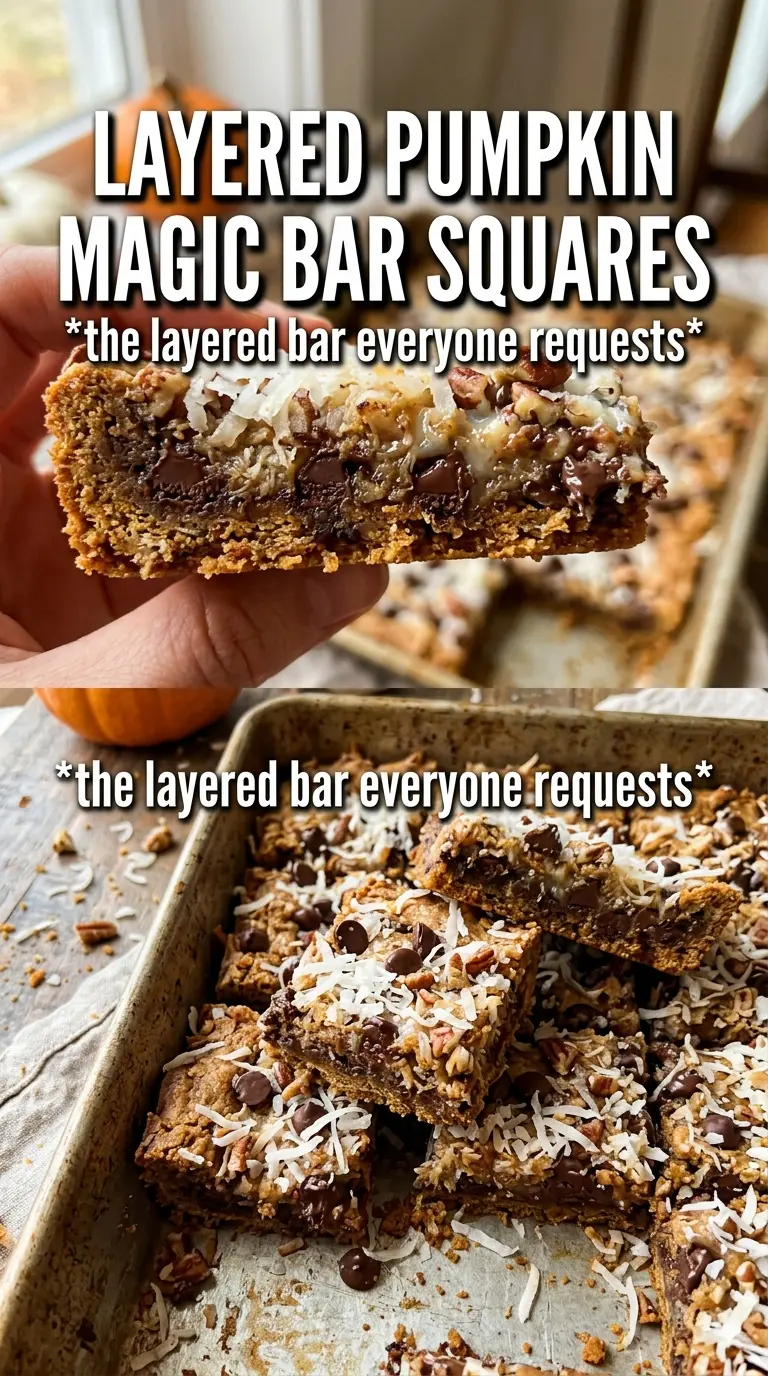
The pumpkin layer set up beautifully and the gingersnap crust stayed crisp under all those toppings. I cut them after a full chill and got clean squares instead of a gooey mess.
Save these Pumpkin Magic Bars for the layered gingersnap crust and gooey pumpkin center that set up into neat, rich squares.
The Layering Trick That Keeps the Bottom from Going Soggy
The biggest mistake with magic bars is rushing the base. If the crust and filling get blended together, the whole pan turns heavy instead of layered, and you lose the clean bite that makes these bars worth making. Here, the melted butter goes straight into the pan first, then the gingersnap crumbs are sprinkled evenly so they can soak up just enough butter to hold together without turning pasty.
The other key is the pumpkin layer. Sweetened condensed milk gives the bars their set and keeps the pumpkin from baking up thin or watery. When that mixture is poured over the crumb layer, it should spread easily but not flood the pan; if you dump it in one spot and shove it around later, you’ll disturb the crust and create uneven pockets that bake at different rates.
What Each Layer Is Doing in These Pumpkin Magic Bars
- Gingersnap cookie crumbs — These bring spice and structure. Graham crackers can work in a pinch, but they taste flatter and softer; gingersnaps give the bars a deeper, more autumnal base that stands up to the sweet toppings.
- Sweetened condensed milk — This is the binder and the sweetener. Don’t swap in regular milk or evaporated milk unless you’re willing to change the whole recipe, because you need that thick, sugary body for the bars to set properly.
- Pumpkin puree — Use puree, not pumpkin pie filling. Pie filling already has sugar and spices mixed in, which throws off the balance here and can make the bars overly loose or overly sweet.
- Sweetened shredded coconut — This adds chew and helps the top layer brown. If you only have unsweetened coconut, it will work, but the bars will taste less lush and the coconut won’t soften quite the same way.
- White chocolate chips, butterscotch chips, pecans, and toffee bits — These are what turn the pan into a true magic bar. The chips melt into pockets, the pecans bring crunch, and the toffee bits add a caramelized finish that keeps each bite from tasting one-note.
Building the Pan So the Bars Bake Cleanly
Getting the Crumb Base Even
Pour the melted butter into the 9×13 pan first, then sprinkle the gingersnap crumbs over the top and distribute them as evenly as you can. The crumbs should look moistened, not swimming, and you want full coverage into the corners so the finished bars lift out in neat squares. If you leave bare patches, the filling sinks there and bakes into thin, brittle spots.
Mixing the Pumpkin Layer
Whisk the sweetened condensed milk, pumpkin puree, pumpkin pie spice, and cinnamon until the mixture looks smooth and uniform. You’re aiming for a thick, pourable custard, not a loose sauce with streaks of pumpkin. If the pumpkin isn’t fully blended, those pockets bake up unevenly and can taste bland in some bites and spiced in others.
Layering the Top Without Crushing It
Scatter the coconut, white chocolate chips, butterscotch chips, pecans, and toffee bits over the pumpkin layer in an even blanket. Then press down gently with clean hands just enough to help the toppings adhere. Hard pressure pushes the filling up through the layers and can make the bars dense instead of layered.
Baking Until the Center Sets
Bake until the edges are golden and the center looks set with only a slight jiggle when you nudge the pan. If the middle still sloshes, give it more time; underbaked magic bars stay soft in the middle and won’t cut cleanly. Cool them completely before slicing, because the filling firms as it cools and that’s what gives you sharp edges.
How to Adapt These Bars for Different Kitchens and Diets
Gluten-Free Crust Swap
Use gluten-free gingersnap crumbs in place of standard cookie crumbs. The bars keep the same texture and spice, as long as the crumbs are fine and evenly moistened with the butter. A coarse crumb won’t knit together as well, so pulse it a little finer if needed.
Nut-Free Version
Leave out the pecans and add extra coconut or more toffee bits in their place. You’ll lose the roasted crunch, but the bars still hold their layered character. If you want a little more texture, add a few extra gingersnap crumbs on top before baking.
Dairy-Free Adaptation
This one is harder to swap because sweetened condensed milk does the real work here. A dairy-free condensed milk alternative can work, but the bars may bake a little softer and need a full cool-down before cutting. Check the label for thickness; thin substitutes can leave the center too loose.
Storage and Reheating
- Refrigerator: Store in an airtight container for up to 5 days. The bars will firm up in the fridge, which actually makes them easier to slice and serve.
- Freezer: Freeze tightly wrapped bars for up to 2 months. Layer parchment between them if you want to pull out a few at a time without sticking.
- Reheating: These are best served at room temperature, but if you want a softer bite, let a chilled bar sit out for 15 to 20 minutes. Microwaving too long melts the chips and softens the crust, so keep any warm-up brief.