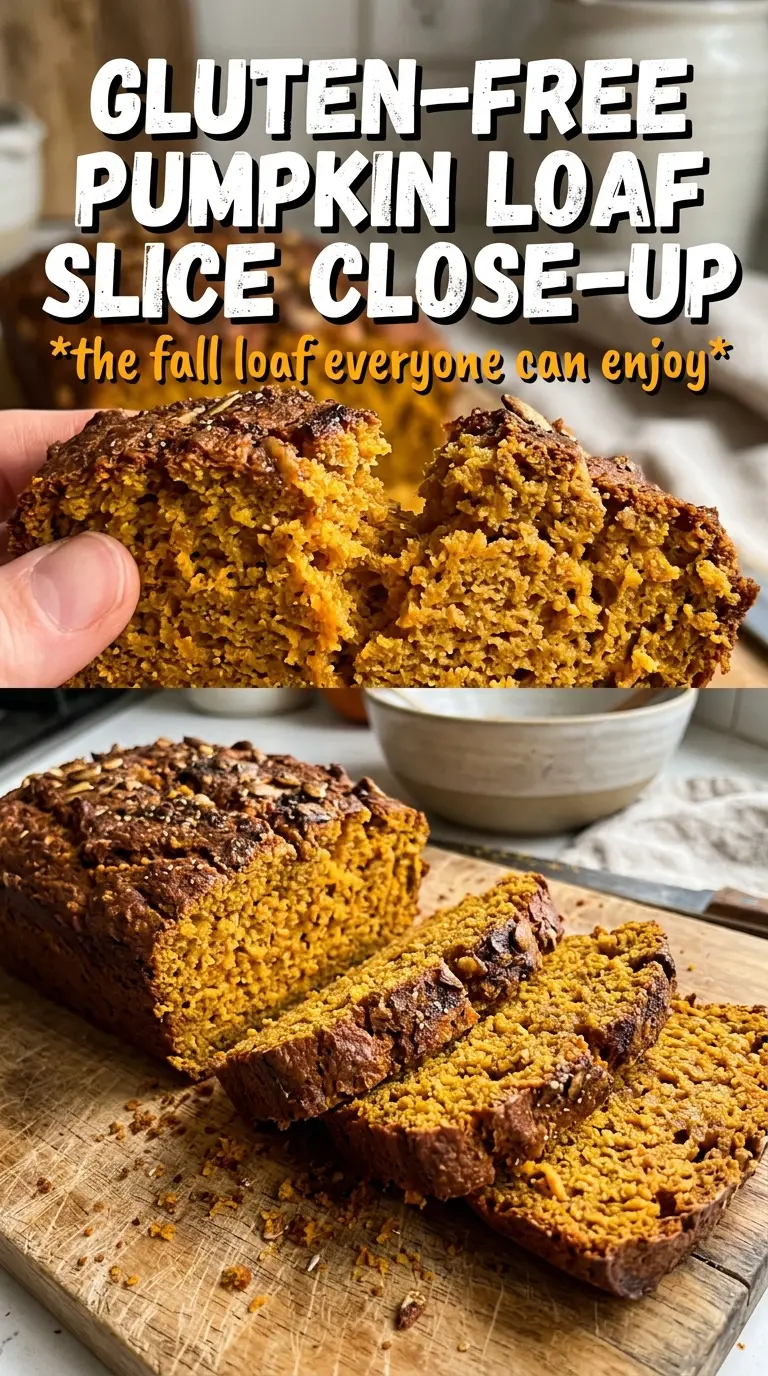
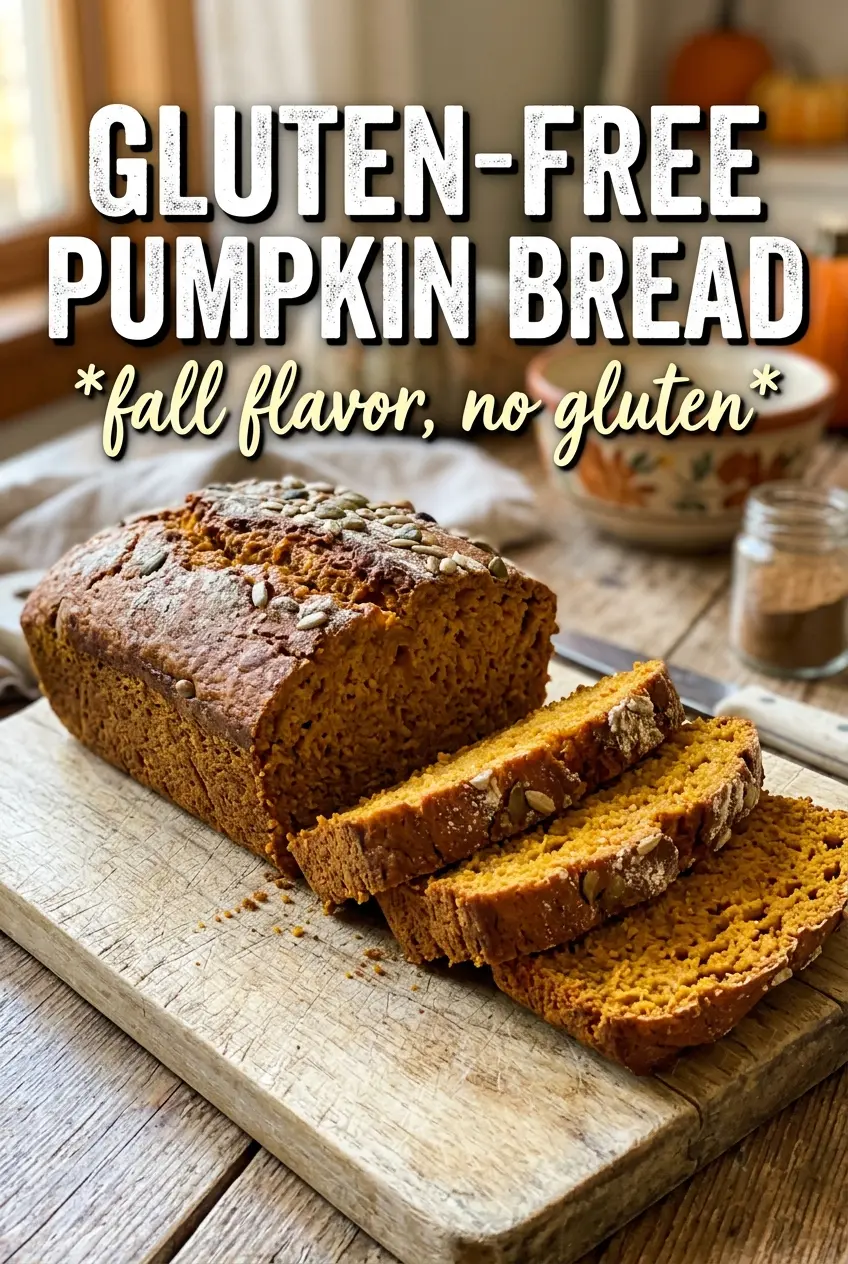
Gluten-free pumpkin bread should taste like the real thing: tender, deeply spiced, and moist enough that nobody starts asking what kind of flour you used. This version bakes up with a soft, even crumb and a cinnamon sugar crust that turns the top into the best part of the loaf. It slices cleanly once cooled, which matters more than most people think with gluten-free quick breads.
The trick is giving the batter enough structure without making it heavy. A good gluten-free flour blend with xanthan gum does the backbone work, and the extra egg helps the loaf hold together instead of crumbling at the first slice. Pumpkin puree, oil, and sour cream keep the crumb plush, while the cinnamon sugar on top adds a little crunch and a bakery-style finish.
Below, I’ve included the little details that make this loaf dependable: how to mix it without overworking it, when to pull it from the oven, and what to do if you want to swap the dairy without losing that soft texture.
I’ve made a lot of gluten-free quick breads, and this one finally had the soft crumb I was looking for. The cinnamon sugar top baked into a light crust and the middle stayed moist for days without getting gummy.
Save this gluten-free pumpkin bread for the kind of loaf that slices neatly, stays moist, and actually tastes like pumpkin spice.
Why Gluten-Free Quick Bread Turns Gummy Before It Turns Tender
Most gluten-free pumpkin breads fail for one of two reasons: the batter gets overmixed, or the loaf gets pulled too early because the top looks set before the center is done. Gluten-free flour doesn’t forgive much. Once you stir it enough to combine, stop. The batter should look smooth, not whipped, and the loaf needs the full bake time plus a little patience in the pan.
The pumpkin puree brings moisture, but too much moisture without enough structure is what gives you that dense, damp middle. That’s why this loaf uses both baking soda and baking powder, along with an extra egg and a little sour cream. The eggs and dairy support the crumb, while the leaveners keep it from baking up heavy. The result is a slice that holds together instead of collapsing when you lift it from the board.
What Each Ingredient Is Actually Doing In This Loaf
- Gluten-free all-purpose flour blend — Use a blend that already includes xanthan gum. That’s the piece that helps the loaf slice cleanly instead of crumbling. If your blend doesn’t include it, the bread may still bake, but it won’t hold together as well.
- Pumpkin puree — This gives the bread its flavor, color, and moisture. Use plain pumpkin puree, not pumpkin pie filling, which is already sweetened and spiced and will throw off the balance.
- Eggs — The extra egg is not decoration here. It adds structure and makes up for the lack of gluten, which is why this loaf feels sturdy without turning dry.
- Sour cream or plain Greek yogurt — This adds tenderness and a little tang that keeps the pumpkin flavor from tasting flat. Either one works; use full-fat if you can, because low-fat versions can thin the batter too much.
- Cinnamon sugar topping — This isn’t just for looks. It gives the top a light crust and a little texture contrast against the soft crumb underneath.
Building The Batter So It Bakes Up Soft, Not Dense
Mix The Dry Ingredients First
Whisk the flour, baking soda, baking powder, pumpkin pie spice, cinnamon, and salt together until the color looks even. That keeps the leaveners from clumping in one spot and gives you a more even rise. If you see streaks of spice or little pockets of baking soda, keep whisking. This step matters more in gluten-free baking because you don’t get the same built-in forgiveness from gluten.
Stir The Wet Ingredients Until They’re Fully Smooth
Whisk the pumpkin puree, both sugars, oil, eggs, vanilla, and sour cream until the mixture looks glossy and uniform. You want the brown sugar mostly dissolved and the eggs fully broken down, or you’ll get little streaks of richer and denser batter in the finished loaf. The batter should look thick and silky before the dry ingredients go in.
Fold, Don’t Beat
Add the dry ingredients to the wet and stir just until no dry pockets remain. The batter should be smooth, but it does not need extra mixing once the flour disappears. If you keep stirring, you’ll work air out of the batter and risk a tougher loaf. Scrape the bottom and sides of the bowl so no dry flour hides underneath.
Bake Until The Center Actually Set
Pour the batter into a very well-greased 9×5-inch loaf pan and sprinkle the cinnamon sugar over the top. Bake at 350°F for 65 to 70 minutes, and start checking near the end with a toothpick in the center. If the top looks done but the tester comes out with wet batter, give it more time. Gluten-free loaves often need that extra stretch in the oven before the middle firms up.
Cool Completely Before Slicing
Leave the loaf in the pan until it’s fully cool. That part is not optional here. Gluten-free quick bread sets as it cools, and if you cut into it too soon, the slices can look underbaked even when they’re done. Once it’s cool, use a sharp knife and a gentle sawing motion for the cleanest slices.
How To Adapt This For Dairy-Free, Sweeter, Or More Spiced Slices
Dairy-free pumpkin bread
Swap the sour cream or Greek yogurt for a thick dairy-free yogurt with a plain, unsweetened flavor. You want the same body, not extra sweetness. The loaf will still bake up moist, though the crumb may be just a touch less rich than the version with dairy.
A deeper spice flavor
Add another 1/2 teaspoon cinnamon or a pinch of ground ginger if you want the spice to come forward more. Don’t push the pumpkin pie spice too hard unless you like a hotter spice finish, because the loaf can start tasting like spice cake instead of pumpkin bread.
Lower-sugar loaf
You can cut the granulated sugar slightly, but don’t slash both sugars at once. Brown sugar adds moisture and helps the crumb stay soft, while the granulated sugar keeps the texture from going flat. If you reduce the sugar too far, the loaf bakes up less tender and the top browns less evenly.
Storage and Reheating
- Refrigerator: Store sliced or unsliced in an airtight container for up to 5 days. The crumb stays moist, but the cinnamon sugar top softens a little after the first day.
- Freezer: This bread freezes well. Wrap the fully cooled loaf or individual slices tightly and freeze for up to 3 months. Thaw at room temperature before reheating or serving.
- Reheating: Warm slices in the microwave for 10 to 15 seconds or in a low oven until just heated through. Don’t blast it on high heat, or the edges dry out before the center warms.
Questions I Get Asked About This Recipe
Gluten-Free Pumpkin Bread
Ingredients
Equipment
Method
- Preheat the oven to 350F and grease a 9x5 loaf pan very well so the loaf releases cleanly.
- Whisk together the gluten-free flour blend, baking soda, baking powder, pumpkin pie spice, cinnamon, and salt until evenly combined.
- Whisk the pumpkin puree, granulated sugar, brown sugar, vegetable oil, eggs, vanilla extract, and sour cream or plain Greek yogurt until smooth and glossy.
- Fold the dry ingredients into the wet until completely combined and the GF batter looks smooth without streaks.
- Pour the batter into the loaf pan and sprinkle the cinnamon sugar topping (2 tbsp sugar + 1 tsp cinnamon) over the top so it forms a lightly crisp crust.
- Bake for 65-70 minutes at 350F until a toothpick comes out clean, noting the gluten-free loaf may take slightly longer.
- Cool completely in the pan before slicing so the slices cut cleanly and hold their shape.