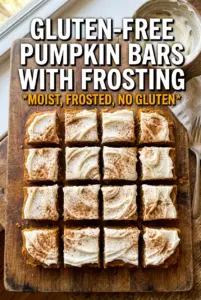
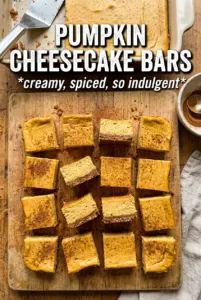
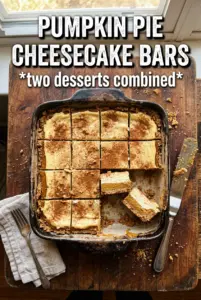
These gluten-free pumpkin bars bake up soft, tender, and sturdy enough to hold a thick layer of cream cheese frosting without falling apart. The crumb stays moist from the pumpkin and oil, but it never turns gummy, which is the line a lot of gluten-free pumpkin bars miss. What you get is a pan of bars that slice cleanly, taste like the classic version, and disappear fast from the counter.
The trick is using a gluten-free flour blend that already contains xanthan gum, then keeping the batter simple and fully mixed before it goes into the pan. Pumpkin puree brings moisture and body, while the eggs do the lifting so the bars rise instead of sinking into a dense layer. The frosting stays classic on purpose: tangy cream cheese, a little butter for richness, and just enough cinnamon and nutmeg to echo the bars underneath.
Below, I’ll walk through the texture cues that matter, the ingredient swaps that actually work, and the small cooling step that keeps the frosting from sliding off the top.
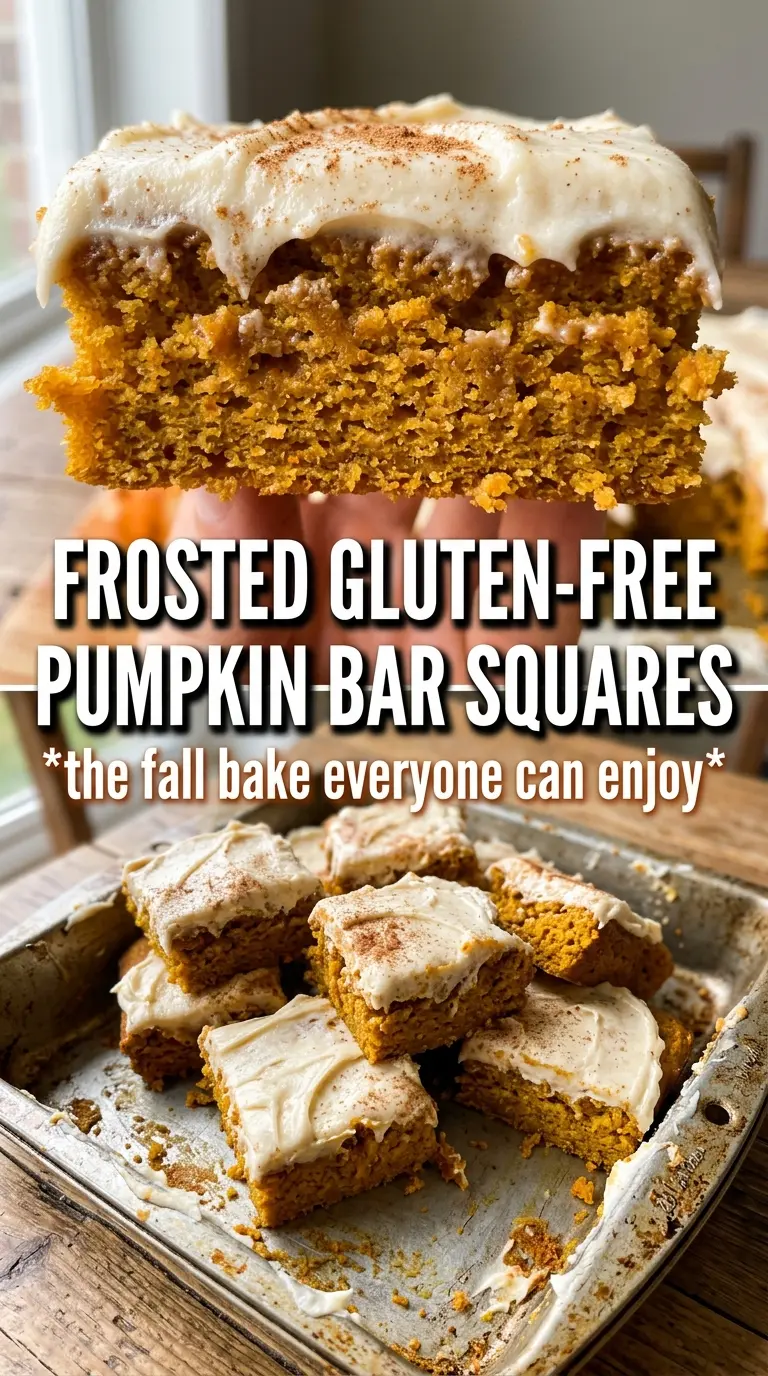
The bars were soft but still held together perfectly, and the cream cheese frosting set up enough that I could cut clean squares after chilling them for half an hour. My gluten-free daughter said they tasted like the pumpkin bars she remembers from before we changed flour.
Save these gluten-free pumpkin bars with cream cheese frosting for a soft, sliceable dessert that tastes just as rich as the classic version.
The Texture Problem Most Gluten-Free Pumpkin Bars Run Into
Gluten-free pumpkin bars usually fail in one of two ways: they turn heavy and pasty, or they bake up so delicate that they crumble the second you lift a square. This recipe avoids both by leaning on a tested all-purpose blend with xanthan gum and enough structure from the eggs to keep the bars tender but intact. The batter should look smooth and thick, not loose like cake batter and not stiff like cookie dough.
The other mistake is underbaking out of fear that pumpkin needs extra time. It does need a clean toothpick test, but once the center is set and the top springs back lightly, they’re ready. If you wait until the bars are deep browned at the edges, the crumb dries out and the frosting can’t save them.
What Each Ingredient Is Actually Doing in These Bars
- Gluten-free all-purpose flour blend with xanthan gum — This gives the bars their structure. A plain single-flour swap won’t behave the same way; almond flour will be too fragile here, and coconut flour will drink up the batter and dry it out. If your blend doesn’t include xanthan gum, add it only if your blend needs it, following the package directions.
- Pumpkin puree — Use pure pumpkin puree, not pumpkin pie filling. The puree keeps the bars moist and gives that dense, soft crumb people expect from pumpkin bars. Extra-wet homemade puree can throw off the texture, so canned puree is the most reliable choice here.
- Vegetable oil — Oil keeps these bars soft even after chilling under the frosting. Butter gives more flavor, but it also firms up more in the fridge, which makes the bars feel drier the next day. Neutral oil is the better move for this recipe.
- Cream cheese and butter — Cream cheese brings the tang that cuts through the sweetness, while butter keeps the frosting smooth and spreadable. Both need to be softened, not melted, or the frosting turns loose and greasy instead of fluffy.
How to Mix and Bake the Bars So They Stay Tender
Getting the Dry Mix Evenly Distributed
Whisk the flour, baking powder, baking soda, spices, and salt together before anything wet goes in. That step keeps the leaveners from clumping, which matters in a gluten-free batter because you don’t get the same forgiving structure you’d have with wheat flour. If the spices stay streaky, you’ll taste hot spots of cinnamon in one bite and almost nothing in the next.
Building the Batter Without Beating in Too Much Air
Beat the eggs, sugar, oil, pumpkin, and vanilla until the mixture looks smooth and glossy. Once the flour goes in, fold or mix just until you don’t see dry pockets. Overmixing can make the bars tough and a little gummy in the middle, especially with a gluten-free blend.
Knowing When the Pan Is Done
Spread the batter evenly into the greased rimmed baking sheet so the corners don’t dry out before the center sets. Bake until a toothpick comes out clean or with just a few moist crumbs, and the top springs back when you touch it lightly. If the center still looks shiny and wet, give it a few more minutes; if the edges are pulling hard from the pan and the top is deeply dark, it’s gone too far.
Cooling Before the Frosting Goes On
Let the bars cool all the way to room temperature before frosting. If they’re even a little warm, the frosting softens and slides, and the first cut becomes a mess. I usually chill the frosted pan for 30 minutes before slicing because that gives the cleanest squares and the neatest layers.
How to Adapt These Pumpkin Bars Without Losing the Soft Crumb
Dairy-Free Frosting With the Same Tang
Use dairy-free cream cheese and a plant-based butter that’s meant for baking. The frosting won’t set quite as firmly, but the flavor still works if you chill it before cutting. Skip any soft margarine tubs that melt at room temperature, or the frosting will turn loose.
Making Them Extra Spiced
Add another 1/2 teaspoon cinnamon or a pinch more pumpkin pie spice if you want the bars to read warmer and more fragrant. Keep the balance modest, though, because too much spice can overpower the pumpkin and make the frosting taste flat by comparison.
Turning Them Into a Smaller Batch
Bake the batter in a 9×13-inch pan if you want thicker bars and a slightly longer bake time, or halve the recipe for a smaller crowd. Watch the center closely, because a deeper pan changes how quickly the middle sets compared with the rimmed baking sheet.
Storage and Reheating
- Refrigerator: Store covered for up to 5 days. The bars stay moist, and the frosting firms up a bit, which actually helps the slices hold their shape.
- Freezer: Freeze unfrosted bars for up to 2 months, tightly wrapped. Frosting after thawing gives the best texture; frosted bars can freeze, but the cream cheese layer softens when thawed.
- Reheating: These are best served chilled or at cool room temperature, not warmed. If they’ve been in the fridge, let them sit out for 15 to 20 minutes so the frosting softens slightly before serving.
Questions I Get Asked About This Recipe
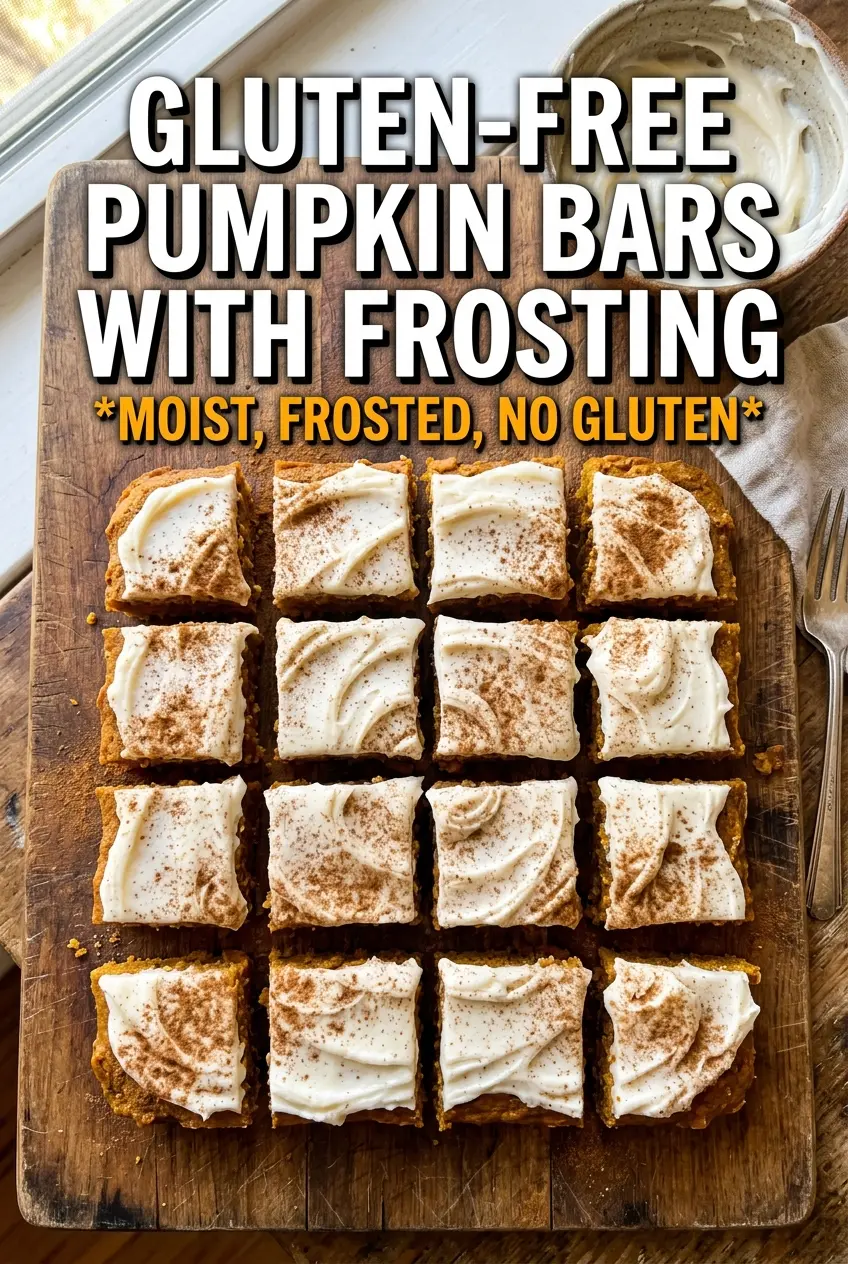
Gluten-Free Pumpkin Bars With Cream Cheese Frosting
Ingredients
Equipment
Method
- Preheat oven to 350F, then grease a 15x10 rimmed baking sheet (set the pan aside).
- Whisk together the gluten-free flour blend, baking powder, baking soda, pumpkin pie spice, cinnamon, and salt until evenly combined.
- Beat the eggs, sugar, vegetable oil, pumpkin puree, and vanilla until smooth.
- Fold the dry flour mixture into the pumpkin mixture until no dry streaks remain.
- Spread the batter evenly in the greased baking sheet.
- Bake at 350F for 25-28 minutes, until a toothpick comes out clean.
- Cool the bars completely before frosting.
- Beat the cream cheese and butter until smooth.
- Add powdered sugar, vanilla, cinnamon, nutmeg, and milk, then beat until very fluffy.
- Spread the frosting over the cooled bars, then dust with cinnamon.
- Refrigerate for 30 minutes before cutting.