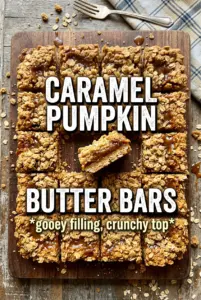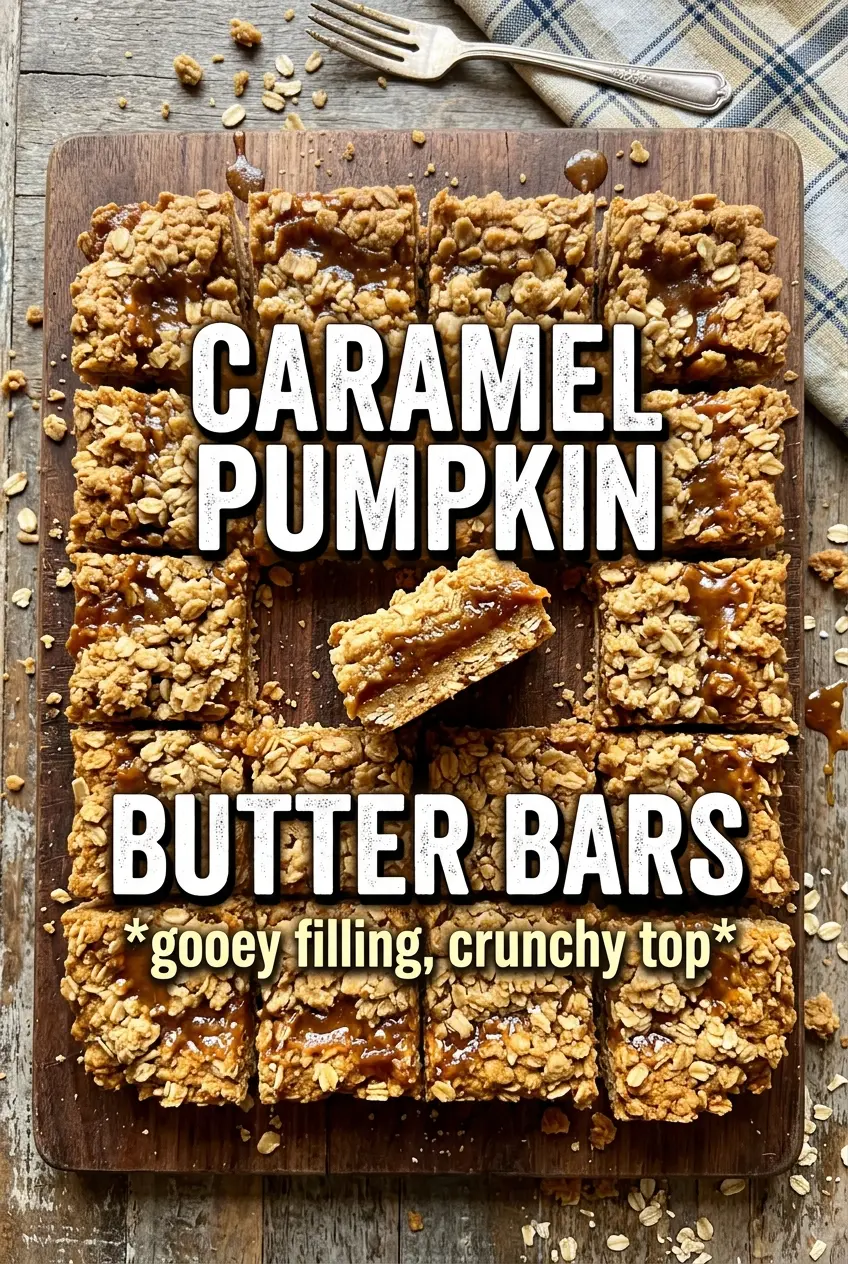
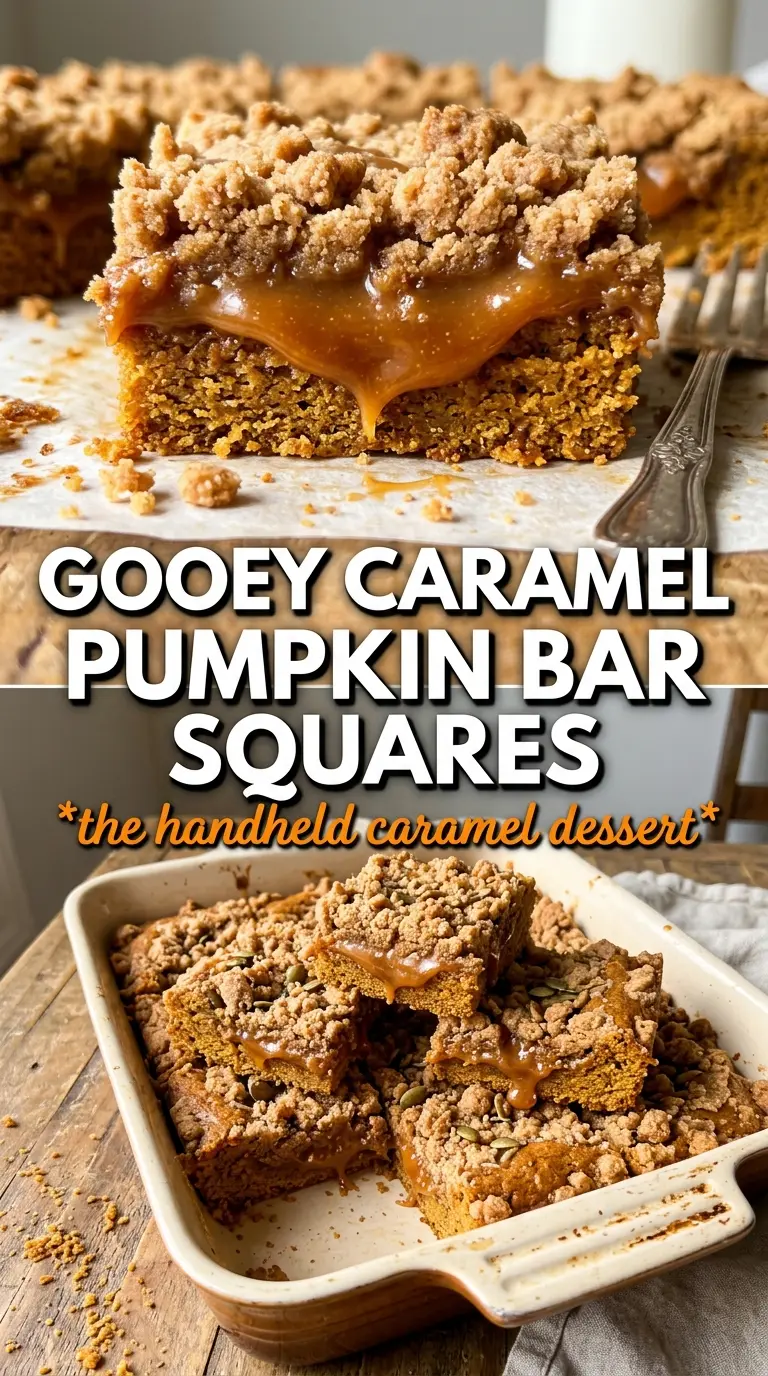
Caramel pumpkin butter bars hit that sweet spot between a chewy shortbread square and a creamy pumpkin dessert bar, with a buttery base that stays sturdy under the filling. The caramel brings a deeper, almost toffee-like note that keeps the pumpkin from reading flat or one-dimensional, and the flaky salt on top sharpens every bite.
What makes these bars work is the contrast. The crust bakes first, just enough to set and turn pale gold before the filling goes in, so it doesn’t dissolve into the pumpkin layer. The filling itself is built with pumpkin puree, caramel sauce, and cream, which gives it body without becoming heavy, and the eggs help it set cleanly once it cools.
Below you’ll find the little details that matter: how to press the crust so it slices neatly, why the bars need to cool all the way before cutting, and the easiest way to get a clean finish with that crumble top intact.
The shortbread stayed crisp under the pumpkin layer and the caramel set up just enough that the bars cut cleanly after chilling. I brought them to work and everybody kept asking why they tasted like pumpkin pie and caramel candy at the same time.
Save these caramel pumpkin butter bars for the dessert table when you want a crisp shortbread base, a silky pumpkin-caramel layer, and a salty finish.
The Reason the Crust Stays Crisp Under the Filling
These bars depend on a crust that gets a head start. If you press the dough into the pan and bake it long enough to set before adding the filling, the butter has time to melt and the flour has time to stabilize into a firm base. Skip that first bake and the bottom turns soft under the pumpkin layer, especially once the caramel and cream go in.
The other thing that matters here is the ratio of thick to wet ingredients. Pumpkin puree brings moisture, but caramel sauce and cream can push the filling toward loose and soupy if the bars are pulled too early. The eggs are what lock it into a sliceable bar, so the center should look set at the edges with only a slight wobble in the middle when it comes out of the oven.
What the Shortbread Base and Pumpkin Caramel Filling Are Each Doing
- All-purpose flour — Gives the base structure and the crumble on top. A lower-protein flour keeps the shortbread tender instead of tough.
- Powdered sugar — Sweetens the crust without the grainy texture you’d get from granulated sugar. It also helps the base bake up more delicate and sandy.
- Cornstarch — This is what gives the shortbread that soft, almost meltaway bite. Don’t skip it unless you want a firmer, more cookie-like crust.
- Cold unsalted butter — Cold butter is non-negotiable for the shortbread. It needs to be cut in in pieces so the dough stays crumbly, not greasy.
- Pumpkin puree — Use plain pumpkin puree, not pumpkin pie filling. The filling needs the puree’s texture and mild flavor so the caramel can stay in charge.
- Caramel sauce — Thick caramel sauce gives the bars their signature flavor and body. Thin sauce can make the filling runny, so choose one that pours slowly.
- Heavy cream — Adds richness and keeps the pumpkin-caramel layer from tasting stiff or pasty. Half-and-half will work in a pinch, but the filling won’t taste quite as plush.
- Brown sugar — Adds a darker, molasses note that supports the caramel. You only need a little because the sauce already brings plenty of sweetness.
- Pumpkin pie spice — Builds the warm spice layer without having to measure out several separate spices. If yours is old and faded, the bars will taste flatter than they should.
- Eggs — These are the setters. They turn the filling from loose custard into a bar you can slice cleanly once it cools.
- Flaky sea salt — This finishes the bars. It keeps the sweetness in check and makes the caramel taste deeper.
Building the Layers So the Bars Slice Cleanly
Mixing the Shortbread Without Warming the Butter
Combine the dry ingredients first, then cut in the cold butter until the mixture looks sandy with a few pea-size pieces left. Those little butter bits matter because they melt in the oven and create tenderness. If the butter gets too warm, the dough turns greasy and the crust bakes up dense instead of crumbly. Reserve one cup of the mixture for the topping before you press the rest firmly into the parchment-lined pan.
Baking the Base Until It Just Starts to Color
Bake the pressed crust until it looks pale gold at the edges and set across the top, about 15 minutes. It should not be deeply browned at this stage. The goal is a firm foundation, not a finished cookie, because it goes back into the oven under the filling. Pressing it firmly into the pan helps it hold together when you slice the bars later.
Whisking the Filling Until It Looks Smooth and Glossy
Whisk the pumpkin puree, caramel sauce, cream, brown sugar, pumpkin pie spice, vanilla, and eggs until the mixture is fully smooth. You don’t want streaks of egg white or pockets of spice hiding at the bottom. If the caramel is stiff, warm it just enough to loosen it before whisking, but don’t make it hot or it can scramble the eggs when combined. Pour it over the hot crust right away so the layers bake together cleanly.
Finishing the Bake Without Overbaking the Center
Scatter the reserved crumble over the filling, then bake until the center is just set and no longer sloshes when you gently nudge the pan. A slight wobble is fine; a liquid center means the bars will never cut neatly. Pull them as soon as the surface looks matte and the edges are set. The filling finishes firming as it cools, which is where the clean slices come from.
How to Adapt These Bars Without Losing the Crisp Base
Make Them Gluten-Free
Use a good 1:1 gluten-free flour blend in place of the all-purpose flour. The texture will be a little more delicate, but the cornstarch and powdered sugar still help the crust stay short and tender rather than sandy or dry.
Dairy-Free Version
Swap in a plant-based butter that bakes well and use a thick dairy-free caramel plus full-fat coconut cream. The filling will still set, but it will taste a little less rich and more coconut-forward, so choose a neutral dairy-free caramel if you can.
Use Homemade Caramel
Homemade caramel gives the bars a deeper butter-and-brown-sugar flavor, especially if you like the caramel note to stand out more than the pumpkin. Just cook it to a thick, spoonable consistency first, since a thin caramel can soften the filling and make the bars harder to slice.
Bake Them a Day Ahead
These bars cut best after an overnight chill. If you need a cleaner edge for serving, bake them the day before, cool completely, then chill before slicing. The texture firms up and the caramel flavor settles in even more.
Storage and Reheating
- Refrigerator: Store covered for up to 5 days. The crust stays firm and the filling cuts cleaner after chilling.
- Freezer: These freeze well. Wrap individual bars tightly and freeze for up to 2 months, then thaw in the refrigerator overnight.
- Reheating: Serve them chilled or let them sit at room temperature for 20 to 30 minutes. Don’t microwave them too long or the filling can turn loose and the crust loses its texture.