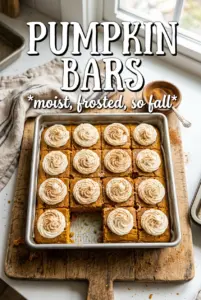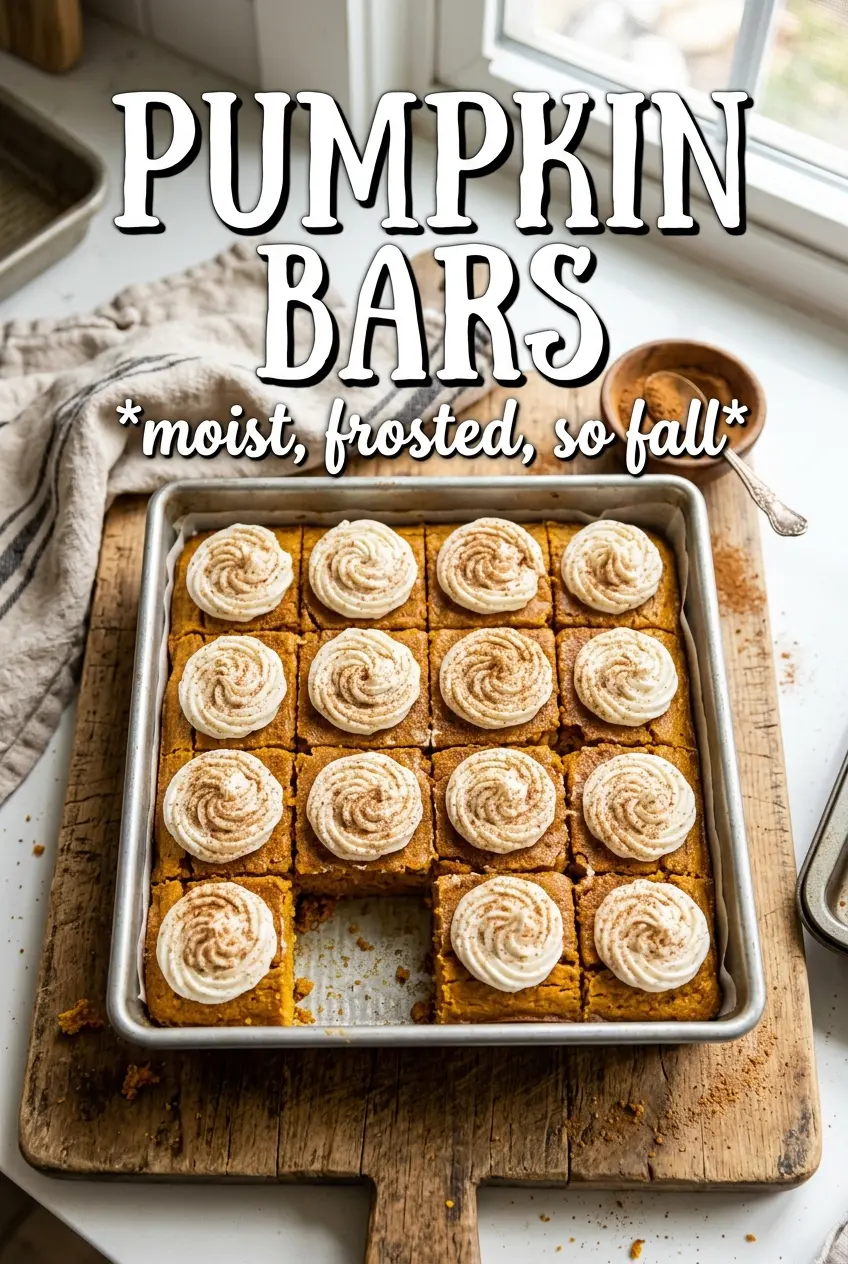
Pumpkin bars land in that sweet spot between a snack cake and a dessert tray bake: soft, moist, and sturdy enough to cut into neat squares without turning messy. The crumb stays tender for days, and the cream cheese frosting gives each bite that cool, tangy finish that keeps people reaching for a second piece.
What makes these work is the balance. Pumpkin puree brings moisture and structure, oil keeps the bars plush instead of dry, and the spice mix is measured so the pumpkin still tastes like pumpkin instead of just cinnamon. The frosting is a classic cream cheese version, but it gets a little cinnamon stirred in, which ties the whole pan together without making it overly sweet.
Below, I’ve included the details that matter most: how to avoid a dense bar, how to tell when the pan is done in the middle, and the small cooling step that makes clean slices possible.
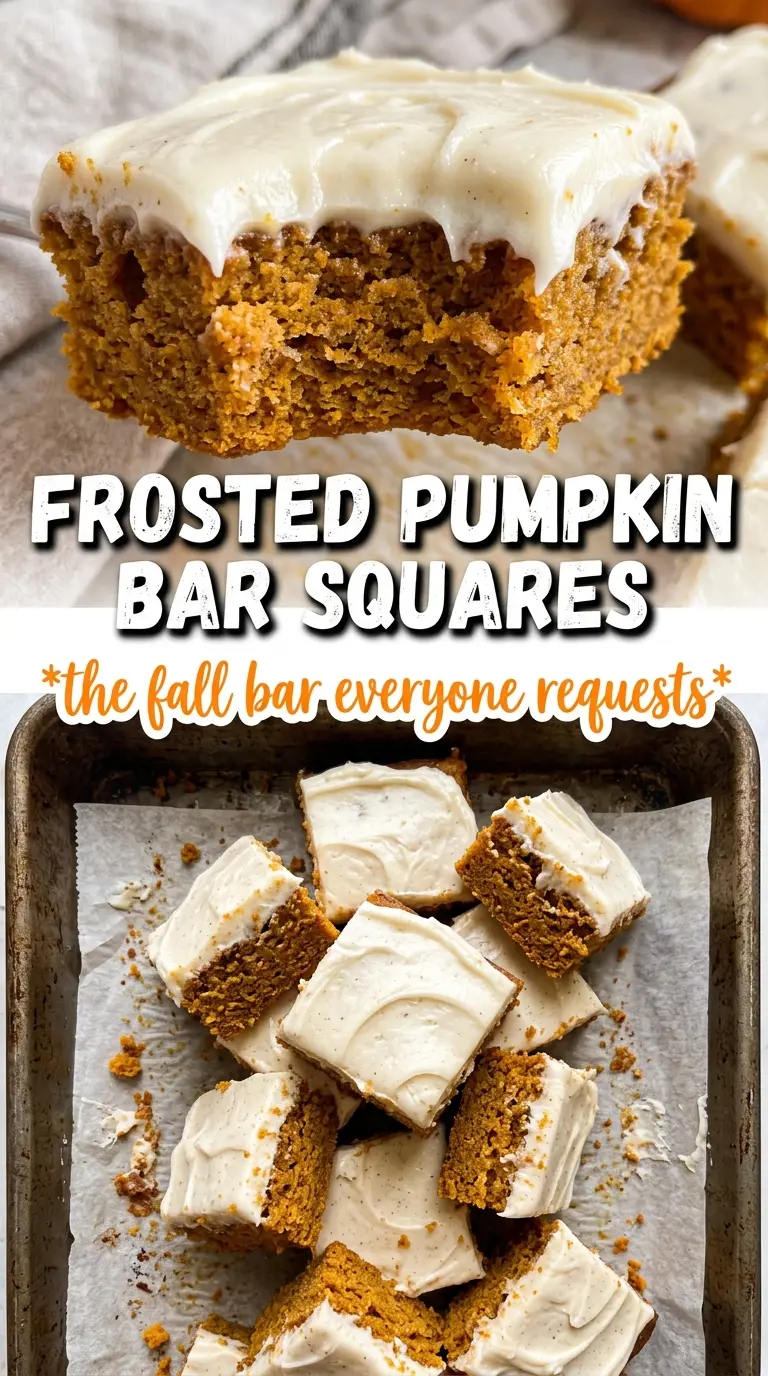
The bars baked up moist all the way through, and the frosting set enough after chilling that I could cut perfect squares. The cinnamon in the frosting was the little detail that made them taste bakery-level.
Save these pumpkin bars with cream cheese frosting for a soft, spiced dessert that cuts cleanly and tastes even better after chilling.
Why These Bars Stay Tender Instead of Dry and Cakey
The biggest mistake with pumpkin bars is treating them like a sponge cake. They need enough structure to hold the frosting, but not so much mixing that the crumb turns tight and dry. Oil is doing a lot of work here, and it keeps the texture soft even after the bars have chilled.
Another place people trip up is the bake time. The center should be set, but it doesn’t need to look deeply browned. If you wait for the top to look fully finished in the oven, the edges will overbake before the middle is done. Pull them when a toothpick comes out clean or with a few moist crumbs, then let the pan cool all the way before frosting.
What the Pumpkin, Oil, and Cream Cheese Are Each Doing
- Pumpkin puree — Use plain pumpkin puree, not pumpkin pie filling. Pie filling is already sweetened and spiced, which throws off the balance and can make the bars taste flat. The puree adds moisture and that dense, velvety crumb pumpkin bars are known for.
- Vegetable oil — This is what keeps the bars soft straight from the fridge. Butter brings flavor, but oil gives a more plush, even crumb in sheet-style bars. If you swap in melted butter, expect a firmer texture and a little less moisture.
- Eggs — Four eggs sound like a lot, but they give the bars lift and keep the batter from feeling heavy. Beat them well with the sugar, oil, and pumpkin until the mixture looks smooth and slightly thickened; that helps the bars bake up evenly.
- Cream cheese — Full-fat cream cheese gives the frosting its tang and body. Low-fat cream cheese can turn loose or gummy, especially once the bars warm up. Let it soften at room temperature so the frosting whips smooth instead of leaving little lumps behind.
Building the Pan So the Middle Bakes Through
Mixing the Dry Ingredients First
Whisk the flour, leaveners, spices, and salt together before they ever hit the wet bowl. That keeps the baking powder and soda from clumping in one spot, and it prevents a pocket of spice from landing in one bite while another tastes plain. The mixture should look evenly speckled with cinnamon and pumpkin pie spice.
Whipping the Wet Base Until Smooth
Beat the eggs, sugar, oil, pumpkin puree, and vanilla until the batter looks glossy and fully combined. This is where the texture starts, so don’t rush it or stop when you still see streaks of pumpkin. If the wet ingredients aren’t smooth here, the finished bars can bake up unevenly and feel a little dense in spots.
Stopping the Mix at Just Combined
Fold the dry ingredients into the wet mixture only until the flour disappears. Once the batter is mixed, it should look thick and spreadable, not elastic. Overmixing builds too much gluten, and that’s how pumpkin bars end up chewy instead of tender.
Baking Until the Edges Pull Away
Spread the batter into a greased 15×10-inch pan and bake until the center springs back lightly and the edges start to pull from the sides. That visual cue matters more than the clock because ovens vary, and sheet cakes can go from done to dry fast. Cool the bars completely before frosting, or the topping will melt and slide around instead of staying thick and smooth.
How to Change the Bars Without Losing the Texture
Dairy-Free Frosting Swap
Use a dairy-free cream cheese alternative and plant-based butter in the frosting. The bars themselves are already dairy-free, so this change keeps the full recipe accessible without changing the cake texture. Just chill the frosting a little longer if it seems soft, since some substitutes set more slowly.
Gluten-Free Version
Swap the all-purpose flour for a cup-for-cup gluten-free blend that includes xanthan gum. The bars will still be soft and moist, though the crumb may be a little more delicate when cutting. Let them cool completely and use a sharp knife wiped clean between cuts.
Extra-Spiced Version
If you like a stronger spice note, add an extra 1/2 teaspoon cinnamon or a pinch of nutmeg to the batter. Keep the pumpkin pie spice and cinnamon balanced rather than piling on too much of either one, or the bars will lose that mellow pumpkin flavor.
Storage and Reheating
- Refrigerator: Store covered for up to 5 days. The frosting stays nicest when chilled, and the bars actually slice cleaner after a night in the fridge.
- Freezer: These freeze well. Freeze unfrosted bars tightly wrapped, or freeze frosted squares in a single layer until firm, then wrap and store for up to 2 months.
- Reheating: These are best served cold or at cool room temperature, not warmed. If you do want to take the chill off, let a square sit out for 15 to 20 minutes; microwaving will soften the frosting and make the crumb feel greasy.