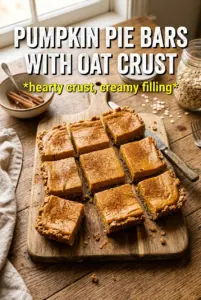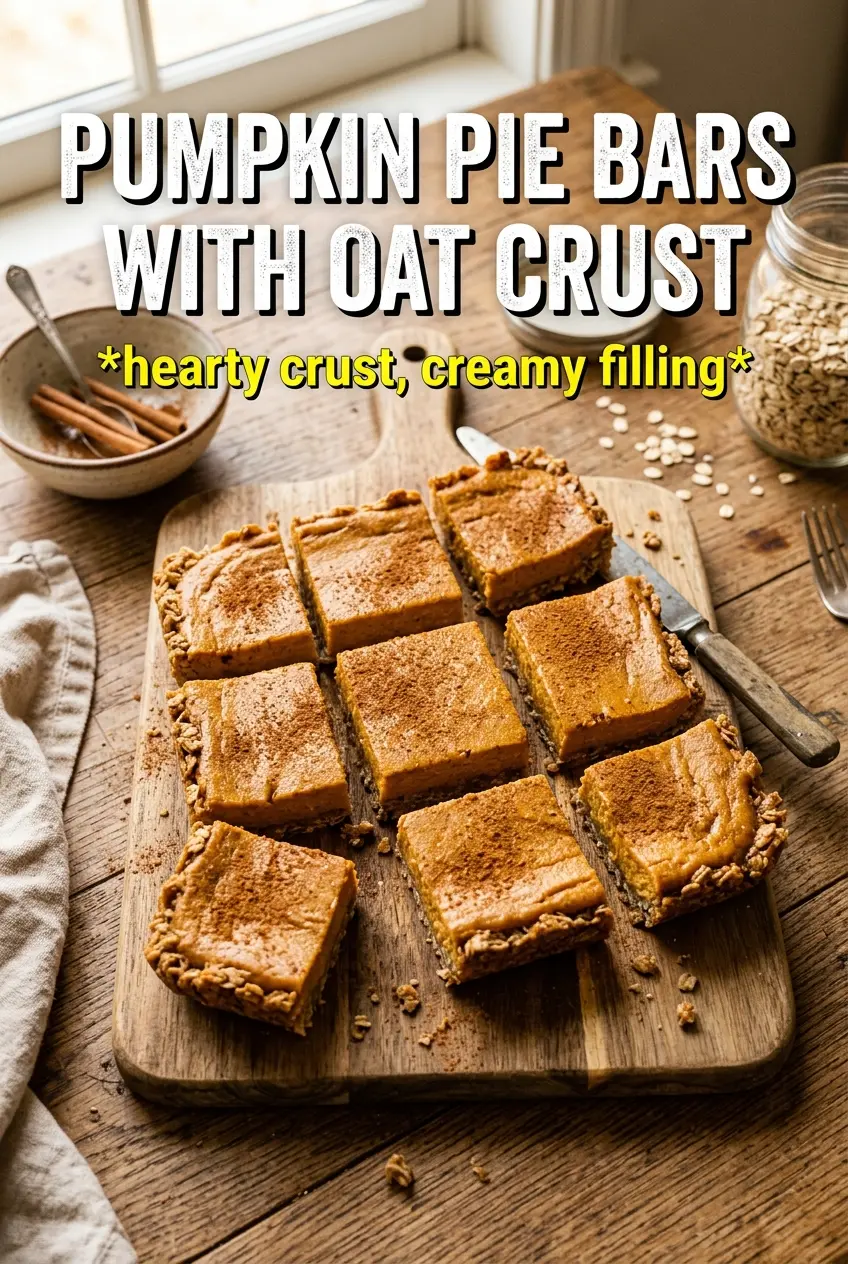
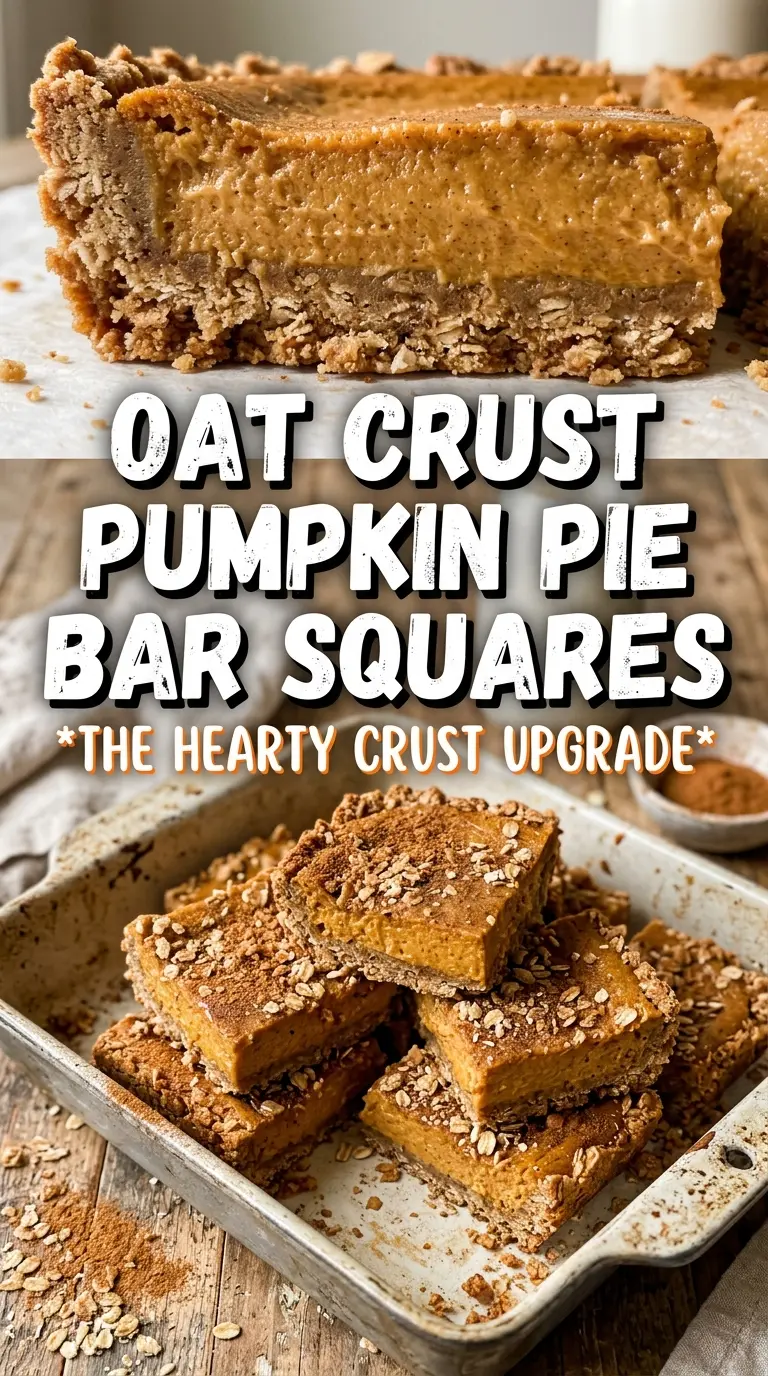
Pumpkin pie bars with oat crust give you everything people love about pumpkin pie, just easier to slice, easier to serve, and with a buttery crumble that adds a little chew to every bite. The crust bakes up sturdy enough to hold the filling, while the oat topping stays golden and crisp instead of turning sandy or flat. Once chilled, these cut into neat bars with a creamy pumpkin center that holds together cleanly on the plate.
The trick is starting with a partially baked crust. That short head start keeps the bottom from going soggy once the pumpkin filling goes in, and it gives the oats enough time to toast before the bars are fully baked. Cold butter matters here too. It creates those little pockets that melt into a craggy crumble instead of disappearing into the flour.
Below, I’m walking through the one step that keeps the crust crisp, the ingredient swaps that actually work, and the storage note that saves these bars for make-ahead dessert duty.
The oat crust held its shape perfectly after chilling, and the pumpkin layer set up smooth without cracking. I loved that the top stayed crumbly instead of getting soft like a lot of bar desserts do.
Save these pumpkin pie bars with oat crust for a make-ahead dessert with a crisp crumble top and clean slices.
The Trick to Keeping the Oat Crust Crisp Under the Pumpkin Filling
The most common problem with bar-style pumpkin desserts is a crust that turns damp before the filling finishes baking. Prebaking the oat base fixes that. It sets the structure, starts the browning, and gives the flour and oats enough heat to hold their shape when the custard goes on top.
The other thing that matters is packing the bottom layer firmly into the pan. If it’s loose, the filling slips through the crumbs and the bars cut badly later. Press it down with the bottom of a measuring cup so the base feels compact, then stop after the crust is hot and lightly set. You want it cooked enough to survive the filling, not fully browned yet.
What Each Ingredient Is Actually Doing in These Bars
- Rolled oats — These give the crust and topping a nubby, chewy texture that quick oats can’t match. Quick oats turn softer and denser, so use old-fashioned oats if you want that crumbly bite.
- All-purpose flour — This helps the crust hold together instead of falling apart when you cut the bars. A gluten-free 1:1 flour blend works well if you need a gluten-free version, but the crust will be a little more delicate.
- Brown sugar — Brown sugar brings moisture and a deeper caramel note to the oat mixture. You can use dark brown sugar for a richer taste, but the bars will be slightly sweeter and darker.
- Cold butter — Cold butter is what makes the topping clump into crumbs instead of melting into a paste. If the butter softens too much, the crust bakes up flat, so cube it straight from the fridge and work fast.
- Pumpkin puree — Use pure pumpkin puree, not pumpkin pie filling. Pie filling already contains sugar and spices, which throws off the balance and can make the bars too sweet and loose.
- Evaporated milk — This gives the filling its silky, custard-like texture without needing heavy cream. There isn’t a perfect one-to-one substitute, but half-and-half can work in a pinch; expect a slightly richer, softer set.
Building the Bars So the Filling Sets and the Top Stays Crumbly
Mix the Oat Base Until It Looks Like Pebbles
Stir the oats, flour, brown sugar, cinnamon, and salt together first so the butter gets distributed evenly later. Cut in the cold butter until the mixture looks like damp pebbles with some larger clumps mixed in. If it starts to look like a paste, the butter is too warm and the topping will bake up dense instead of crumbly.
Press, Prebake, and Watch for Light Color
Reserve some of the mixture for the topping, then press the rest into a parchment-lined 9×13 pan. Bake it just until the surface looks set and the edges start to deepen in color, about 12 minutes. If you let it get too dark here, the finished bars can taste overbaked after the second bake.
Pour the Pumpkin Custard Over a Hot Crust
Whisk the pumpkin puree, evaporated milk, eggs, sugars, spices, salt, and vanilla until smooth, then pour it over the hot crust. The warm base helps the filling start setting from underneath, which improves the final texture. Scatter the reserved crumble over the top in an even layer; don’t press it down or it will disappear into the custard.
Bake Until the Center Barely Quivers
Keep baking until the topping is golden and the edges of the filling are set. The center should still have the tiniest wobble when you nudge the pan, because it firms as it cools. If you wait for the middle to look completely firm in the oven, the bars usually end up dry and a little grainy after chilling.
Make It Gluten-Free With a Good 1:1 Blend
Swap the all-purpose flour for a cup-for-cup gluten-free baking blend. The bars will still hold together, but the crust may be a little more tender and less crisp, so chill them fully before slicing.
Dairy-Free Version With Plant Butter and Coconut Milk
Use a solid plant-based butter in place of the unsalted butter and full-fat canned coconut milk instead of evaporated milk. The filling will taste a little coconut-forward and the top won’t brown quite the same way, but the bars still set nicely.
Extra-Spiced Bars for a Stronger Pumpkin Pie Flavor
Add another 1/2 teaspoon of pumpkin pie spice or a pinch more ginger if you like a sharper spice finish. That change won’t affect the set, but it does push the bars closer to classic pumpkin pie territory.
Storage and Reheating
- Refrigerator: Store covered for up to 5 days. The oat crust stays firmer after chilling, which actually makes the slices cleaner.
- Freezer: These freeze well. Cut into bars, wrap individually, and freeze in a sealed container for up to 2 months; thaw overnight in the fridge.
- Reheating: These are best served chilled or at cool room temperature, not hot. If you want to take the chill off, leave a bar on the counter for 15 to 20 minutes so the filling softens without losing its set.