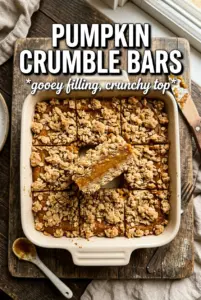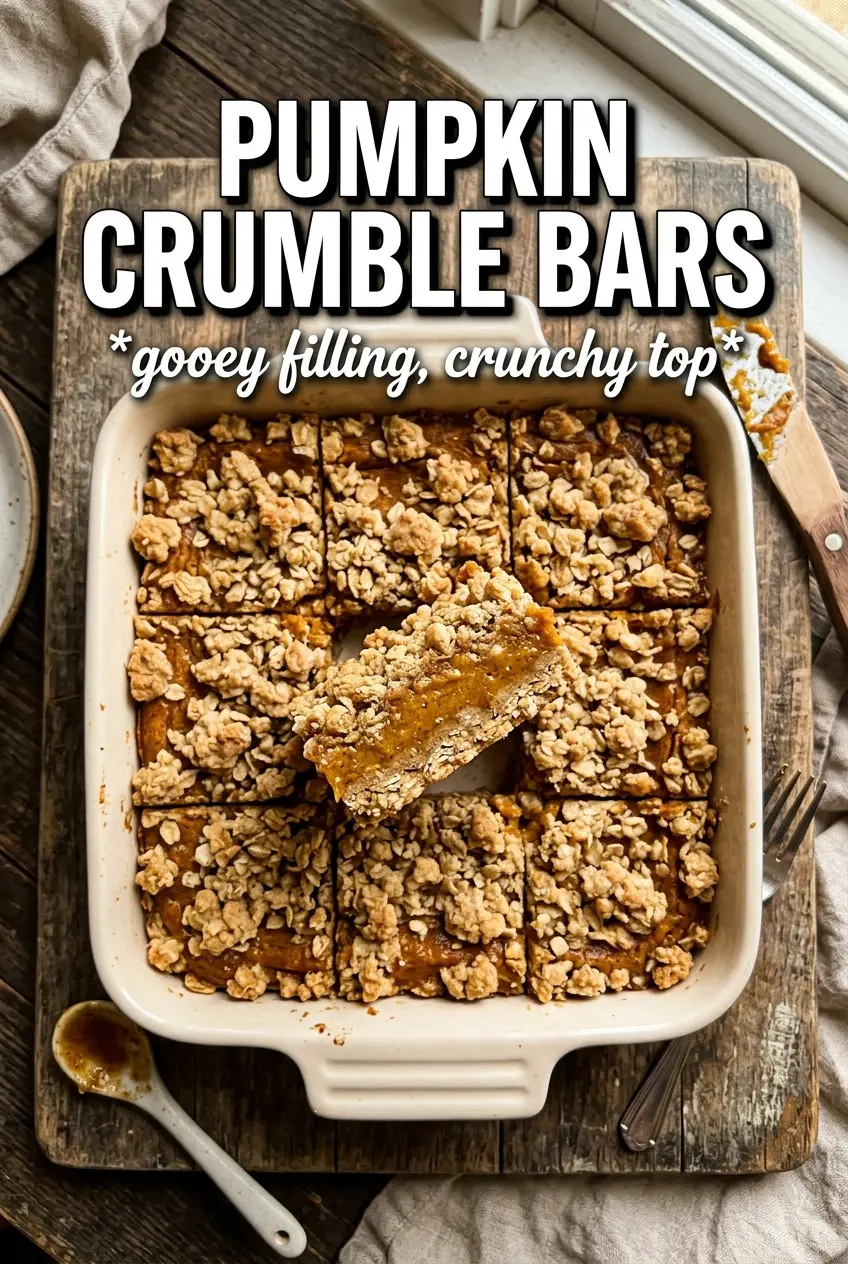
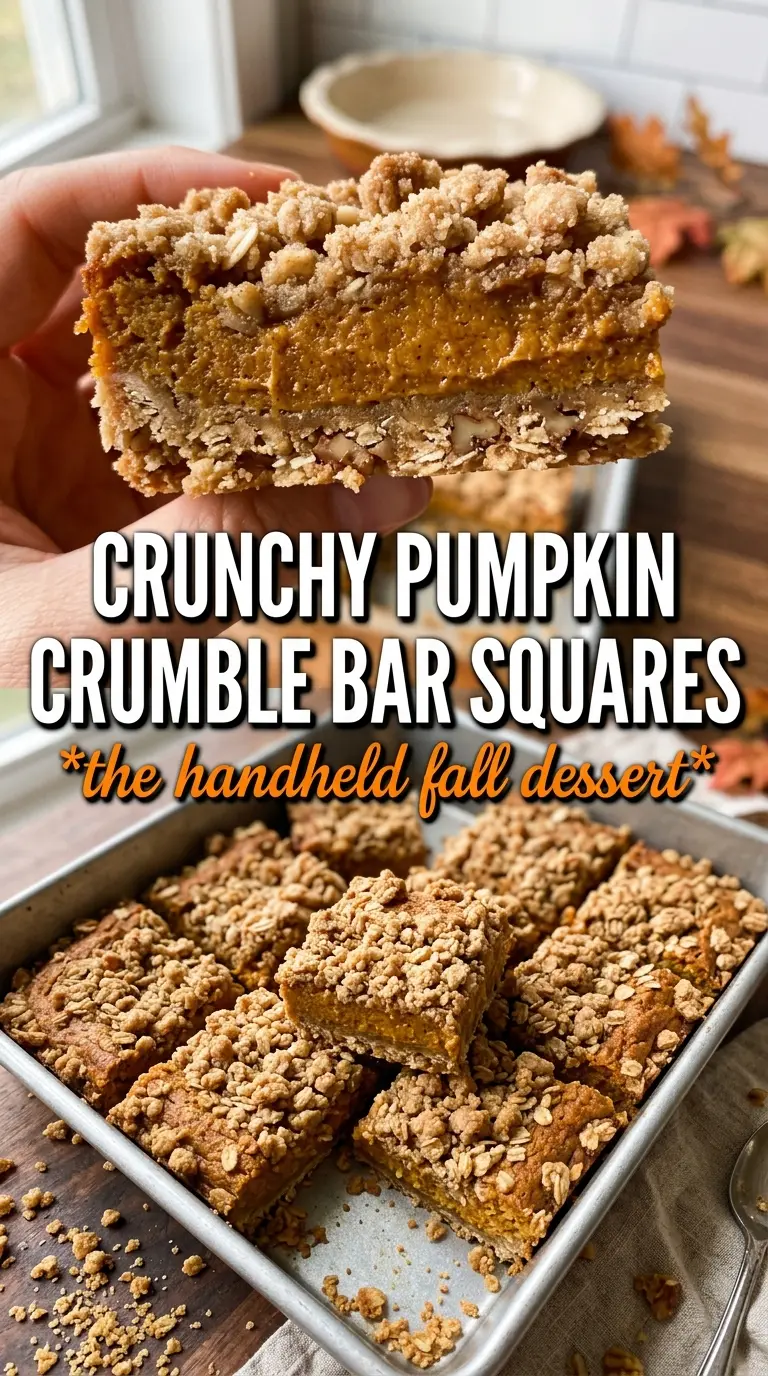
Golden oat crumble, silky pumpkin filling, and a sweet little cinnamon drizzle make these pumpkin crumble bars the kind of dessert that disappears fast from a cooling rack. The bottom bakes into a firm, buttery base, the center stays smooth and spiced, and the crumbly topping gives each square a real bakery-style finish without any fuss.
What makes this version work is the contrast: cold butter gets cut into the oat mixture so the crust stays sandy and crisp instead of dense, and the filling is whisked until completely smooth before it goes over the hot crust. That hot crust helps the layers set together cleanly, so the bars slice neatly once they’ve cooled.
Below you’ll find the little details that matter most, including how to tell when the filling is just set and how to get that drizzle thin enough to stripe across the top without soaking in.
The crumble stayed crisp even after the bars cooled, and the pumpkin layer set up perfectly creamy without turning runny. I took them to a potluck and came home with an empty pan.
Save these pumpkin crumble bars for the moment you want a buttery oat topping, smooth spiced filling, and an easy pan dessert that slices cleanly.
The Crumble Layer Is What Keeps These Bars Sliceable
The biggest mistake with pumpkin bars is a soft bottom that turns pasty under the filling. This recipe avoids that by baking the base before the pumpkin layer goes in, so the oats and flour have a head start on drying out and setting. The result is a bar that holds together without needing a knife wipe after every cut.
Cold butter matters here. When you cut it into the dry mixture, you want small, uneven pieces coated in flour and oats, not a smooth dough. Those little butter pockets melt in the oven and leave behind a crisp, nubby crumble instead of a heavy shortbread block.
- Rolled oats — They give the crust and topping texture that instant oats can’t match. Instant oats soften too quickly and lose that rustic crumble.
- Cold unsalted butter — Cold butter is what creates the crumbly structure. If it starts to soften while you work, chill the bowl for 10 minutes before pressing the base.
- Brown sugar — This brings moisture and a deep caramel note to the crumble. Light or dark brown sugar both work, though dark brown sugar gives a stronger molasses edge.
- Pumpkin puree — Use pure pumpkin, not pumpkin pie filling. Pie filling is already sweetened and spiced, which throws off the texture and can make the bars overly soft.
- Sweetened condensed milk — This is what makes the filling smooth, rich, and set without a water bath. There isn’t a true one-to-one swap here, and evaporated milk won’t give the same sweetness or body.
What Each Ingredient Is Actually Doing in This Recipe
- Primary ingredient (the star) — Quality matters most. Choose the best you can find.
- Cooking medium (oil, butter, or broth) — This carries flavors and prevents dryness.
- Seasonings (salt, pepper, spices, herbs) — Layer flavors so nothing overpowers. Build depth gradually.
- Aromatics (garlic, onion, herbs) — Cook with fat to bloom flavors. Become the foundation.
- Supporting ingredients — Complement the main ingredient without overpowering it.
- Sauce or liquid (if applicable) — Brings flavors together. Balance richness with acid.
- Acid (lemon, vinegar, wine, or other) — Brightens and prevents flat-tasting results.
- Final finish (garnish, glaze, or sauce) — Prevents one-dimensional taste and adds visual appeal.
Building the Bars So the Center Sets Without Going Dry
Mix the Crumble, Don’t Overwork It
Stir the oats, flour, brown sugar, cinnamon, and salt together first, then cut in the butter until the mixture looks like damp gravel with a few larger clumps. If you mix until it becomes a paste, the topping bakes up dense instead of crumbly. Stop as soon as the butter is evenly distributed and the mixture holds together when squeezed.
Press and Par-Bake the Base
Use firm pressure to press about two-thirds of the crumble into the parchment-lined pan. You want a compact layer, especially around the corners, because loose crumbs will sink once the filling goes on. Bake it for the full 10 minutes so it starts to set and won’t absorb too much moisture from the pumpkin layer.
Whisk the Filling Until It’s Completely Smooth
Whisk the pumpkin puree, condensed milk, eggs, spices, salt, and vanilla until the mixture is glossy and uniform. Any streaks of egg white will show up in the finished bars, so keep whisking until the color is even. Pour it over the hot crust right away; that heat helps the layers bind and keeps the bottom from turning soggy.
Finish With the Crumble and Watch the Center, Not the Clock
Scatter the remaining crumble over the filling, then bake until the top is golden and the center still has the slightest wobble. If the whole pan jiggles like liquid, it needs more time. If it puffs hard and cracks all over, it’s gone too far and will bake up dry once cooled.
How to Adapt These Bars Without Losing the Best Part
Gluten-Free Version With a Hearty Crumble
Swap the all-purpose flour for a cup-for-cup gluten-free baking blend. The bars will still hold together, though the crumble may be a little more delicate, so let them cool completely before cutting.
Dairy-Free Version
Use a plant-based butter that’s meant for baking and replace the condensed milk with a dairy-free sweetened condensed milk alternative. The topping won’t taste exactly the same, but the bars will still set and slice well.
Extra-Spiced Filling
If you like a stronger spice edge, add another 1/4 teaspoon of cinnamon or a pinch more ginger. Don’t push the spices too far, though, or they’ll drown out the smooth pumpkin flavor and make the filling taste dusty.
Storage and Reheating
- Refrigerator: Store covered for up to 5 days. The topping softens a little by day two, but the bars still slice cleanly.
- Freezer: Freeze in a single layer until firm, then wrap tightly and store for up to 2 months. Thaw in the refrigerator so the filling doesn’t sweat and soften the crumble.
- Reheating: These are best served chilled or at room temperature. If you want them slightly warm, use a few seconds in the microwave only; too much heat melts the filling and makes the topping lose its texture.