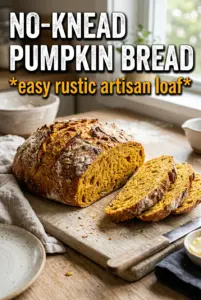
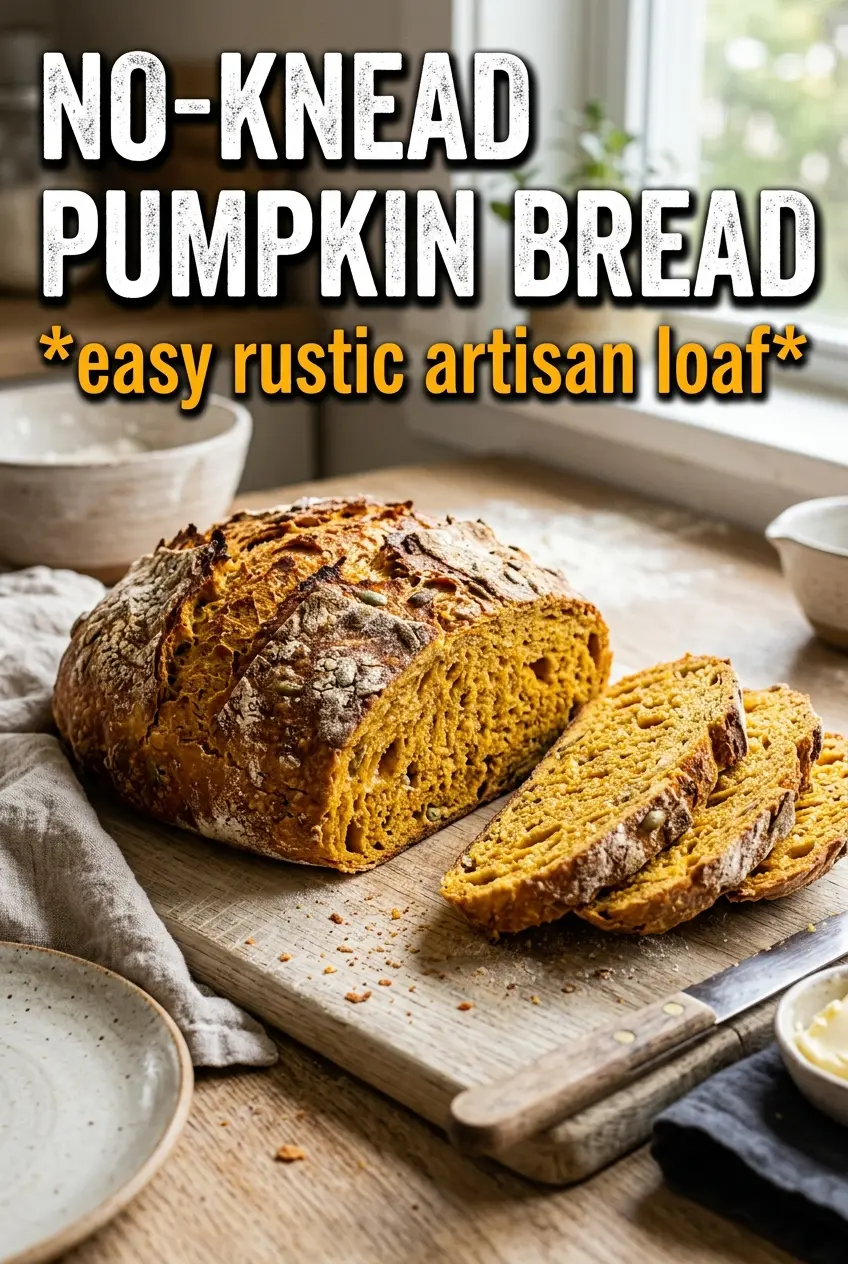
Crackly on the outside, soft and open inside, this no-knead pumpkin bread bakes up with the kind of rustic crust that makes people reach for a second slice before the loaf is even fully cooled. The overnight rest does the heavy lifting here, giving the dough time to develop flavor and structure without any kneading at all. What you get is a loaf that tastes slow-made, but asks almost nothing from you besides a little patience.
The pumpkin puree doesn’t make this dense the way some quick breads can be. Used with bread flour, a small amount of instant yeast, and just enough warm liquid, it creates a sticky dough that relaxes into long fermentation and turns into a loaf with a tender, slightly chewy crumb. The maple syrup or honey rounds out the pumpkin and spice without making the bread sweet in a dessert way. You still get that savory-bakery balance that works at breakfast or alongside soup later in the day.
Below, I’ll walk through the part that matters most: how to handle the dough when it looks too wet to shape, and why the hot Dutch oven gives you that crackled, bakery-style crust instead of a pale one.
The crust came out crackly and deep golden, and the crumb stayed light instead of gummy even after sitting overnight. I loved how the pumpkin and spice were noticeable without making it taste like cake.
Save this no-knead pumpkin bread for the loaf that bakes into a crackly crust and a tender, pumpkin-rich crumb.
The Overnight Dough Is What Gives You That Bakery Crust
This loaf doesn’t work because of a complicated shaping trick. It works because the dough has time to hydrate fully and ferment slowly, which builds flavor and gives the crust enough strength to blister in the oven. If your bread turns out flat or pale, the usual problem is rushing the rest or baking in a pot that hasn’t fully preheated. A hot Dutch oven traps steam at the start, and that steam is what helps the exterior stretch before it sets.
- The dough should look shaggy and sticky, not smooth. That loose texture is normal and is exactly what creates the open crumb after the long rest.
- Instant yeast needs no blooming here. It mixes straight into the dry ingredients and works quietly overnight.
- The pumpkin puree adds color, moisture, and a little body, but it isn’t the main source of liquid. The water and milk keep the dough loose enough to rise properly.
- Let the shaped dough rest before baking if it feels tight. That short pause keeps the loaf from tearing when it hits the Dutch oven.
What Each Ingredient Is Actually Doing in This Loaf
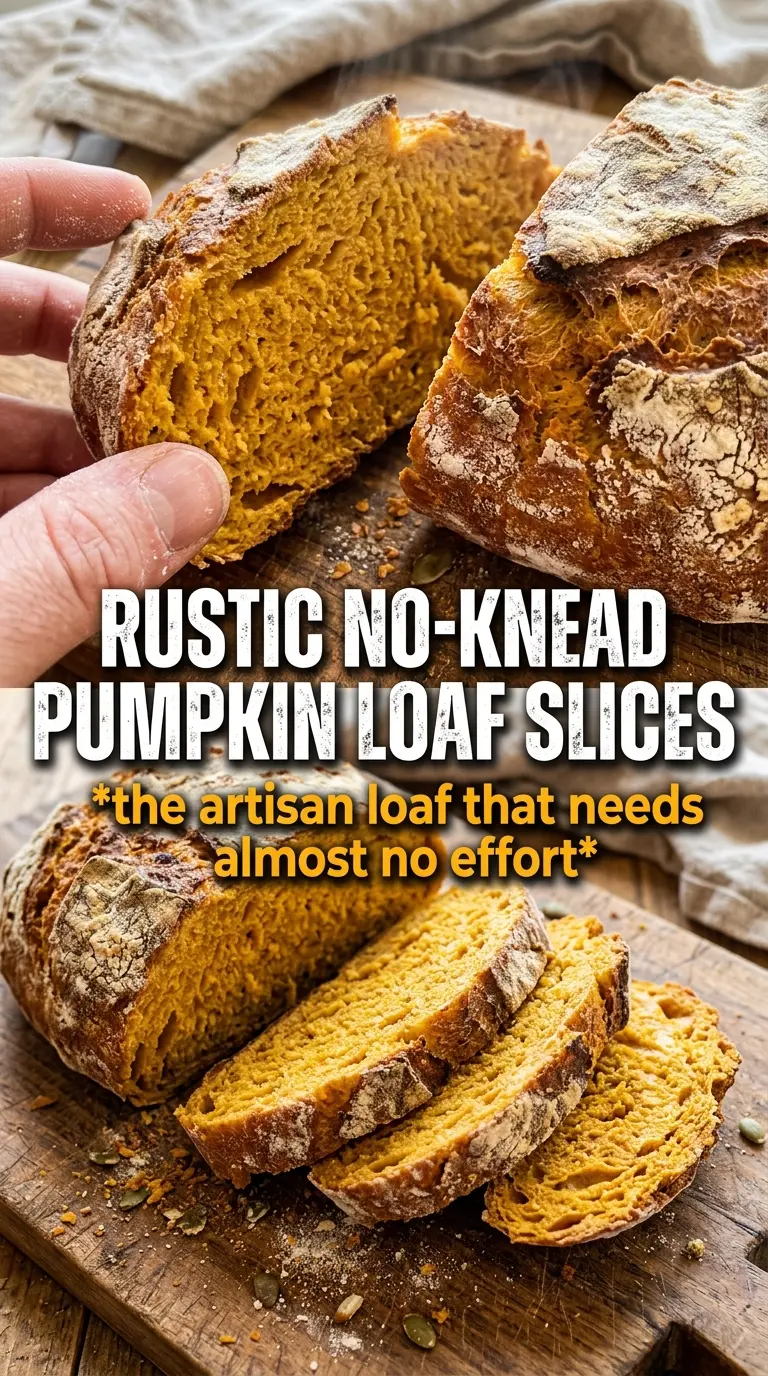
- Bread flour — This gives the loaf enough protein to hold its shape through the overnight rise. All-purpose flour works in a pinch, but the crumb will be softer and the loaf may spread a little more.
- Instant yeast — A tiny amount is enough for the long fermentation. More yeast would rush the rise and flatten the flavor.
- Pumpkin puree — Use plain pumpkin puree, not pumpkin pie filling. The puree deepens the color and adds moisture without making the dough sweet or cakey.
- Warm water and warm milk — These help the dough come together and encourage fermentation. The liquid should feel warm, not hot, or you risk slowing the yeast.
- Maple syrup or honey — Just enough to balance the spice and support browning. Honey gives a rounder flavor; maple leans a little warmer and more autumnal.
- Pumpkin pie spice and cinnamon — They bring the loaf into pumpkin-bread territory without overpowering the bread itself. Fresh spices matter here because the flavor is subtle, not baked under a sugary batter.
Getting the Dough Shaped Without Deflating It
Mixing Until It Looks Rough, Not Smooth
Stir the dough just until the flour disappears and you have a shaggy mass. That messy look is right. If you keep mixing until it feels polished, you’ll tighten the dough before the yeast has had a chance to work, and the bread will bake up denser than it should. Cover it right away and let time do the rest.
Turning and Resting Before the Bake
When the dough is ready, it will be bubbly, stretchy, and loose enough to scrape out with floured hands. Use plenty of flour on the counter and your hands, then shape it gently into a round without pressing all the gas out. The 15-minute rest after shaping helps the dough relax, which makes it easier to lift and gives it a cleaner oven spring.
Baking in a Preheated Dutch Oven
Preheat the pot for the full 30 minutes so the bread starts baking the second it hits the surface. Carefully lower the dough in, cover it, and resist the urge to peek early. If the lid comes off too soon, the loaf loses steam and the crust sets before the interior has a chance to expand.
Finishing for Color and Crust
Once you uncover the pot, the loaf should already be set and lightly puffed. The last 12 to 15 minutes are where the crust turns deeply golden and crisp. If the top still looks pale, give it another couple of minutes; if it darkens too quickly, your oven runs hot and the loaf can come out dry before the center is done.
How to Adapt This Loaf for Different Kitchens and Diets
Dairy-Free Version
Swap the milk for unsweetened oat milk or almond milk. The loaf still browns well and stays tender, though oat milk gives a slightly fuller texture and better color than thinner plant milks.
Maple or Honey, Depending on What You Want
Use honey for a softer, rounder sweetness or maple syrup for a deeper fall-like note. Either one works, but honey browns a touch faster, so watch the final minutes if your oven runs hot.
If You Want a Stronger Spice Finish
Add an extra 1/4 teaspoon cinnamon or a pinch of ginger for a bolder loaf, but don’t overdo it. Too much spice can crowd out the pumpkin and make the bread taste dusty instead of warm.
Storage and Reheating
- Refrigerator: Store sliced or whole in an airtight container for up to 4 days. The crust softens in the fridge, but a quick toast brings it back.
- Freezer: Freeze slices wrapped well for up to 2 months. This bread freezes nicely, and sliced pieces thaw faster than a whole loaf.
- Reheating: Toast slices in a dry skillet, toaster, or 325F oven until warmed through. Microwaving makes the crumb rubbery and dulls the crust, so skip it if you want the bread to taste freshly baked.
Questions I Get Asked About This Recipe
No-Knead Pumpkin Bread
Ingredients
Equipment
Method
- Whisk bread flour, instant yeast, salt, pumpkin pie spice, and cinnamon in a large bowl until evenly combined, then stop when no spice streaks remain.
- Whisk pumpkin puree, warm water, warm milk, and maple syrup or honey, then stir into the dry ingredients until a shaggy dough forms and no dry flour pockets remain.
- Cover the bowl with plastic wrap and rest at room temperature for 12-18 hours until the dough is very bubbly, with visible bubbles across the surface.
- Preheat the oven to 450°F and place a Dutch oven inside to heat for 30 minutes.
- Turn the dough onto a well-floured surface, shape into a ball, and rest for 15 minutes so it relaxes slightly before baking.
- Carefully lower the dough into the hot Dutch oven, cover, and bake at 450°F for 30 minutes until it has noticeably risen.
- Uncover and bake for 12-15 more minutes at 450°F until the crust is deeply golden and looks crackled.
- Cool the loaf on a wire rack for 1 hour before slicing so the interior sets and the crumb stays tender.