Golden, gooey pumpkin spice magic cookie bars hit that sweet spot between nostalgic and just a little unexpected. The base bakes up firm enough to hold, but the middle stays soft and layered, with toasted coconut, melty white chocolate, buttery butterscotch, and pecans tucked into every bite. They slice cleanly once cooled, and that matters here, because the whole charm is in those distinct layers instead of one blended-up square.
This version works because the pumpkin is folded into the condensed milk layer instead of sitting on its own. That keeps the bars rich without turning them wet or cakey. The gingersnap crumb base also gives the pumpkin spice a little backbone, which keeps the sweetness from going flat. I like using sweetened coconut here because it toasts in the oven and adds chew, while the pecans and toffee bits give you little crunchy breaks in all that creaminess.
Below, I’ve included the detail that makes these bars cut neatly every time, plus a few swaps for different pan sizes and ingredient setups. If you’ve ever had magic cookie bars come out greasy, soft in the wrong places, or impossible to slice, the fixes here will help.
The layers set up beautifully and the bars held together once cooled. I loved how the pumpkin spice came through without making the whole thing taste like pie filling, and the gingersnap crust gave it such a good bite.
Save these pumpkin spice magic cookie bars for when you want gooey layers, a gingersnap crust, and that caramel-like magic top.
The Layer Order That Keeps These Bars Gooey, Not Greasy
The biggest mistake with magic cookie bars is dumping everything in and hoping the sweetened condensed milk will behave on its own. It won’t. When the pumpkin puree is whisked directly into the condensed milk and spice, it spreads more evenly and bakes into a custardy layer instead of pooling in pockets. That gives you the soft center everyone wants without leaving wet spots that collapse when you cut the bars.
The other piece that matters is the crumb base. Pouring the melted butter into the pan first helps the crumbs absorb fat evenly, which keeps the bottom from turning dusty or dry. Press the toppings down gently after layering them so they nestle into the filling; if you press too hard, the bars pack dense and lose that sticky, layered texture.
What Each Layer Is Actually Doing Here
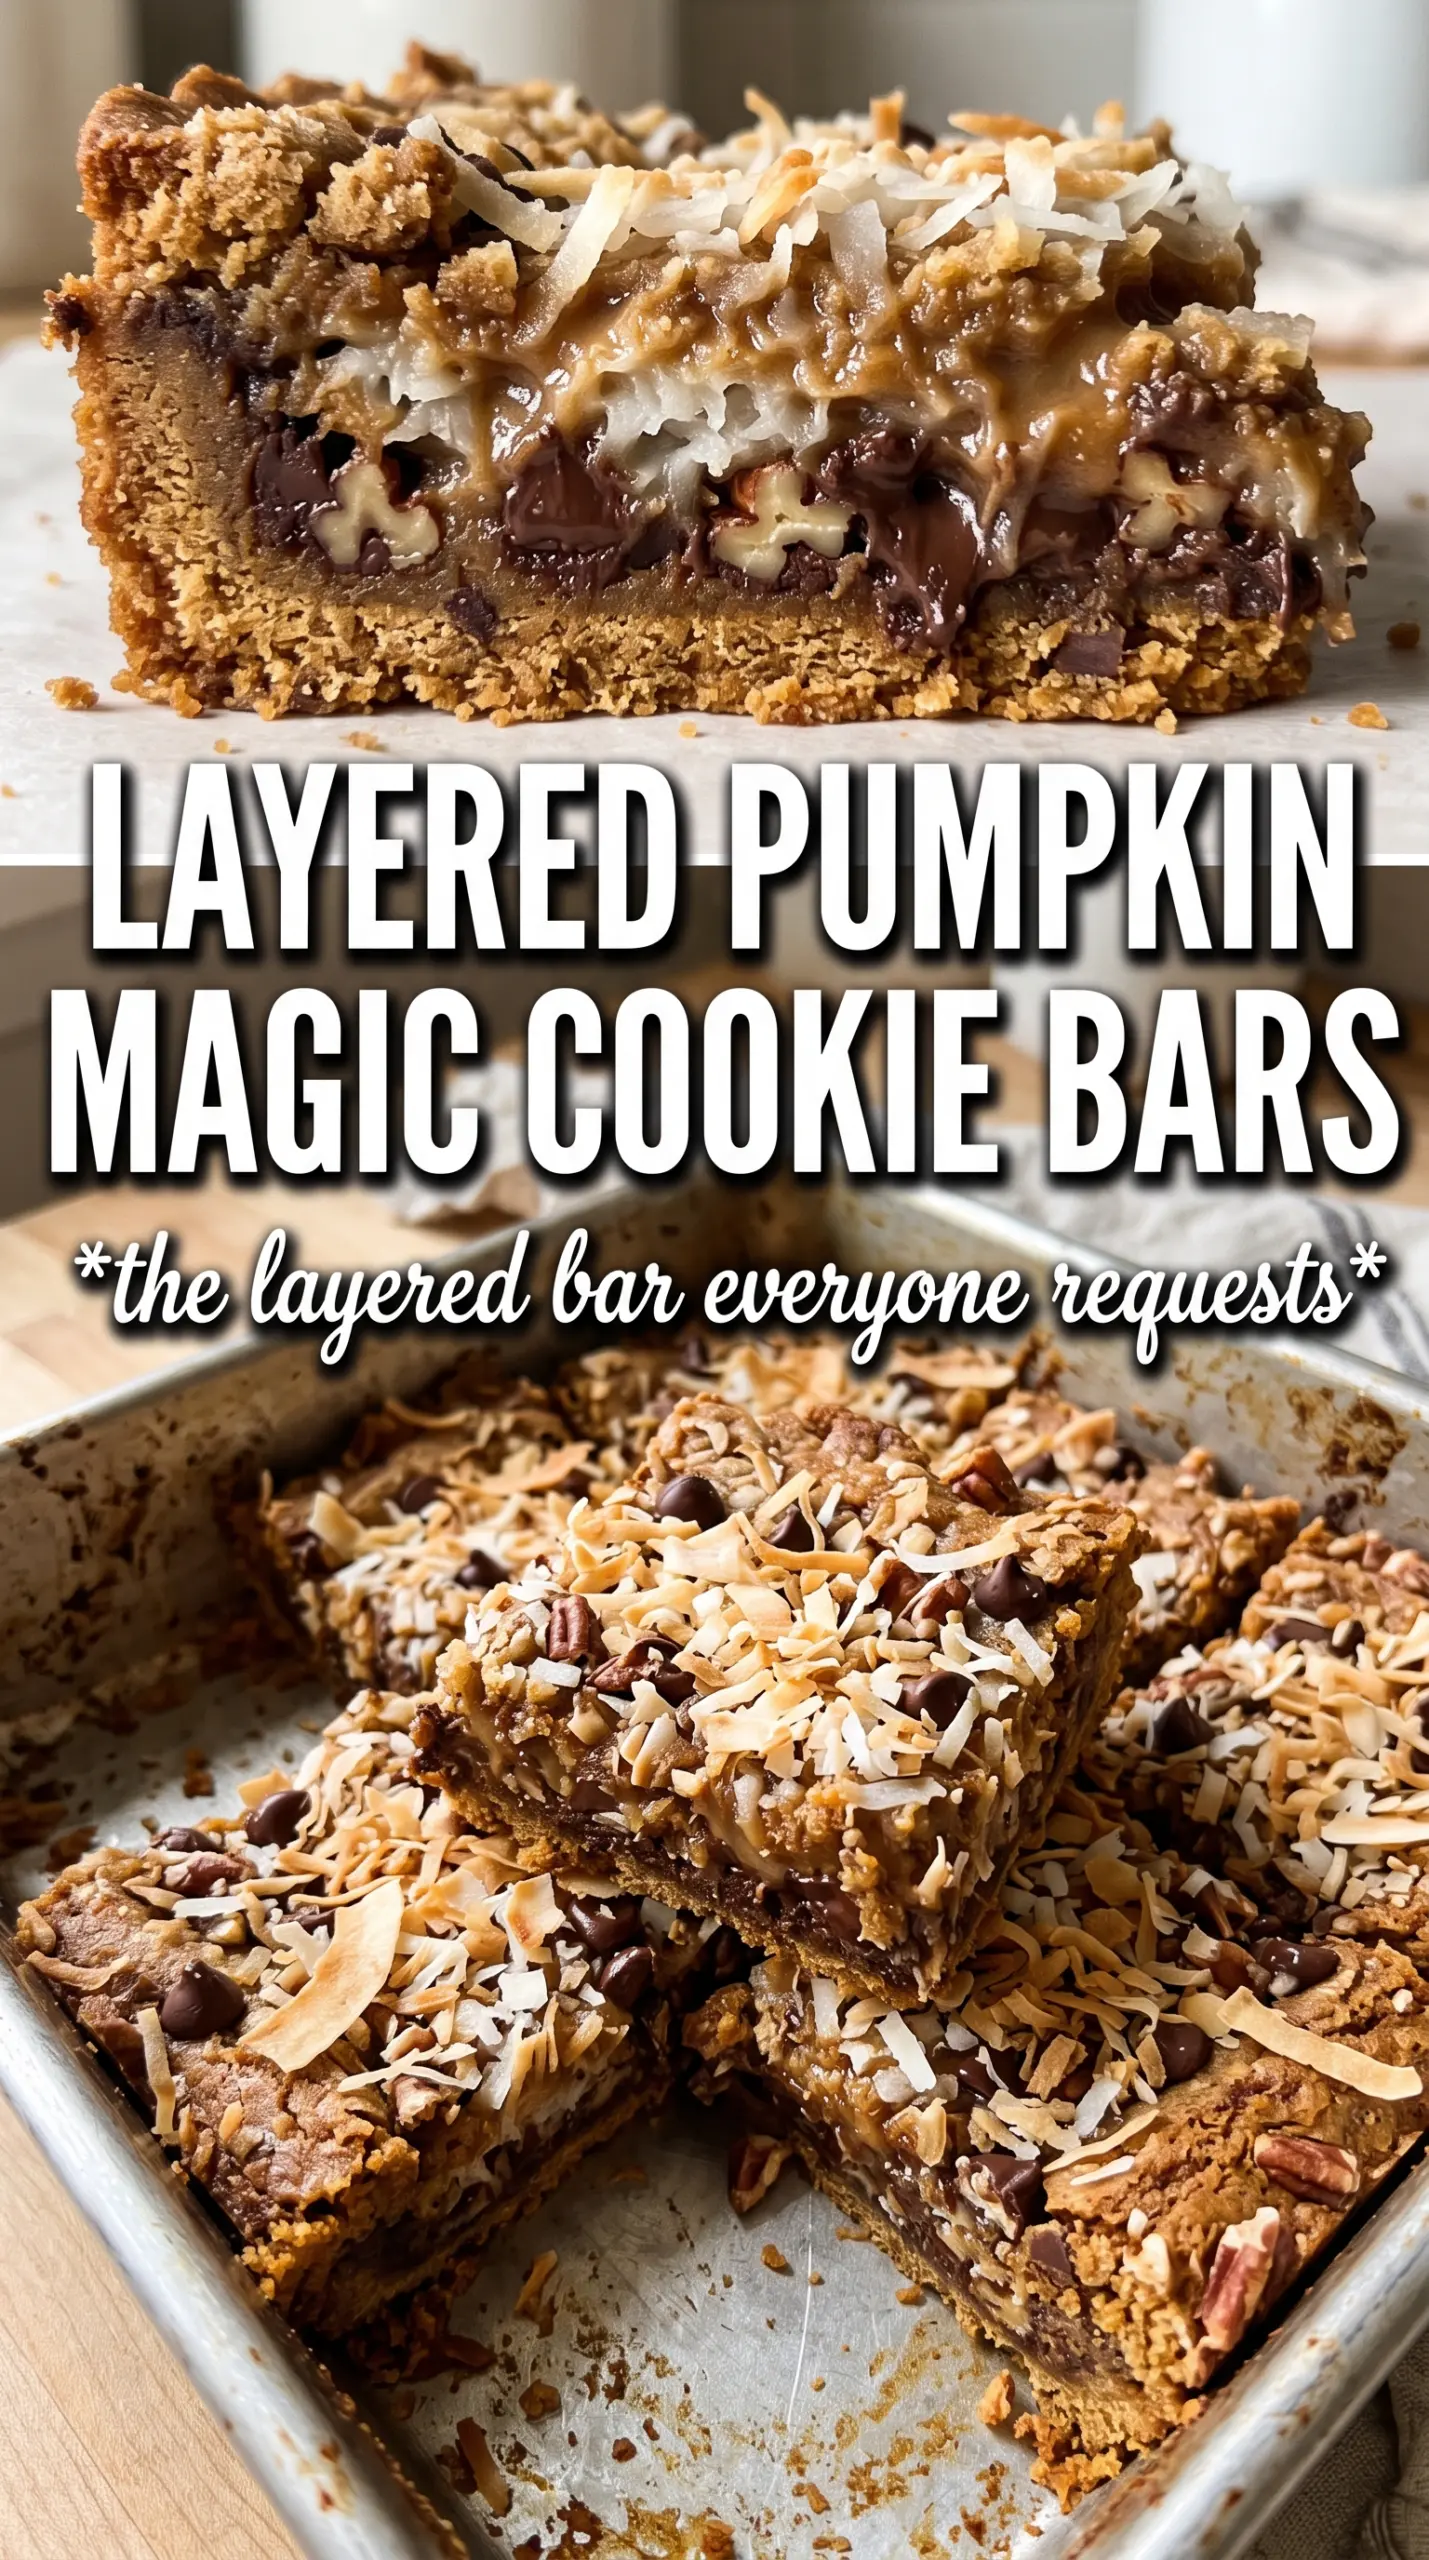
- Gingersnap crumbs or graham cracker crumbs — Gingersnaps give the crust a spicier edge that plays nicely with pumpkin. Graham crackers work if that’s what you have, but the bars will taste sweeter and a little less bold. Crush them fine enough that the base packs together, but not to powder.
- Sweetened condensed milk — This is the binder and the candy-like backbone of the whole pan. There isn’t a true substitute if you want the same chewy, set texture. If you use evaporated milk instead, the bars won’t thicken the same way.
- Pumpkin puree — Use pure pumpkin, not pumpkin pie filling. Pie filling already has sugar and spices added, which throws off the sweetness and can make the center too loose. Give it a quick whisk with the condensed milk so it disappears into the layer instead of sitting in streaks.
- White chocolate chips, butterscotch chips, and toffee bits — These create the sweet, caramelized top that makes the bars taste like more than a standard seven-layer dessert. White chocolate softens the pumpkin spice; butterscotch deepens the buttery note; toffee bits add crunch. Don’t reduce these too much or the bars lose their candy-bar feel.
- Pecans — They bring the needed contrast against all that soft sweetness. Roughly chopped is the right size, because fine pieces disappear and whole halves won’t spread evenly. Walnuts can step in if needed, but the flavor will be sharper and less buttery.
- Sweetened shredded coconut — This toasts on top and gives the bars their chewy pull. Unsweetened coconut works in a pinch, but the bars will be less lush and more dry at the edges. Spread it evenly so it doesn’t clump into one bready layer.
Building the Pan So the Center Sets Cleanly
Starting with the buttery crumb base
Pour the melted butter into the 9×13 pan first, then scatter the crumbs over it and press them into an even layer. You’re looking for a damp, sandy crust that holds together when tapped. If the crumbs still look dry in spots, they won’t bind properly in the oven, and the bars can crumble when sliced.
Whisking the pumpkin layer until it disappears
Mix the condensed milk, pumpkin puree, pumpkin pie spice, and cinnamon until the mixture looks smooth and uniform. It should pour like thick cream, not sit in streaks or separate. If you leave little ribbons of pumpkin in the bowl, those spots bake differently and can stay soft after the rest of the pan sets.
Layering the toppings without packing them down
Sprinkle the coconut, chips, pecans, and toffee bits evenly across the top, then press lightly with your hands. The goal is to help the toppings settle into the filling, not bury them. If you mash the layers hard, the top turns dense and the bars lose that loose, candy-shop feel.
Baking until the edges color and the center gives a little
Bake until the edges are golden and the center looks set but still has a slight softness when you nudge the pan. The top will look glossy while it’s hot; that’s normal. Pulling them out too early leaves a runny middle, but baking until the whole surface looks dry can push the bars past gooey and into firm, candy-like squares.
Cooling all the way before slicing
Let the pan cool completely before cutting. This is where the bars finish setting, and it’s the difference between clean squares and a sticky pile on the board. If you want neater edges, chill the pan for a short stretch after it reaches room temperature, then use a sharp knife wiped clean between cuts.
How to Adjust These Bars for Different Pans and Pantries
Gluten-Free Crust Swap
Use certified gluten-free gingersnap-style cookies or gluten-free graham crackers for the base. The texture stays close to the original as long as the crumbs are fine and evenly coated with butter. You’ll lose a little snap if the cookie is very dry, so press the base firmly before adding the filling.
Dairy-Free Version
This one takes a little more effort because sweetened condensed milk is doing the heavy lifting. Use a dairy-free sweetened condensed milk made for baking, plus dairy-free white chips and butterscotch-style chips if you can find them. The bars will taste a touch less rich, but the structure can still work if you bake them until the center is set and let them cool fully.
Swapping the Nuts
Walnuts, chopped almonds, or even pepitas can take the place of pecans. Pecans give the softest, most buttery contrast, while almonds bring more crunch and pepitas add a slightly earthy note. Keep the amount the same so the topping still spreads evenly across the pan.
Storage and Reheating
- Refrigerator: Store in an airtight container for up to 5 days. The bars firm up in the fridge, which actually makes them easier to slice cleanly.
- Freezer: These freeze well. Wrap individual bars tightly and store them in a freezer bag for up to 2 months.
- Reheating: Let frozen bars thaw in the fridge or on the counter, then warm briefly if you want the chips slightly soft again. Don’t microwave too long or the filling turns oily and the topping goes sticky.
Answers to the Questions Worth Asking
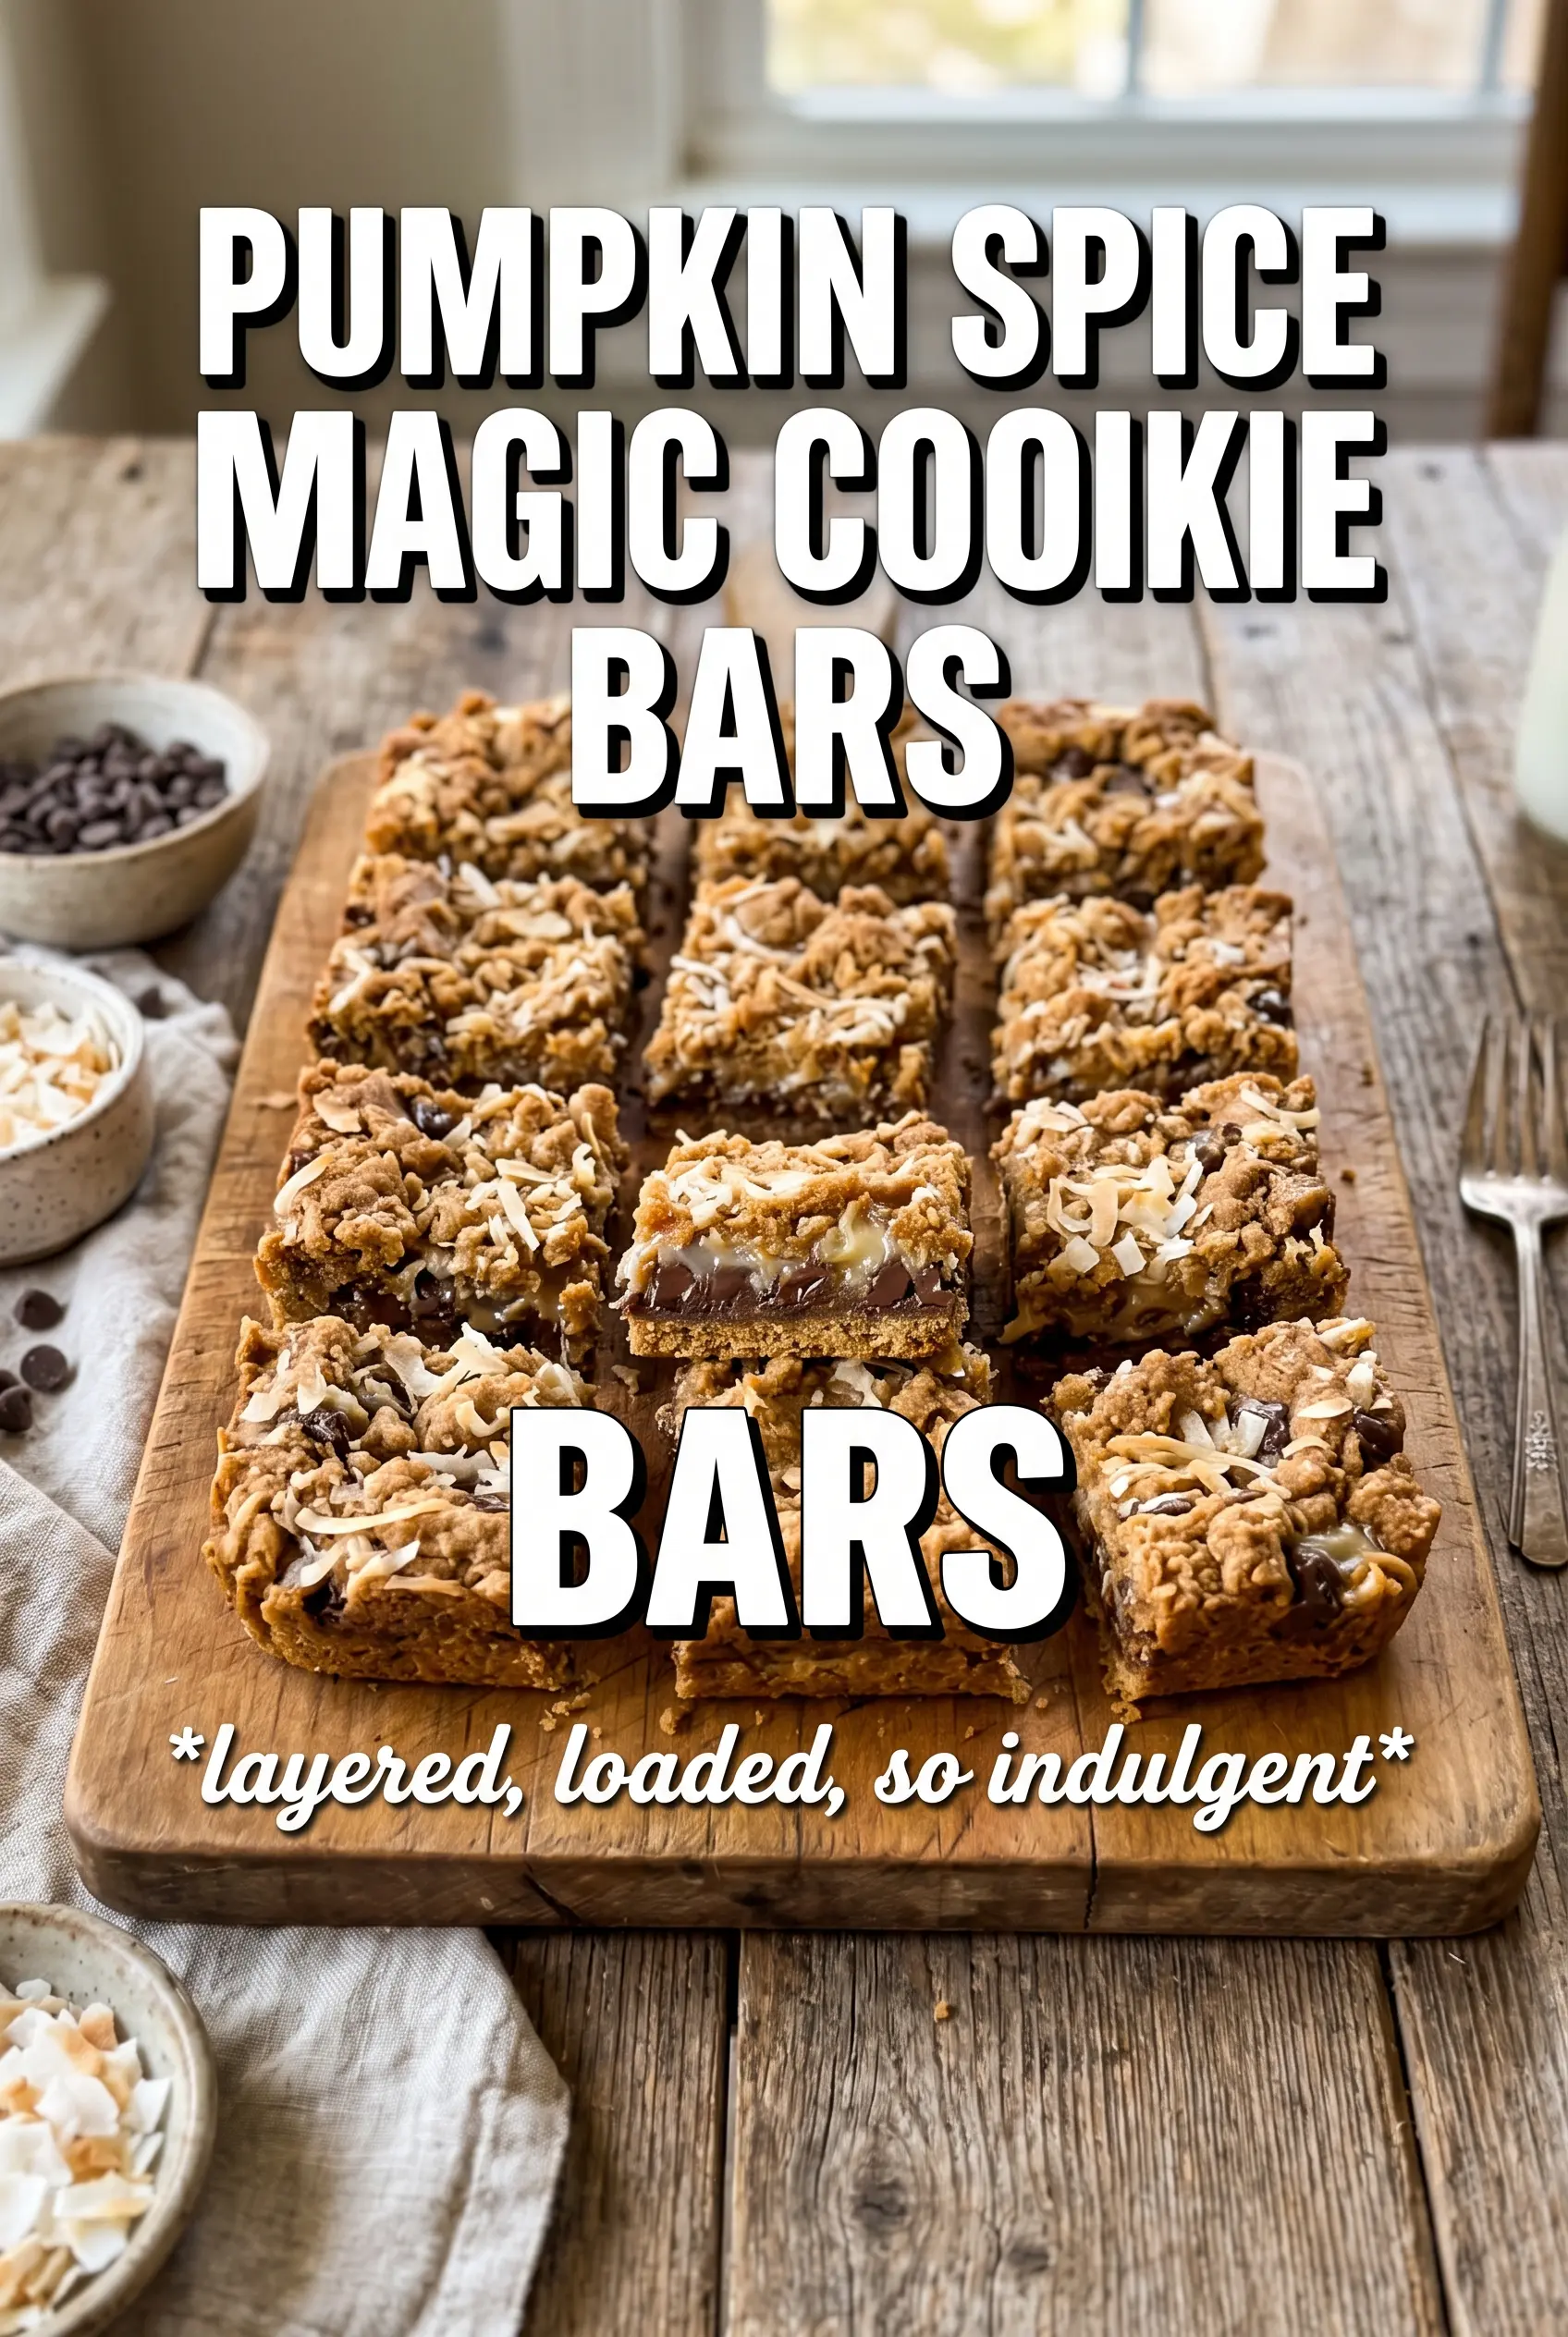
Pumpkin Spice Magic Cookie Bars
Ingredients
Equipment
Method
- Preheat oven to 350F. Pour melted butter into a 9x13 pan.
- Sprinkle gingersnap or graham cracker crumbs evenly over the butter. Press lightly to help the layer adhere.
- Whisk sweetened condensed milk, pumpkin puree, pumpkin pie spice, and cinnamon together until smooth. Pour evenly over the crumbs.
- Layer sweetened shredded coconut, white chocolate chips, butterscotch chips, pecans, and toffee bits evenly over the top. Distribute so every bite has mix-ins.
- Press down gently with your hands. This helps the top layers set and prevents gaps.
- Bake for 30-35 minutes at 350F until edges are golden and the center is set. Look for a lightly firm middle that no longer jiggles.
- Cool completely before cutting into bars. Use a sharp cut to keep the layers distinct.