Caramel crumb bars hit that sweet spot between chewy and crisp: a buttery oat crust on the bottom, a thick layer of glossy caramel in the middle, and a golden crumble on top that bakes up with just enough bite. The best part is the contrast. They slice cleanly once cooled, but the center stays soft and gooey enough to give every bite a little pull.
This version works because the base and topping are made from the same mixture, which keeps the texture consistent and gives you those sandy, nubbly crumbs that bake into something sturdy instead of greasy. The caramel is cooked to a true soft-ball stage, so it sets up firmly without turning hard or sticky in a bad way. A little flaky salt on top keeps the sweetness in check and makes the caramel taste fuller, not flatter.
Below, I’ve included the little timing and texture cues that matter most, plus a few swaps for when you need to work with what’s already in the pantry. If bars have ever fallen apart on you, the cooling note here is worth paying attention to.
The caramel set up perfectly and the bars held their shape once they cooled. I used the flaky salt on top and it kept the whole pan from tasting too sweet. My husband kept sneaking back for “just one more” after dinner.
Save these caramel crumb bars for the days when you want a gooey caramel center, buttery oat crumble, and a pan of bars that slices cleanly after cooling.
The Caramel Needs to Reach the Right Stage, Not Just Look Thick
Bars like these fail for one of two reasons: the caramel never sets, or it cooks too far and turns hard after cooling. The trick is not to stop when it looks bubbling and glossy. It needs to reach 235°F so it firms up into that soft, chewy layer that holds together without turning tacky on the knife.
The other thing that matters is pouring the caramel over the base while the base is still hot. That helps the layers fuse instead of sliding around separately after baking. If you wait too long, the bottom cools and the caramel can sit on top like a lid instead of becoming part of the bar.
What Each Ingredient Is Doing in the Crumble and Caramel
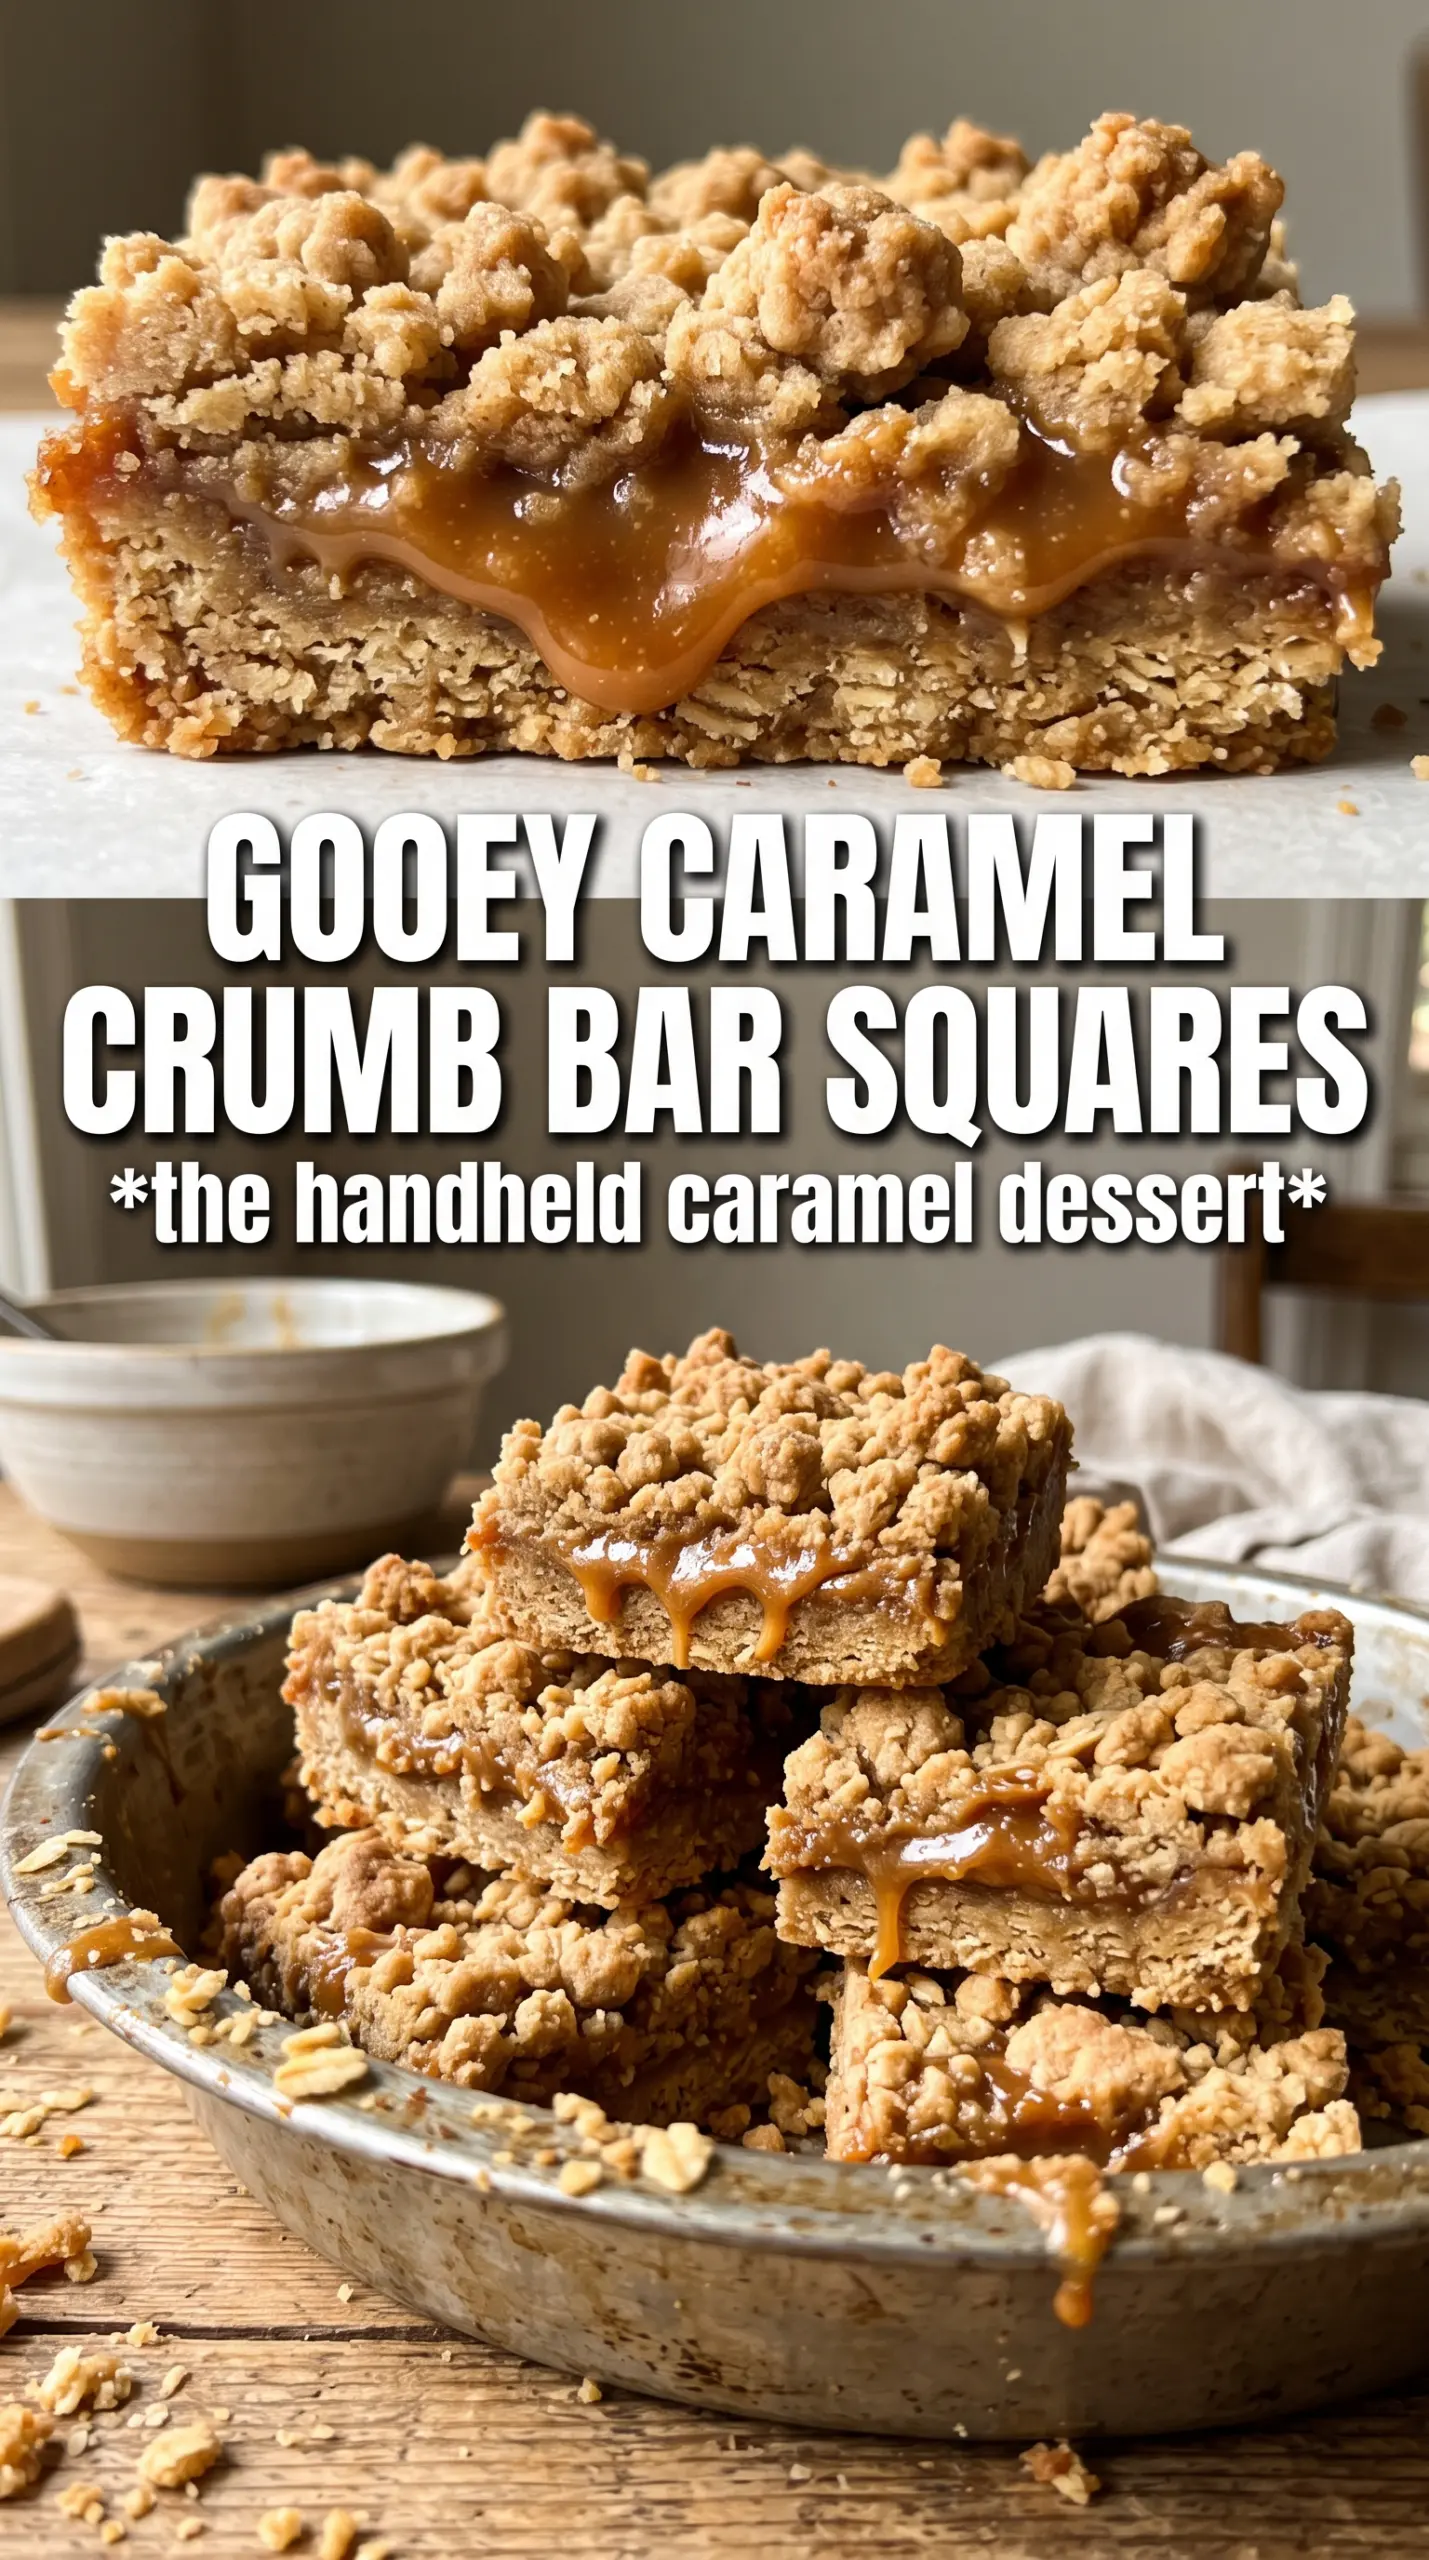
- Rolled oats — These give the bars their nubby, hearty texture and help the crumble stay crisp instead of turning cakey. Quick oats will work in a pinch, but they pack tighter and lose some of that distinct crumb.
- Cold unsalted butter — Cold butter is what creates the sandy, clumpy topping once it’s cut into the dry ingredients. If the butter gets soft before baking, the crumble melts instead of holding those rough crumbs that bake into a real topping.
- Brown sugar — This does double duty: it sweetens and keeps the bars moist with that molasses note that belongs with caramel. Light brown sugar works fine here, but dark brown sugar will push the bars deeper and more molasses-heavy.
- Light corn syrup — This helps the caramel stay smooth and glossy so it doesn’t crystallize. I wouldn’t swap it out unless you have to; it’s one of the reasons the filling stays soft instead of grainy.
- Heavy cream — This loosens the caramel just enough so it pours neatly and bakes into a fudgy layer. Half-and-half can work, but the filling won’t be quite as rich or stable.
- Flaky sea salt — Don’t skip it. A light finish of salt sharpens the caramel and keeps each bite from feeling flat and one-note.
Building the Layers So the Bars Slice Cleanly
Make the Crumble First
Start by mixing the dry ingredients, then cut in the cold butter until the mixture looks like damp crumbs with a few larger pieces scattered through it. You want it to clump when squeezed, but it shouldn’t form a dough. If the butter softens too much, the crumbs bake into a dense sheet instead of a tender base and topping.
Press and Partially Bake the Base
Use about two-thirds of the mixture for the pan and press it down firmly and evenly. A flat-bottomed measuring cup works well here because it packs the layer without tearing it. Bake it just until it looks set and lightly matte on top; underbaked crumbs can sink into the caramel, but overbaking the base makes the finished bars dry at the bottom.
Cook the Caramel Until It Reaches 235°F
Melt the butter and brown sugar over medium heat, then add the cream and corn syrup and cook until the thermometer reads 235°F. Stir often enough to keep the sugar from scorching on the bottom, but don’t whisk aggressively or you’ll splash hot caramel up the sides of the pan where it can crystallize. As soon as it reaches temperature, pull it off the heat and stir in the vanilla and salt.
Finish with the Top Crumble and a Full Cool
Pour the caramel over the hot base, scatter the remaining crumble over the top, and bake until the top is golden and the caramel is bubbling at the edges. The bars need to cool completely before cutting, and that part matters more than people think. If you slice too early, the caramel will ooze out and the layers will collapse instead of setting into neat bars.
Three Good Ways to Tweak These Bars Without Losing the Texture
Gluten-Free Version
Use a 1:1 gluten-free all-purpose flour blend in place of the regular flour, and check that your oats are certified gluten-free. The bars will still hold together, but the crumble may be a little more delicate when warm, so give them extra cooling time before lifting them from the pan.
Dairy-Free Version
Swap in a good plant-based butter for both the crumble and the caramel, then use full-fat canned coconut cream in place of the heavy cream. The caramel will taste a little different, with a faint coconut note, but the texture still comes out rich and sliceable.
Extra Nutty Crumble
Replace up to half a cup of the oats with chopped pecans or walnuts for more crunch and a toasty finish. The bars get a little more fragile at the edges, but the nutty flavor plays nicely with the caramel and makes the topping taste deeper.
Storage and Reheating
- Refrigerator: Store in an airtight container for up to 5 days. The caramel firms up in the fridge, so the bars taste a little chewier straight from cold.
- Freezer: These freeze well. Wrap the cut bars individually and freeze for up to 2 months, then thaw in the fridge so the caramel doesn’t weep as it warms.
- Reheating: If you want a softer bite, let a bar sit at room temperature for 20 to 30 minutes. Microwaving works, but use very short bursts or the caramel can go runny and the crumble can turn greasy.
Questions I Get Asked About This Recipe
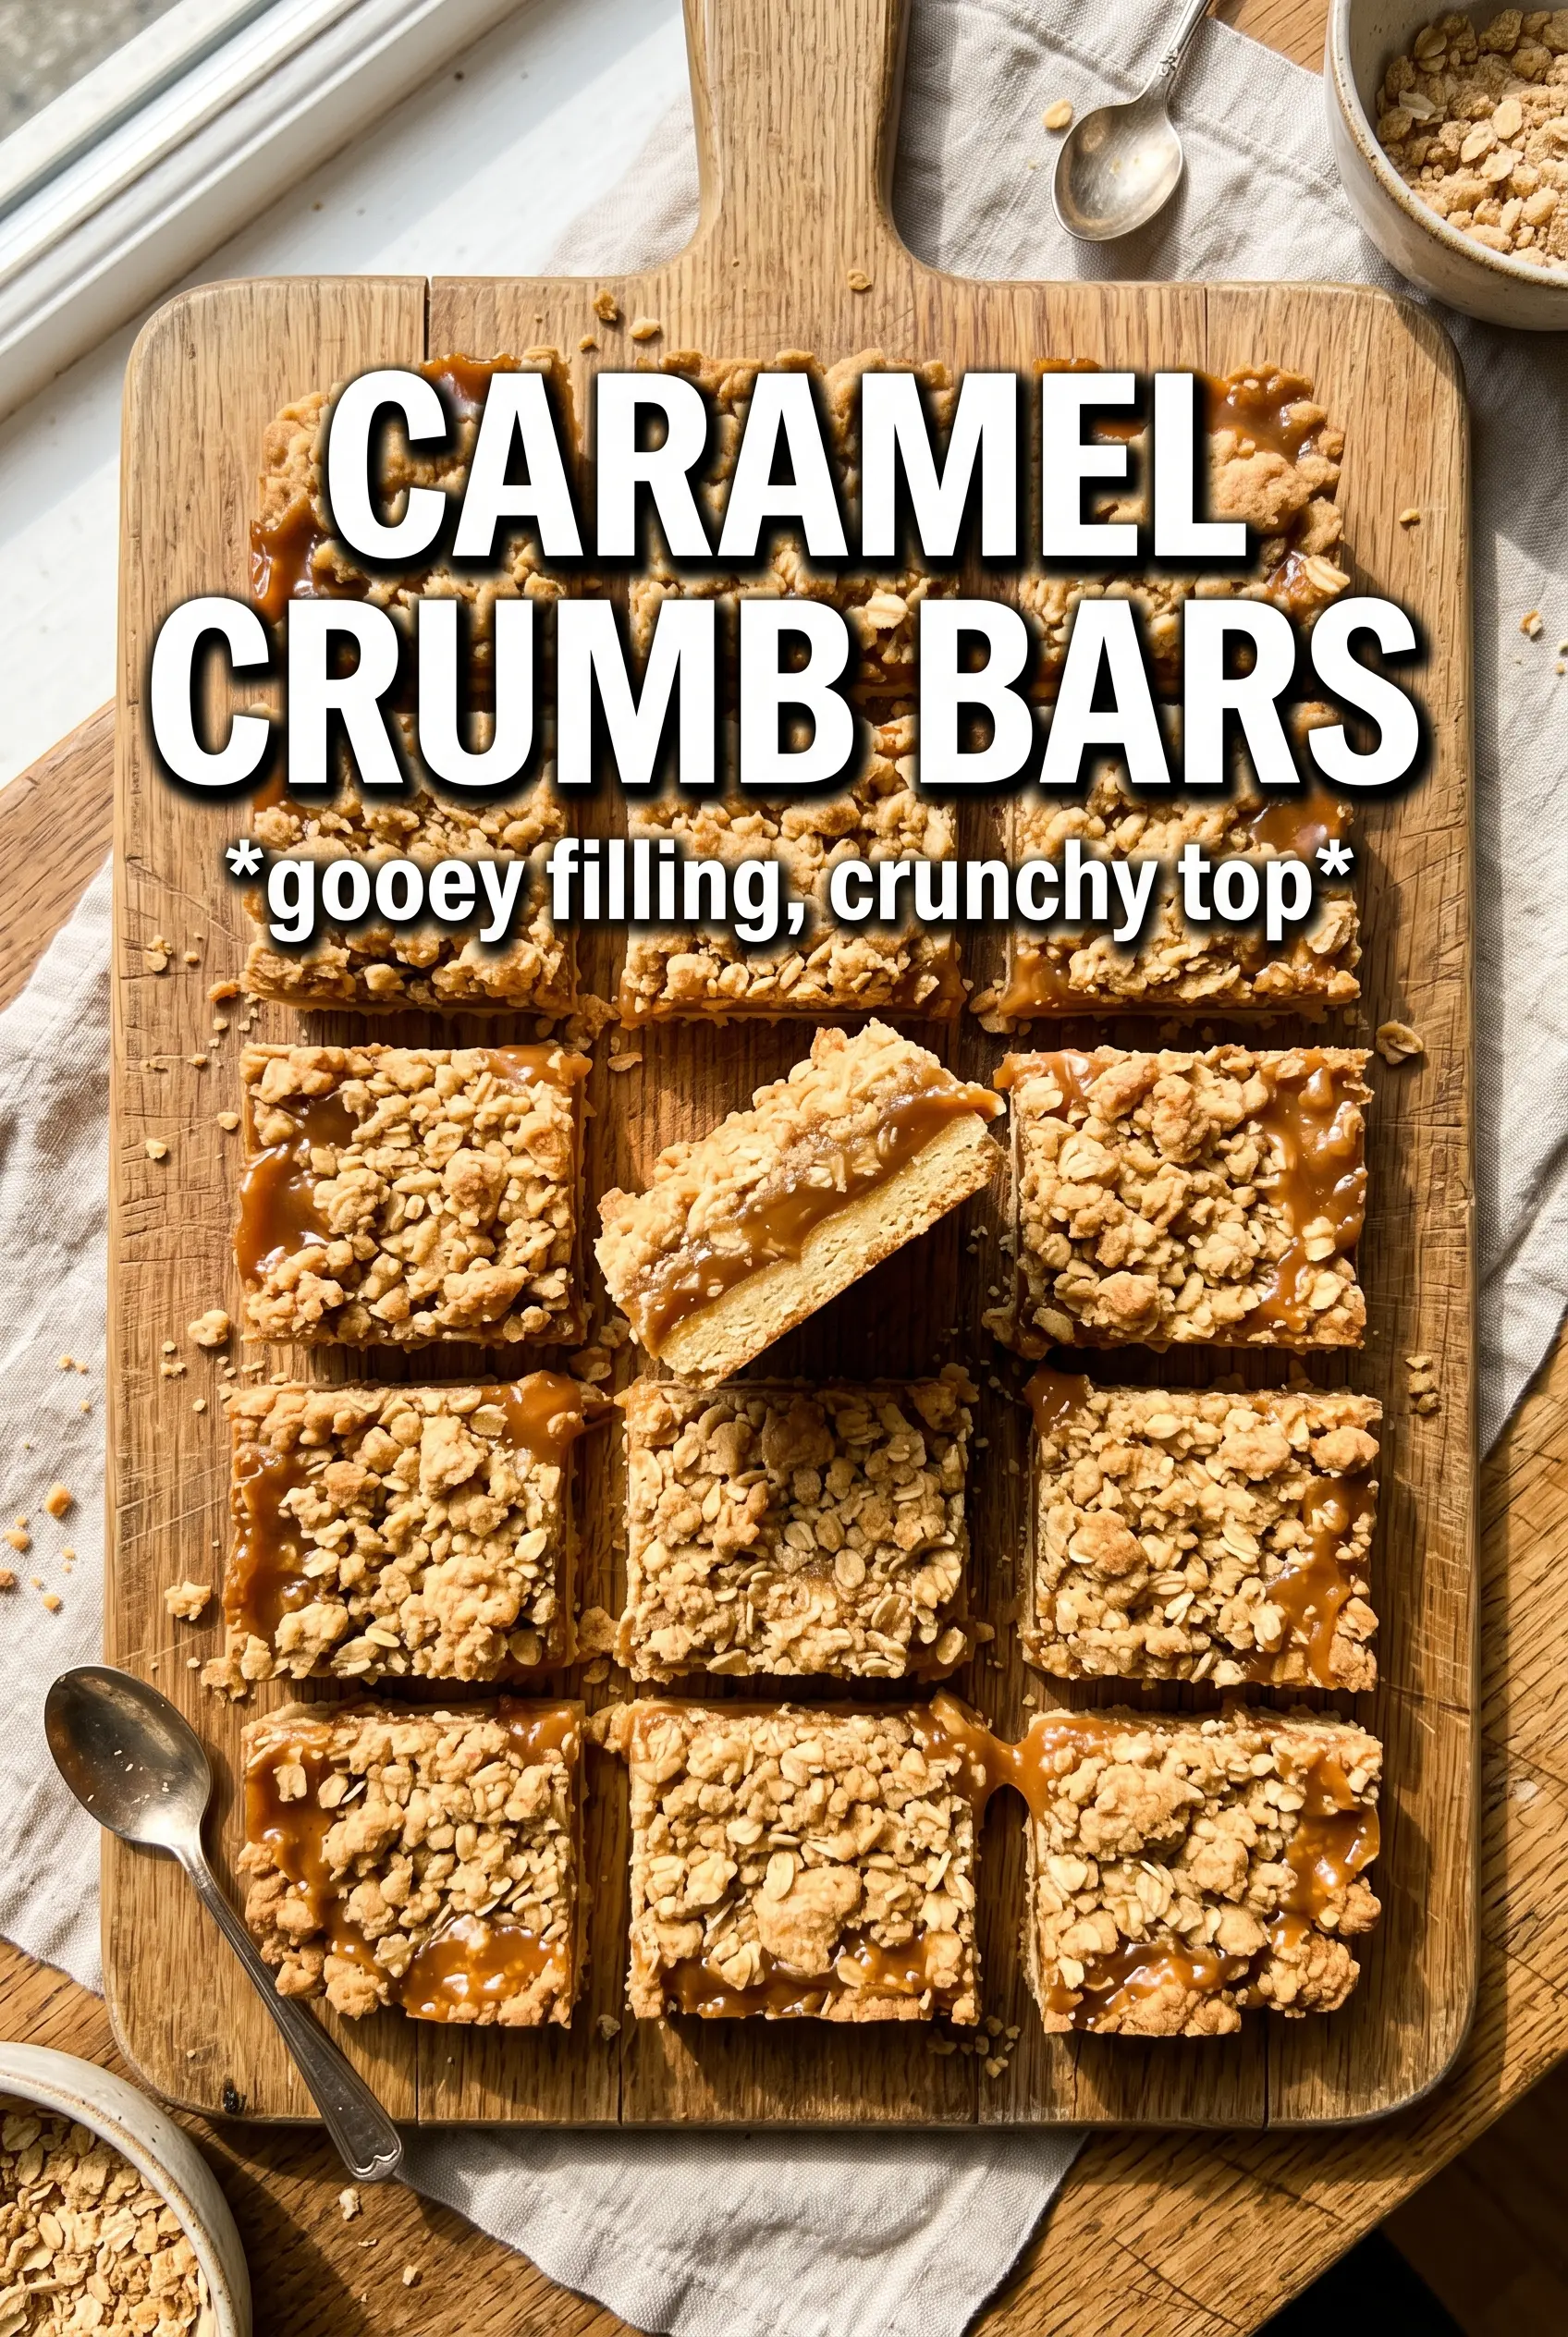
Caramel Crumb Bars
Ingredients
Equipment
Method
- Preheat the oven to 350F, then line a 9x13 pan with parchment for easy lifting. Keep the pan ready so the hot base can be topped right after baking.
- Combine all-purpose flour, rolled oats, brown sugar, cinnamon, baking soda, and salt, then cut in the cold cubed butter until crumbly. Stop when the mixture looks like coarse crumbs with no large butter chunks.
- Press 2/3 of the crumble firmly into the prepared pan. Bake for 12 minutes, until the edges look set and lightly golden.
- Melt unsalted butter and brown sugar over medium heat until smooth. Stir steadily as it thickens and looks glossy.
- Add heavy cream and light corn syrup, then continue cooking until the caramel reaches 235F. Watch the thermometer closely as the color deepens and bubbles become more active.
- Remove from heat, then stir in vanilla and salt. The caramel should look thick and pourable before you spread it.
- Pour the hot caramel over the baked base. Spread to the corners, keeping the layer even so it bakes uniformly.
- Crumble the remaining oat mixture over the caramel in an even layer. Leave small gaps so the caramel can bubble through as it bakes.
- Bake for 18-20 more minutes at 350F until the top is golden. The caramel should be visibly set around the edges even if the center is slightly softer.
- Sprinkle flaky sea salt on top while the bars are warm. Let the salt adhere for a noticeable crunch.
- Cool completely before cutting, so the caramel firms up and slices cleanly. For neat bars, wait until fully room temperature before lifting and portioning.