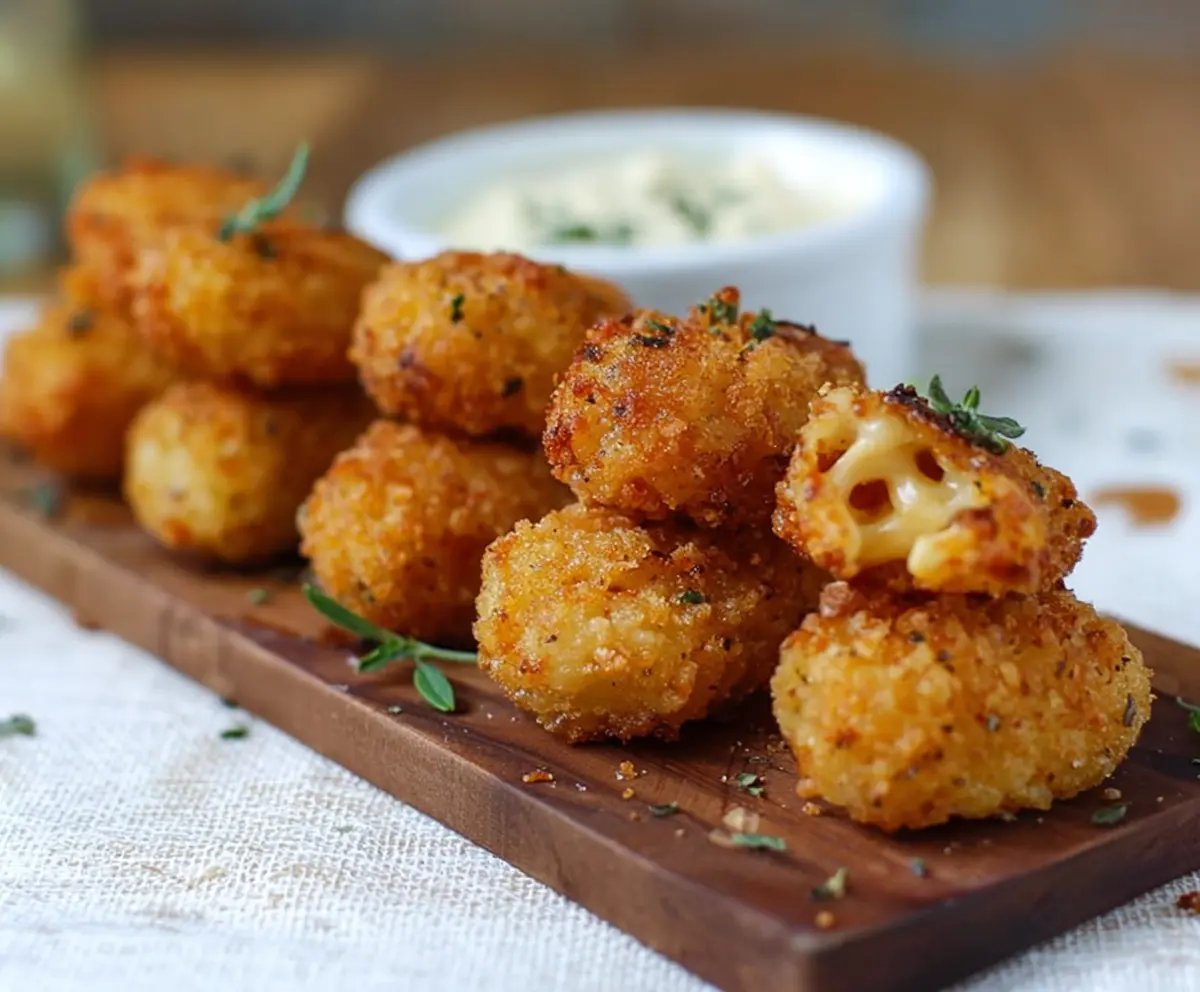
These Smoked Gouda Mac and Cheese Bites are a cheesy treat you won’t want to miss! They combine creamy mac and cheese with the rich flavor of smoked Gouda, all crispy on the outside.
They’re perfect for snacking or as a party appetizer. I love making a big batch, so I can surprise my friends. Just warning you, they disappear fast! 😋
Key Ingredients & Substitutions
Pasta: Elbow macaroni is the classic choice for mac and cheese, but you can also use shells or cavatappi for fun shapes. If gluten-free, try gluten-free pasta alternatives.
Smoked Gouda: This cheese gives a unique smoky flavor. If you can’t find it, try using regular Gouda or a mix of cheddar and a bit of liquid smoke for a similar taste.
Cheddar Cheese: Sharp cheddar adds great flavor. You can switch it with mild cheddar or even Monterey Jack for a creamier bite if you prefer less sharpness.
Panko Breadcrumbs: They provide a nice crunch. Regular breadcrumbs can be a substitute, but panko really does make a difference in texture. To make it gluten-free, use gluten-free panko.
Eggs: These help bind the mixture. If you want to avoid eggs, you can use a flaxseed meal or a commercial egg replacer to help hold everything together.
How Do I Get My Mac and Cheese Bites Crispy on the Outside?
Getting that delightful crispy coating is key! Follow these steps for stellar results:
- After shaping the mac and cheese into balls, make sure to chill them thoroughly. This helps them hold their shape during frying.
- Before frying, make sure to coat the bites well in both the egg and breadcrumb mixture. This double coating enhances the crunch!
- Heat the oil properly before adding the bites. If the oil isn’t hot enough, they will soak up oil instead of frying nicely.
Cooking them in batches also helps keep the temperature consistent, ensuring they fry evenly. If using a thermometer, aim for 350°F (175°C) for perfect frying!

Smoked Gouda Mac And Cheese Bites
Ingredients You’ll Need:
For the Mac and Cheese:
- 8 oz elbow macaroni pasta
- 2 cups shredded smoked Gouda cheese
- 1 cup shredded sharp cheddar cheese
- 2 cups whole milk
- 2 tbsp unsalted butter
- 2 tbsp all-purpose flour
- 1/2 tsp garlic powder
- 1/2 tsp onion powder
- Salt and black pepper, to taste
For the Coating:
- 2 large eggs
- 1 1/2 cups panko breadcrumbs
- 1/2 cup grated Parmesan cheese
- Oil, for frying (vegetable or canola oil)
For Garnish (optional):
- Fresh herbs (like thyme)
- Dipping sauce of choice (e.g., ranch or aioli)
How Much Time Will You Need?
This recipe takes about 30 minutes of active preparation time, plus at least 2 hours to chill in the refrigerator. Total time, including frying, is about 2.5 hours. But trust me, the wait is worth it for these cheesy bites!
Step-by-Step Instructions:
1. Cook the Pasta:
Start by boiling a pot of salted water. Add the elbow macaroni and cook according to the package instructions until al dente. Once cooked, drain the pasta and set it aside.
2. Make the Cheese Sauce:
In a medium saucepan, melt the butter over medium heat. Once melted, whisk in the flour to create a roux. Cook it for about 1-2 minutes until bubbly and lightly golden. Gradually whisk in the milk, stirring constantly until the mixture thickens, which should take about 5 minutes.
3. Mix in the Cheese:
Remove the saucepan from heat, and then stir in the shredded smoked Gouda and cheddar cheese until the mixture is smooth and creamy. Season with garlic powder, onion powder, salt, and pepper to taste.
4. Combine Pasta and Sauce:
Fold the cooked macaroni into the cheese sauce, ensuring every piece is well-coated. It’s going to be ooey-gooey delicious!
5. Chill the Mixture:
Transfer the mac and cheese mixture into a shallow container, spreading it out evenly. Cover and refrigerate for at least 2 hours, or until it’s firm enough to shape.
6. Shape the Bites:
Once chilled, scoop out tablespoon-sized portions of the mac and cheese and roll them into bite-sized balls with your hands. Make them nice and round!
7. Prepare for Frying:
In one bowl, beat the eggs. In another bowl, combine the panko breadcrumbs and grated Parmesan cheese. This two-step coating will give a great crunch!
8. Coat the Bites:
Dip each mac and cheese ball into the beaten eggs first, ensuring they’re coated, then roll them in the breadcrumb mixture until fully covered.
9. Fry the Bites:
Heat oil in a deep frying pan or pot to 350°F (175°C). Fry the mac and cheese bites in batches, being sure not to overcrowd the pan, until they are golden brown, about 2-3 minutes per batch.
10. Drain and Serve:
Use a slotted spoon to remove the bites from the oil, then place them on paper towels to drain any excess oil. If you like, garnish with fresh herbs and serve hot with your favorite dipping sauce!
Enjoy your crispy, creamy, smoky mac and cheese bites! Perfect for snacking or parties! 🍽️
Can I Use Different Cheeses for This Recipe?
Absolutely! If you can’t find smoked Gouda, try regular Gouda or a mix of cheddar and a bit of liquid smoke for that smoky flavor. You could also use mozzarella for a gooier texture or pepper jack for a spicy kick!
How do I Make These Mac and Cheese Bites Gluten-Free?
To make these bites gluten-free, use gluten-free elbow macaroni and substitute the all-purpose flour with a gluten-free flour blend. You can also use gluten-free panko breadcrumbs for coating.
Can I Freeze the Mac and Cheese Bites Before Frying?
Yes! You can assemble the mac and cheese bites and freeze them before the frying step. Place them on a baking sheet in a single layer until frozen, then transfer them to an airtight container or freezer bag. Fry them straight from the freezer—just add a minute or two to the cooking time.
What’s the Best Way to Store Leftovers?
Store any leftover bites in an airtight container in the fridge for up to 3 days. Reheat them in the oven at 350°F (175°C) to maintain their crispiness, or pop them in the microwave for a quicker option, but they might not be as crispy.