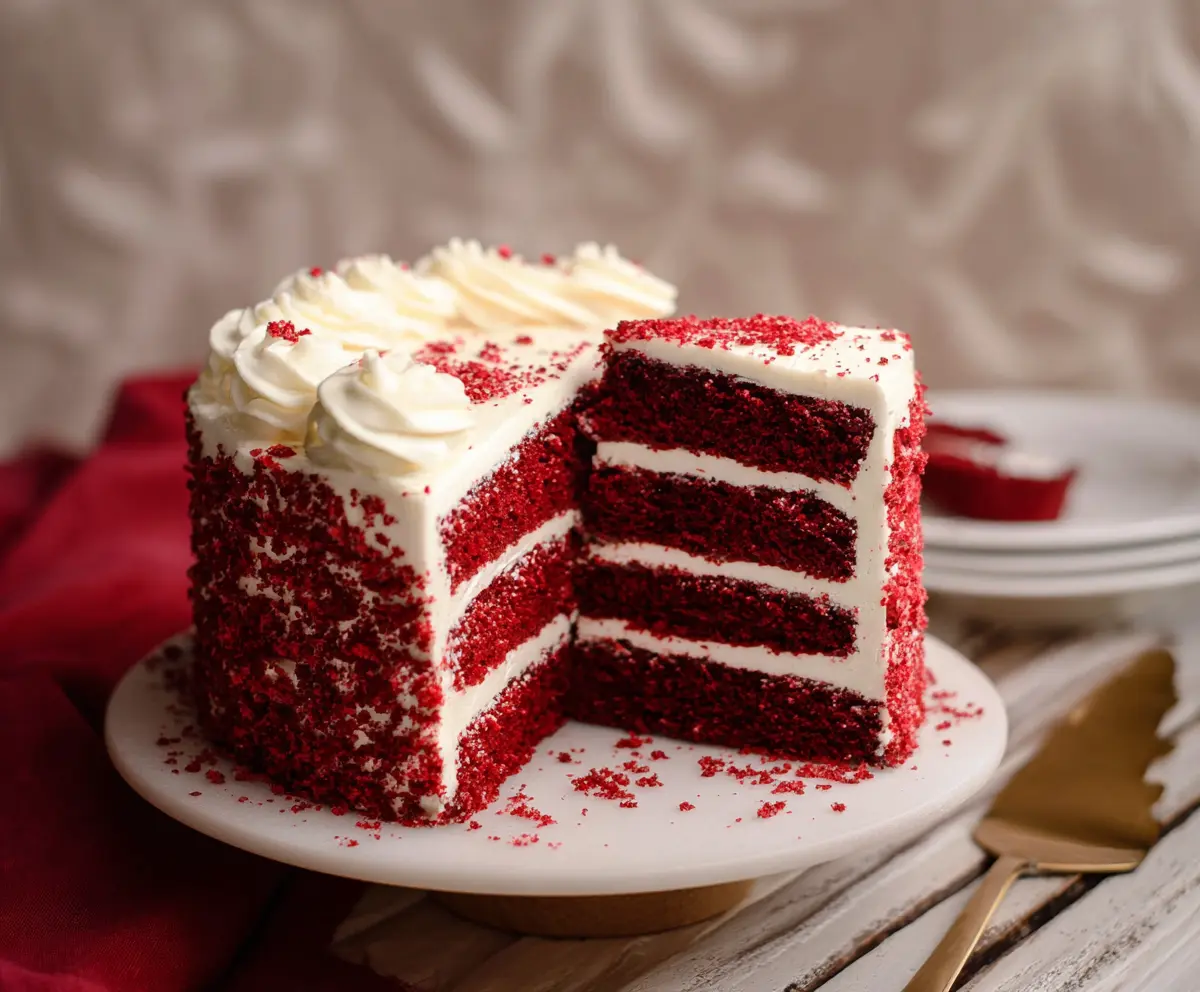
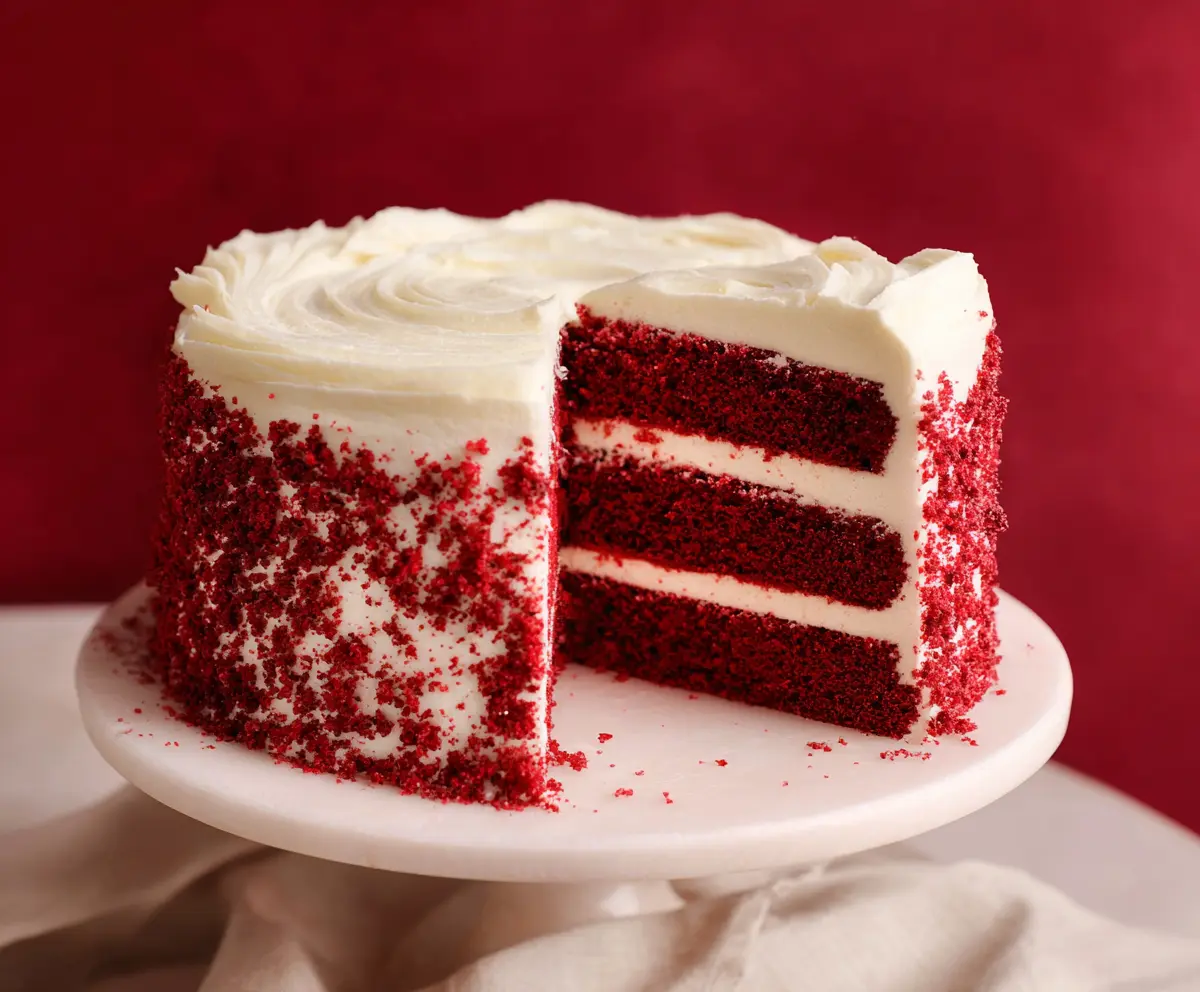
This Red Velvet Cake is a showstopper! With its bright red color and smooth cream cheese frosting, it’s perfect for celebrations or just to treat yourself.
The cake is soft, moist, and has a hint of cocoa that makes it truly unique. I love it best when it’s chilled—such a yummy treat! 🎂
Key Ingredients & Substitutions
All-Purpose Flour: This is the backbone of your cake, providing structure. If you’re looking for a gluten-free option, you can replace it with a 1:1 gluten-free flour blend.
Buttermilk: It adds moisture and a tangy flavor. If you don’t have buttermilk, you can make your own by mixing 1 cup of regular milk with 1 tablespoon of vinegar or lemon juice. Let it sit for 5 minutes before using.
Red Food Coloring: It’s essential for that classic red color. If you prefer a natural option, use beet juice or beet powder. Just note that the color may not be as vibrant.
Cream Cheese: For the frosting, full-fat cream cheese gives the best flavor and texture. If you’re looking for a lighter version, use Neufchâtel cheese, which has less fat.
How Do I Achieve the Perfect Cake Texture?
The key to a moist and fluffy Red Velvet Cake is not overmixing the batter. When you combine the dry and wet ingredients, mix just until everything is combined. Overmixing can lead to a dense cake!
- Remember to preheat your oven in advance. A properly heated oven helps the cake rise properly.
- Let the cake layers cool completely before frosting. This prevents the frosting from melting and sliding off!
- Chilling the assembled cake for an hour allows the frosting to set nicely, giving you clean slices when serving.
How to Make Red Velvet Cake
Ingredients You’ll Need:
For The Cake:
- 2 1/2 cups (315 g) all-purpose flour
- 1 1/2 cups (300 g) granulated sugar
- 1 teaspoon baking soda
- 1 teaspoon fine salt
- 1 teaspoon cocoa powder (unsweetened)
- 1 1/2 cups (360 ml) vegetable oil
- 1 cup (240 ml) buttermilk, room temperature
- 2 large eggs, room temperature
- 2 tablespoons (30 ml) red food coloring
- 1 teaspoon white distilled vinegar
- 1 teaspoon vanilla extract
For The Cream Cheese Frosting:
- 16 oz (450 g) cream cheese, softened
- 1/2 cup (115 g) unsalted butter, softened
- 4 cups (480 g) powdered sugar, sifted
- 1 teaspoon vanilla extract
How Much Time Will You Need?
This recipe takes about 20 minutes of prep time and approximately 30 minutes of baking. After that, make sure to allow for cooling before frosting, and a chilling time of at least 1 hour. Altogether, you should plan for about 2 hours and 30 minutes before you can slice into this beautiful cake!
Step-by-Step Instructions:
1. Preheat Oven and Prepare Pans:
Start by preheating your oven to 350°F (175°C). While it’s heating, take some time to grease and flour three 8-inch round cake pans. For extra ease, line the bottoms with parchment paper circles.
2. Mix Dry Ingredients:
In a medium bowl, combine the flour, granulated sugar, baking soda, salt, and cocoa powder. Sifting them together helps avoid lumps. Set this bowl aside for later.
3. Combine Wet Ingredients:
In a large bowl, whisk together the vegetable oil, buttermilk, eggs, red food coloring, vinegar, and vanilla extract. Make sure it’s all blended nicely!
4. Mix Batter:
Slowly add the dry mixture to the wet mixture, stirring on low speed until everything is well combined. Be careful not to overmix; just stop once the batter is smooth.
5. Divide and Bake:
Evenly distribute the batter among your three prepared pans. Use a spatula to smooth out the tops for a nice, even bake.
6. Bake:
Place the pans in the preheated oven and bake for about 25-30 minutes. To check if they’re done, insert a toothpick into the center of the cakes; if it comes out clean, they’re ready!
7. Cool:
Once baked, let the cakes cool in the pans for about 10 minutes. After that, gently turn them out onto wire racks to cool completely.
8. Prepare Frosting:
While the cakes are cooling, make your cream cheese frosting. In a large bowl, beat the softened cream cheese and butter together until it’s smooth and creamy. Gradually add in the powdered sugar and continue to beat until fluffy. Finally, mix in the vanilla extract.
9. Assemble the Cake:
Once the cakes are completely cool, place one layer on a serving plate. Spread a generous layer of frosting over the top before placing the second layer on top. Repeat with the third layer.
10. Frost the Outside:
Use the remaining frosting to cover the top and sides of the cake. Aim for a smooth finish for a beautiful presentation.
11. Decorate (Optional):
If you’re feeling creative, you can reserve some cake crumbs from trimming the layers and sprinkle them around the sides and top of the cake for a fun and festive touch.
12. Chill and Serve:
For the best flavor and texture, refrigerate the cake for at least an hour before serving. Remember to take it out about 15-30 minutes before slicing so it can come to room temperature for optimal enjoyment!
Enjoy your classic Red Velvet Cake with luscious cream cheese frosting—it’s a delightful treat for any occasion!
Can I Use Different Food Coloring?
Absolutely! While traditional red food coloring is standard, you can use natural alternatives like beet juice for a unique twist. Just be aware that the shade may not be as vibrant. Make sure to adjust the quantity based on the strength of the coloring.
Can I Make This Cake Gluten-Free?
Yes, you can! Substitute all-purpose flour with a 1:1 gluten-free flour blend. Make sure it includes xanthan gum for the best texture. The flavor may vary slightly, but it’ll still be delicious!
How Should I Store Leftovers?
Store any leftover cake in an airtight container in the refrigerator for up to 3-4 days. For longer storage, you can freeze individual slices wrapped in plastic wrap and then aluminum foil. Just thaw in the fridge overnight when you’re ready to enjoy it again!
Can I Make the Cake in Advance?
Definitely! You can bake the cake layers up to 2 days in advance. Just let them cool completely, wrap each layer in plastic wrap, and store them in the fridge. Frost the cake on the day of serving for the best texture!