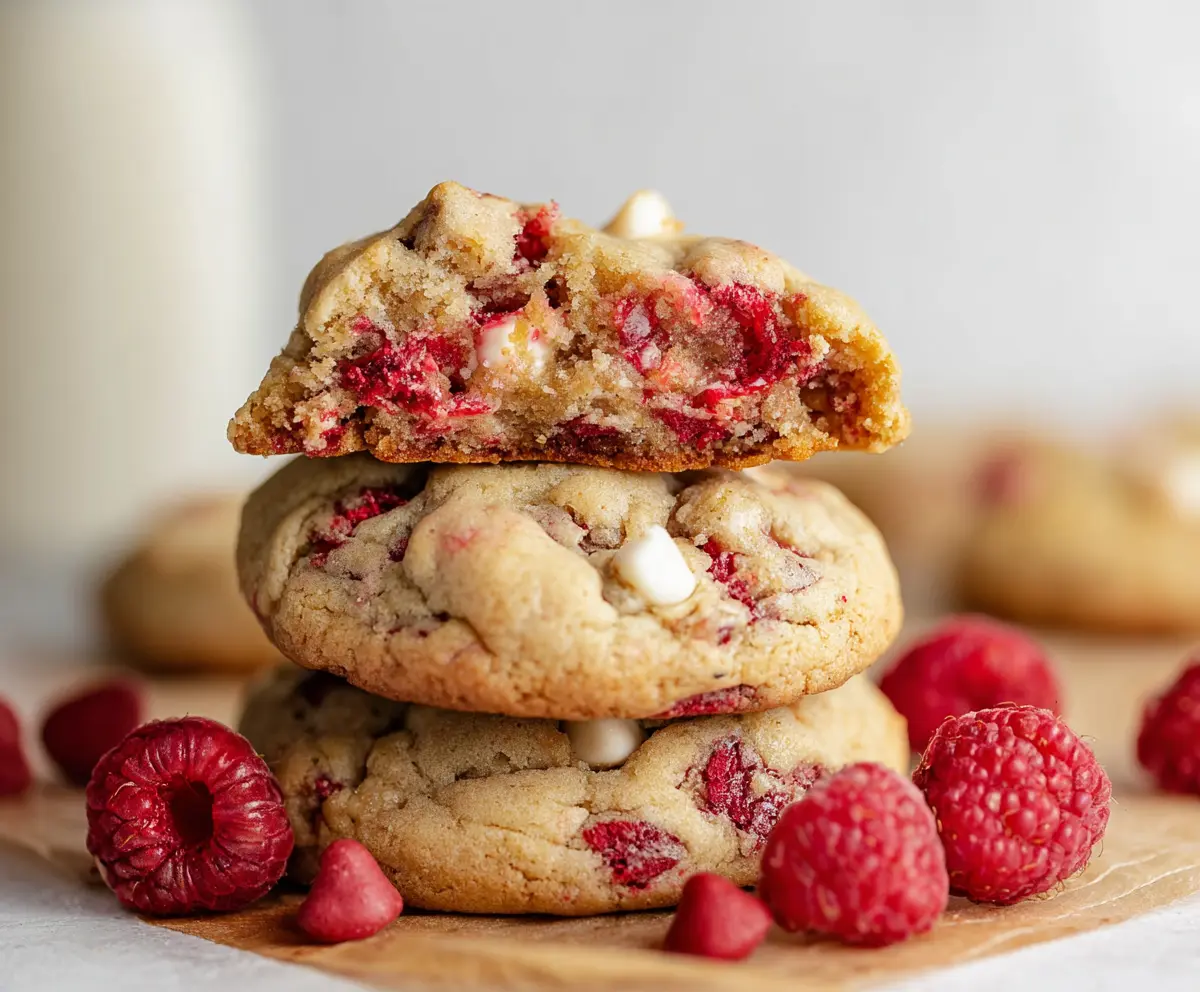
These Raspberry Cheesecake Stuffed Cookies are a tasty treat with a soft cookie outside and a creamy cheesecake filling inside. The sweet raspberries make every bite burst with flavor!
Honestly, who can resist a cookie that hides cheesecake inside? I usually keep these cookies on hand for when friends stop by—I might even share, but you didn’t hear that from me! 😄
Key Ingredients & Substitutions
Cream Cheese: This adds richness to your cheesecake filling. If you’re looking for a lighter option, you can use Neufchâtel cheese, which is a bit lower in fat.
Fresh Raspberries: Fresh raspberries really shine in this recipe thanks to their tangy flavor. If they’re not in season, you can use frozen raspberries, but make sure to thaw and drain them to avoid excess moisture.
White Chocolate Chips: I love the sweetness that white chocolate brings! If you’re not a fan, consider using semi-sweet chocolate chips for a delightful contrast to the tart raspberries.
Unsalted Butter: Unsalted butter gives you control over the saltiness in the cookies. You can replace it with salted butter if that’s all you have, but reduce the added salt in the recipe accordingly.
How Do You Properly Assemble Stuffed Cookies?
Getting the stuffed cookies right can be tricky! Here’s how to do it well:
- Use chilled cheesecake filling. This prevents it from melting out during baking.
- Flatten the dough evenly. This helps with sealing the filling inside, ensuring soft cookies all around.
- Seal well. Make sure to pinch the edges together completely, so no filling leaks during baking.
Balling up the dough after filling creates a nice, even structure, which helps the cookies bake uniformly. Trust me, attention here pays off in a delicious treat! Enjoy baking!

Raspberry Cheesecake Stuffed Cookies
Ingredients You’ll Need:
For the cheesecake filling:
- 8 oz (225g) cream cheese, softened
- 1/4 cup granulated sugar
- 1/2 tsp vanilla extract
For the cookies:
- 1 cup (2 sticks) unsalted butter, softened
- 3/4 cup brown sugar, packed
- 1/2 cup granulated sugar
- 2 large eggs
- 1 1/2 tsp vanilla extract
- 2 1/2 cups all-purpose flour
- 1 tsp baking soda
- 1/2 tsp salt
- 1 cup fresh raspberries (or frozen, thawed and patted dry)
- 1 cup white chocolate chips
- Raspberry chips or freeze-dried raspberry pieces (optional for extra raspberry flavor)
How Much Time Will You Need?
This delightful recipe takes about 30 minutes of prep time, plus an additional 12-14 minutes of baking time. Make sure to allow some cooling time afterward before diving into these yummy cookies. In total, you can have these scrumptious treats ready in about 1 hour!
Step-by-Step Instructions:
1. Prepare the cheesecake filling:
In a medium bowl, beat the softened cream cheese until smooth. Add the granulated sugar and vanilla extract, mixing until creamy and well combined. Cover the bowl and refrigerate this filling while you work on the cookie dough—it needs to be chilled to hold its shape.
2. Prepare the cookie dough:
In a large bowl, cream together the softened butter, brown sugar, and granulated sugar until light and fluffy, about 2-3 minutes. Add in the eggs one at a time, making sure to beat well after each addition. Then, mix in the vanilla extract.
In a separate bowl, whisk together the flour, baking soda, and salt. Gradually add the dry mixture to the wet ingredients, mixing until just combined. Be gentle here! Now, fold in the fresh raspberries, white chocolate chips, and any optional raspberry chips or freeze-dried pieces—don’t overmix, so the raspberries stay intact.
3. Assemble the stuffed cookies:
Preheat your oven to 350°F (175°C) and line two baking sheets with parchment paper. To assemble the cookies, start by scooping about 2 tablespoons of cookie dough and flatten it slightly in your hand. Place about 1 teaspoon of chilled cheesecake filling in the center, then scoop another 2 tablespoons of cookie dough, flattening it again before placing it on top of the cheesecake filling. Make sure to carefully seal the edges to keep the filling inside, shaping it into a ball.
Place your stuffed cookie dough balls onto the baking sheets, leaving about 2 inches between each one.
4. Bake:
Bake your cookies in the preheated oven for about 12-14 minutes, or until they are golden brown around the edges but still soft in the middle—trust your nose, they smell divine! When they’re finished baking, remove them from the oven and let them cool on the baking sheet for about 5 minutes, then transfer them to a wire rack to cool completely.
5. Serve:
Now comes the best part—enjoy these soft, creamy, fruity stuffed cookies with a cold glass of milk or your favorite drink! They’re perfect for sharing or keeping all to yourself (we won’t tell!).
This recipe yields about 18-24 stuffed cookies, depending on the size. If there are leftovers (which is unlikely!), store them in an airtight container at room temperature for up to 3 days or refrigerate for even longer freshness. Happy baking!
Can I Use Low-Fat Cream Cheese for the Filling?
Absolutely! Low-fat cream cheese can be used in place of regular cream cheese, but keep in mind that it might not be as rich or creamy. Make sure it’s properly softened for easy mixing.
What If I Can’t Find Fresh Raspberries?
No problem! You can easily substitute with frozen raspberries. Just make sure to thaw and pat them dry to avoid excess moisture in the cookies.
Can I Make the Cookie Dough Ahead of Time?
Yes! You can prepare the cookie dough in advance and store it in the refrigerator for up to 2 days. Just let it come to room temperature for about 15-20 minutes before scooping and baking.
How Should I Store Leftover Cookies?
Store any leftover cookies in an airtight container at room temperature for up to 3 days. For longer storage, you can refrigerate them or freeze the cookies for up to 2 months. Just remember to wrap them well to avoid freezer burn!