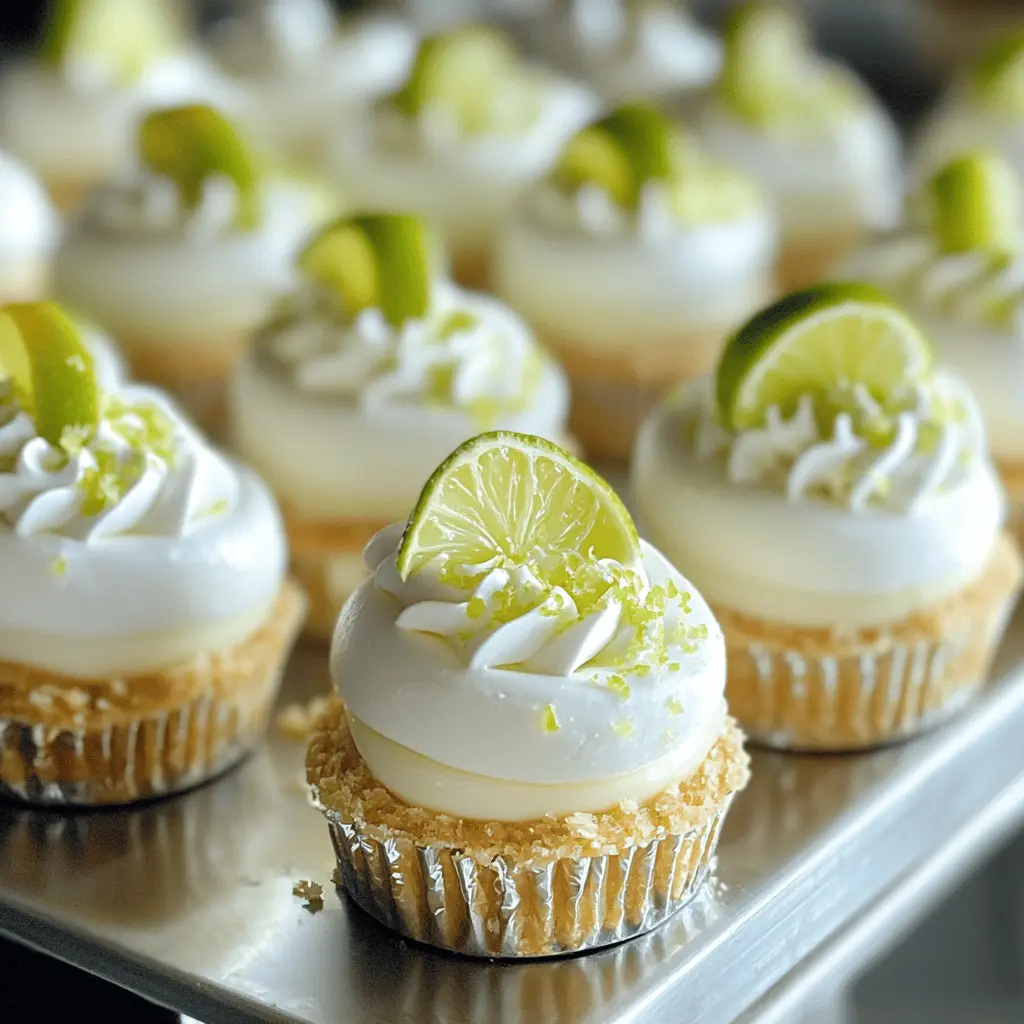
These no-bake mini key lime pies are a refreshing treat! With a creamy lime filling and a crunchy graham cracker crust, they are perfect for warm days or anytime you want a sweet bite.
They’re so easy to whip up and don’t need an oven—just mix, layer, and chill! I love serving them with a dollop of whipped cream on top. Perfect for satisfying sweet cravings! 😊
Key Ingredients & Substitutions
Graham Cracker Crumbs: These give the pies their classic crust. If you’re gluten-free, try using almond flour or gluten-free graham crackers for a similar texture.
Butter: Unsalted butter is preferred for controlling saltiness. You can substitute with coconut oil for a dairy-free option, just ensure it’s melted before mixing!
Cream Cheese: Use full-fat cream cheese for the best flavor and texture. If you’re looking for a lighter version, whipped cream cheese works too, or for dairy-free, try a plant-based cream cheese.
Key Lime Juice: Freshly squeezed key lime juice provides a bright flavor, but you can also use bottled key lime juice in a pinch. Regular lime juice is a suitable alternative, though it won’t be quite as tangy!
Whipped Topping: I like using Cool Whip for convenience, but homemade whipped cream works beautifully too! Just whip heavy cream with a bit of sugar until fluffy.
How Do You Make Sure Your Mini Key Lime Pies Are Light and Fluffy?
The trick to achieving a light and airy filling is in the mixing method. When you fold in the whipped topping with the lime mixture, be gentle! Over-mixing will deflate the air you’ve incorporated.
- Use a spatula or wooden spoon to carefully fold the whipped topping into the cream cheese mixture.
- Stop mixing as soon as you see no streaks of white; it’s okay if some lumps remain for texture.
Also, allow the mini pies to set in the fridge for at least four hours or overnight. This gives them the right texture and allows the flavors to develop nicely! Enjoy your mini key lime pies!
How to Make No-Bake Mini Key Lime Pies
Ingredients You’ll Need:
For the Crust:
- 1 cup graham cracker crumbs
- 1/4 cup unsalted butter, melted
- 2 tablespoons sugar
For the Key Lime Filling:
- 1 (8 oz) package cream cheese, softened
- 1 can (14 oz) sweetened condensed milk
- 1/2 cup key lime juice (freshly squeezed if possible)
- 1 teaspoon lime zest
- 1 1/2 cups whipped topping (such as Cool Whip)
For Garnish:
- Lime wedges
- Additional lime zest
How Much Time Will You Need?
This delightful no-bake dessert takes about 30 minutes of preparation time, plus you’ll need to let it chill in the refrigerator for at least 4 hours to set properly. If you can wait, letting them sit overnight is even better. So plan ahead for a yummy treat!
Step-by-Step Instructions:
1. Make the Crust:
In a mixing bowl, combine the graham cracker crumbs, melted butter, and sugar. Mix well until everything is evenly coated and the texture resembles wet sand. This will create a tasty base for your mini pies!
2. Press the Crust:
Take the crumb mixture and evenly press it into the bottom of mini pie or cupcake molds. Use the back of a spoon to really compact it down. This will help the crust hold its shape when you fill it. Set your crusts aside for now.
3. Prepare the Key Lime Filling:
In a separate bowl, beat the softened cream cheese with a mixer until it’s smooth and creamy. Gradually add the sweetened condensed milk while mixing until it’s all fully combined. Then pour in the key lime juice and lime zest, mixing until everything is smooth and well combined.
4. Fold in the Whipped Topping:
Gently fold in the whipped topping, being careful to keep the mixture light and airy. This is what makes your filling fluffy and delicious!
5. Fill the Crusts:
Spoon the key lime filling into your prepared crusts, filling them all the way to the top. Smooth the filling with a spatula to make it nice and neat.
6. Chill and Set:
Cover the mini pies with plastic wrap and place them in the fridge. Let them chill for at least 4 hours, but overnight is best to ensure they set perfectly!
7. Serve and Garnish:
Once set, carefully remove the mini key lime pies from their molds. Before serving, garnish each pie with a dollop of whipped topping, a lime wedge, and some extra lime zest for a lovely presentation. Enjoy your refreshing treat!

Can I Use Regular Limes Instead of Key Limes?
Absolutely! While key limes give a unique flavor, regular limes can be used as a substitute. Just keep in mind that the taste might be slightly more tart. Use the same amount of lime juice and zest for the best results!
What if I Don’t Have Mini Pie Molds?
No worries! You can use a standard muffin tin or even small glasses as an alternative. Just adjust the filling amounts accordingly. If using a muffin tin, make sure to line it with cupcake liners for easier removal.
How Should I Store Leftover Mini Key Lime Pies?
Store any leftovers in an airtight container in the fridge for up to 3 days. If you’re concerned about the crust getting soggy, separate the filling and crust and assemble just before serving.
Can I Make These Mini Pies Dairy-Free?
Yes, you can! Substitute the cream cheese with a dairy-free cream cheese alternative, and use coconut cream instead of whipped topping. Make sure your sweetened condensed milk is vegan if needed, or try making a homemade version with coconut milk and sugar!