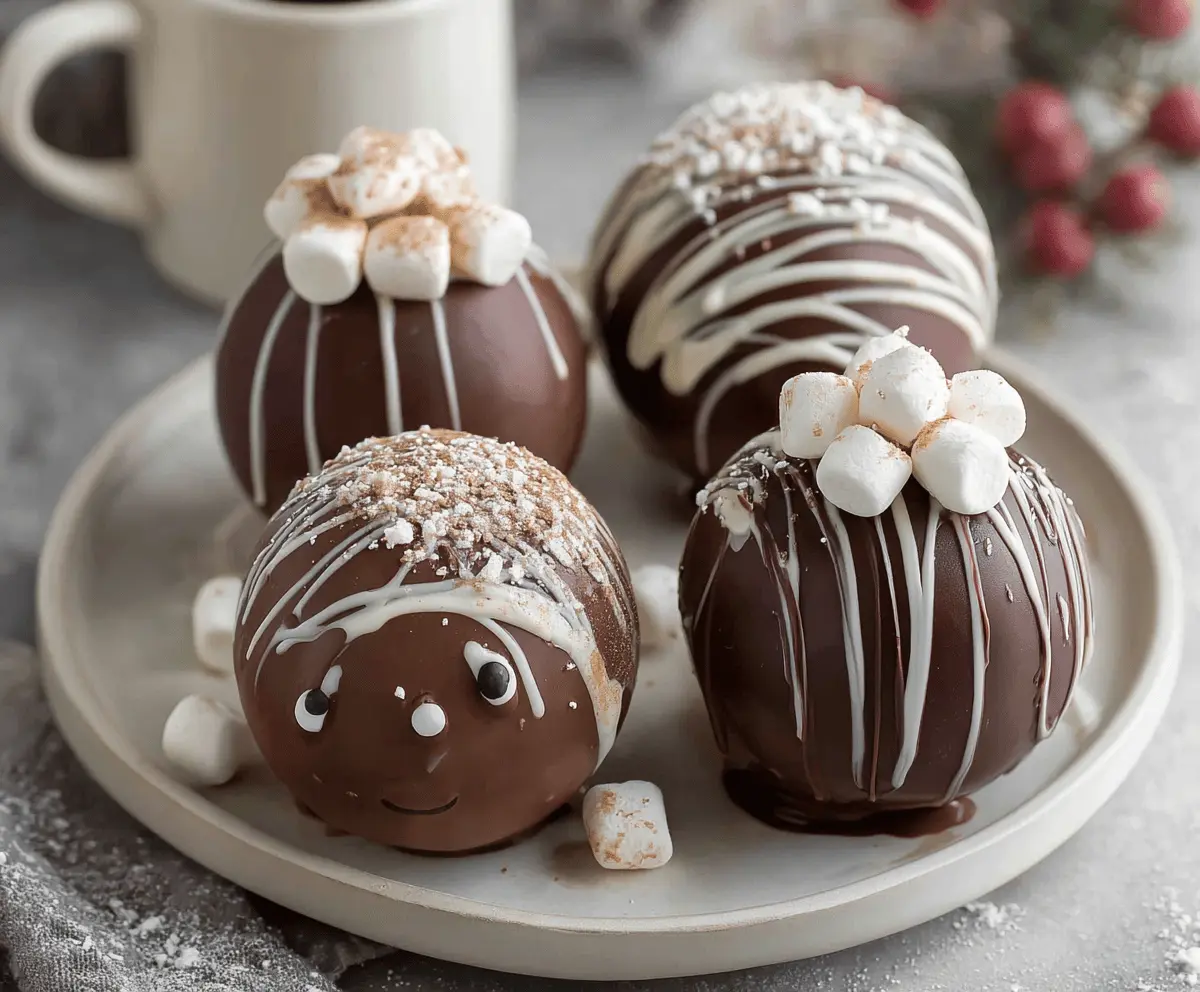
Hot Chocolate Bombs are small, chocolate spheres filled with cocoa and marshmallows. When you drop them in hot milk, they melt and create a delicious drink!
These fun little treats are perfect for cozy days. I love watching them explode in the milk, a magical moment that brings out the kid in me. They’re a real treat on a chilly afternoon! ☕
Key Ingredients & Substitutions
Chocolate: Using good quality semi-sweet or dark chocolate makes a big difference. I often choose dark chocolate for a richer taste. If you’re in a pinch, chocolate melting wafers work well too!
Mini Marshmallows: Classic mini marshmallows give that comforting texture. If you want a different twist, you could use flavored marshmallows or even homemade ones for added flair.
Hot Cocoa Mix: Customize your hot cocoa mix for personal taste. You can use store-bought or make your own with cocoa powder, sugar, and a pinch of salt. Vegan cocoa blends are also available!
Decorations: Get creative! Use edible decorations like candy eyes, sprinkles, or even crushed candy canes for a festive touch during the holidays.
What’s the Best Way to Melt and Handle Chocolate?
Melted chocolate is crucial for making your Hot Chocolate Bombs! Make sure to melt it in short bursts to avoid burning it. Here’s how:
- Use a microwave-safe bowl to melt the chocolate 30 seconds at a time, stirring often until smooth.
- Alternatively, use a double boiler by placing a bowl over simmering water, stirring until melted.
Once melted, it’s important to work quickly, as the chocolate starts to harden as it cools. If you make a mistake, just re-melt it gently!
How Do I Ensure My Chocolate Bombs Seal Perfectly?
To seal your Hot Chocolate Bombs well, follow these simple steps:
- Warm a plate in the microwave for 15 seconds.
- Take one half-shell and briefly melt the edge on the plate.
- Quickly press it onto a filled shell, and gently press to fuse them together.
Make sure they’re tightly sealed to keep all the tasty cocoa and marshmallows inside!
Enjoy making your Hot Chocolate Bombs! They’re not just fun to create; they’ll warm you up with every delicious sip.
How to Make Hot Chocolate Bombs
Ingredients You’ll Need:
For the Bombs:
- 12 oz. good quality semi-sweet or dark chocolate, chopped (or chocolate melting wafers)
- White chocolate for drizzling (optional)
- Mini marshmallows (about 1 cup)
- 3/4 cup hot cocoa mix (your favorite blend)
- Optional: cocoa powder or powdered sugar for dusting
- Edible decorations (mini candy eyes, sprinkles) for decorating, if desired
How Much Time Will You Need?
This recipe takes about 30 minutes of active prep time and an additional 10-15 minutes to chill. Overall, you can whip up these delightful treats in less than an hour! Remember to let them set completely before enjoying.
Step-by-Step Instructions:
1. Melt the Chocolate:
In a microwave-safe bowl, melt the chopped chocolate in 30-second intervals, stirring in between until it’s smooth and completely melted. If you prefer, you can use a double boiler for melting. Just be sure not to let any water get into your chocolate!
2. Prepare the Molds:
Grab your silicone half-sphere molds, about 2.5 to 3 inches in diameter. Spoon a tablespoon or so of the melted chocolate into each cavity, using a brush or the back of the spoon to coat the entire inside surface. Scrape off any excess chocolate from the rim of the mold, and then place the molds upside down on a tray lined with parchment paper.
3. Chill the Molds:
Put the molds in the refrigerator and let them chill for about 10-15 minutes. This will help the chocolate shells harden nicely.
4. Add the Filling:
Once the chocolate is hardened, take the molds out of the fridge. Carefully remove the half-spheres from the molds. Fill each half-shell with about 1 tablespoon of hot cocoa mix, and toss in a handful of mini marshmallows.
5. Seal the Bombs:
To seal your chocolate bombs, heat a plate in the microwave for 15 seconds. Then, take one of the half-shells and gently press the open edge onto the warm plate for a few seconds to slightly melt it. Quickly press this half-shell onto a filled half to form a complete sphere, and gently press the edges to fuse them together.
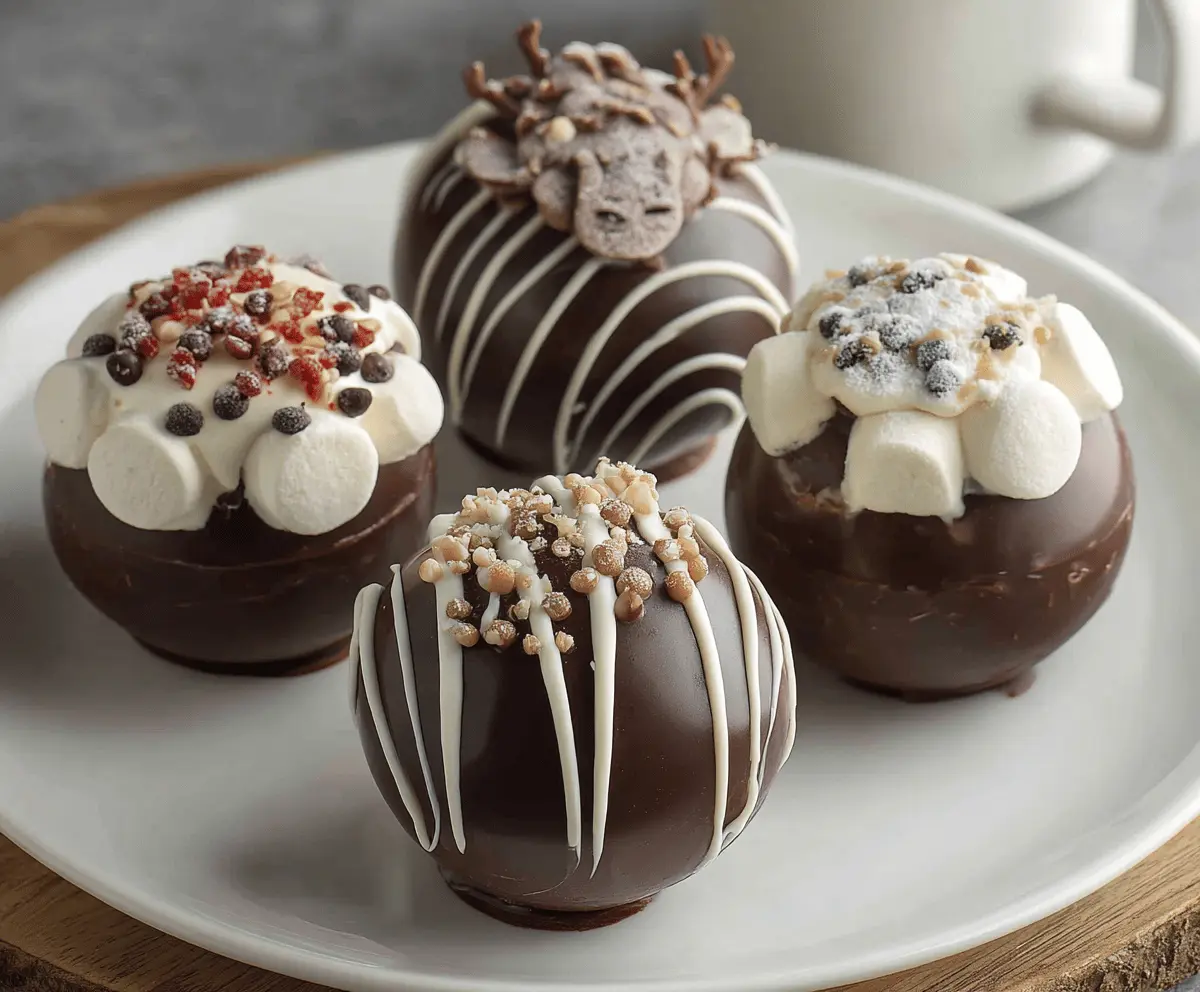
6. Decorate:
Now it’s time to get creative! Drizzle some white chocolate over the bombs using a spoon or a piping bag for a fancy finish. Add a few mini marshmallows on top, dust with cocoa powder or powdered sugar, and sprinkle on some edible decorations if you like!
7. Set Your Bombs:
Let the bombs set at room temperature until the chocolate has fully set. If you’re in a hurry, a brief chill in the fridge will do the trick.
8. Serve and Enjoy:
To enjoy your Hot Chocolate Bomb, simply place one in a mug and pour about 8 ounces of hot milk over it. Watch the magic happen as it melts and releases the cocoa mix and marshmallows. Give it a good stir, and then sip and enjoy!
These Hot Chocolate Bombs are not only delicious but also a fun activity to share with friends and family. They make great gifts too!
Can I Use Different Types of Chocolate?
Absolutely! You can use any type of chocolate you prefer—milk, dark, or even white chocolate. Each will give a unique flavor to your Hot Chocolate Bombs. Just ensure it’s good quality for the best results!
How Do I Store Hot Chocolate Bombs?
Store your Hot Chocolate Bombs in an airtight container at room temperature. They can last for up to 2 weeks. For longer storage, consider refrigerating them, but be sure to bring them back to room temperature before serving, as the chocolate can become too firm.
Can I Make These Vegan?
Yes! To make vegan Hot Chocolate Bombs, use a dairy-free chocolate, such as dark chocolate without milk solids, and substitute the hot cocoa mix with your favorite dairy-free cocoa blend. Ensure the marshmallows are also vegan-friendly!
What Should I Do If My Chocolate Melts Too Much?
If your chocolate melts too quickly while preparing, it may be too hot or over-microwaved. If this happens, try letting it cool slightly before using it in your molds. It should be warm enough to work with but not hot enough to lose its form.