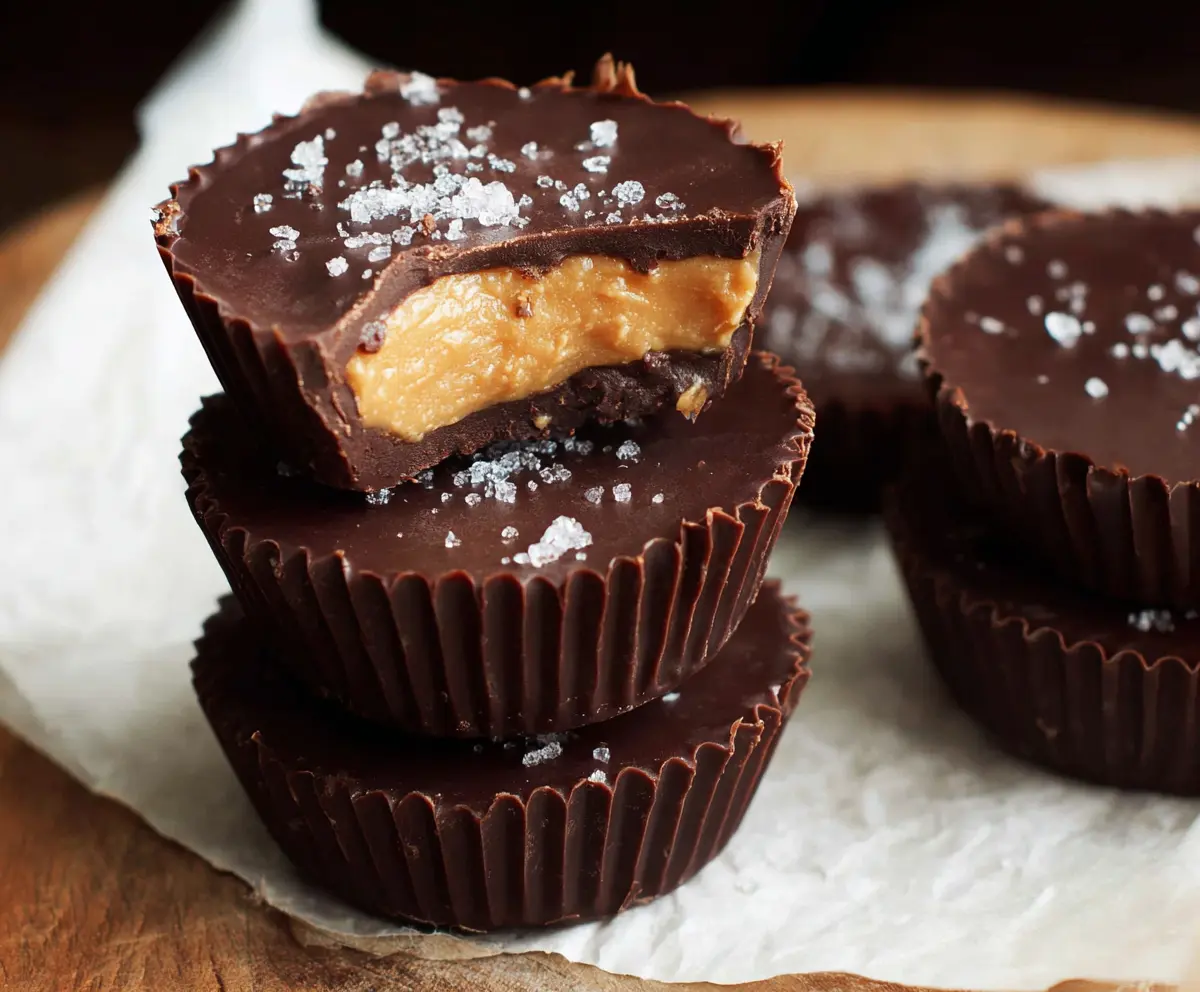
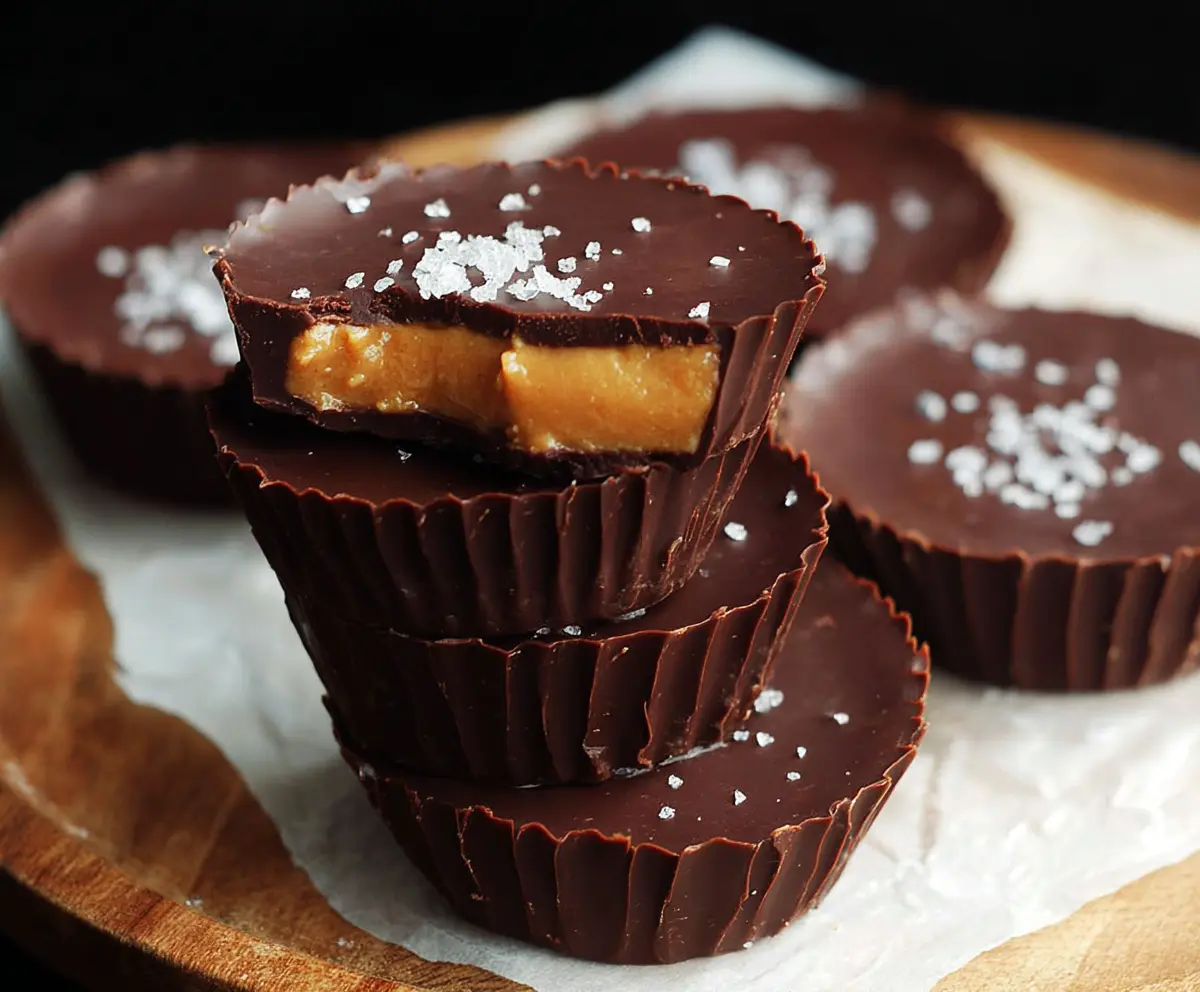
These Healthy Dark Chocolate Peanut Butter Cups are a tasty treat that you can feel good about! With creamy peanut butter and rich dark chocolate, they hit the sweet spot without any guilt.
Making these is super fun! I often share them with friends, but let’s be real—I usually end up eating most of them! 😄 They’re so easy to whip up, it’s hard to resist making a second batch.
Key Ingredients & Substitutions
Peanut Butter: Natural creamy peanut butter is the star here. Look for one without added sugar or salt for guilt-free treats. If you’re allergic to peanuts, you can replace it with almond or sunflower seed butter for a similar creamy effect.
Sweetener: Pure maple syrup or honey adds sweetness. Maple syrup gives a distinct flavor, while honey can be a great substitute. If you’re vegan, stick with the maple syrup. Coconut sugar or agave syrup works well too!
Dark Chocolate: High-quality dark chocolate, 70% cacao or higher, gives that rich flavor. If you’re dairy-free, look for dairy-free chocolate chips. You can also use milk chocolate if you prefer a sweeter option, but it may not be as healthy.
Coconut Oil: This is optional, but it helps create a smoother chocolate coating. If you don’t have it, you can skip it. Just make sure to melt the chocolate carefully to avoid burning!
How Do You Melt Chocolate Smoothly Without Burning It?
Melted chocolate can be tricky, but here’s how to do it right. Whether you’re using a microwave or double boiler, start slow and steady!
- Microwave Method: Place chocolate in a microwave-safe bowl. Heat in 30-second intervals, stirring in between, until smooth. This usually takes about 1-2 minutes.
- Double Boiler Method: Fill a pot with a little water and bring it to a simmer. Put a heatproof bowl on top (make sure it doesn’t touch the water), add the chocolate, and stir until melted. This method is great for avoiding overheating.
Remember, it’s better to melt slowly to prevent burning. If your chocolate does seize up, a tiny bit of coconut oil can help smooth it out!
How to Make Healthy Dark Chocolate Peanut Butter Cups
Ingredients You’ll Need:
For the Peanut Butter Filling:
- 1 cup natural creamy peanut butter (no added sugar or salt)
- 1/4 cup pure maple syrup or honey
- 1/2 teaspoon vanilla extract
- 1/8 teaspoon sea salt, plus more for topping
For the Chocolate Coating:
- 2 cups high-quality dark chocolate chips or chopped dark chocolate (70% cacao or higher)
- 1 tablespoon coconut oil (optional, for smoother chocolate)
How Much Time Will You Need?
This recipe takes about 15 minutes of prep time, plus an additional 20-30 minutes for chilling to set in the freezer. In no time, you’ll have delicious homemade treats ready to enjoy!
Step-by-Step Instructions:
1. Prepare the Peanut Butter Filling:
In a medium bowl, mix together the peanut butter, maple syrup or honey, vanilla extract, and 1/8 teaspoon sea salt. Stir until everything is smooth and well combined. This creamy mixture is going to be the heart of your peanut butter cups!
2. Melt the Chocolate:
Next, melt the dark chocolate. You can do this in a microwave-safe bowl or using a double boiler. If you’re using the microwave, heat it in 30-second intervals, stirring after each until it’s completely melted and glossy. If you’re using a double boiler, put water in a pot and bring it to a simmer, then place a heatproof bowl over it and add the chocolate. Stir until melted. If you’re using coconut oil, mix it in now for an extra smooth chocolate!
3. Assemble the Cups:
Line a muffin tin with paper liners or use silicone molds for easy removal. Spoon about 1 teaspoon of the melted chocolate into the bottom of each cup and spread it evenly to cover the base. Place the tin in the freezer for about 5-10 minutes to allow the chocolate to set firmly.
4. Add the Peanut Butter Layer:
Once the chocolate base is set, remove the tin from the freezer. Take your peanut butter mixture and spoon about 1 teaspoon into each cup, spreading it gently without reaching the edges. This helps ensure a nice chocolate seal!
5. Top with More Chocolate:
Cover the peanut butter layer with another teaspoon of melted chocolate, making sure the peanut butter is completely covered. This keeps the peanut butter filling nice and hidden!
6. Chill to Set:
Sprinkle a small pinch of sea salt on top of each cup while the chocolate is still wet. This adds a delightful little crunch! Return the tray to the freezer for at least 15-20 minutes or until the cups are fully set.
7. Serve and Store:
Once the chocolate has set, carefully remove the cups from the molds. Store the peanut butter cups in an airtight container in the refrigerator. They’re best enjoyed chilled or at room temperature. Indulge in these treats that are smooth and satisfyingly sweet with just the right amount of salty crunch!
Can I Use Natural Crunchy Peanut Butter Instead of Creamy?
Yes, you can! Using crunchy peanut butter will add texture to your cups, giving a nice bite along with the creamy chocolate. Just make sure it’s unsweetened and has no added oils for the healthiest option!
How Should I Store the Peanut Butter Cups?
Store the peanut butter cups in an airtight container in the refrigerator. They’ll stay fresh for up to 2 weeks! If you want to keep them longer, you can freeze them for up to 3 months. Just let them thaw in the fridge before enjoying.
Can I Make These Vegan-friendly?
Absolutely! Use maple syrup as your sweetener, and choose dairy-free dark chocolate chips. Most brands have vegan chocolate options that still taste delicious!
What if the Chocolate Seizes When Melting?
If your chocolate seizes, don’t panic! Try adding a tiny bit of coconut oil or neutral oil to the mixture and stir until it smooths out. This can help rescue the chocolate and make it usable for coating your cups.