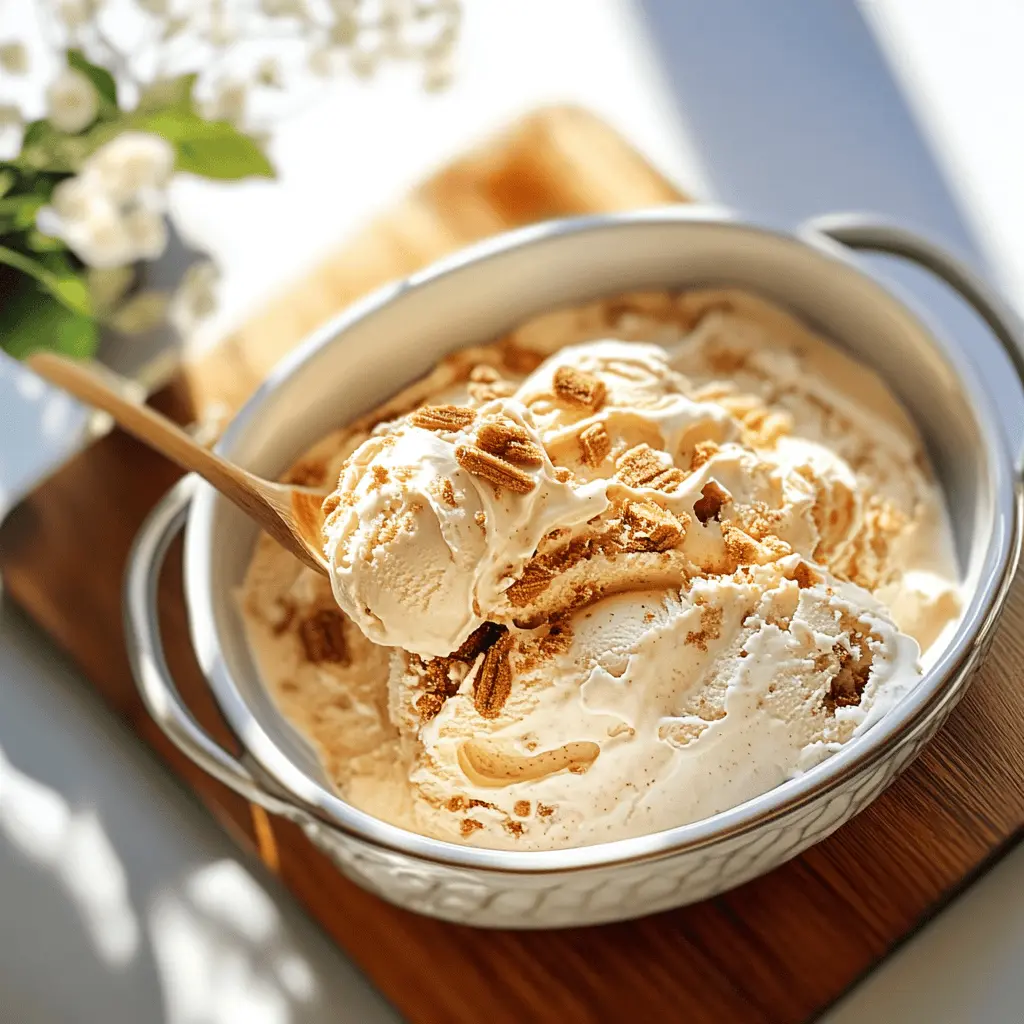
This Easy Homemade Biscoff Ice Cream is a dream come true for cookie lovers! With that creamy texture and the rich flavor of Biscoff cookies, it’s hard to resist.
Making this ice cream is a breeze! Just blend, freeze, and enjoy. I love to top mine with extra cookie crumbles—because why not? Who could say no to more cookies? 😋
Key Ingredients & Substitutions
Biscoff Cookie Spread: This is the star of your ice cream! It has a unique caramelized flavor. If you can’t find it, use a similar cookie butter or try making your own blend of crushed caramel cookies and some neutral nut butter.
Heavy Cream: For that rich and creamy texture, heavy cream is necessary. You can use coconut cream for a dairy-free option, but be aware that it adds a different flavor.
Whole Milk: Whole milk helps keep the ice cream creamy. You can substitute with any plant-based milk, but full-fat varieties like oat or almond milk work best for texture.
Granulated Sugar: You need sugar to sweeten the ice cream. If you’re cutting back on sugar, try using a sugar substitute that measures like sugar, but make sure it’s suitable for freezing.
Biscoff Cookies: Adding crushed cookies gives it that delightful crunch. If you want a different twist, consider using Oreos or any other crunchy cookie that you enjoy!
How Do I Get Smooth, Creamy Ice Cream?
Achieving the perfect, smooth texture is crucial. Here are some tips:
- Whisk the mixture well: Ensure that all ingredients are fully blended, and the sugar is dissolved before chilling to prevent graininess.
- Chill your mixture: Cooling it properly in the refrigerator allows for a better churn and results in creamier ice cream.
- Don’t skip the churning: Follow your ice cream maker’s instructions closely. Churning incorporates air, making the ice cream fluffy.
- Freeze it well: Using wax paper on top of the ice cream in the container helps prevent ice crystals, which can ruin that smooth scoop!
With these tips, you’re on your way to making delicious, homemade Biscoff ice cream you can proudly serve to family and friends!
Easy Homemade Biscoff Ice Cream
Ingredients You’ll Need:
- 1 cup Biscoff cookie spread (speculoos spread)
- 2 cups heavy cream (cold)
- 1 cup whole milk (cold)
- 3/4 cup granulated sugar
- 1 teaspoon vanilla extract
- 1 cup Biscoff cookies, roughly crushed
How Much Time Will You Need?
This recipe takes about 20 minutes to prepare plus at least 4 hours to freeze. You’ll spend some time mixing the ingredients and churning in the ice cream maker, but the end result is absolutely worth the wait!
Step-by-Step Instructions:
1. Mix the Base:
In a large mixing bowl, whisk together the heavy cream, whole milk, granulated sugar, and vanilla extract. Keep whisking until the sugar is completely dissolved and all the ingredients are well combined—this step is important for a smooth texture!
2. Add the Cookie Spread:
Next, add the Biscoff cookie spread into the mixture. Whisk vigorously until it’s fully incorporated and you have a smooth, creamy mixture that looks uniform in color.
3. Chill the Mixture:
Cover the bowl with plastic wrap and place it in the refrigerator. Chill for about 1 hour or until the mixture is nice and cold. This helps it churn better in the ice cream maker!
4. Churn the Ice Cream:
After chilling, pour the mixture into your ice cream maker. Churn according to the manufacturer’s instructions, which usually takes about 20-25 minutes. You want it to be thick and creamy.
5. Add the Cookie Crunch:
In the last 5 minutes of churning, gradually add in the roughly crushed Biscoff cookies. This will give your ice cream a delightful crunch and that extra burst of flavor!
6. Transfer and Freeze:
Once churned, transfer the ice cream into a freezer-safe container. Spread it evenly and for the best texture, place a piece of parchment or wax paper directly on top of the ice cream to help prevent ice crystals from forming. Seal it well!
7. Final Freeze:
Now it’s time to freeze it! Put the container in the freezer for at least 4 hours or until it’s firm.
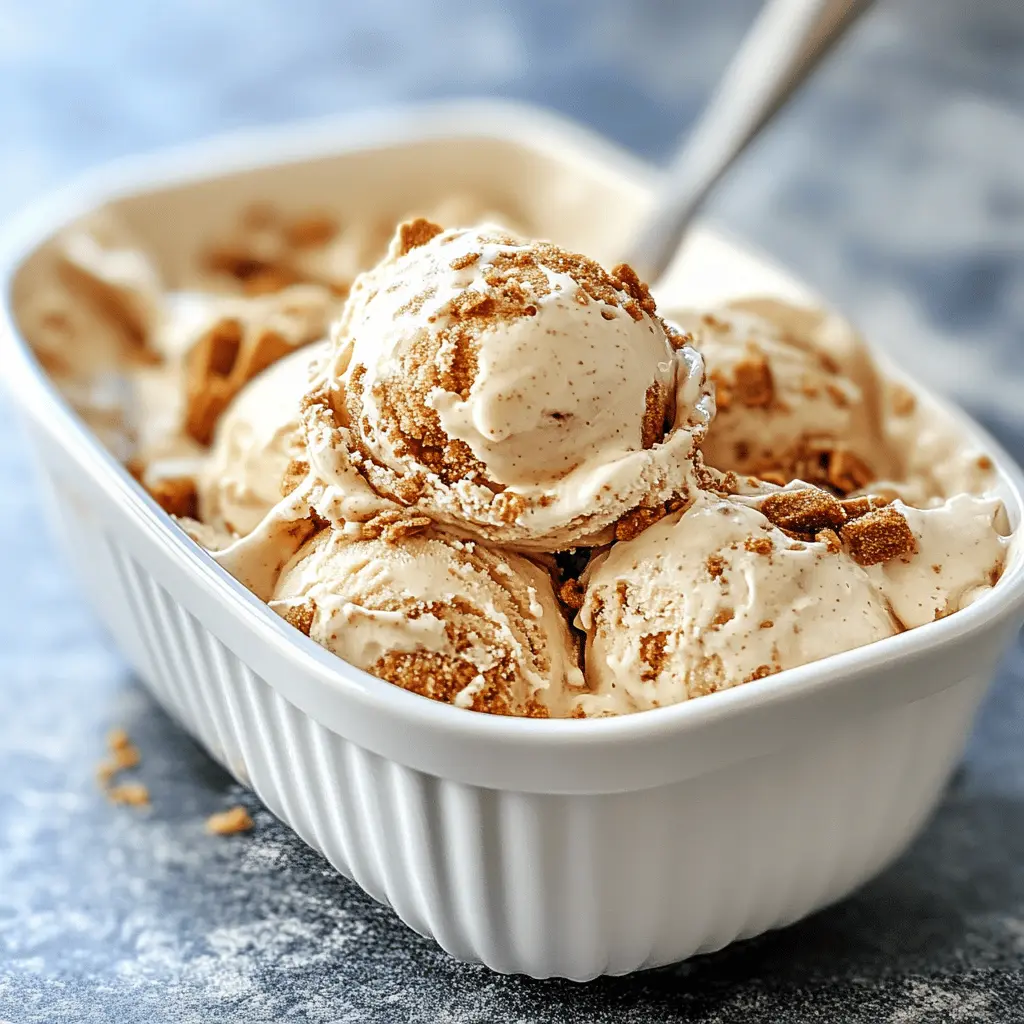
8. Serve and Enjoy:
When you’re ready to enjoy your ice cream, let it sit at room temperature for about 5 minutes to soften slightly for easier scooping. If you want, sprinkle on some extra crushed Biscoff cookies on top for a touch of extra crunch. Serve up and enjoy your creamy, crunchy, ultra-flavorful homemade Biscoff ice cream!
FAQ for Easy Homemade Biscoff Ice Cream
Can I Use a Different Type of Cookie Butter?
Absolutely! If you can’t find Biscoff cookie spread, you can substitute it with any similar cookie butter or even Nutella for a different flavor profile. Just keep in mind that it may alter the final taste slightly.
What If I Don’t Have an Ice Cream Maker?
No problem! You can still make this ice cream. Just pour the mixture into a shallow dish and place it in the freezer. Stir vigorously with a fork every 30 minutes for about 3-4 hours until it reaches a creamy consistency. This process helps incorporate air and prevent ice crystals!
How Should I Store Leftover Ice Cream?
Store your leftover Biscoff ice cream in an airtight container in the freezer. It will stay fresh for about 2-3 weeks. To maintain texture, press a piece of wax paper against the surface of the ice cream before sealing the container.
Can I Add Other Mix-ins?
Definitely! Feel free to add your favorite mix-ins, such as chocolate chips, nuts, or other crushed cookies during the last few minutes of churning. Just make sure to keep an eye on the total volume to maintain the right texture.